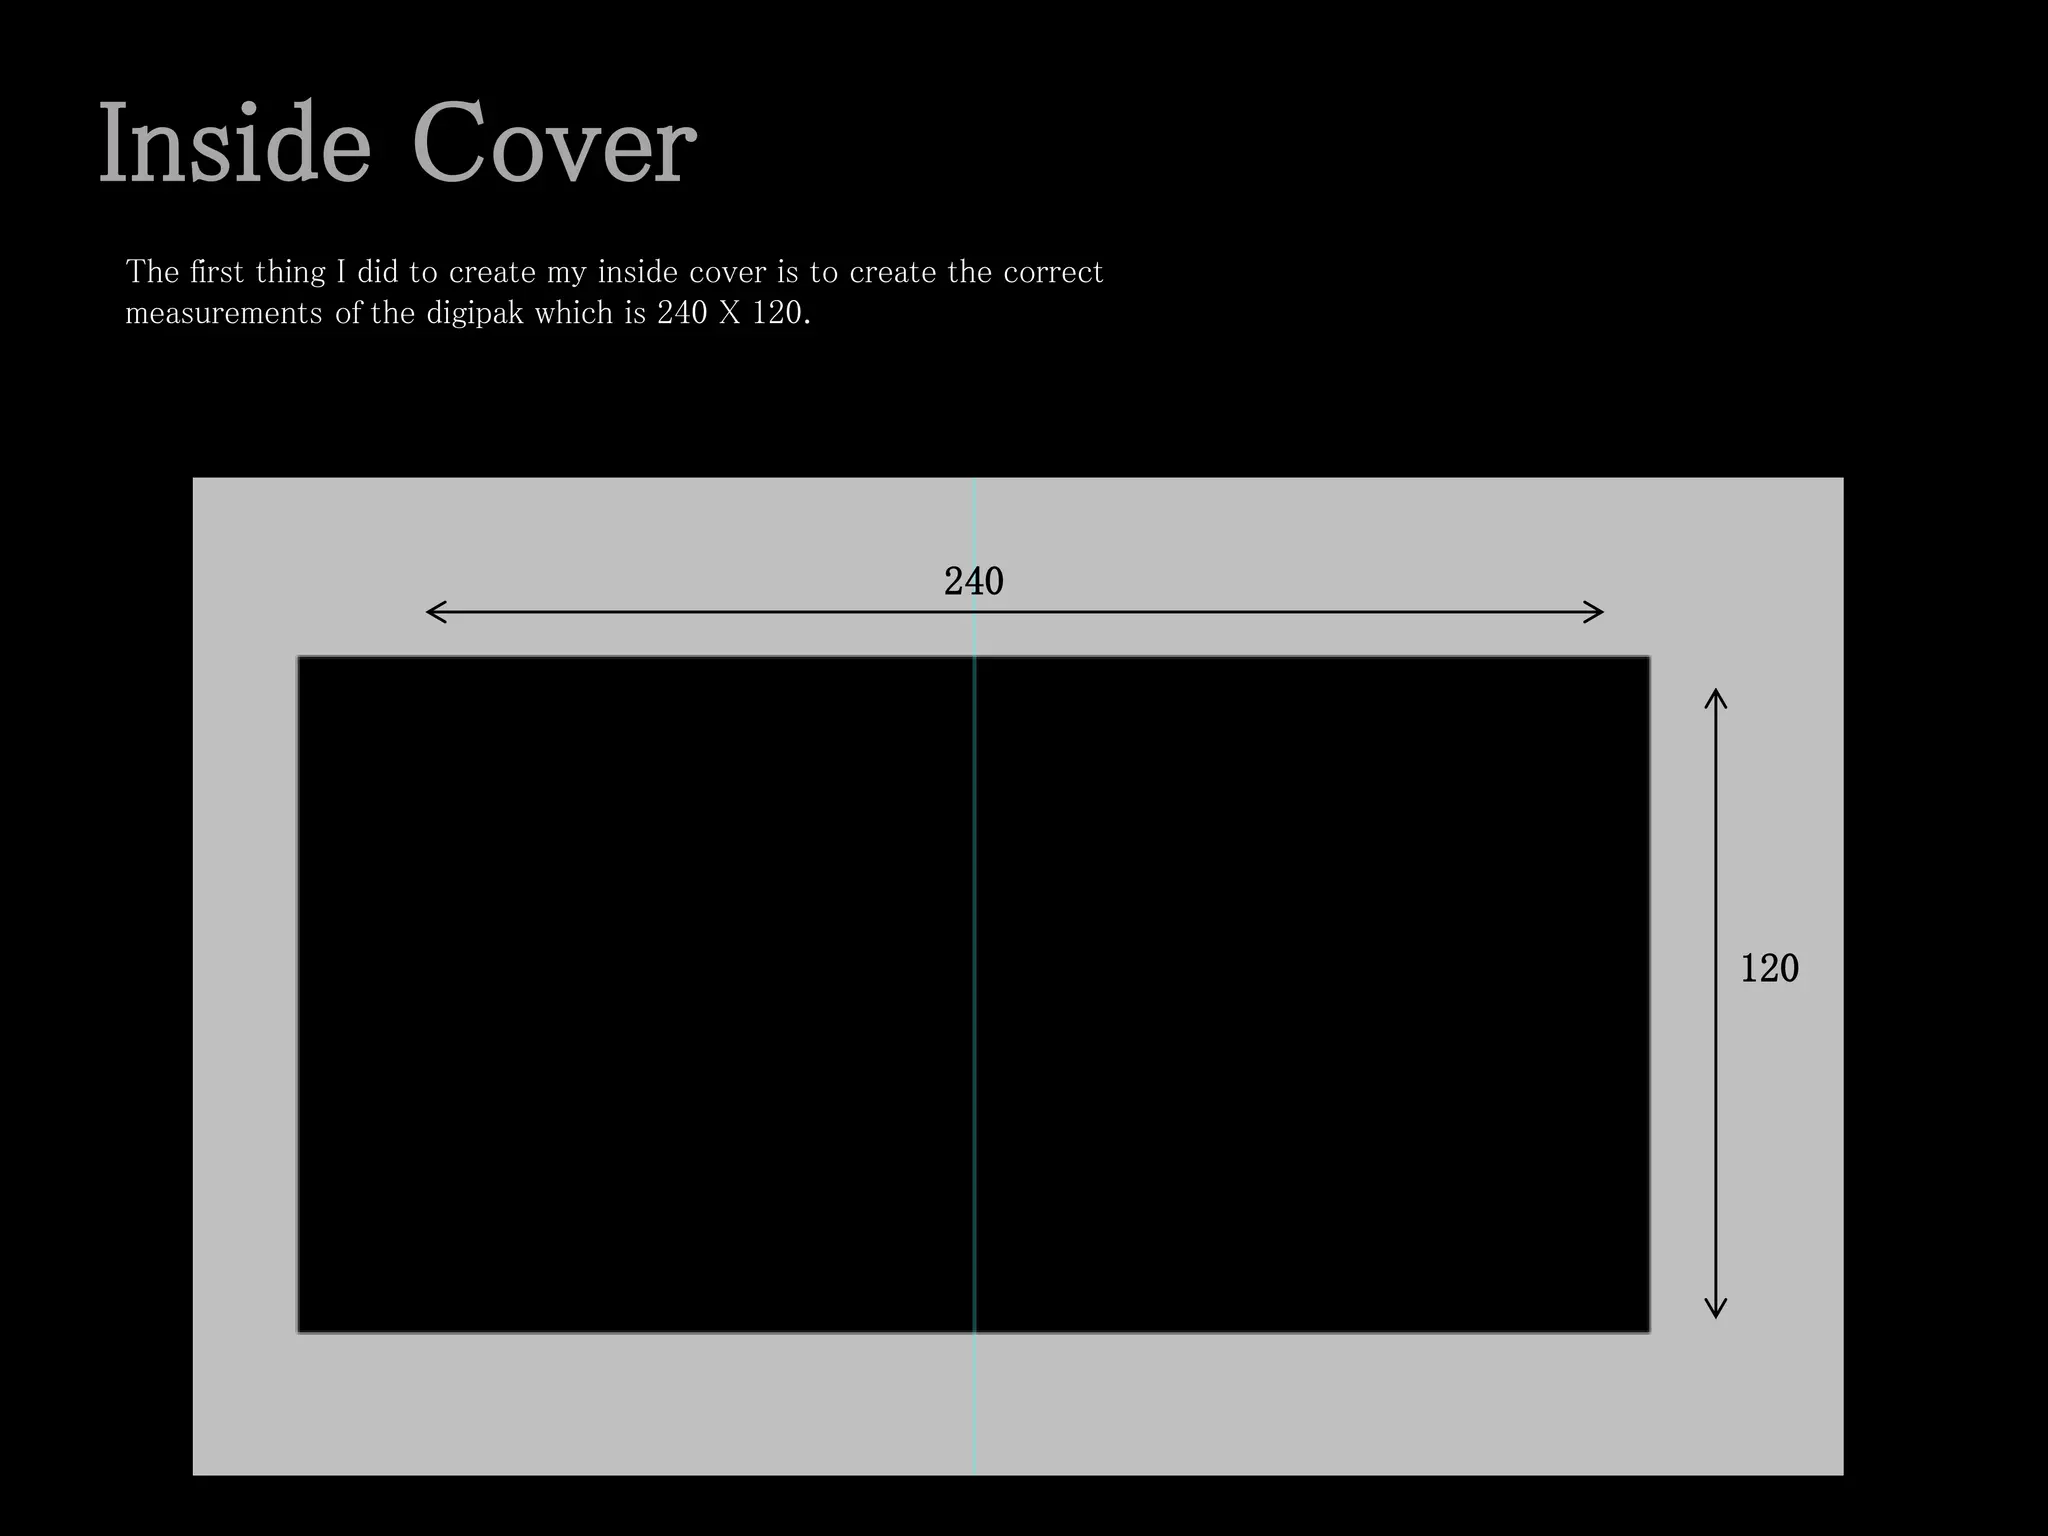
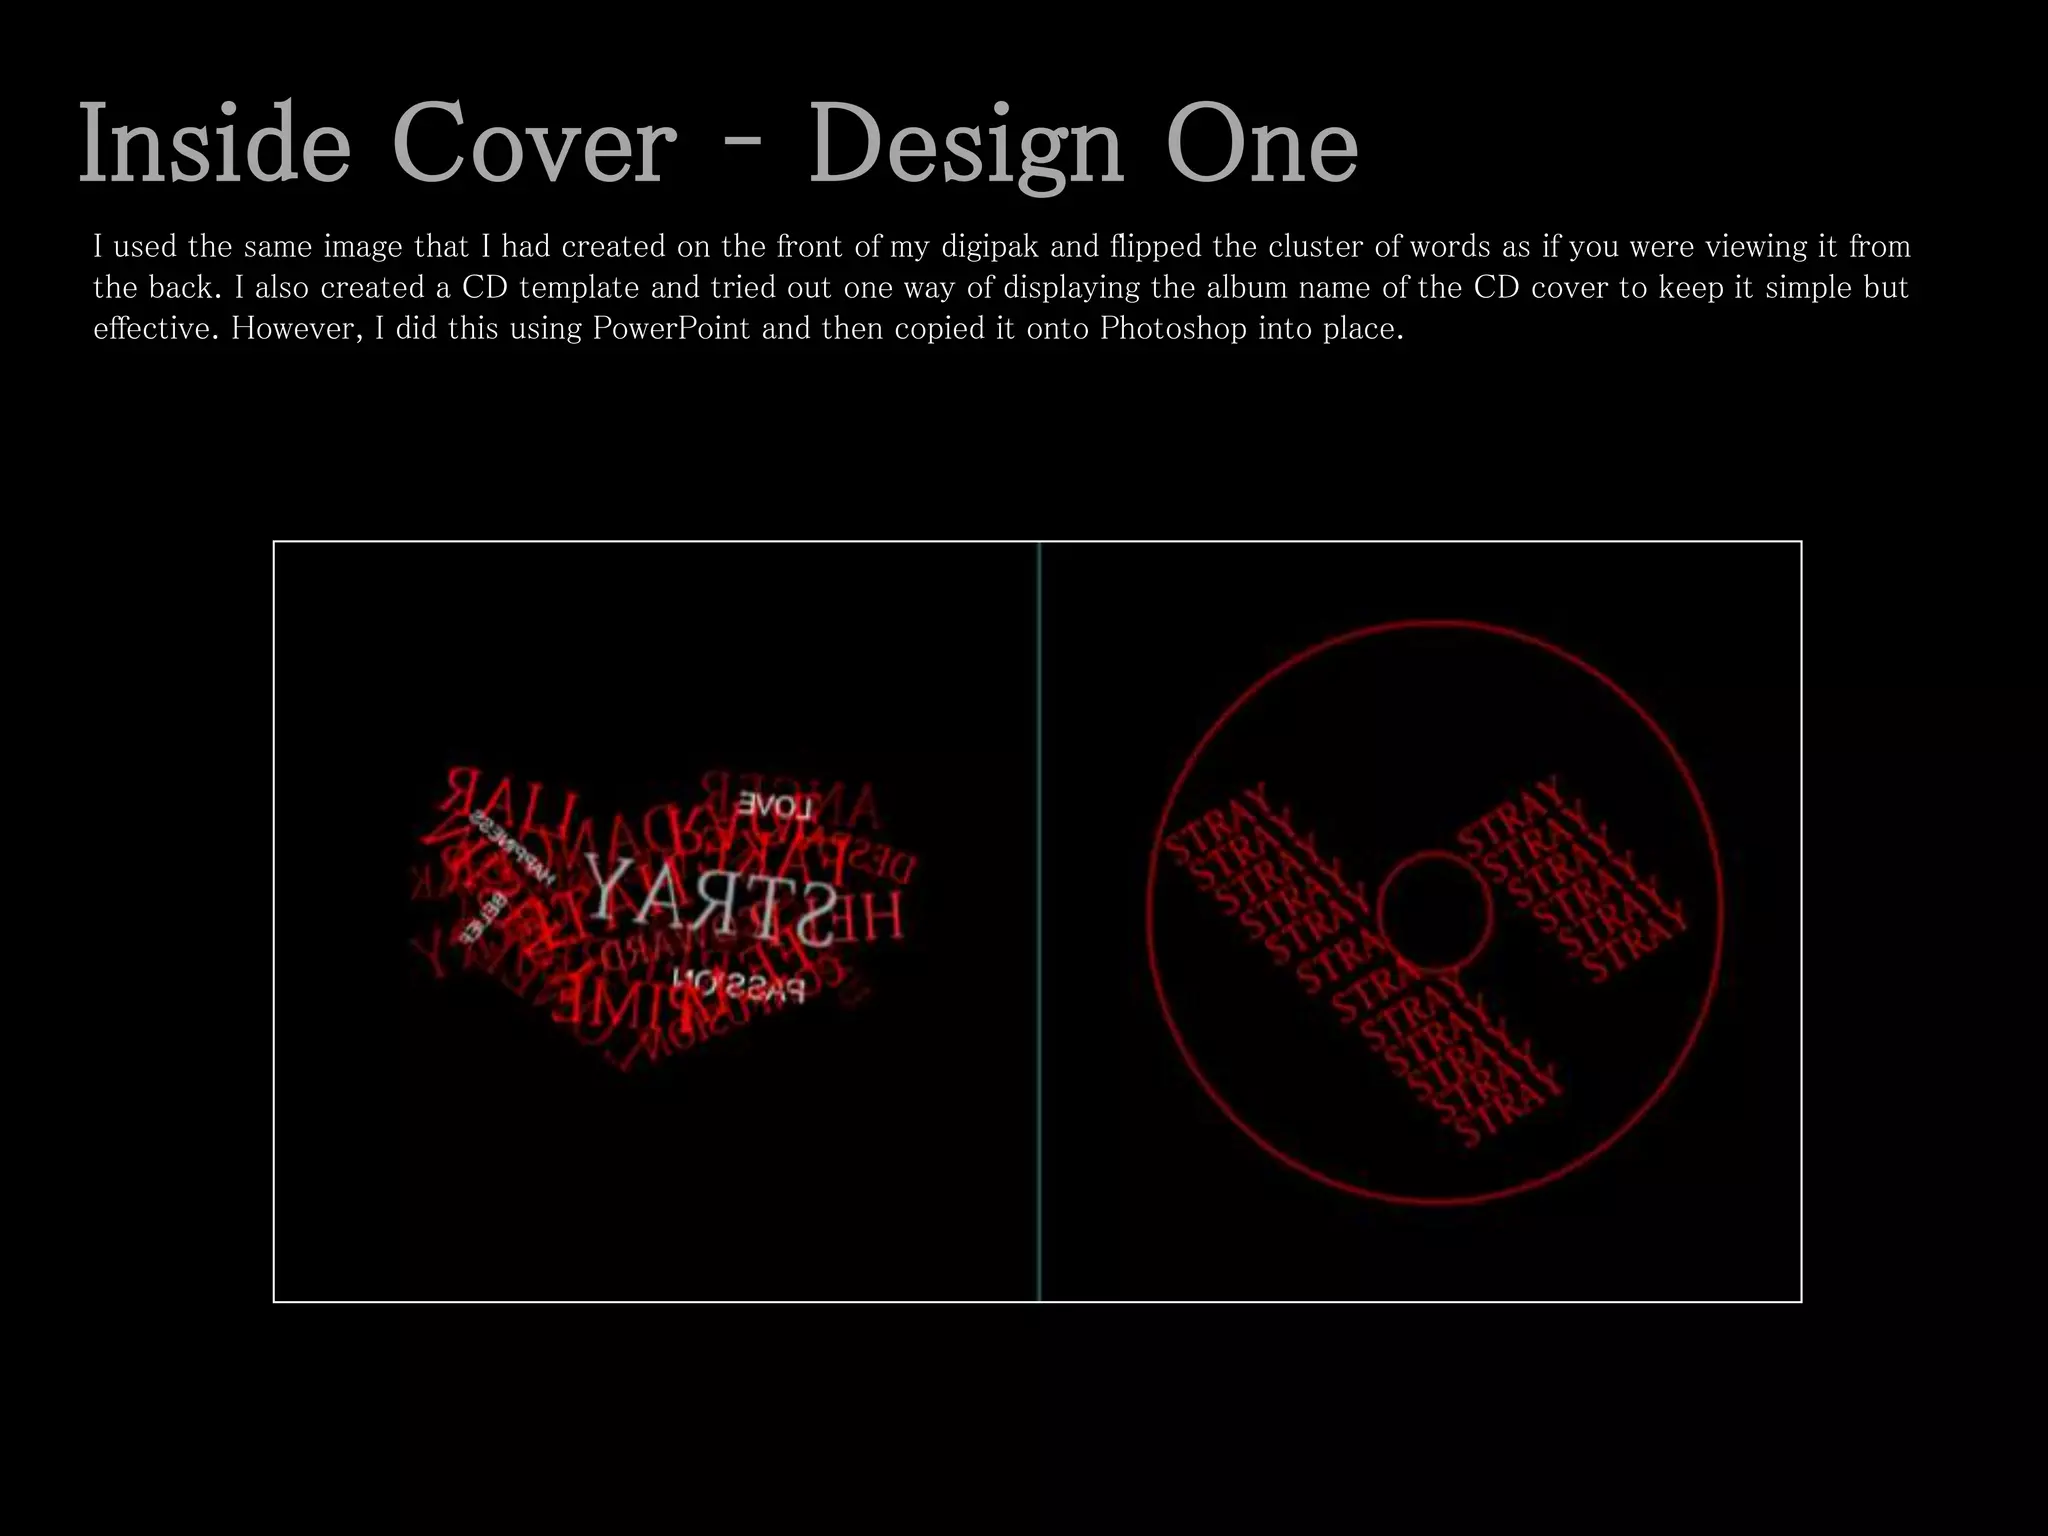
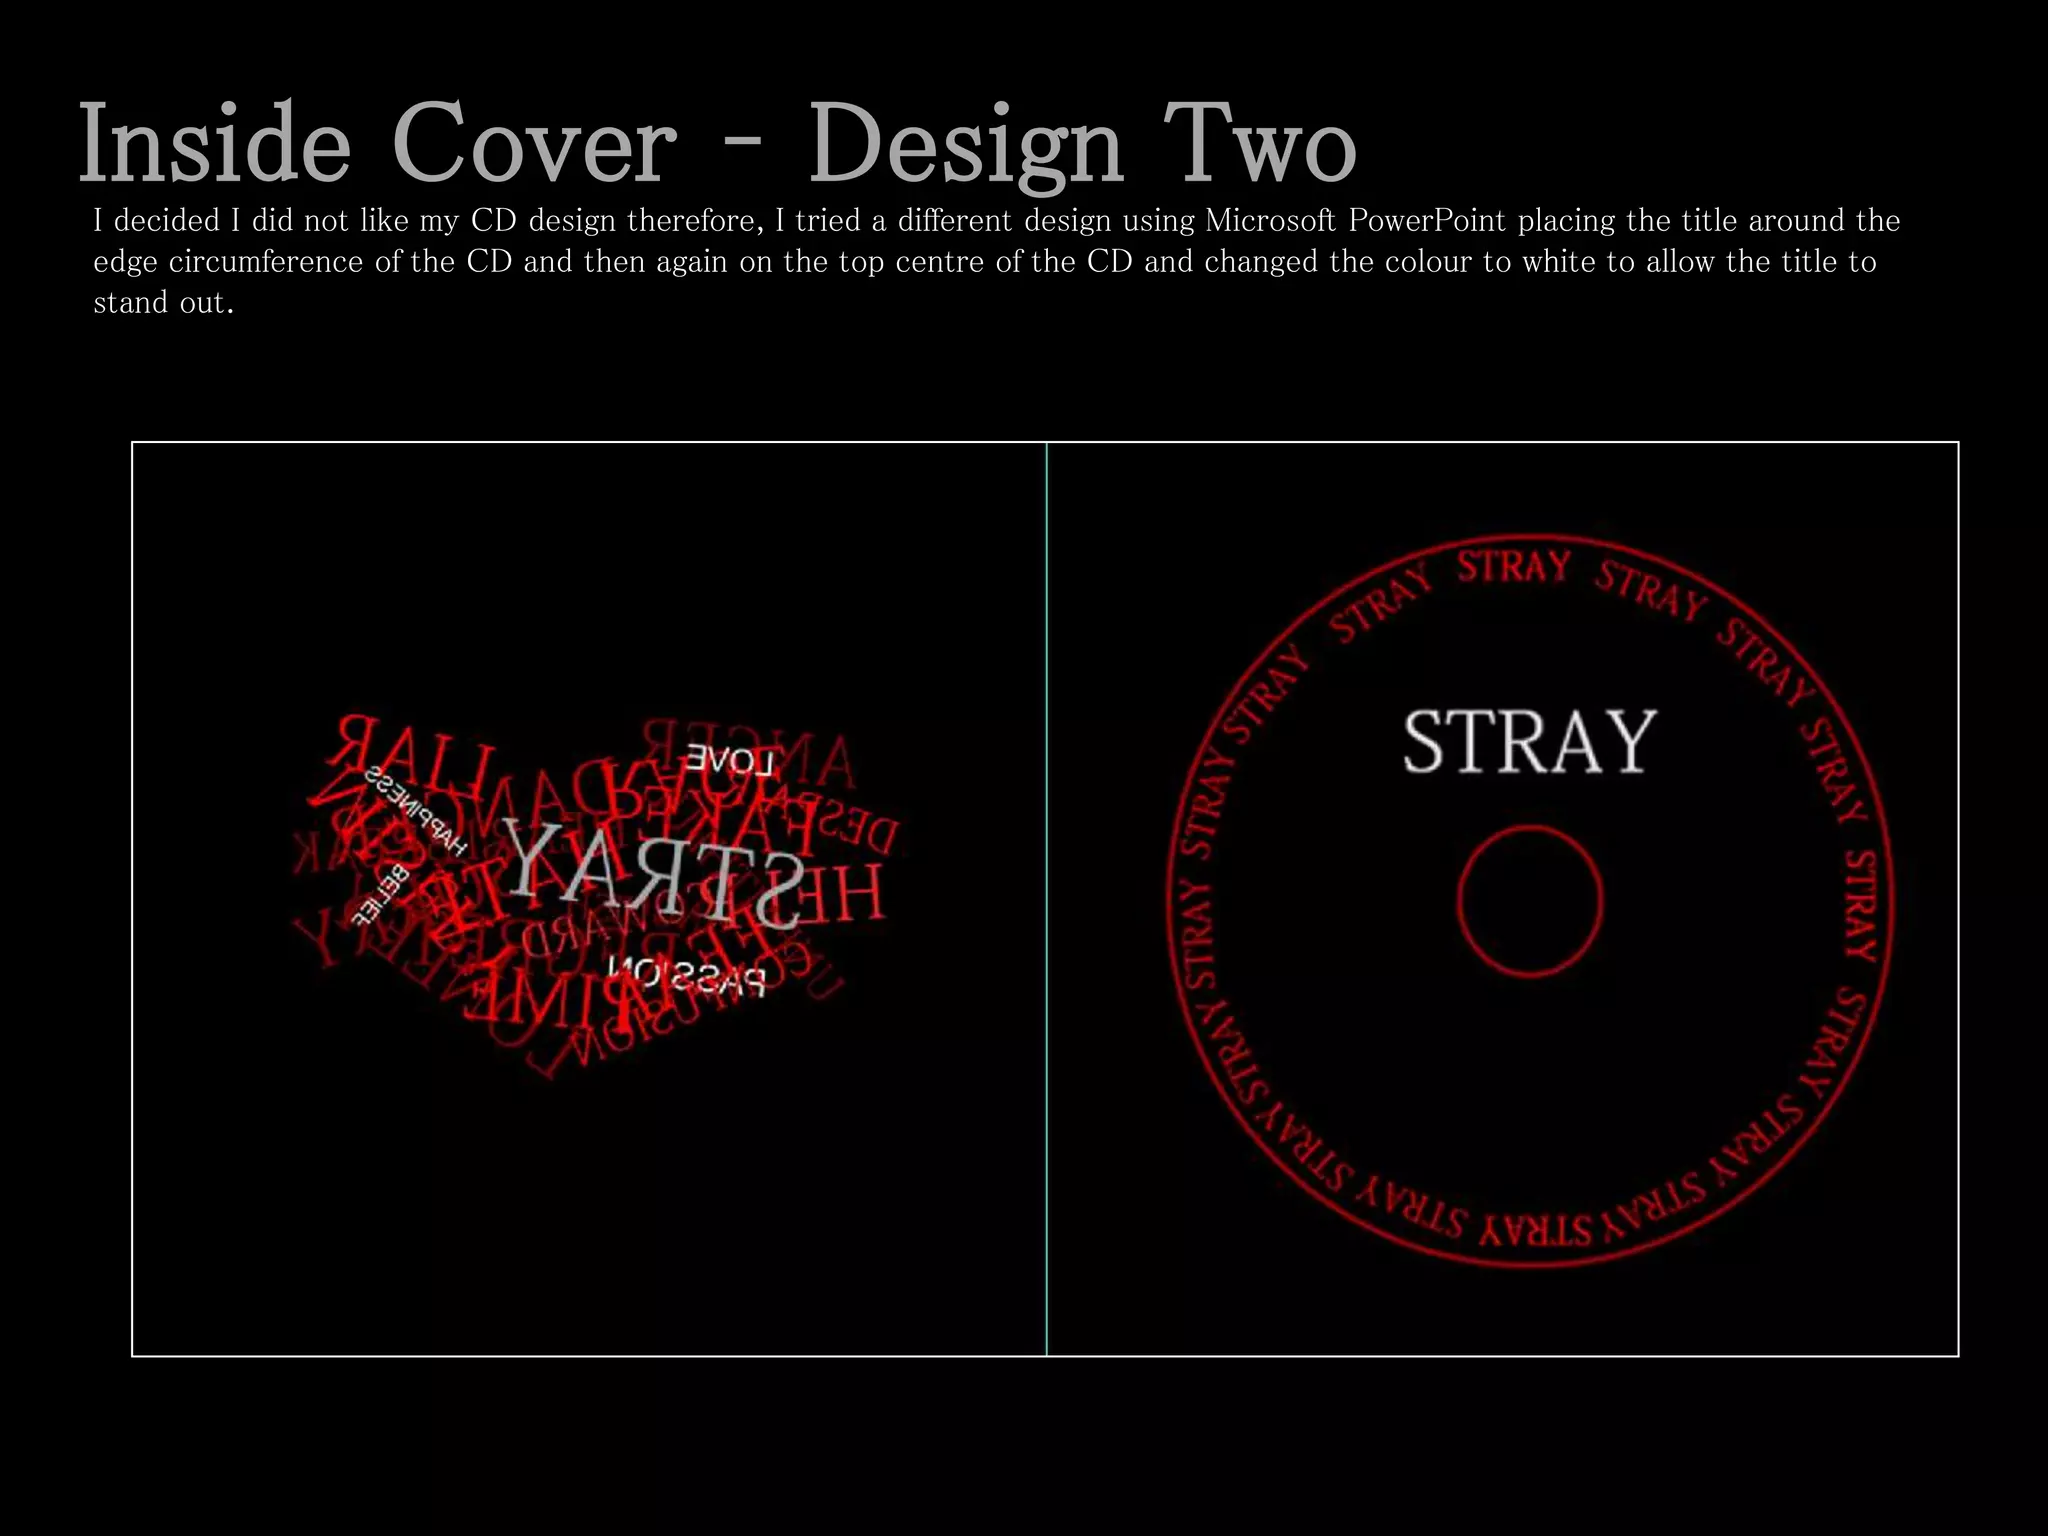
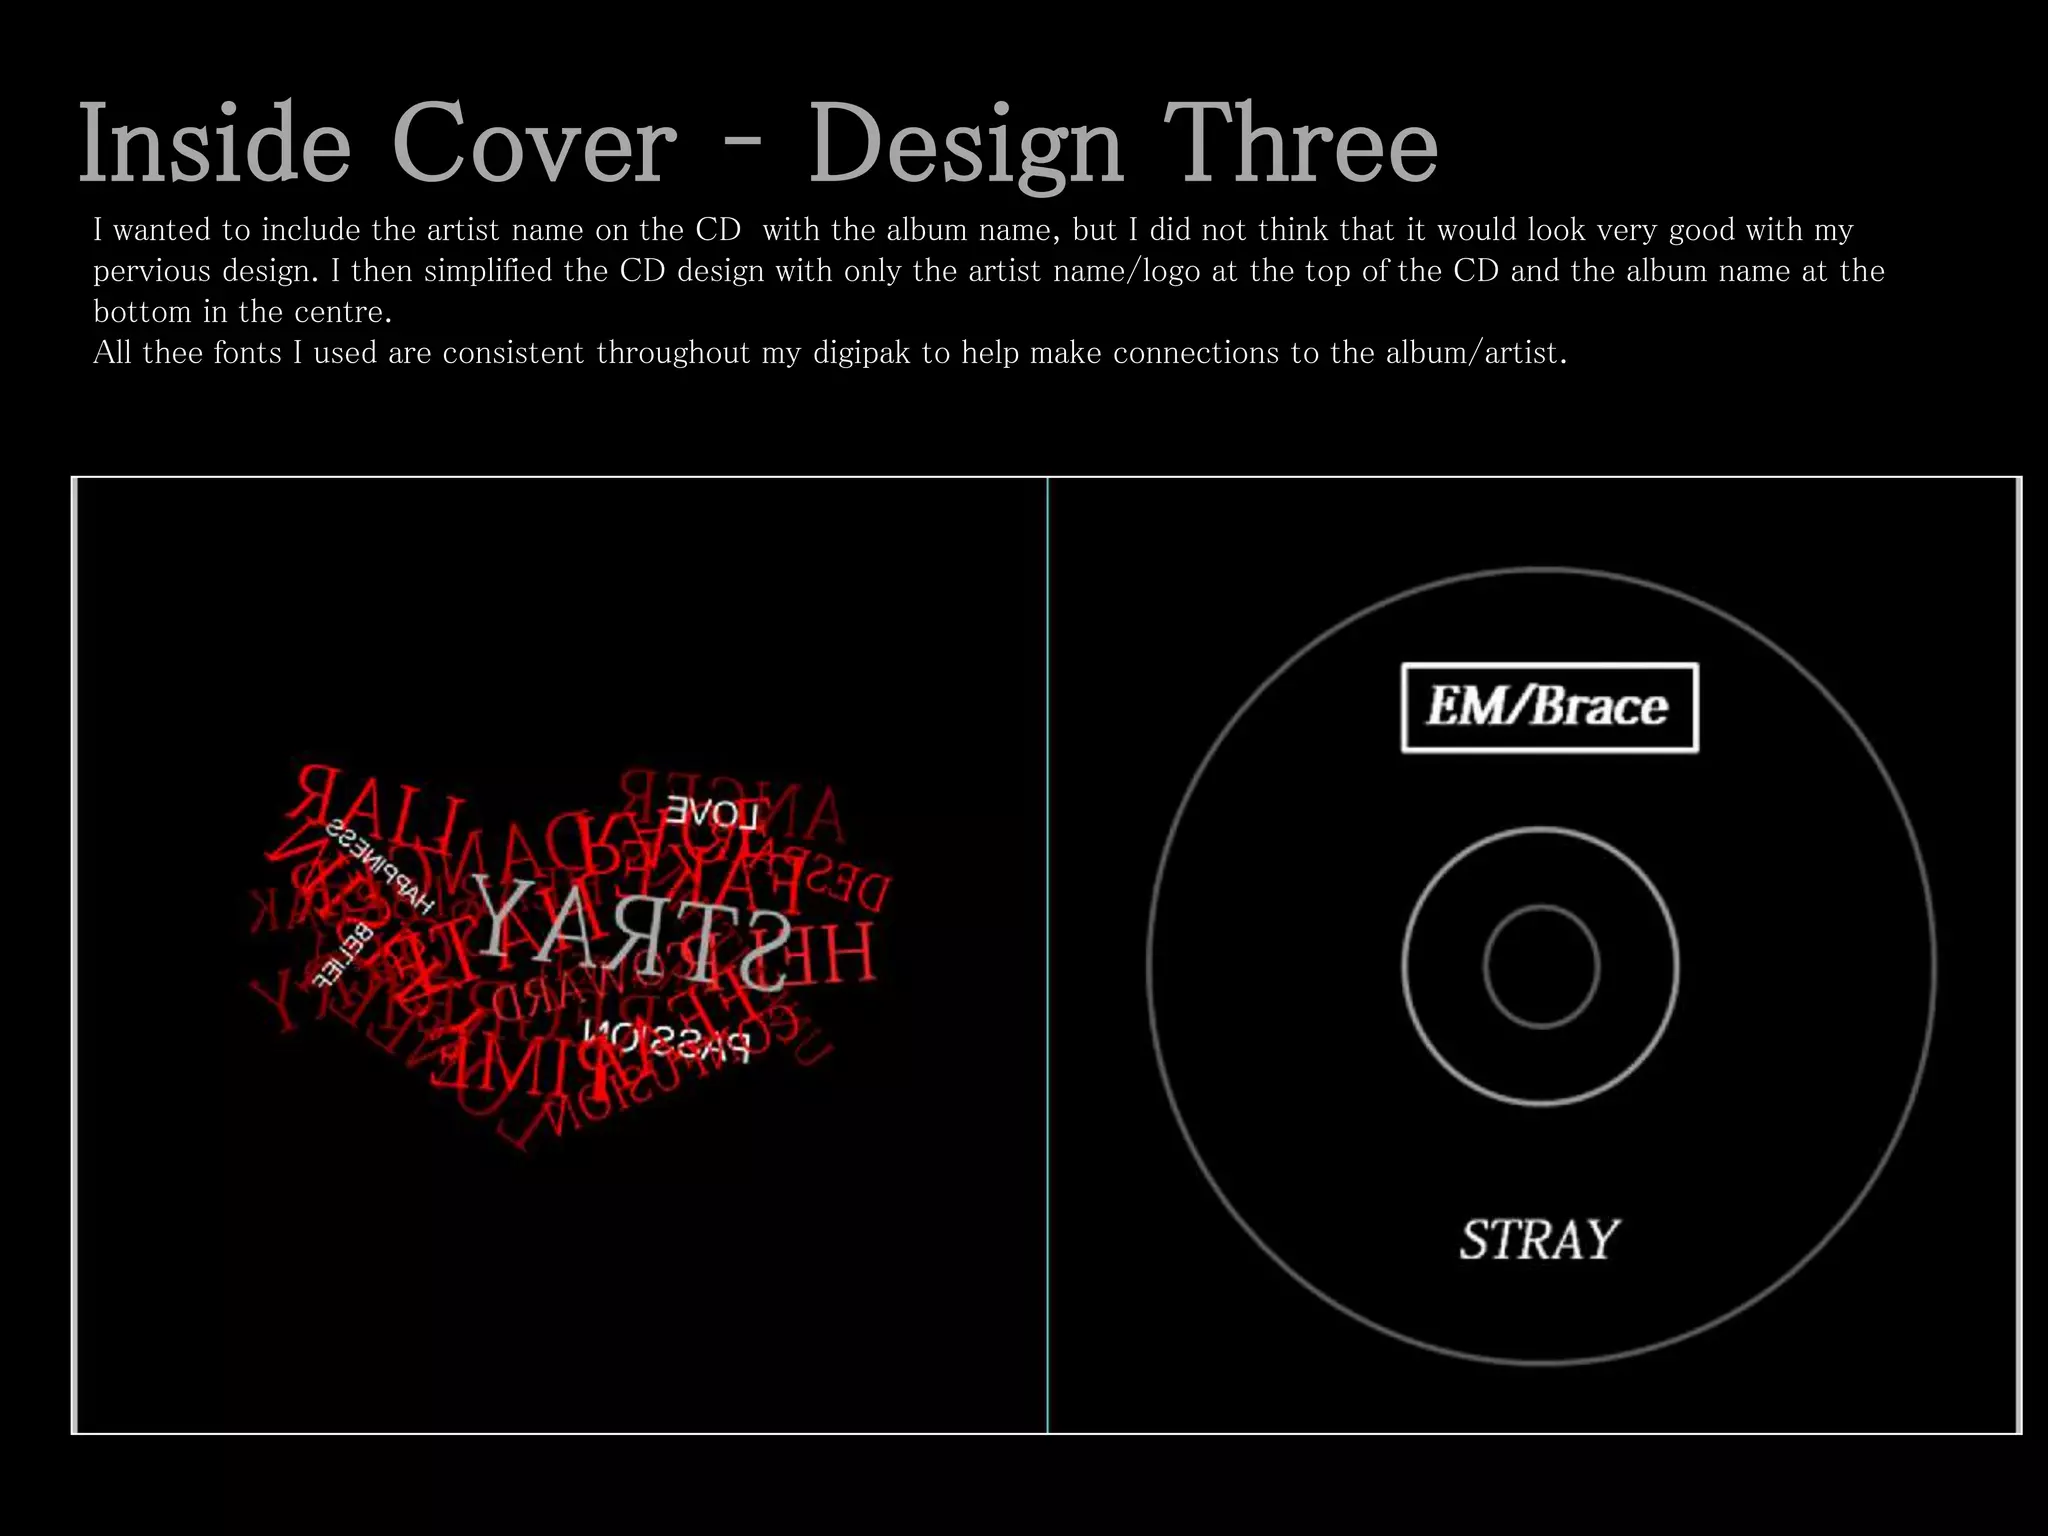
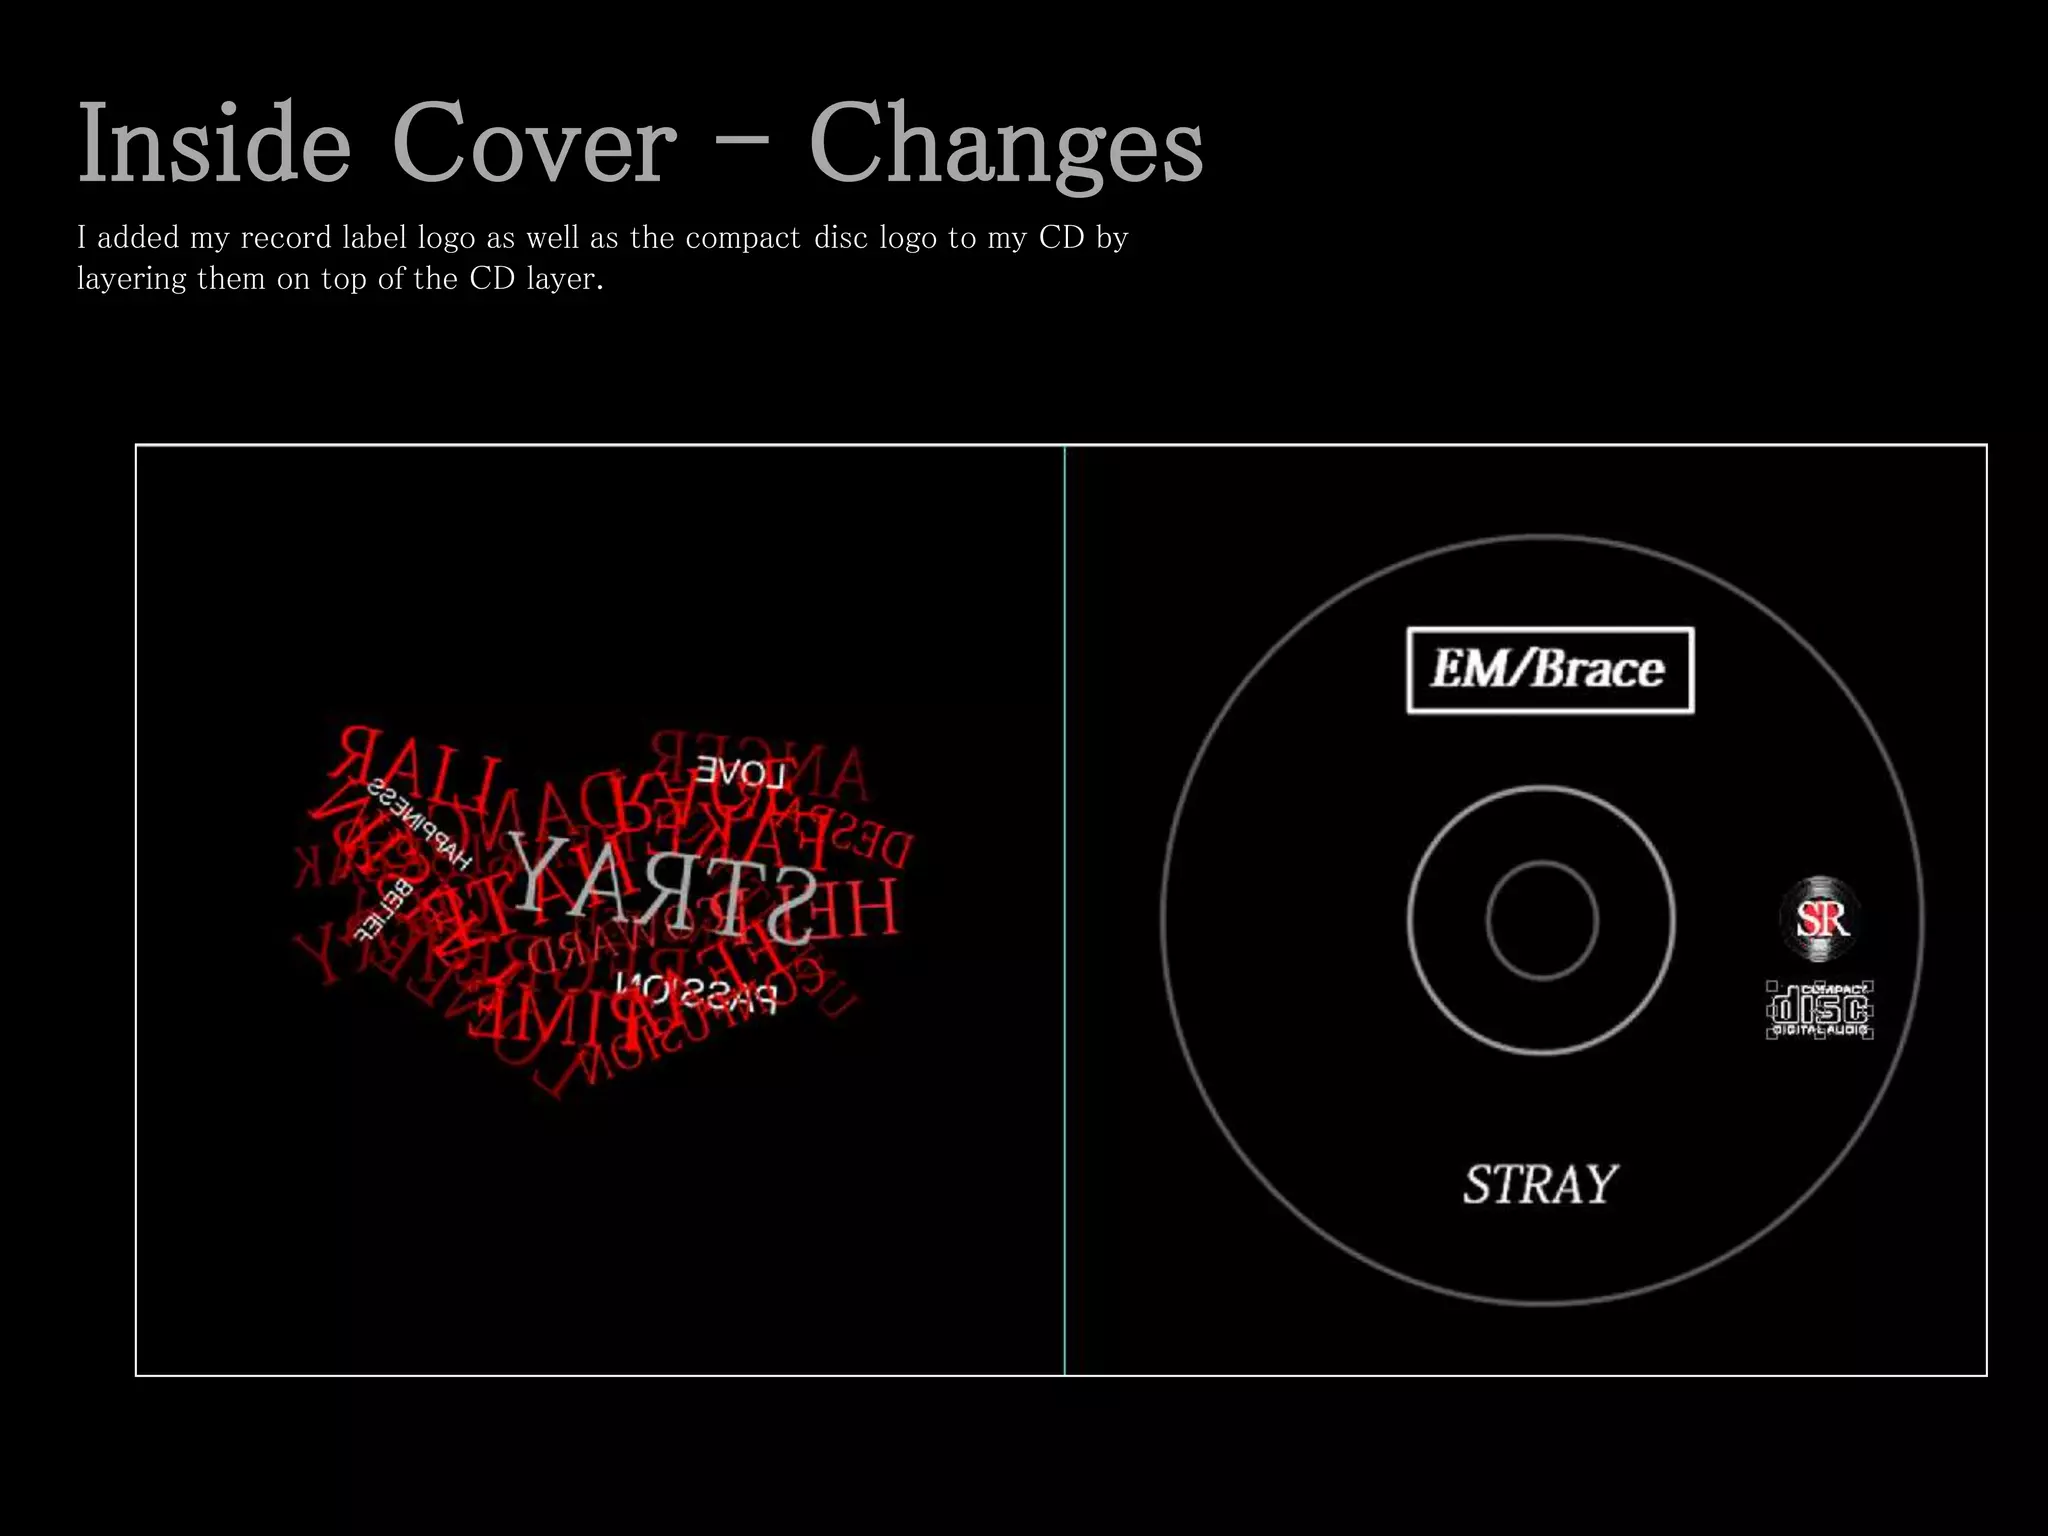
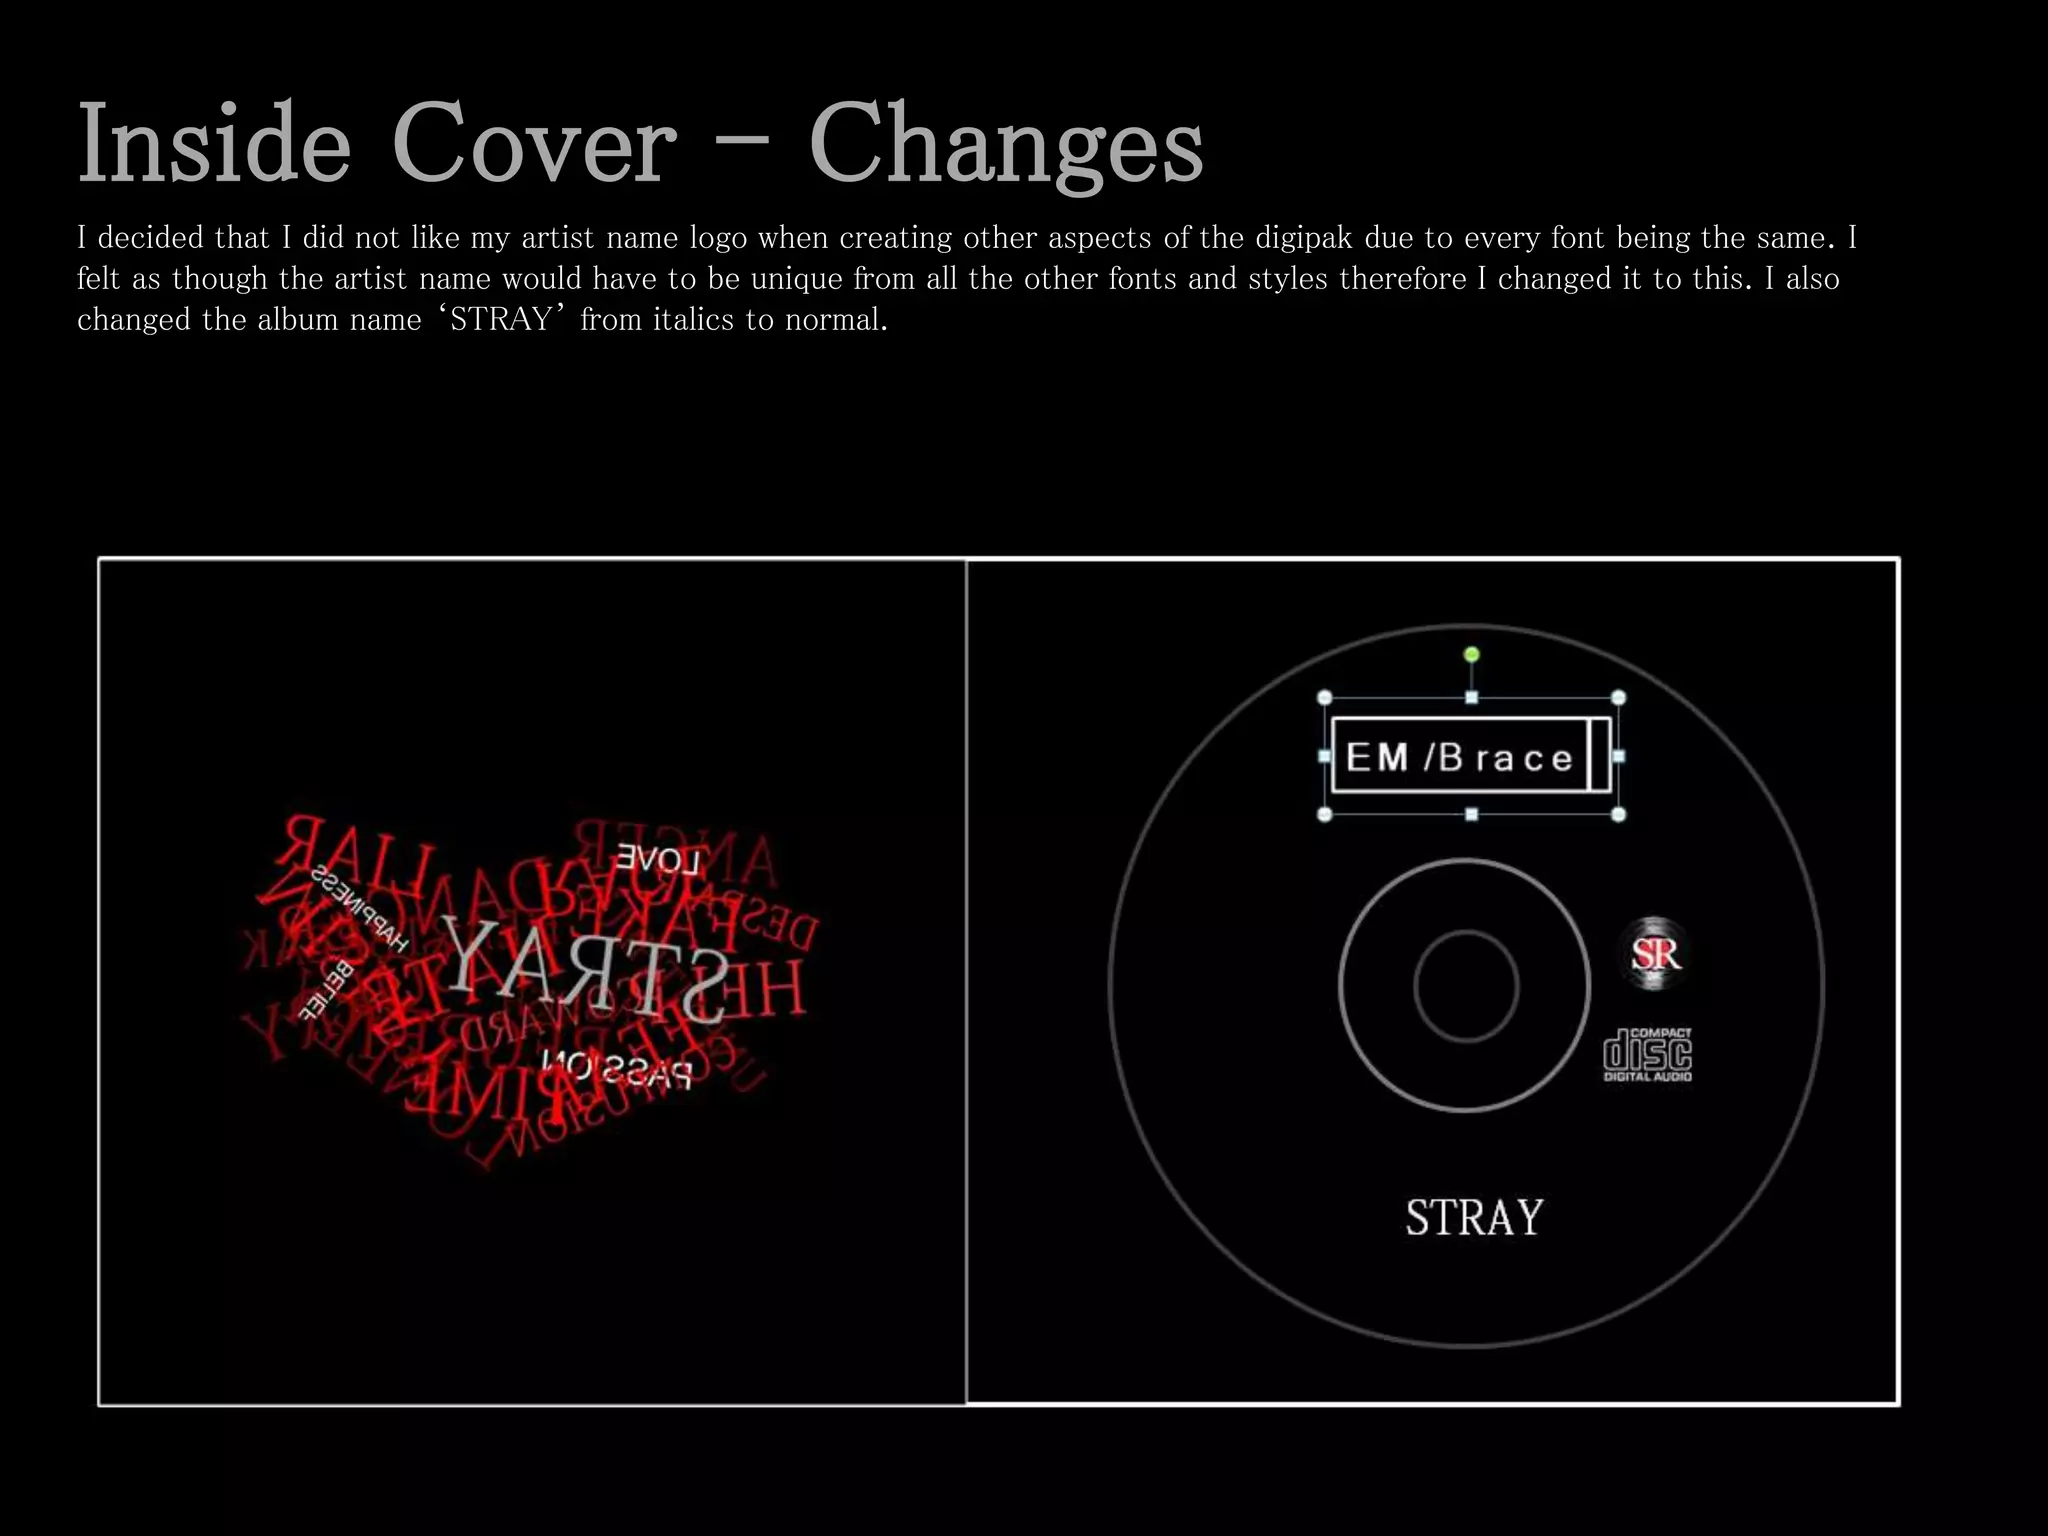
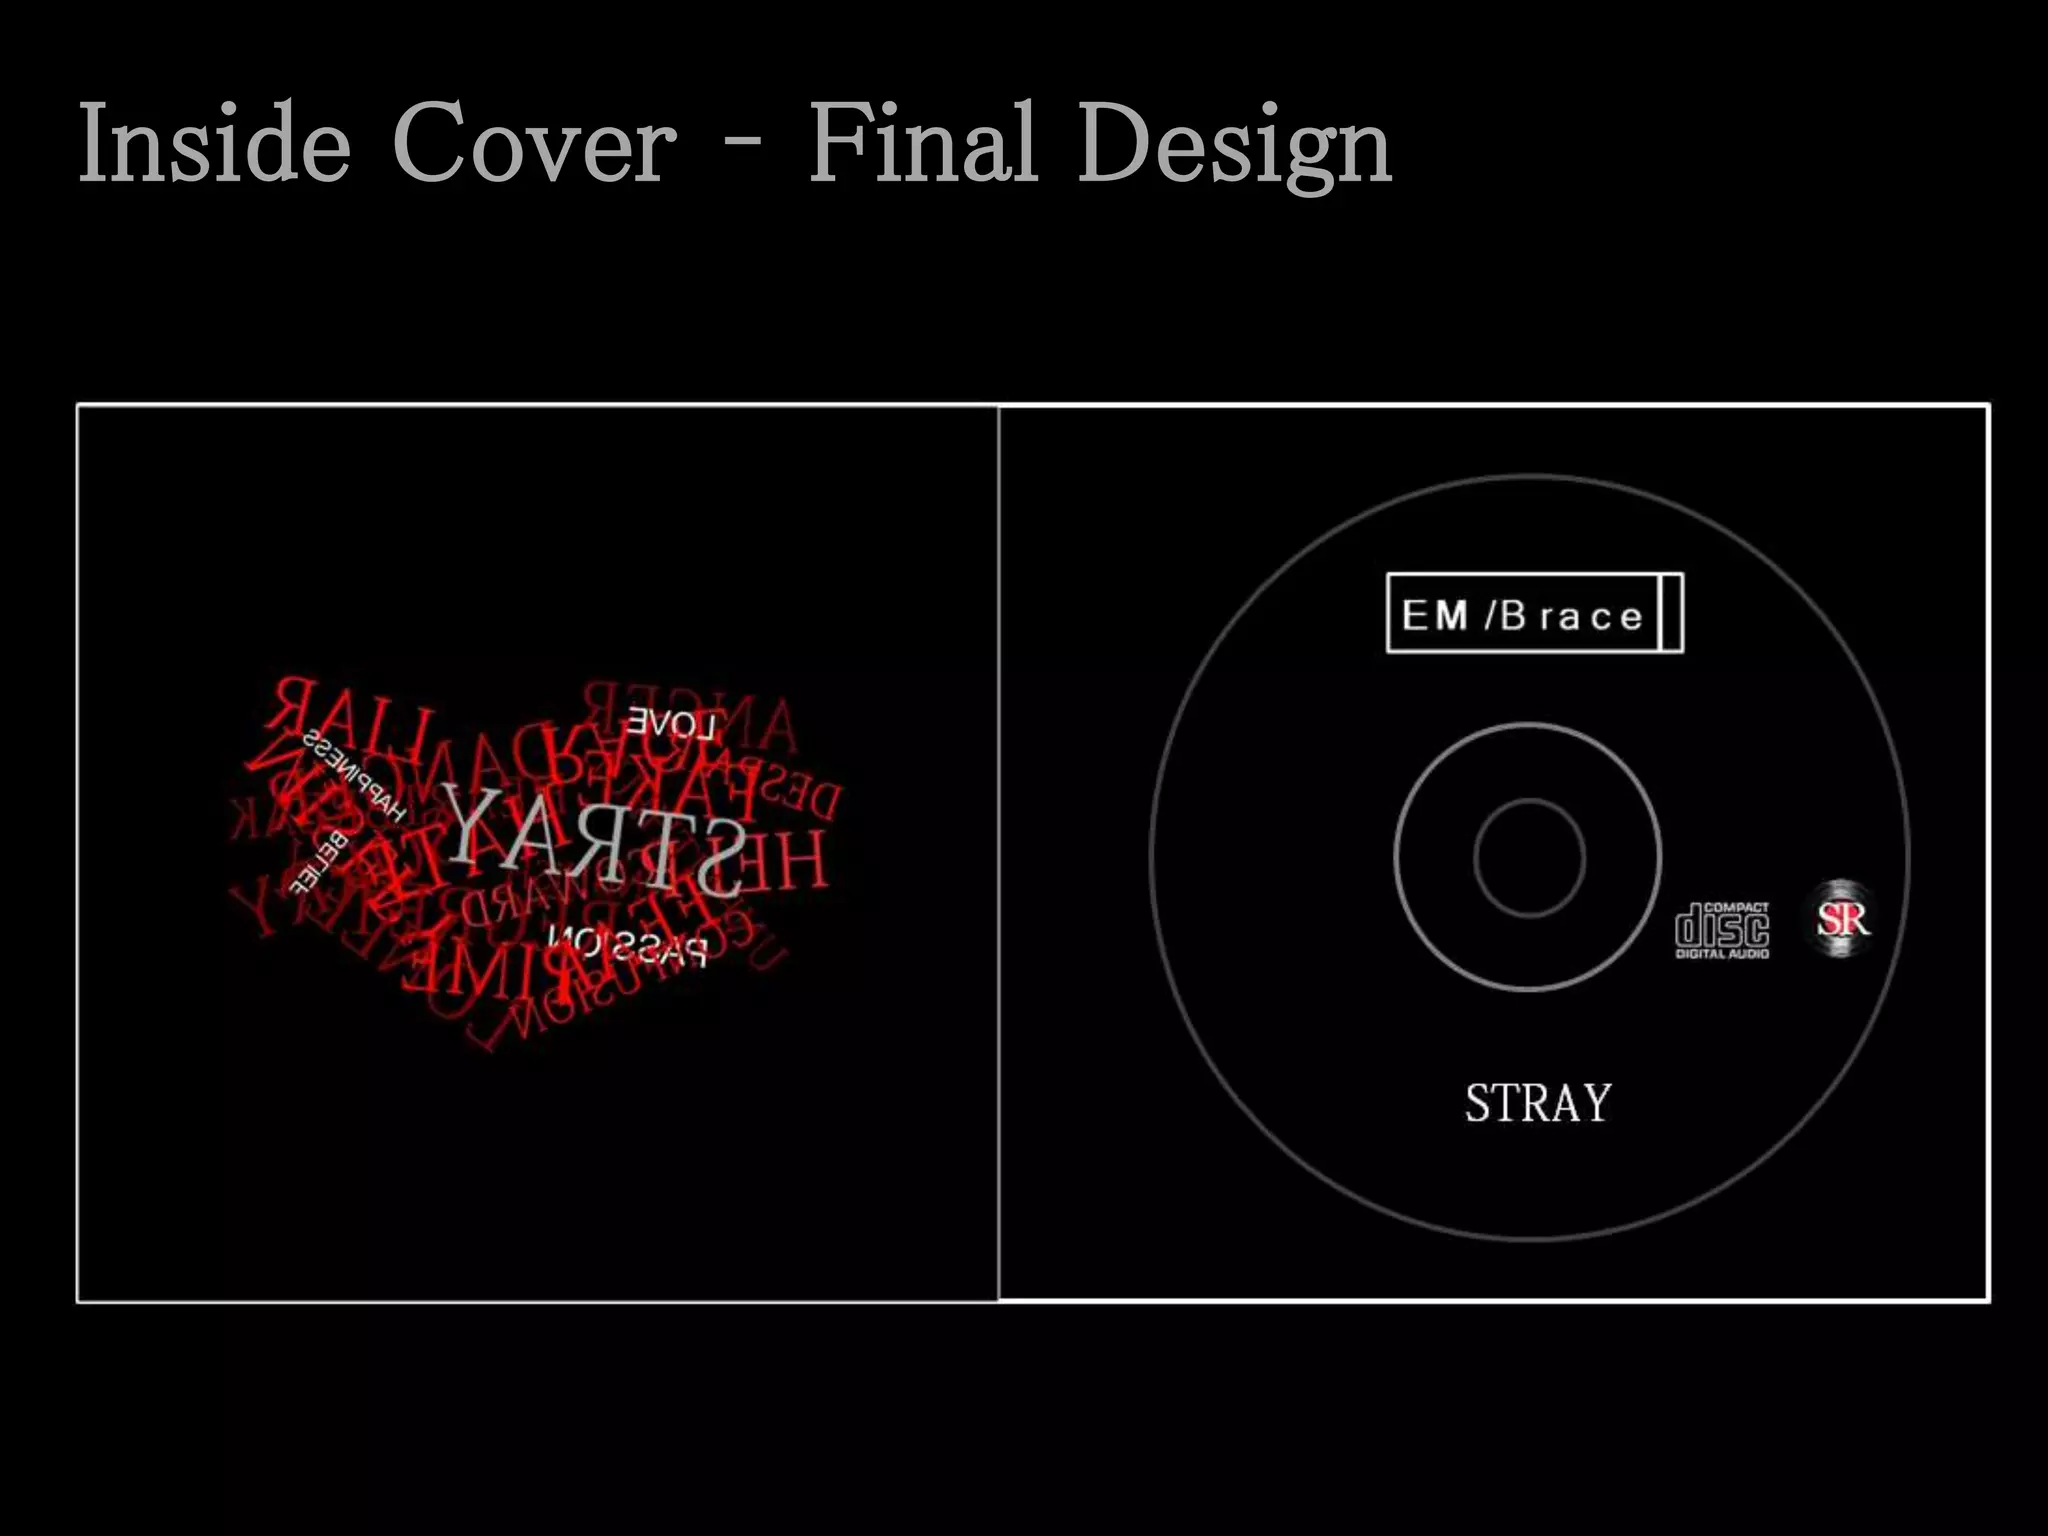
Incoming and Outgoing Shipments in 1 STEP Using Odoo 17
Creating an Inside Cover Design for a Digipak
1. 240
120
Inside Cover
The first thing I did to create my inside cover is to create the correct
measurements of the digipak which is 240 X 120.
2. Inside Cover – Design One
I used the same image that I had created on the front of my digipak and flipped the cluster of words as if you were viewing it from
the back. I also created a CD template and tried out one way of displaying the album name of the CD cover to keep it simple but
effective. However, I did this using PowerPoint and then copied it onto Photoshop into place.
3. Inside Cover – Design TwoI decided I did not like my CD design therefore, I tried a different design using Microsoft PowerPoint placing the title around the
edge circumference of the CD and then again on the top centre of the CD and changed the colour to white to allow the title to
stand out.
4. Inside Cover – Design Three
I wanted to include the artist name on the CD with the album name, but I did not think that it would look very good with my
pervious design. I then simplified the CD design with only the artist name/logo at the top of the CD and the album name at the
bottom in the centre.
All thee fonts I used are consistent throughout my digipak to help make connections to the album/artist.
5. Inside Cover - Changes
I added my record label logo as well as the compact disc logo to my CD by
layering them on top of the CD layer.
6. Inside Cover - Changes
I decided that I did not like my artist name logo when creating other aspects of the digipak due to every font being the same. I
felt as though the artist name would have to be unique from all the other fonts and styles therefore I changed it to this. I also
changed the album name ‘STRAY’ from italics to normal.