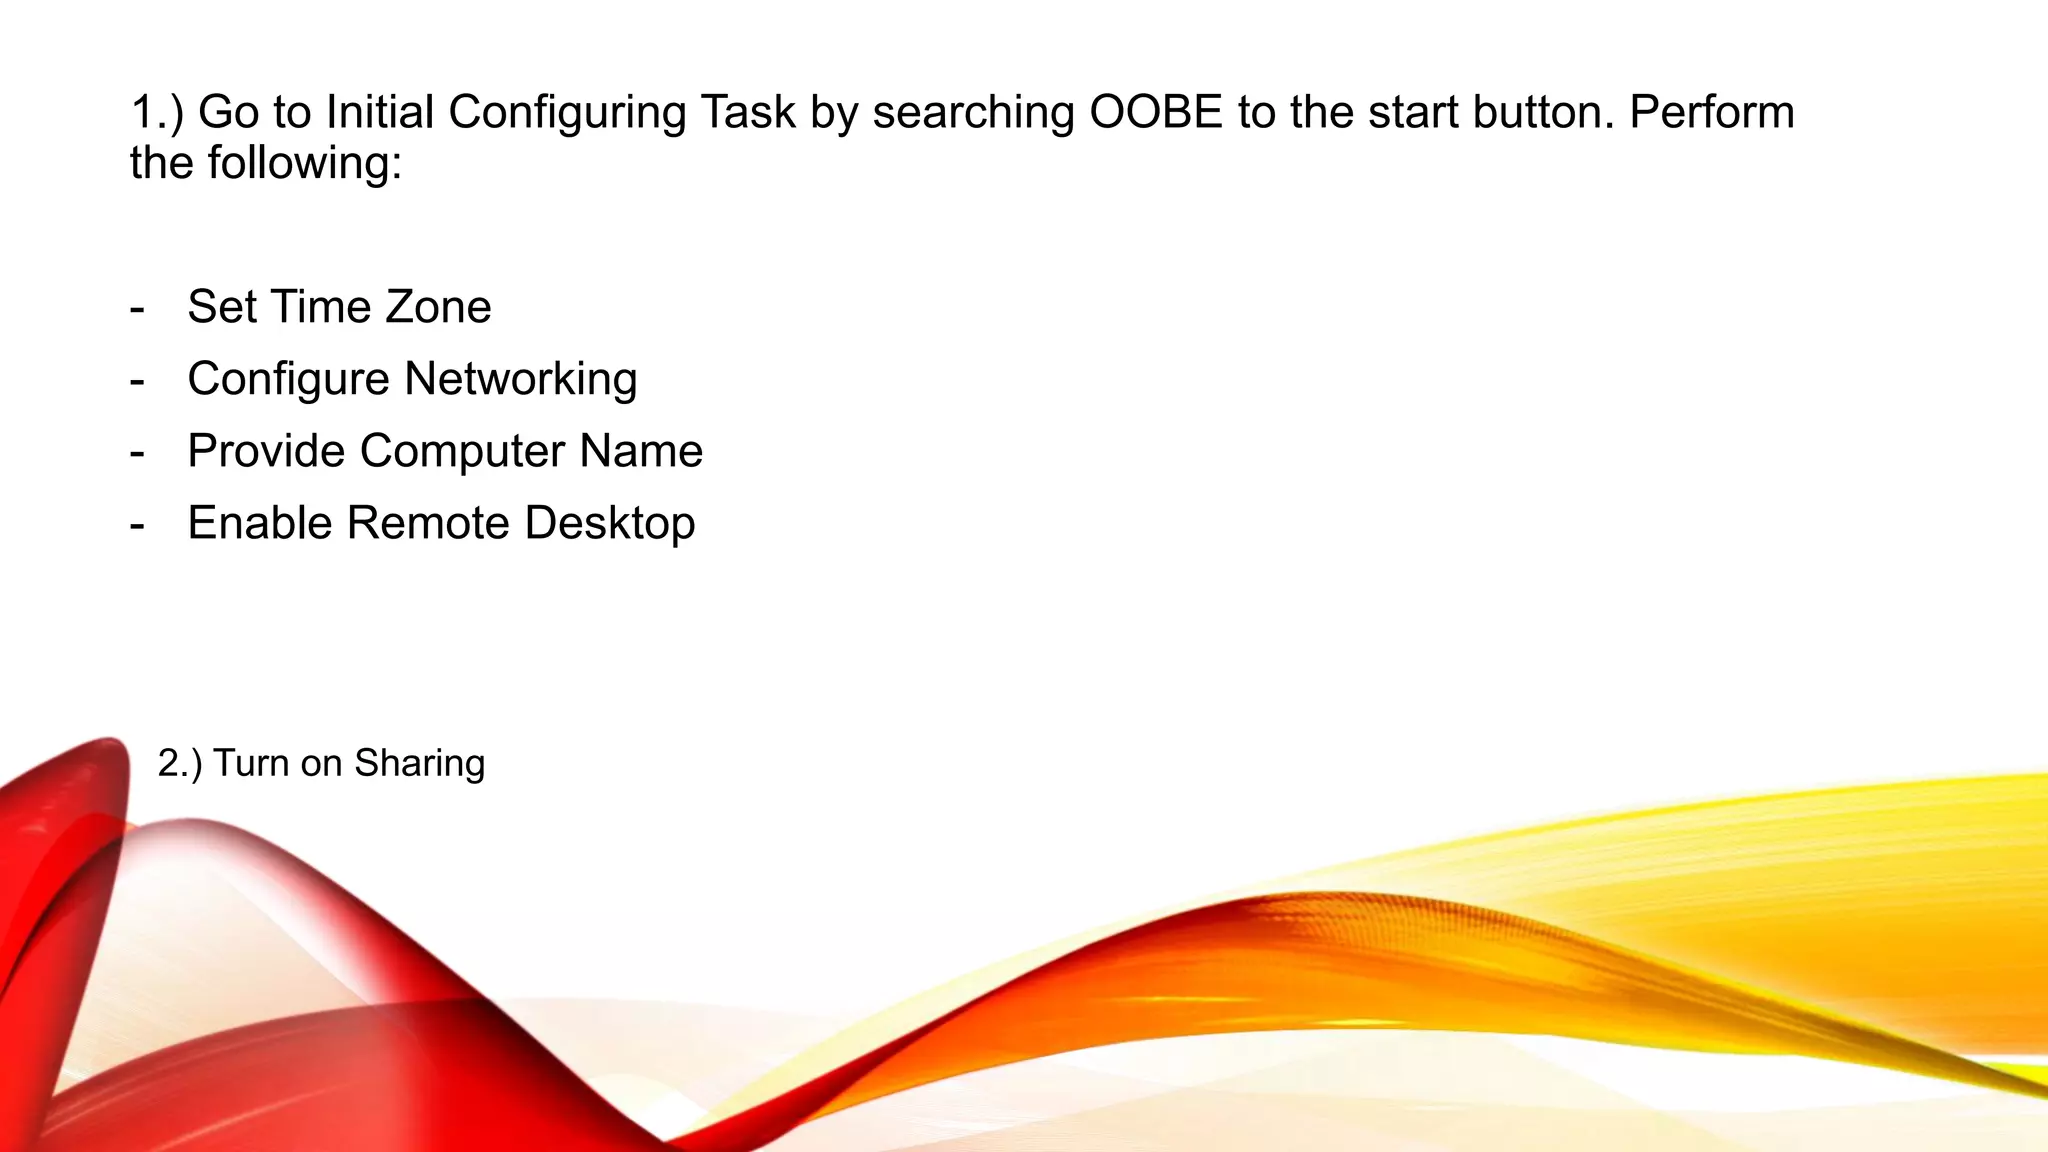
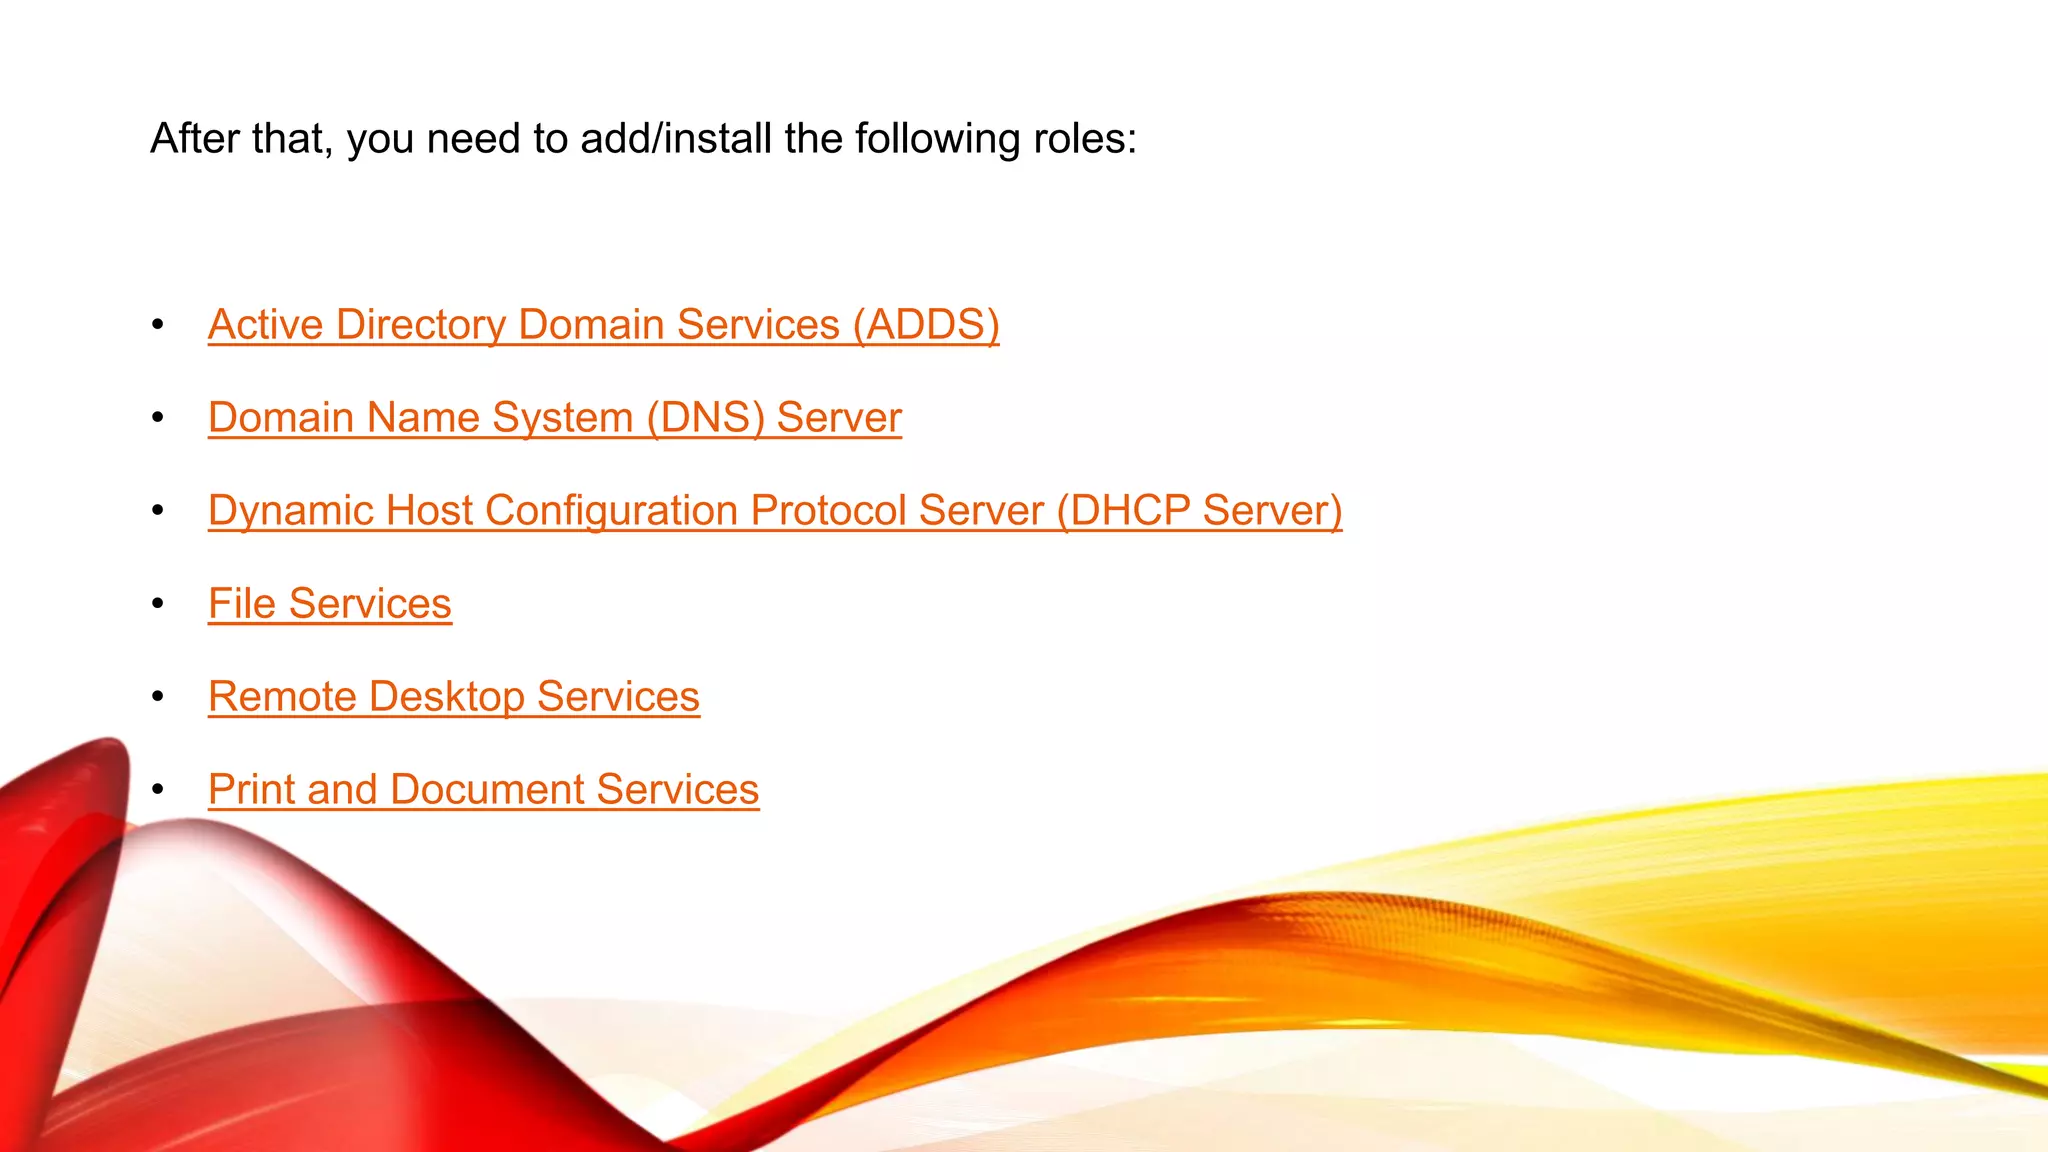
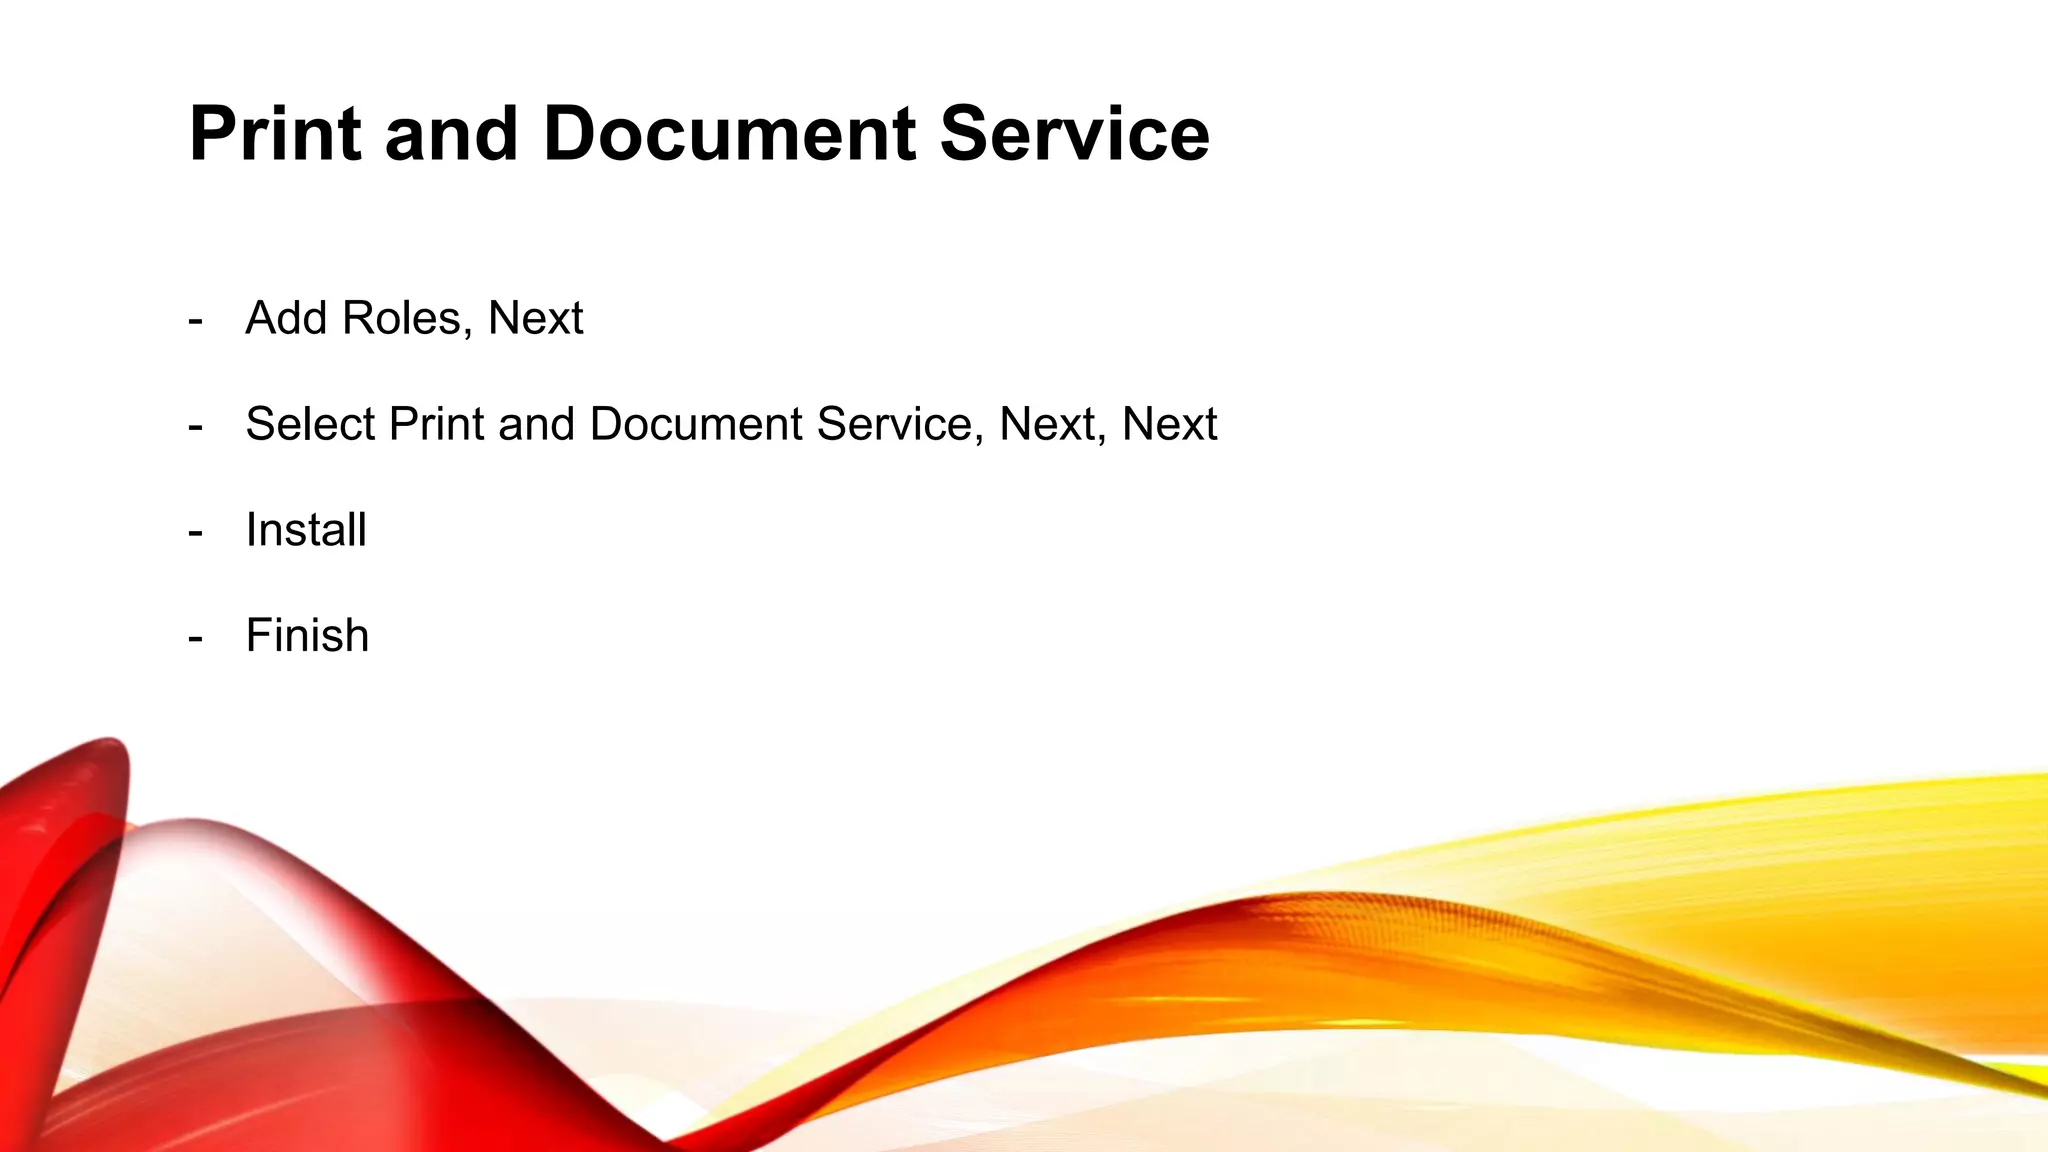
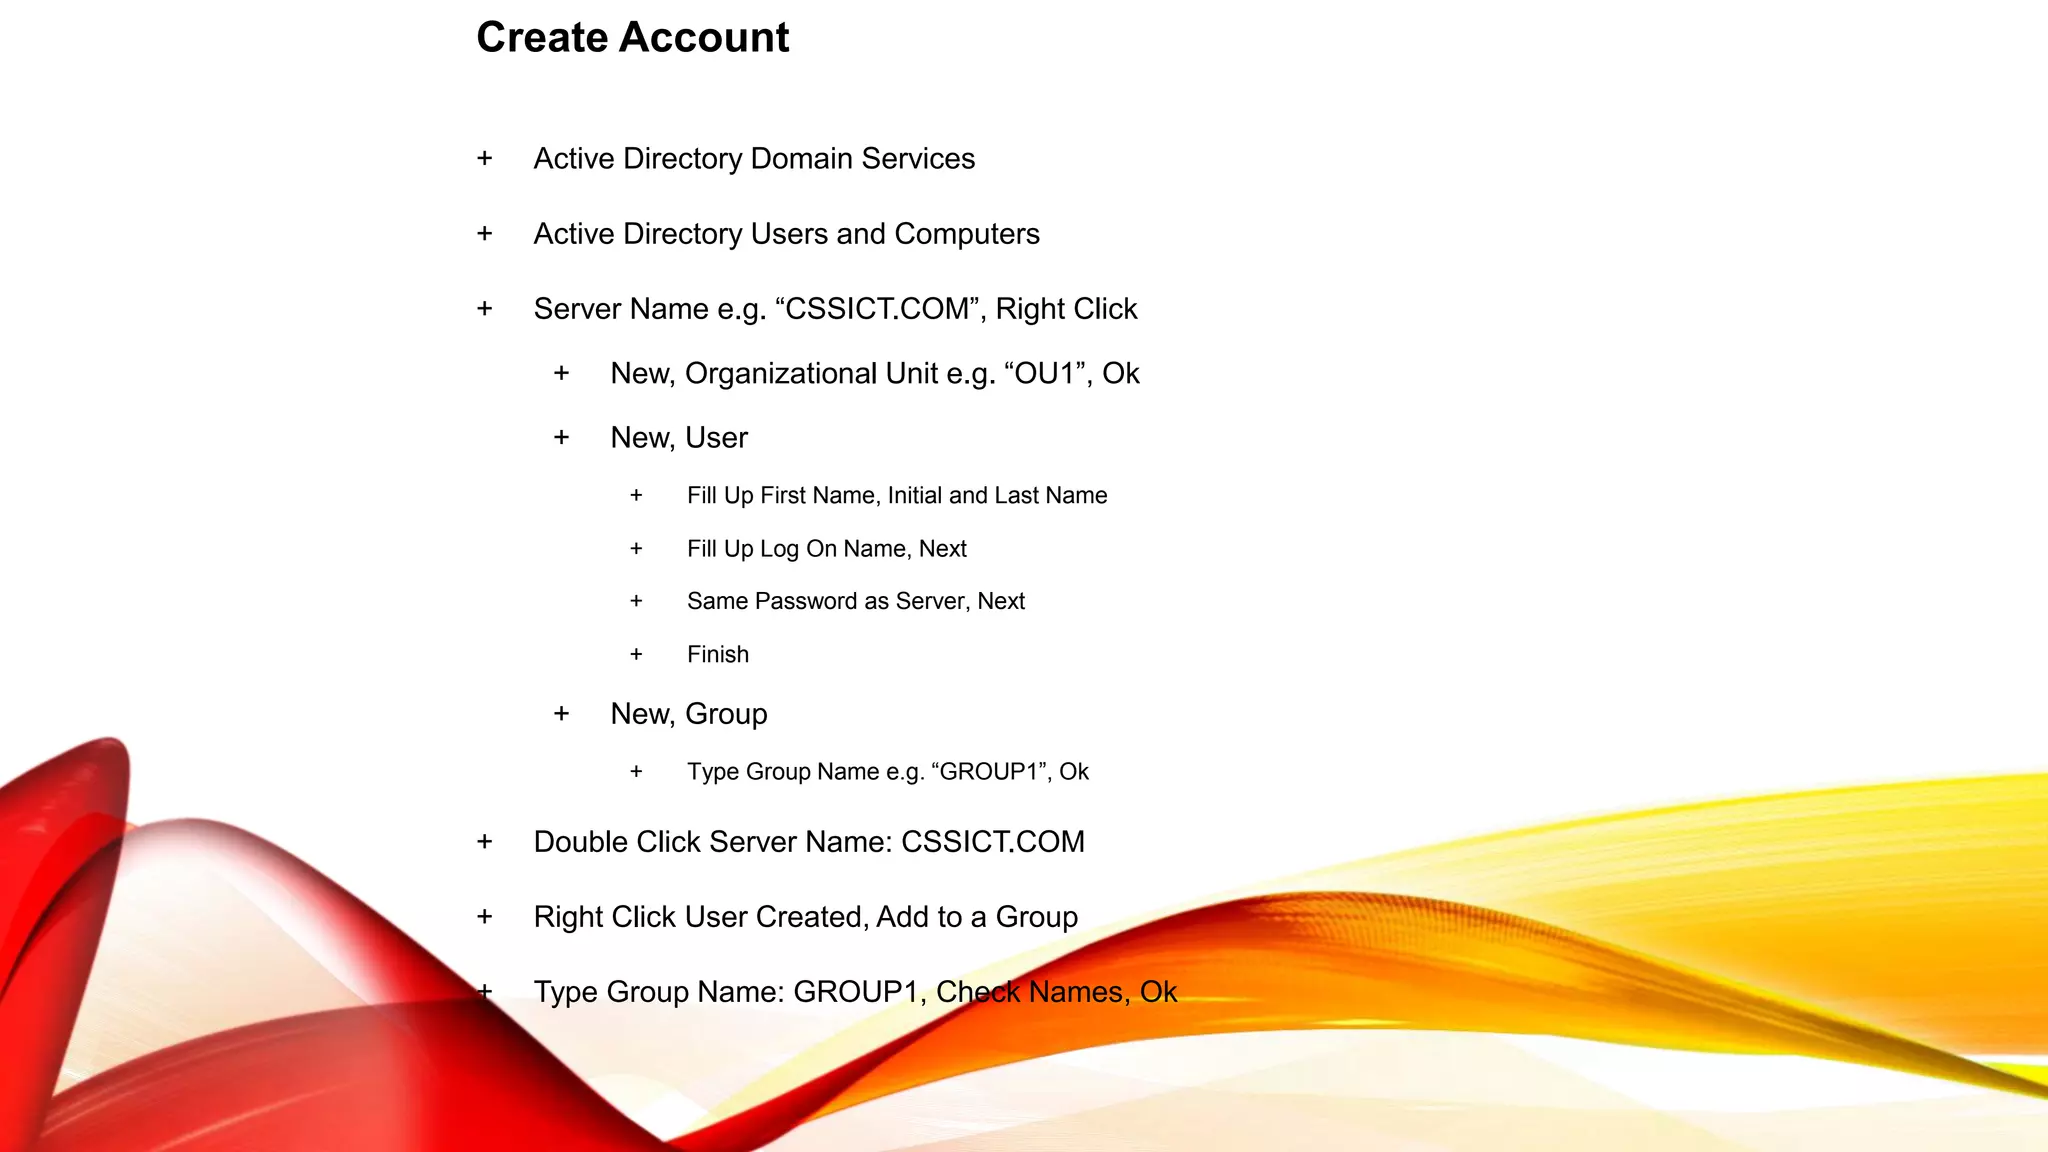
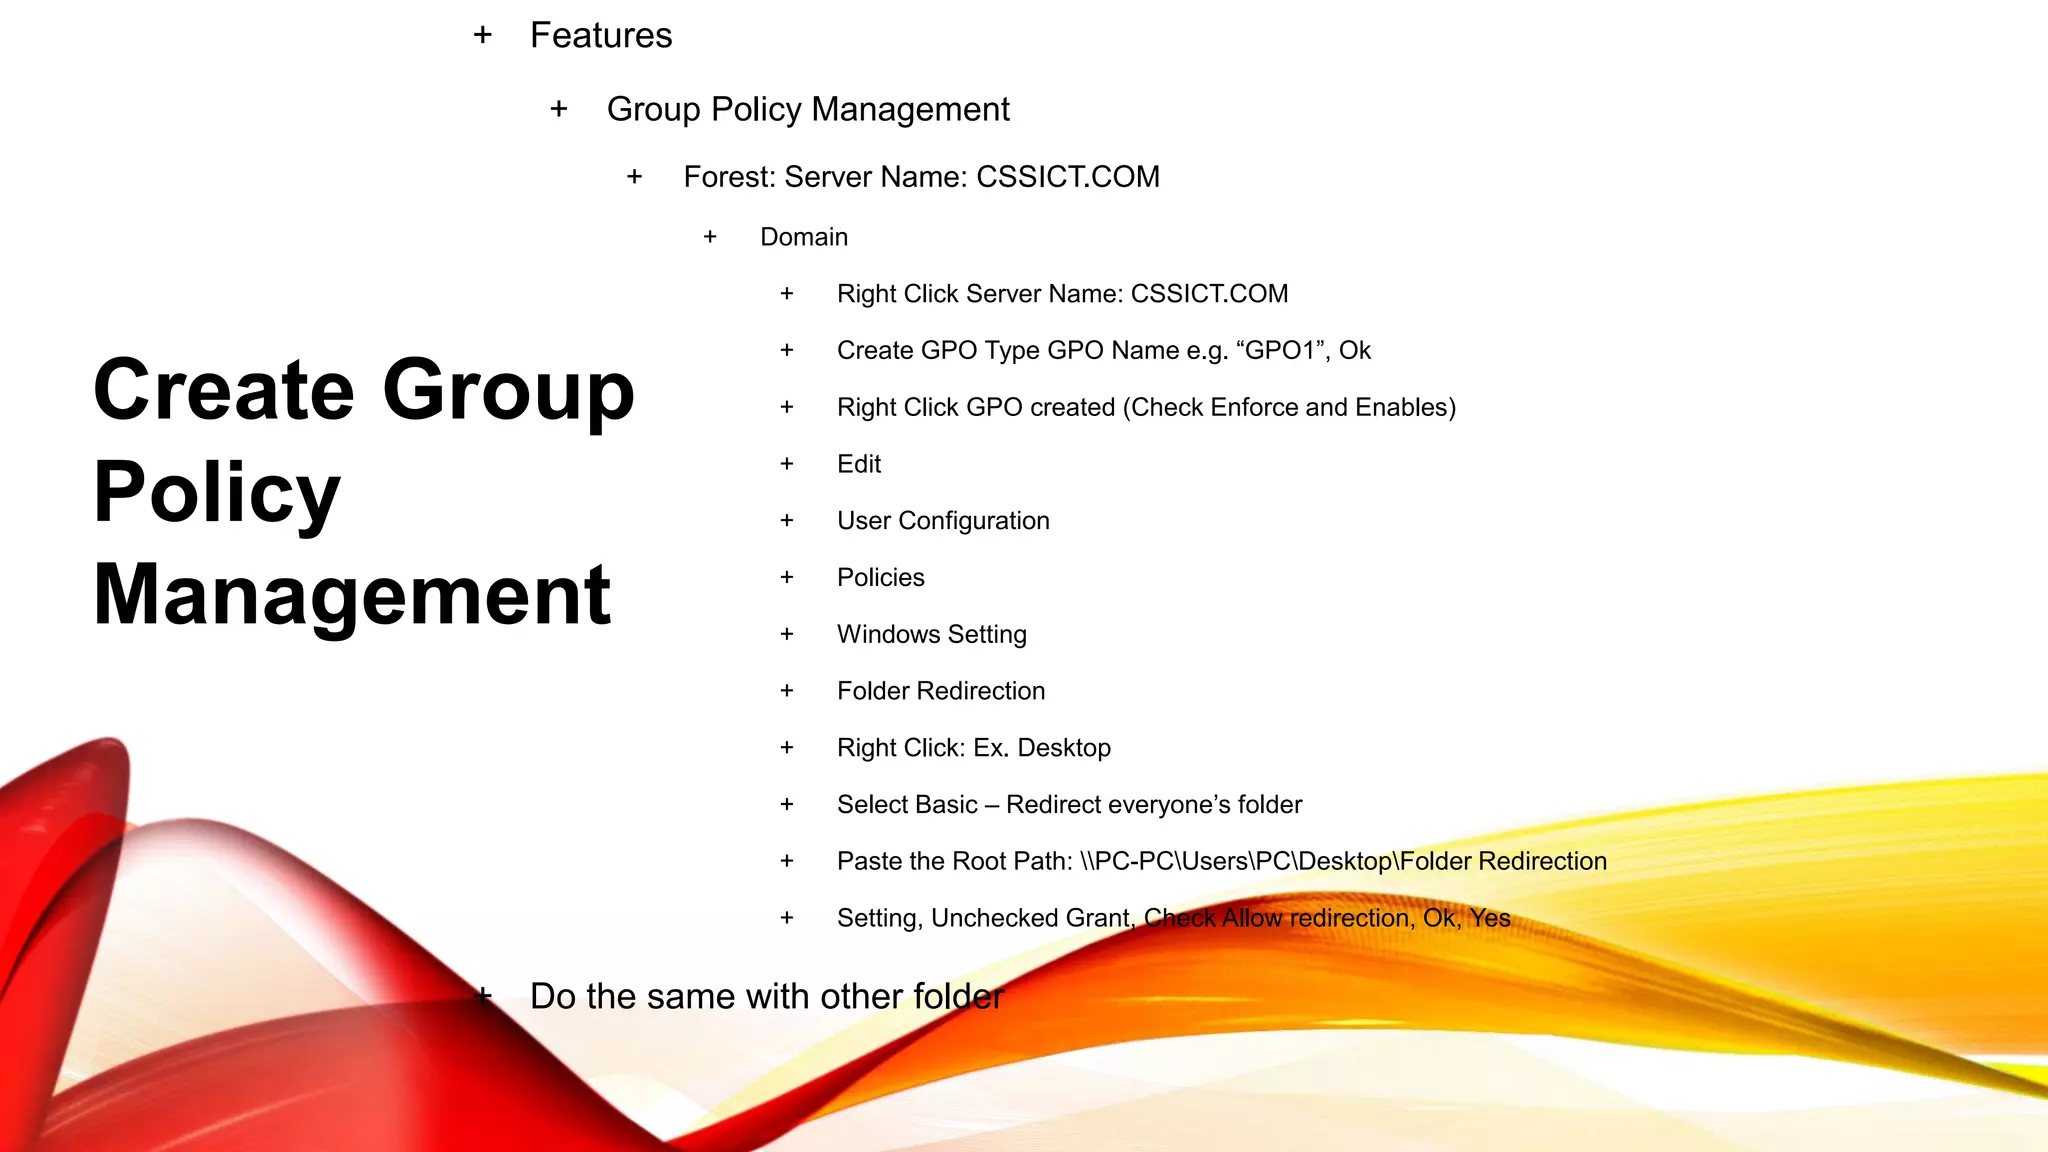
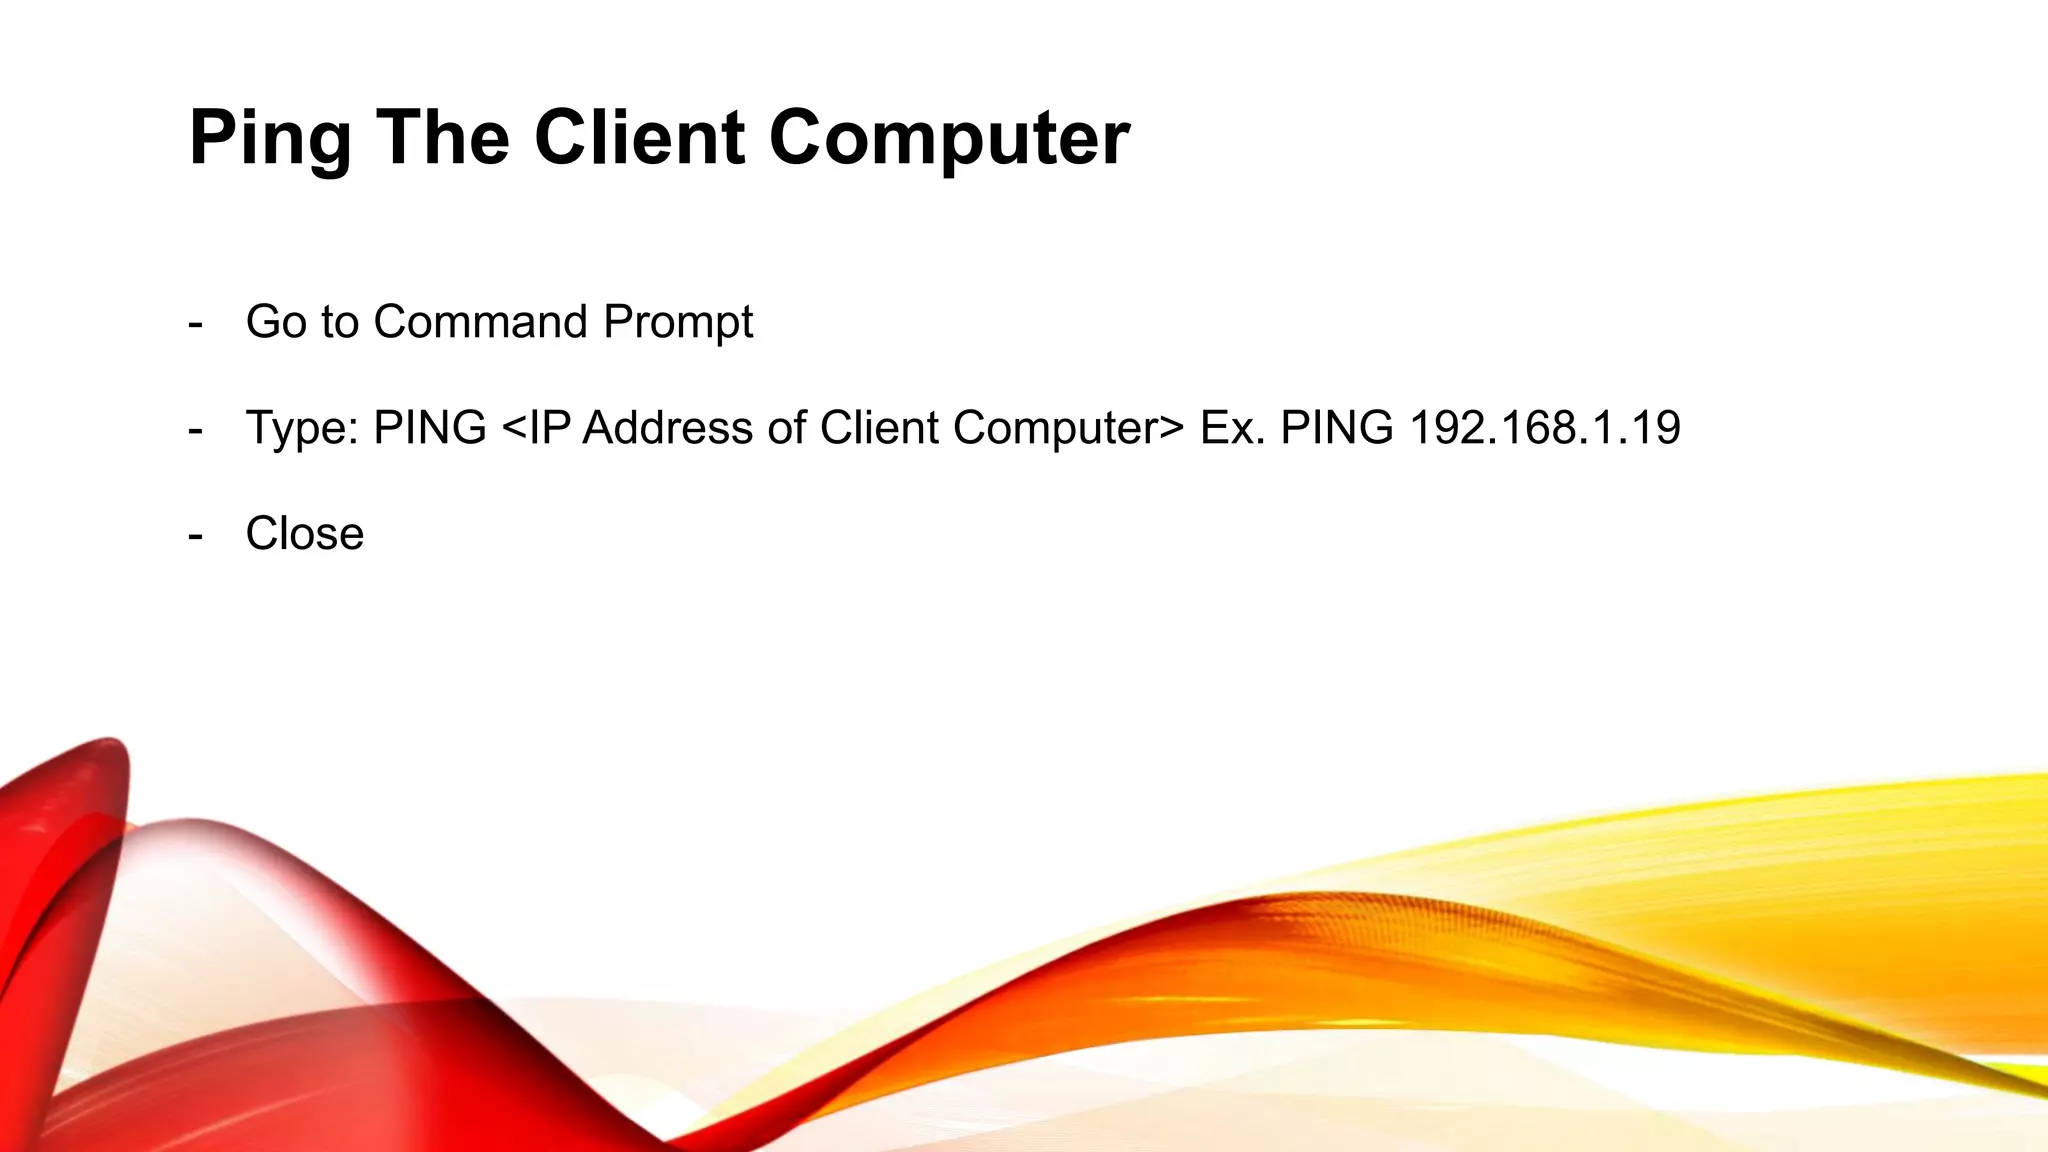
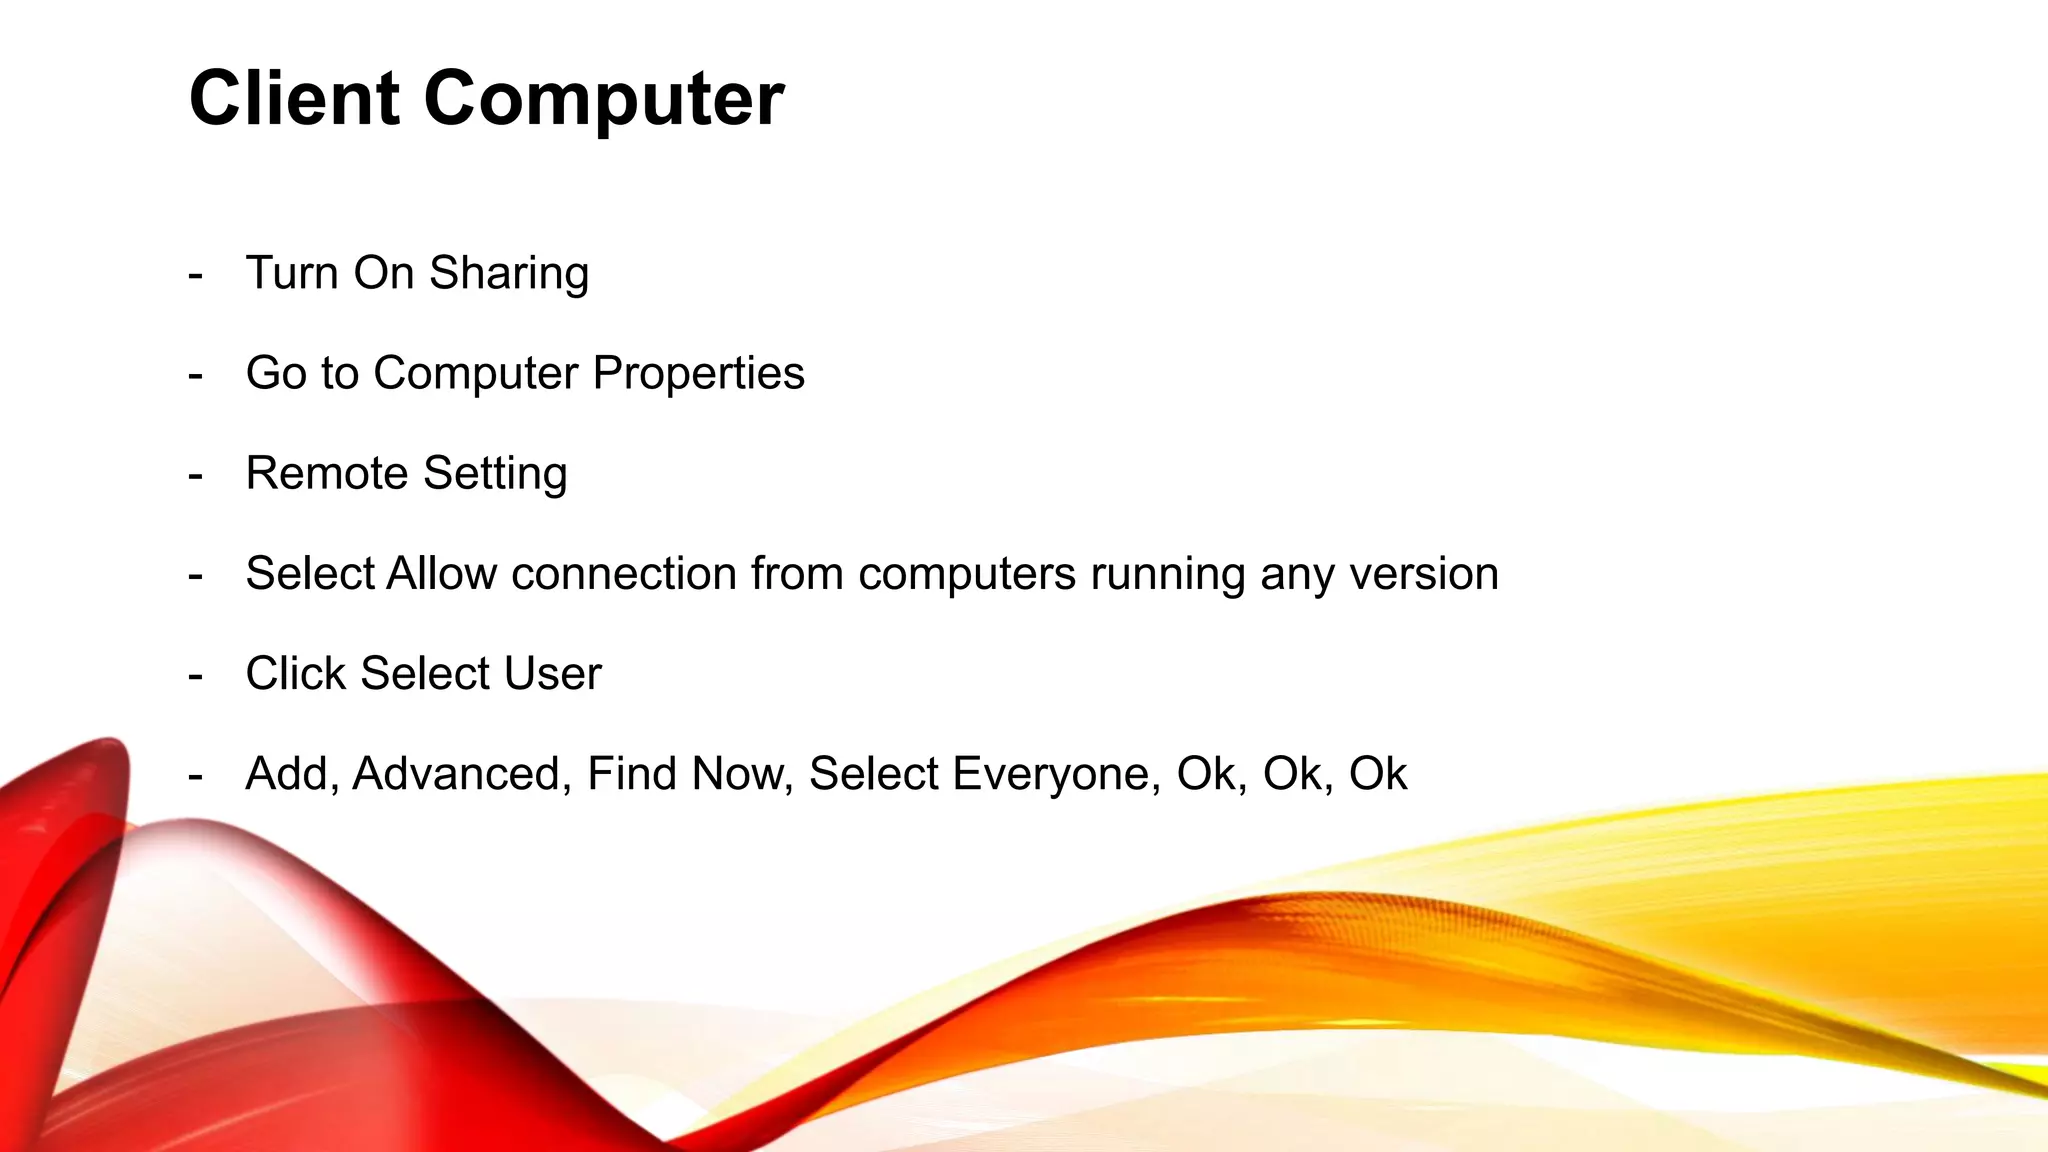
Lope, Darwin B.
Grade 12 TVL – ICT – Garcia
Mrs. Cherry Ann P. Garcia
A client is a computer that connects to and uses the resources of a remote
computer, or server. Many corporate networks comprise a client computer for each
employee, each of which connects to the corporate server. The server provides
resources like files, information, internet and intranet access, and external processing
power. In the case of processing, any work done on the server is referred to as "server-
side" work. Any work done on the local client is similarly called "client-side”.
A server is a computer program that provides services to other computer programs
(and their users) in the same or other computers. The computer that a server program runs
in is also frequently referred to as a server. That machine may be a dedicated server
or used for other purposes as well.
In the client/server programming model, a server program awaits and fulfills
requests from client programs, which may be running in the same or other computers. A
given application in a computer may function as a client with requests for services from
other programs and also as a server of requests from other programs.
1.) Go to Initial Configuring Task by searching OOBE to the start button. Perform
the following:
- Set Time Zone
- Configure Networking
- Provide Computer Name
- Enable Remote Desktop
2.) Turn on Sharing
After that, you need to add/install the following roles:
• Active Directory Domain Services (ADDS)
• Domain Name System (DNS) Server
• Dynamic Host Configuration Protocol Server (DHCP Server)
• File Services
• Remote Desktop Services
• Print and Document Services
Active Directory Domain Services (ADDS)
- Add Roles, Next
- Check Active Directory Domain Services
- Add Require Features, Next, Next
- Install, Close
Domain Name System (DNS)
- Run DCPROMO
- Check Use advanced mode installation, Next, Next
- Check Create a new domain in a new forest, Next
- Type a Domain Name e.g. “CSSICT.COM”, Next, Next
- Select Windows Server 2008 R2, Next, Next
- Static IP Assignment: No
- IP Address: 192.168.1.10
- Preferred DNS Server: 192.168.1.10
- Next, Next
- Same Password as Server, Next, Next
- Finish, Restart
Dynamic Host Configuration Protocol Server (DHCP Server)
- Add Roles, Next
- Check DHCP Server, Next
- Preferred DNS Server: 192.168.1.10, Validate, Next
- Check WINS is not required, Next
- Add
Add Scope
- Type Scope Name: SCOPE1
- Starting IP Address: 192.168.1.19
- End IP Address: 192.168.1.28, Ok, Next
- Select Disable DHCPv6, Next
- Use Current Credentials, Next
- Install
Note Checking:
• Role
• DHCP Server
• Win – Server Name
• IPv4 (Active)
• IPv6 (Active)
File Services
- Add Roles, Next
- Check File Services, Next
- Check File Server Resource Manager, Next
- Check Local Disk (C:) or (D:), Next, Next
- Install, Finish
- Restart
Remote Desktop Service
- Add Roles, Next
- Select Remote Desktop Service, Next, Next
- Select Remote Desktop Session Host, Add Require Features, Next
- Select Require Network Level Authentication, Next, Next, Next, Next
- Install
Print and Document Service
- Add Roles, Next
- Select Print and Document Service, Next, Next
- Install
- Finish
Create Account
+ Active Directory Domain Services
+ Active Directory Users and Computers
+ Server Name e.g. “CSSICT.COM”, Right Click
+ New, Organizational Unit e.g. “OU1”, Ok
+ New, User
+ Fill Up First Name, Initial and Last Name
+ Fill Up Log On Name, Next
+ Same Password as Server, Next
+ Finish
+ New, Group
+ Type Group Name e.g. “GROUP1”, Ok
+ Double Click Server Name: CSSICT.COM
+ Right Click User Created, Add to a Group
+ Type Group Name: GROUP1, Check Names, Ok
+ Features
+ Group Policy Management
+ Forest: Server Name: CSSICT.COM
+ Domain
+ Right Click Server Name: CSSICT.COM
+ Create GPO Type GPO Name e.g. “GPO1”, Ok
+ Right Click GPO created (Check Enforce and Enables)
+ Edit
+ User Configuration
+ Policies
+ Windows Setting
+ Folder Redirection
+ Right Click: Ex. Desktop
+ Select Basic – Redirect everyone’s folder
+ Paste the Root Path: PC-PCUsersPCDesktopFolder Redirection
+ Setting, Unchecked Grant, Check Allow redirection, Ok, Yes
+ Do the same with other folder
Create Group
Policy
Management
Create Folder on Desktop
- Folder Properties
- Security, Edit, Add
- Select Everyone, Ok
- Check Full Control to all Group or User, Ok, Ok
- Sharing
- Share
- Select Everyone, Add
- Permission Level Read/Write to All Name
- Share, Done
Note: Save the Network Path
- Folder Properties
- Sharing
- Network Path e.g. “PC-
PCUsersPCDesktopFolder
Redirection”
Ping The Client Computer
- Go to Command Prompt
- Type: PING <IP Address of Client Computer> Ex. PING 192.168.1.19
- Close
Adding Printer
- Go to Devices and Printers
- Add Printer, Add Local Printer, Next
- Choose a Printer e.g. Brother DCP-116C, Next, Next
- Finish
- Go to Printer Properties, Sharing
- Select List in the Directory, Ok
- Close
Client Computer
- Turn On Sharing
- Go to Computer Properties
- Remote Setting
- Select Allow connection from computers running any version
- Click Select User
- Add, Advanced, Find Now, Select Everyone, Ok, Ok, Ok
Entering Domain
- Go to Computer Properties
- Click Change Setting
- Click Change
- Change Workgroup to Domain
- Type Domain Name: CSSICT.COM
- Username: Administrator
- Same Password as Server
- Ok, Ok, Ok
- Restart
Log In The Created Account From Server
- Switch User
- Type the Computer Log On Name
- Same Password as Server
- Enter
Ping The Server Computer
- Go to Command Prompt
- Type: PING <IP Address of Server Computer> Ex. PING 192.168.1.10
- Close
Folder Redirection
- Go to Command Prompt
- Type: GPUPDATE /FORCE
- Type: Y to Log Off
- Log In Again
Create Folder Client Desktop
- Right Click Desktop
- New, Folder
Remote Desktop
- Go to Remote Desktop Connection
- Type Server Computer Name or IP Address e.g. 192.168.1.10
- New Account
- Username: Administrator
- Same Password as Server
- Close
CHECK IF THE TWO
COMPUTERS ARE
CONNECTED TO EACH
OTHER

Presentation by darwin 12 garcia

  • 1.
    Lope, Darwin B. Grade12 TVL – ICT – Garcia Mrs. Cherry Ann P. Garcia
  • 2.
    A client isa computer that connects to and uses the resources of a remote computer, or server. Many corporate networks comprise a client computer for each employee, each of which connects to the corporate server. The server provides resources like files, information, internet and intranet access, and external processing power. In the case of processing, any work done on the server is referred to as "server- side" work. Any work done on the local client is similarly called "client-side”.
  • 3.
    A server isa computer program that provides services to other computer programs (and their users) in the same or other computers. The computer that a server program runs in is also frequently referred to as a server. That machine may be a dedicated server or used for other purposes as well. In the client/server programming model, a server program awaits and fulfills requests from client programs, which may be running in the same or other computers. A given application in a computer may function as a client with requests for services from other programs and also as a server of requests from other programs.
  • 5.
    1.) Go toInitial Configuring Task by searching OOBE to the start button. Perform the following: - Set Time Zone - Configure Networking - Provide Computer Name - Enable Remote Desktop 2.) Turn on Sharing
  • 6.
    After that, youneed to add/install the following roles: • Active Directory Domain Services (ADDS) • Domain Name System (DNS) Server • Dynamic Host Configuration Protocol Server (DHCP Server) • File Services • Remote Desktop Services • Print and Document Services
  • 7.
    Active Directory DomainServices (ADDS) - Add Roles, Next - Check Active Directory Domain Services - Add Require Features, Next, Next - Install, Close
  • 8.
    Domain Name System(DNS) - Run DCPROMO - Check Use advanced mode installation, Next, Next - Check Create a new domain in a new forest, Next - Type a Domain Name e.g. “CSSICT.COM”, Next, Next - Select Windows Server 2008 R2, Next, Next - Static IP Assignment: No - IP Address: 192.168.1.10 - Preferred DNS Server: 192.168.1.10 - Next, Next - Same Password as Server, Next, Next - Finish, Restart
  • 9.
    Dynamic Host ConfigurationProtocol Server (DHCP Server) - Add Roles, Next - Check DHCP Server, Next - Preferred DNS Server: 192.168.1.10, Validate, Next - Check WINS is not required, Next - Add Add Scope - Type Scope Name: SCOPE1 - Starting IP Address: 192.168.1.19 - End IP Address: 192.168.1.28, Ok, Next - Select Disable DHCPv6, Next - Use Current Credentials, Next - Install Note Checking: • Role • DHCP Server • Win – Server Name • IPv4 (Active) • IPv6 (Active)
  • 10.
    File Services - AddRoles, Next - Check File Services, Next - Check File Server Resource Manager, Next - Check Local Disk (C:) or (D:), Next, Next - Install, Finish - Restart
  • 11.
    Remote Desktop Service -Add Roles, Next - Select Remote Desktop Service, Next, Next - Select Remote Desktop Session Host, Add Require Features, Next - Select Require Network Level Authentication, Next, Next, Next, Next - Install
  • 12.
    Print and DocumentService - Add Roles, Next - Select Print and Document Service, Next, Next - Install - Finish
  • 13.
    Create Account + ActiveDirectory Domain Services + Active Directory Users and Computers + Server Name e.g. “CSSICT.COM”, Right Click + New, Organizational Unit e.g. “OU1”, Ok + New, User + Fill Up First Name, Initial and Last Name + Fill Up Log On Name, Next + Same Password as Server, Next + Finish + New, Group + Type Group Name e.g. “GROUP1”, Ok + Double Click Server Name: CSSICT.COM + Right Click User Created, Add to a Group + Type Group Name: GROUP1, Check Names, Ok
  • 14.
    + Features + GroupPolicy Management + Forest: Server Name: CSSICT.COM + Domain + Right Click Server Name: CSSICT.COM + Create GPO Type GPO Name e.g. “GPO1”, Ok + Right Click GPO created (Check Enforce and Enables) + Edit + User Configuration + Policies + Windows Setting + Folder Redirection + Right Click: Ex. Desktop + Select Basic – Redirect everyone’s folder + Paste the Root Path: PC-PCUsersPCDesktopFolder Redirection + Setting, Unchecked Grant, Check Allow redirection, Ok, Yes + Do the same with other folder Create Group Policy Management
  • 15.
    Create Folder onDesktop - Folder Properties - Security, Edit, Add - Select Everyone, Ok - Check Full Control to all Group or User, Ok, Ok - Sharing - Share - Select Everyone, Add - Permission Level Read/Write to All Name - Share, Done Note: Save the Network Path - Folder Properties - Sharing - Network Path e.g. “PC- PCUsersPCDesktopFolder Redirection”
  • 16.
    Ping The ClientComputer - Go to Command Prompt - Type: PING <IP Address of Client Computer> Ex. PING 192.168.1.19 - Close
  • 17.
    Adding Printer - Goto Devices and Printers - Add Printer, Add Local Printer, Next - Choose a Printer e.g. Brother DCP-116C, Next, Next - Finish - Go to Printer Properties, Sharing - Select List in the Directory, Ok - Close
  • 18.
    Client Computer - TurnOn Sharing - Go to Computer Properties - Remote Setting - Select Allow connection from computers running any version - Click Select User - Add, Advanced, Find Now, Select Everyone, Ok, Ok, Ok
  • 19.
    Entering Domain - Goto Computer Properties - Click Change Setting - Click Change - Change Workgroup to Domain - Type Domain Name: CSSICT.COM - Username: Administrator - Same Password as Server - Ok, Ok, Ok - Restart
  • 20.
    Log In TheCreated Account From Server - Switch User - Type the Computer Log On Name - Same Password as Server - Enter
  • 21.
    Ping The ServerComputer - Go to Command Prompt - Type: PING <IP Address of Server Computer> Ex. PING 192.168.1.10 - Close
  • 22.
    Folder Redirection - Goto Command Prompt - Type: GPUPDATE /FORCE - Type: Y to Log Off - Log In Again
  • 23.
    Create Folder ClientDesktop - Right Click Desktop - New, Folder
  • 24.
    Remote Desktop - Goto Remote Desktop Connection - Type Server Computer Name or IP Address e.g. 192.168.1.10 - New Account - Username: Administrator - Same Password as Server - Close
  • 25.
    CHECK IF THETWO COMPUTERS ARE CONNECTED TO EACH OTHER