Downloaded 739 times
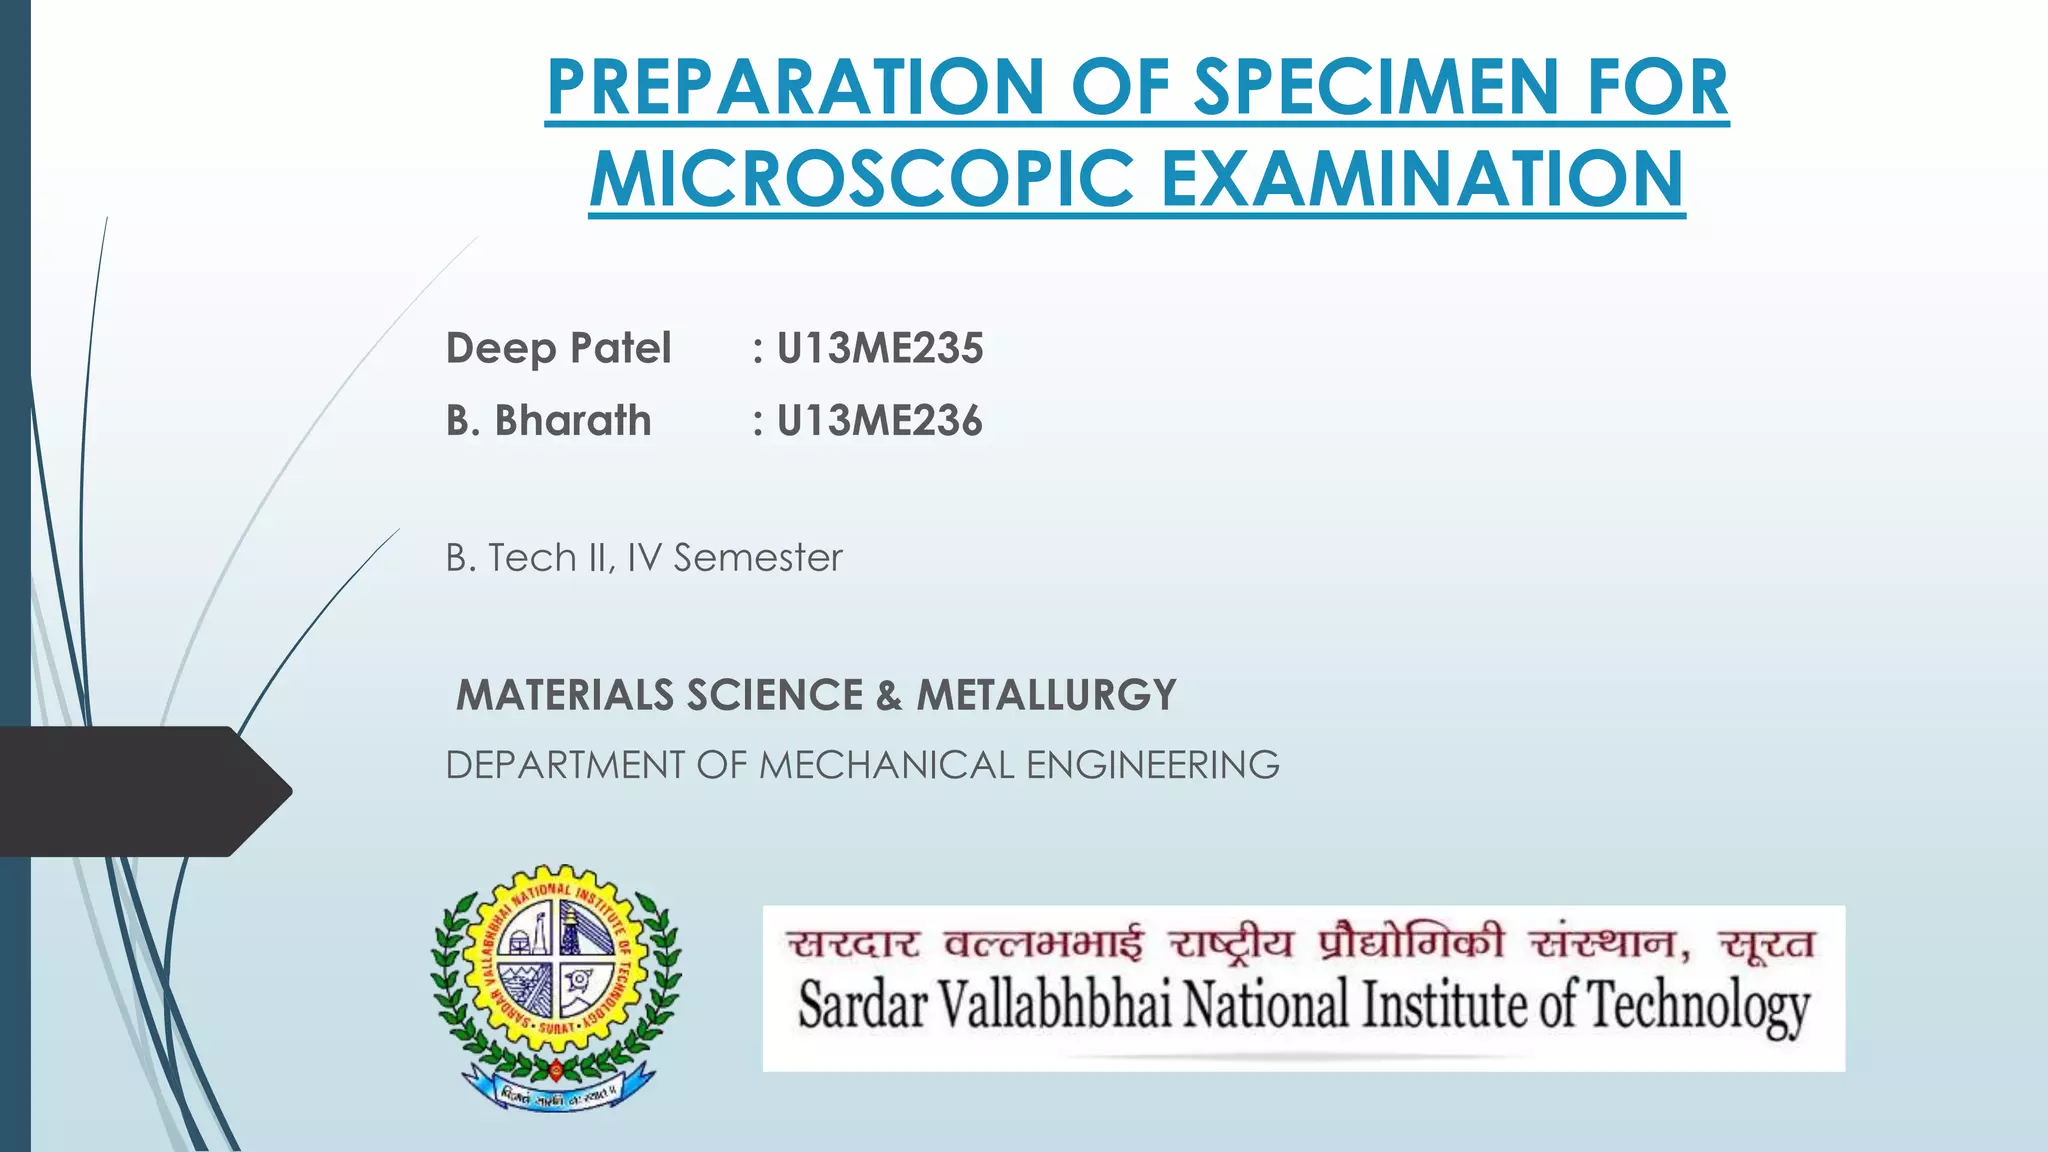
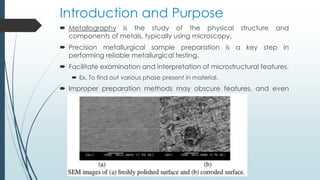
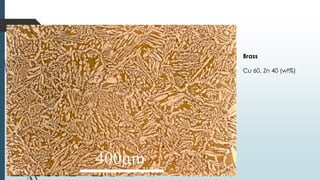
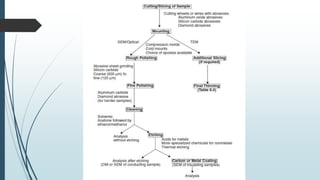


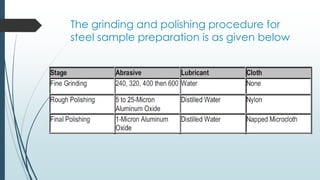
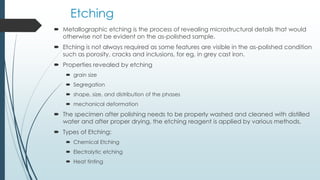
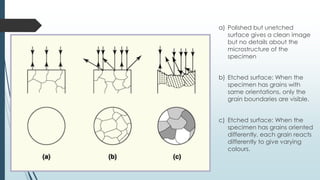
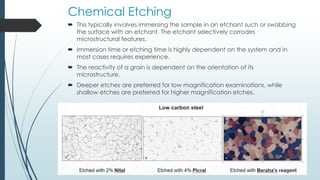
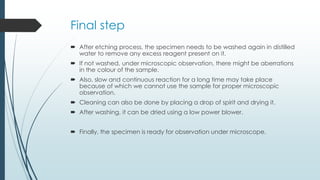


The document provides detailed steps for preparing metallographic specimens for microscopic examination, including: 1) Cutting a representative sample from the material being tested, mounting the sample, grinding it with progressively finer grit paper, and polishing it to a mirror finish. 2) Etching the polished sample to reveal microstructural features by selectively corroding the material, then washing and drying it. 3) The final prepared sample is then ready for examination under a microscope to study properties like grain size and phase distribution at different magnifications. Proper preparation is crucial to obtain accurate results without introduced artifacts.


