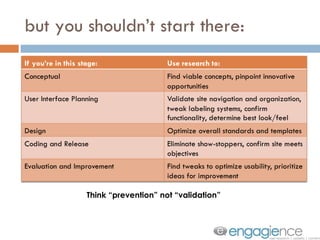
This document provides guidance on conducting DIY usability testing in three easy steps:
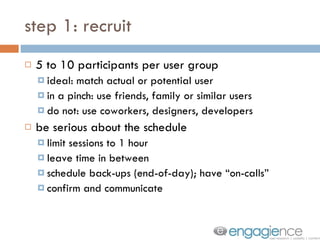
1. Recruit 5-10 participants per user group that match the actual or potential users. Schedule testing sessions and backups.
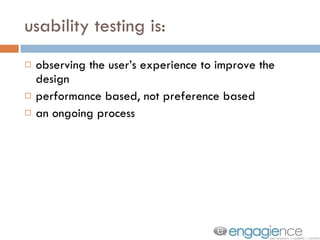
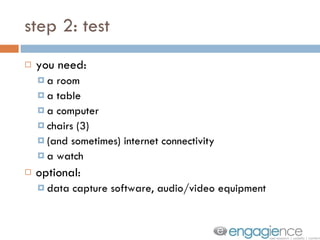
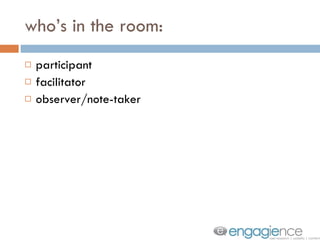
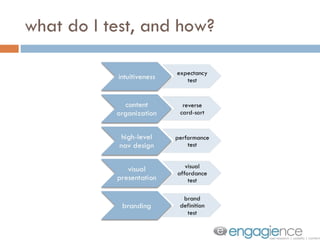
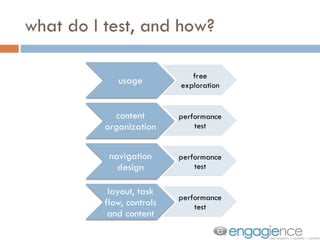
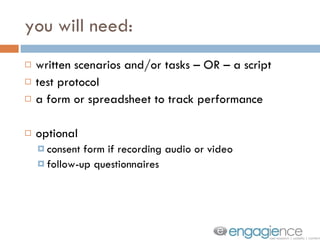
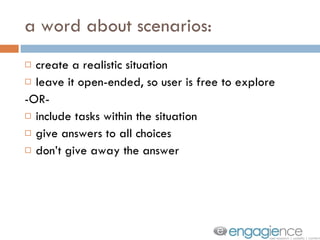
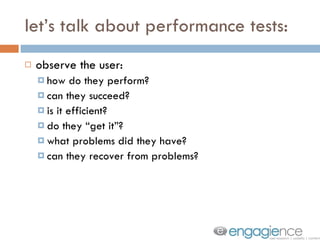
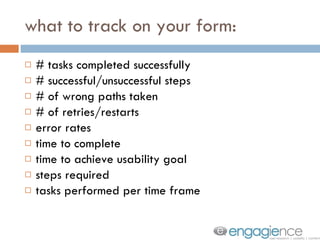
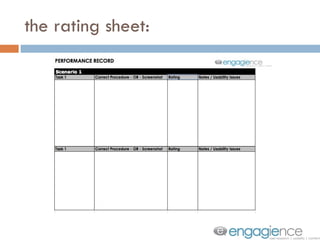
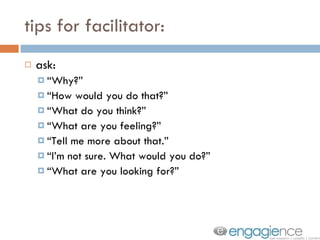
2. Test users using scenarios, tasks, or a script. Observe their performance and have them complete tasks while tracking metrics. Make sure to have the necessary equipment and follow best practices for the testing environment.
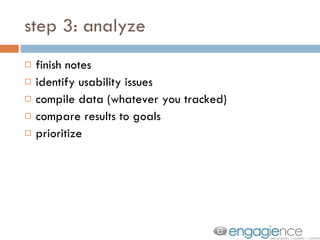
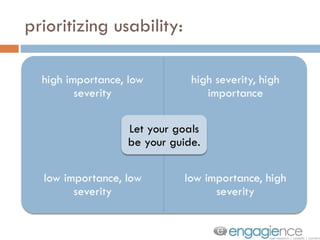
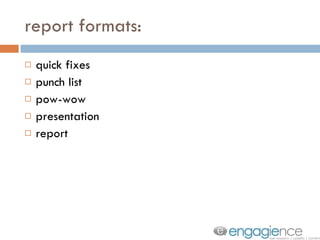
3. Analyze the results by identifying usability issues, compiling the data, comparing to goals, and prioritizing issues. Create a report to communicate findings.


![NOW GET TO TESTIN’. [email_address]](https://image.slidesharecdn.com/podcamp11diyut-nonotes-110405110316-phpapp01/85/Podcamp11-DIY-Usability-Testing-32-320.jpg)


![Debugging Design [EN]](https://cdn.slidesharecdn.com/ss_thumbnails/debuggingofdesigneng-140219152130-phpapp01-thumbnail.jpg?width=640&height=640&fit=bounds)


