Downloaded 220 times


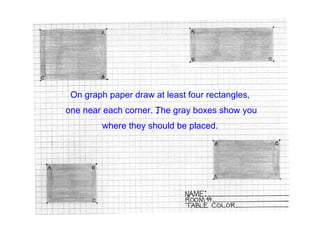


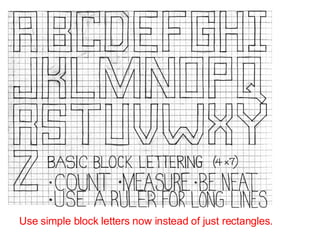
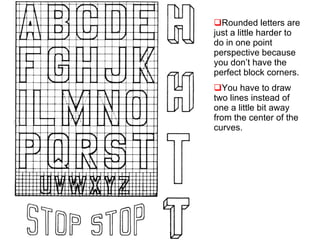
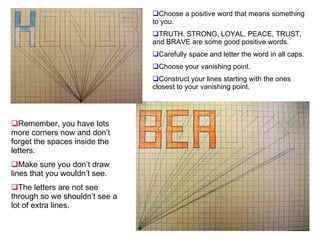
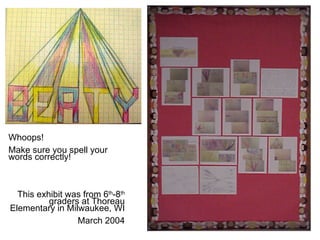


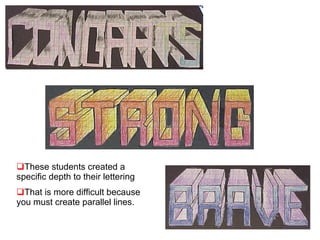


This document provides instructions for using one point perspective techniques to create lettering. It outlines the necessary materials, such as drawing paper and pencils. It explains how to draw rectangles in the four corners of the paper and connect them to a single vanishing point. Students are then instructed to practice forming block letters in one point perspective by drawing lines from corners to the vanishing point. They are challenged to choose a positive word and carefully space and draw the letters, being sure not to include extra unseen lines. Examples of student work completing this one point perspective lettering assignment are also presented.

![Motif color wheel[1]](https://cdn.slidesharecdn.com/ss_thumbnails/motifcolorwheel1-171002023651-thumbnail.jpg?width=640&height=640&fit=bounds)


