Download as PPS, PPTX

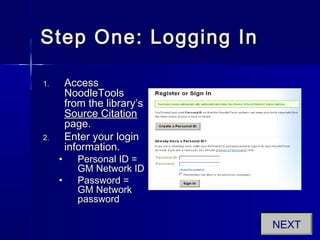
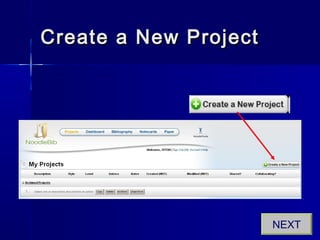

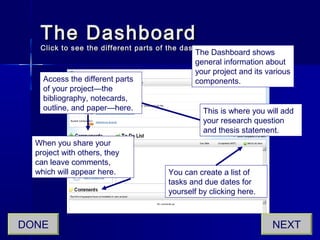

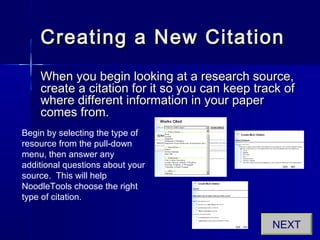
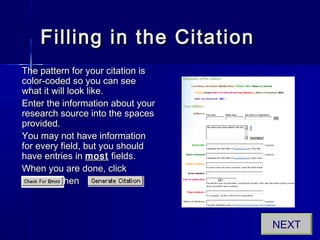

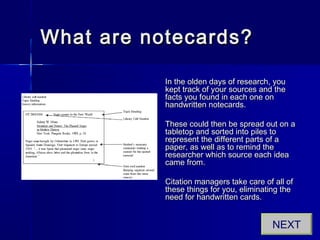
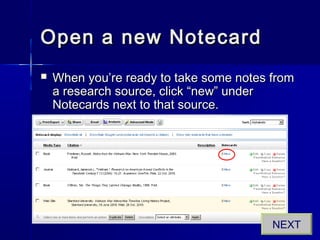
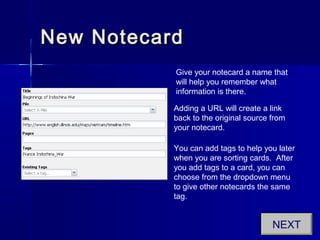
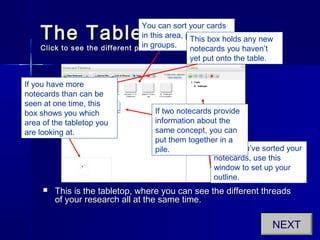
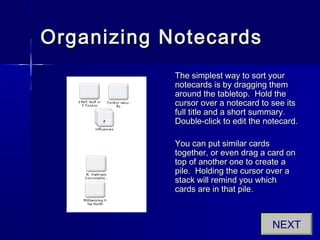
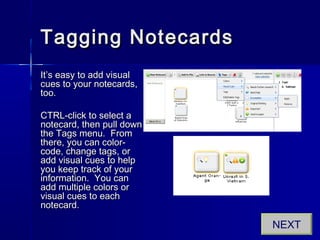
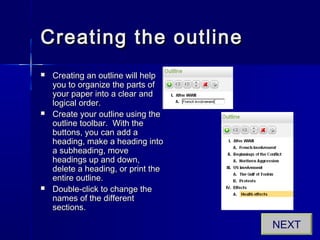
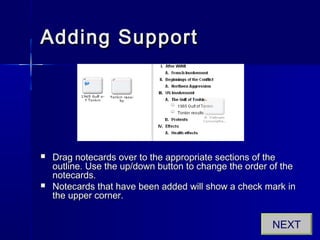
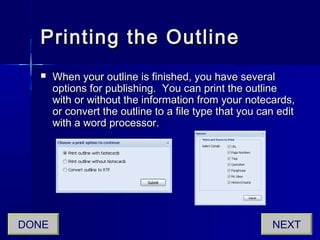

NoodleTools is a citation manager and outlining tool that allows users to: - Create citations and notecards for research sources - Organize notecards on a virtual "tabletop" and sort them into an outline - Export the outline to Word for drafting a paper using the source information and citations from notecards The tutorial walks through setting up a NoodleTools project, including adding citations, taking notes, sorting notecards into an outline, and exporting the outline for writing a paper while maintaining proper citations.


