Downloaded 5,950 times

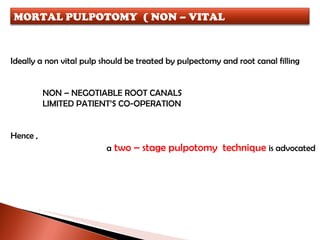
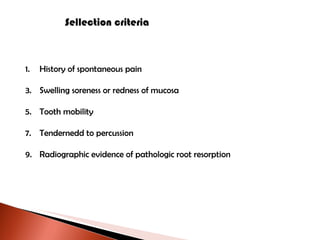

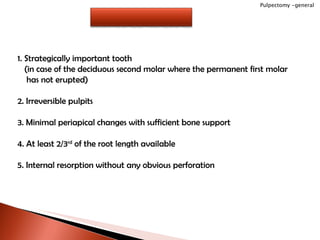
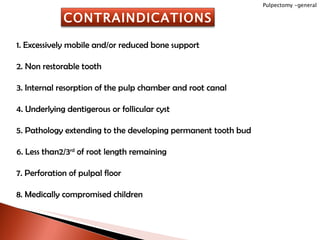
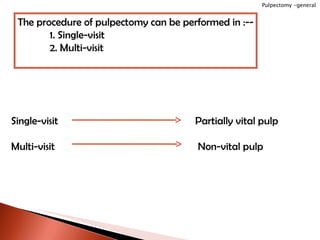
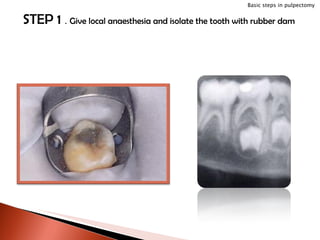
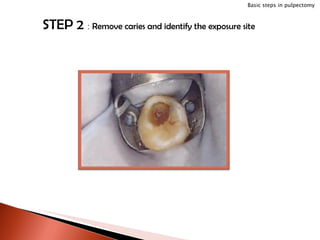
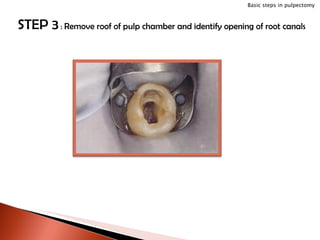
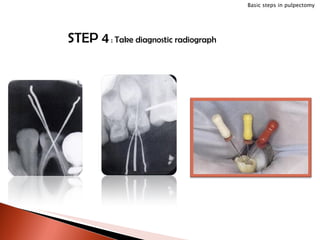
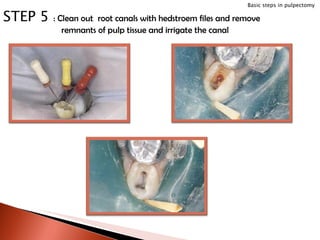
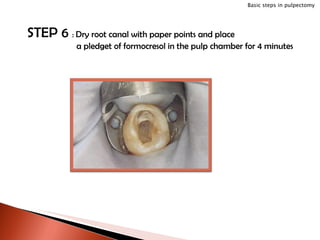
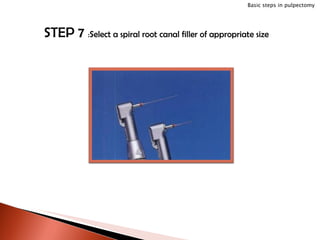
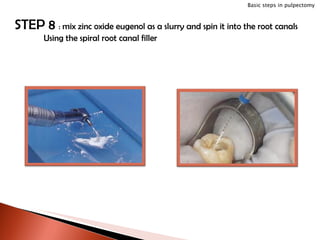
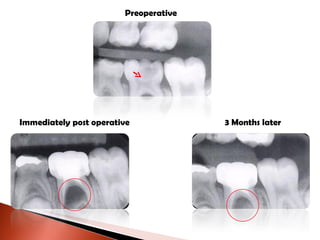
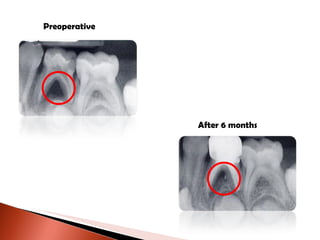


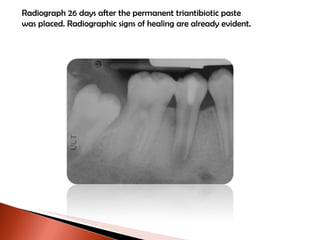
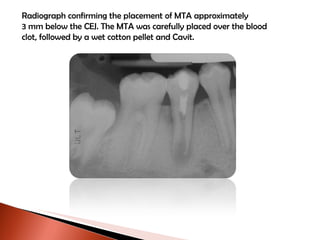
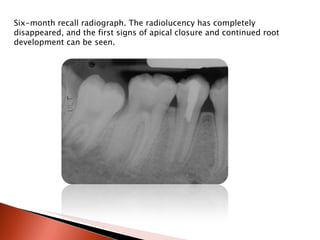
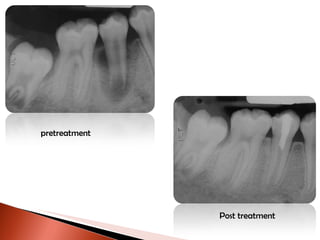


The document discusses techniques for pulpectomy procedures in primary teeth. It describes removing necrotic pulp tissue from the root canals and coronal portion of teeth to maintain the tooth. Key steps include isolating the tooth, removing caries, accessing and cleaning canals, drying canals, and filling canals with zinc oxide eugenol. The goals are to resolve infection, show healing on x-rays, and allow normal resorption and eruption of permanent teeth.


