Downloaded 100 times
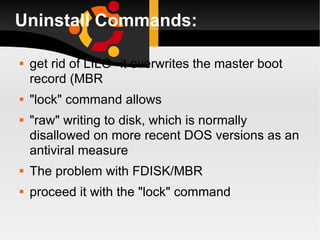
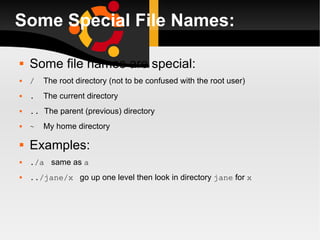
![a: Before you can use it you must login by specifying your account and password: Linux 2.2.13 (penguinvm.princeton.edu) (ttyp1) penguinvm login: arjun Password: Last login: Tue Jan 4 10:13:13 from linuxtcp.princeton.edu [neale@penguinvm neale]$](https://image.slidesharecdn.com/linuxlast-100528065101-phpapp01/85/Linux-36-320.jpg)
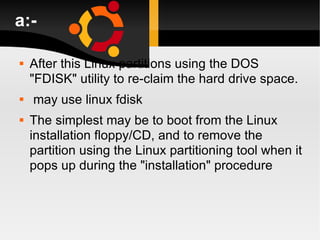
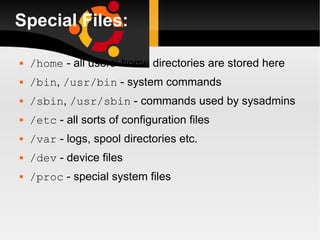
![Use the useradd command Use the passwd command to set password [root@penguinvm]# useradd scully [root@penguinvm]# passwd scully Changing password for user scully New UNIX password: Retype new UNIX password: passwd: all authentication tokens updated successfully [root@penguinvm]#](https://image.slidesharecdn.com/linuxlast-100528065101-phpapp01/85/Linux-37-320.jpg)
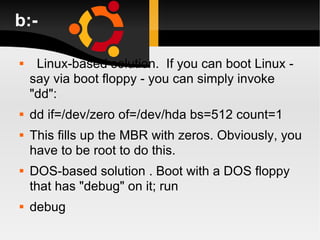
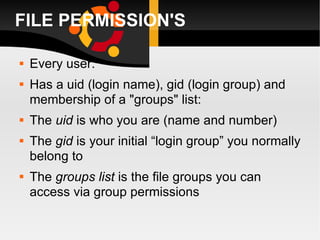
![New User Now logoff using the exit command login as the new user Linux 2.2.13 (penguinvm.princeton.edu) (ttyp2) penguinvm login: scully Password: [scully@penguinvm scully]$](https://image.slidesharecdn.com/linuxlast-100528065101-phpapp01/85/Linux-41-320.jpg)


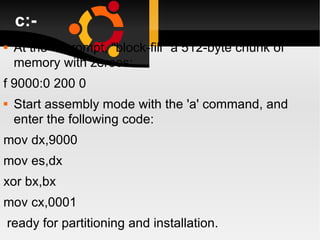
![d: # cd /etc # for i in $(find -type f); do grep -iH nfsnobody $i; done # grep -iH nfsnobody * # awk '/ServerName/ {i=i+1} END {print i}' /etc/httpd/conf/httpd.conf # grep ServerName /etc/httpd/conf/httpd.conf # ipcs -s | grep apache | perl -e 'while (<STDIN>) { @a=split(/\s+/); print`ipcrm sem $a[1]`}' # perl -e 'require Mail::SPF::Query'](https://image.slidesharecdn.com/linuxlast-100528065101-phpapp01/85/Linux-55-320.jpg)


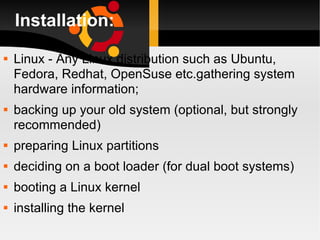
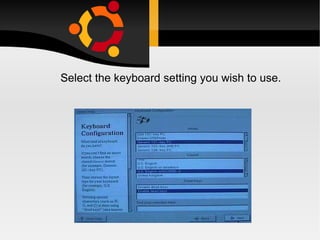
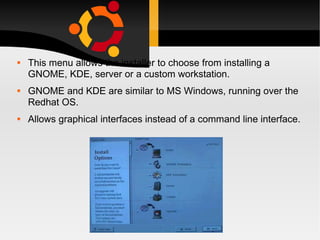
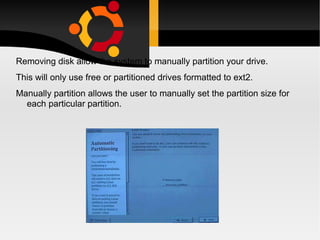
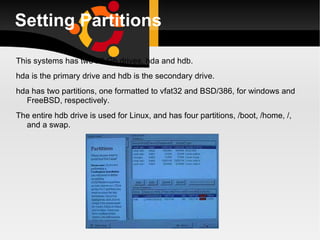
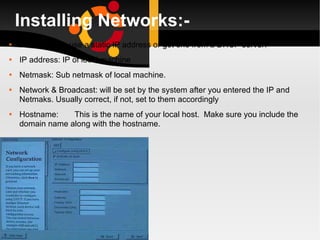
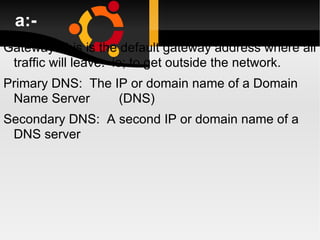
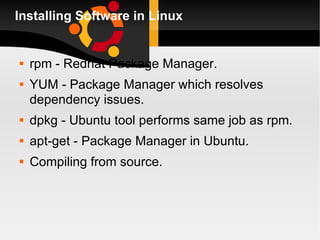
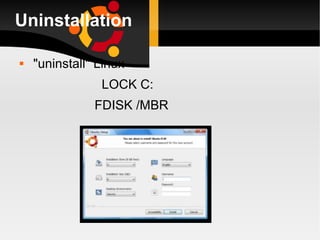
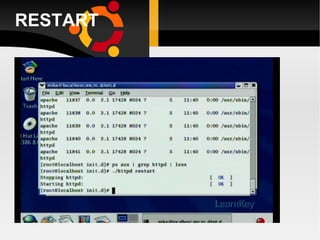
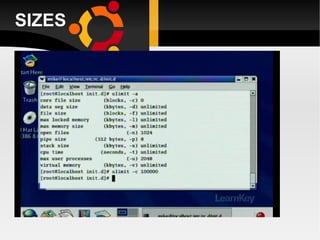
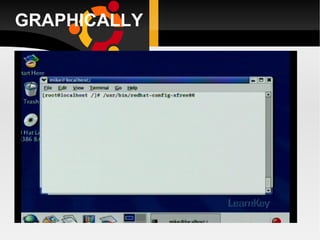
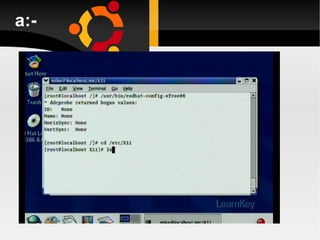
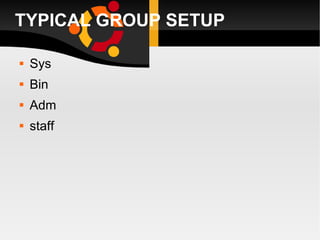
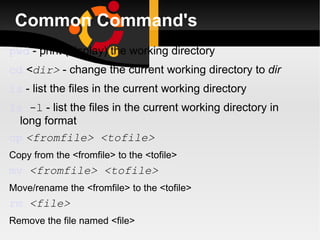
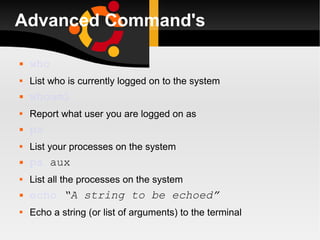
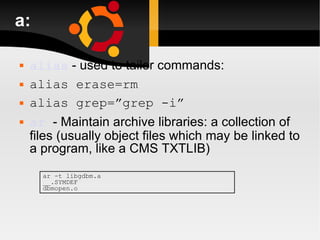
The document discusses how to install, configure and uninstall Linux operating systems, covering topics such as partitioning disks, installing software packages, setting up user accounts, basic and advanced command line instructions, and configuring hardware settings during the Linux installation process. It also provides instructions for removing Linux from a system by overwriting the master boot record with zeros using DD or DEBUG commands to restore the hard drive to a virgin state.


![Aix5[1].3+hacmp+oracle9 i+weblogic8.1安装实施报告](https://cdn.slidesharecdn.com/ss_thumbnails/aix51-3hacmporacle9iweblogic8-1-110524233723-phpapp01-thumbnail.jpg?width=640&height=640&fit=bounds)