Download to read offline


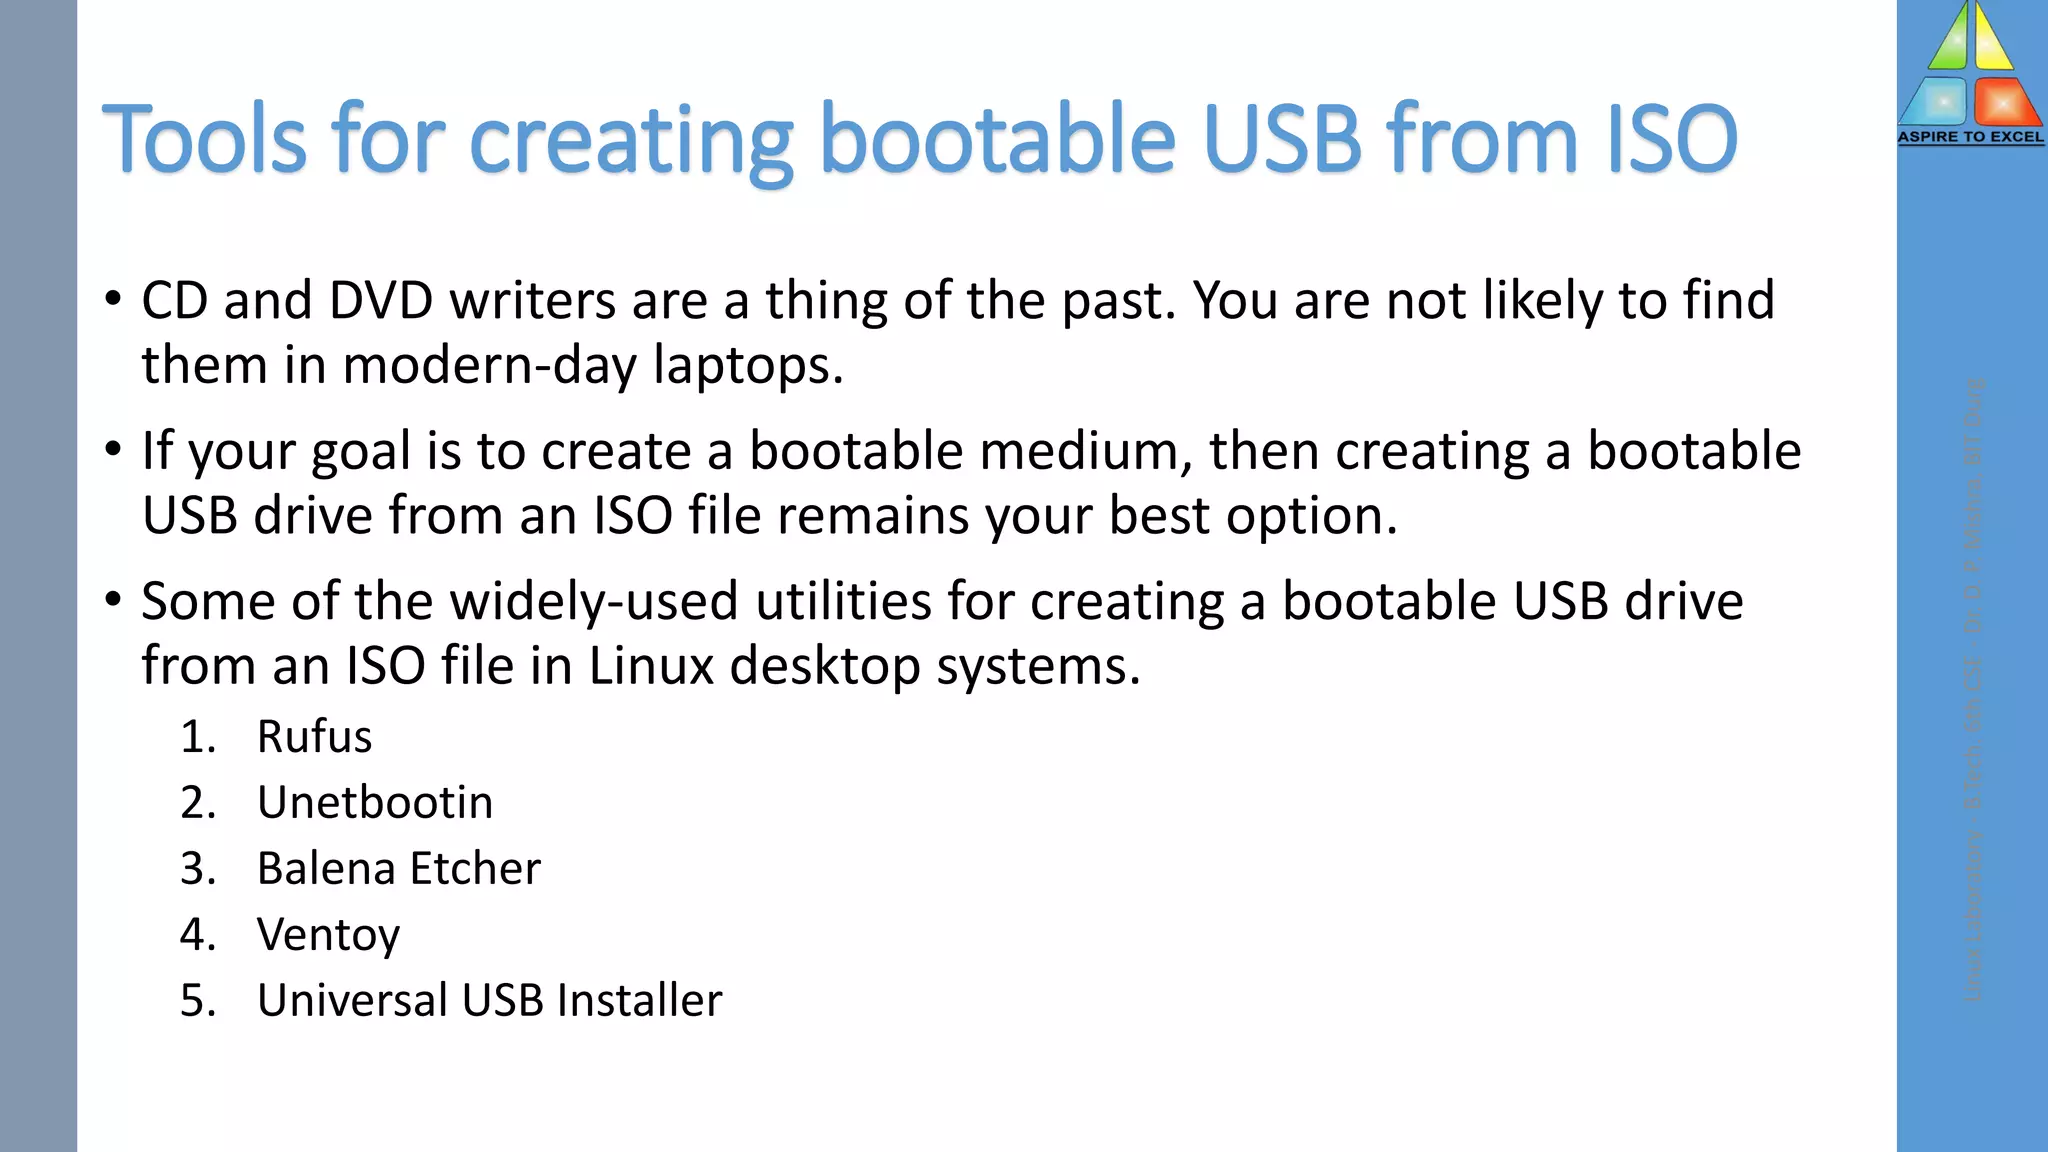


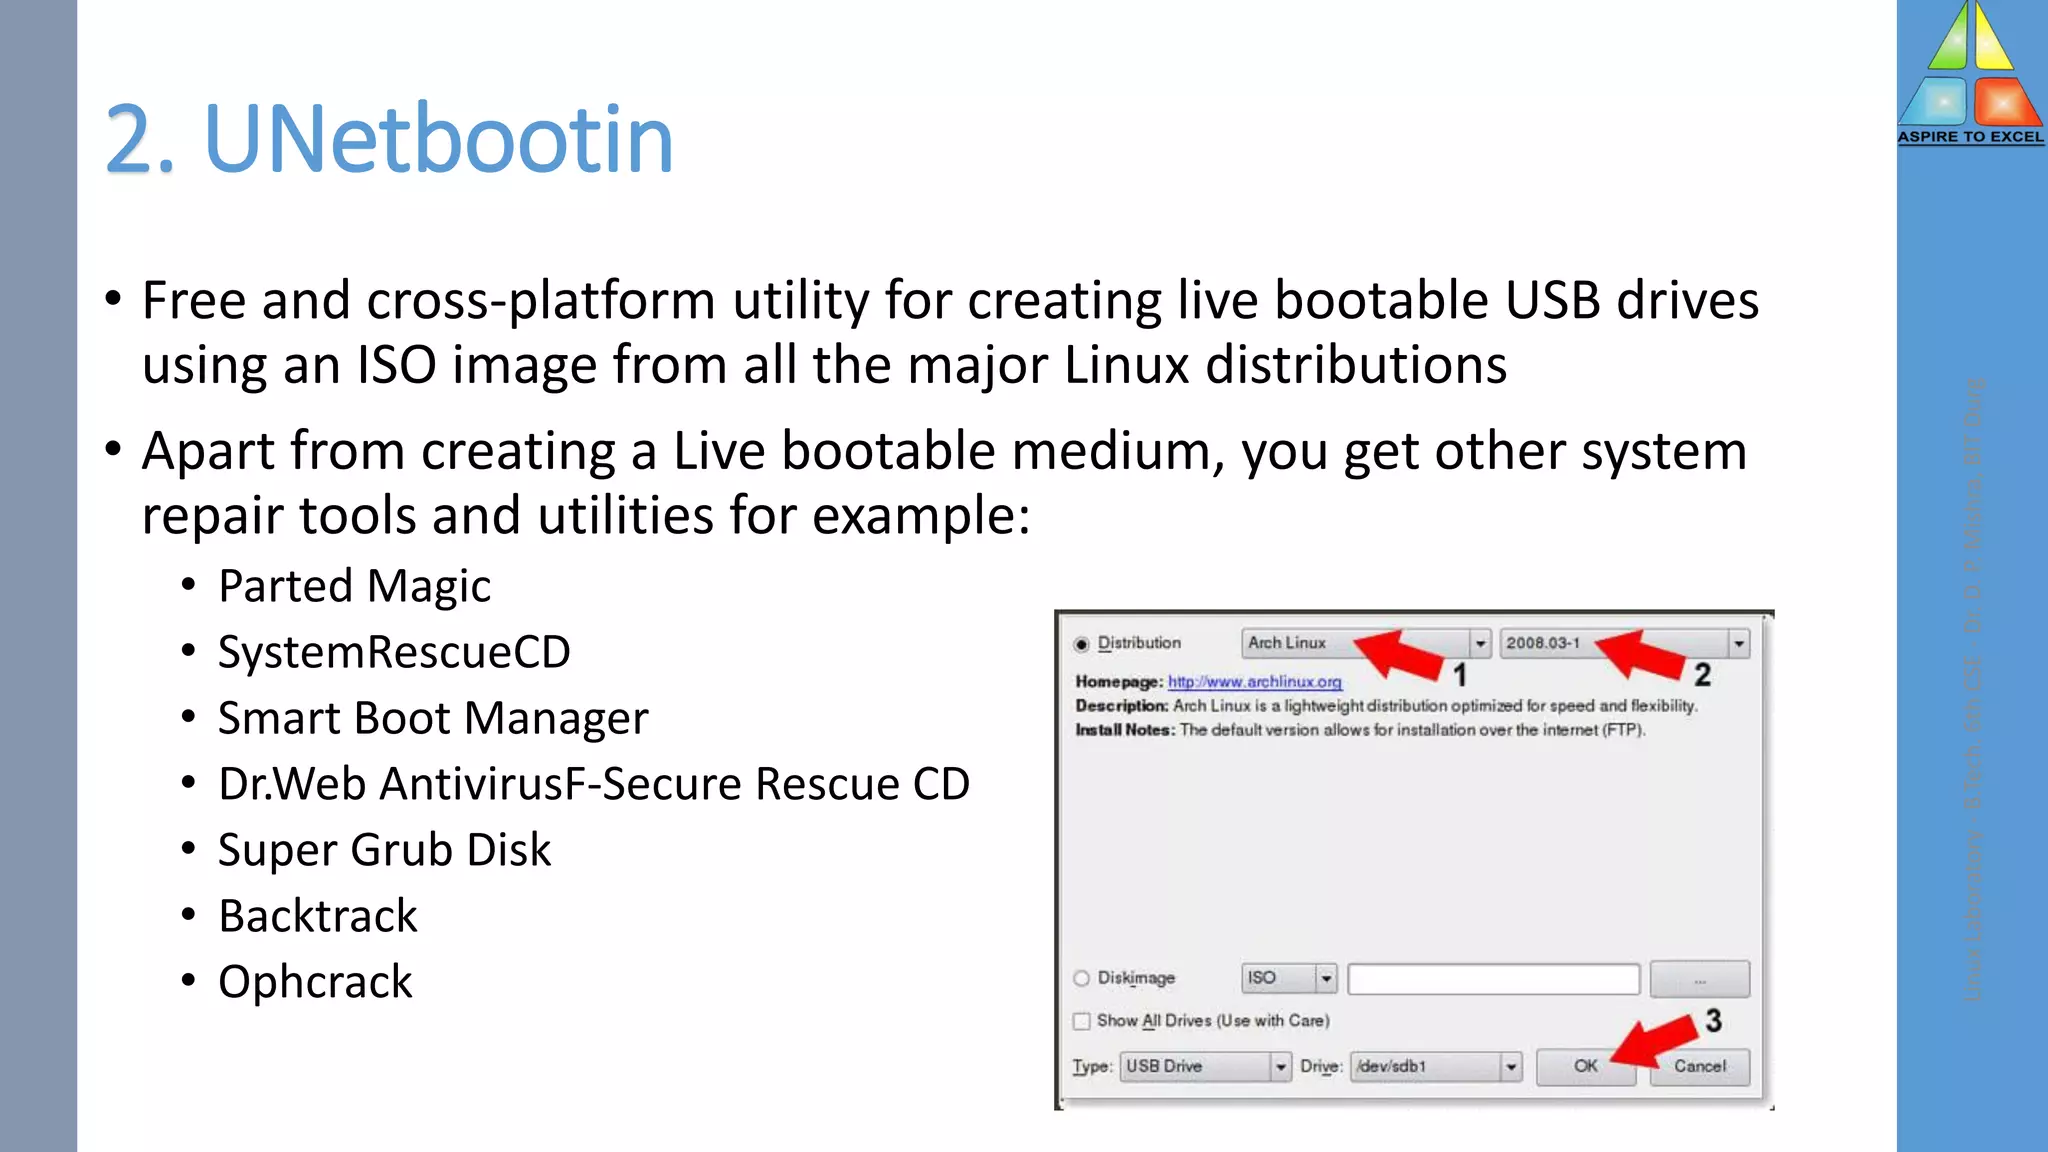


The document discusses tools for creating bootable USB drives from ISO files in Linux. It explains five widely used utilities - Rufus, Unetbootin, Balena Etcher, Ventoy, and Universal USB Installer. Rufus is described as a small and portable tool for Windows that allows creating bootable USB drives from ISO images of Windows and Linux. Steps for downloading and using Rufus to create a bootable Ubuntu USB are outlined.