Downloaded 435 times

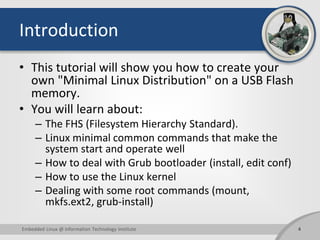
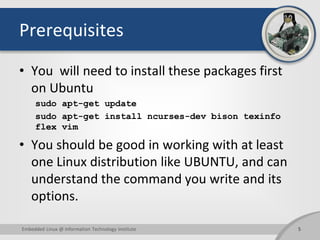
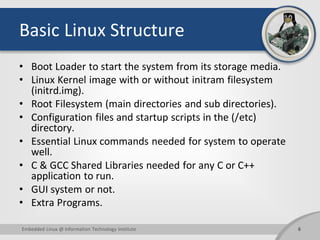
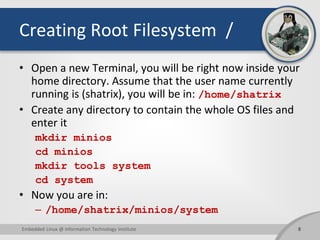
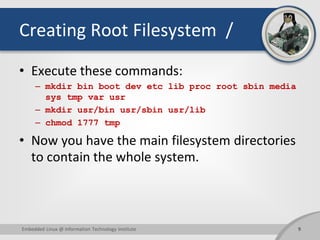


This tutorial details the process of creating a minimal Linux distribution on a USB flash drive, covering topics such as the filesystem hierarchy, essential Linux commands, and the GRUB bootloader. It includes prerequisites for package installation, steps for creating a root filesystem, configuring system files, and compiling essential utilities using BusyBox. Finally, it provides instructions for formatting the USB, copying the OS files, and setting up GRUB to enable the USB to boot the newly created Linux distribution.