Download as PDF, PPTX
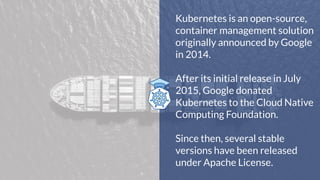
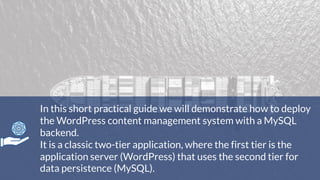
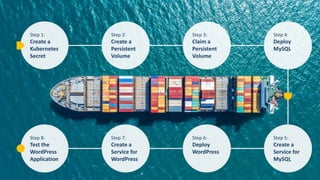


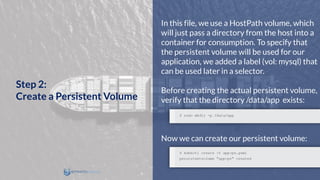
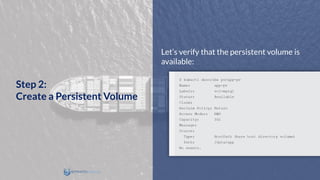

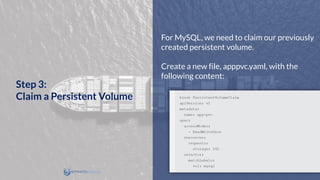
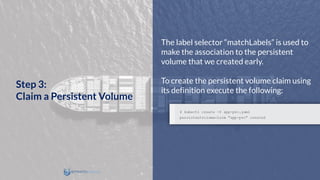


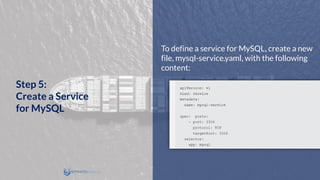
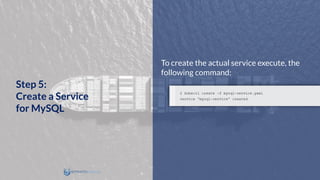
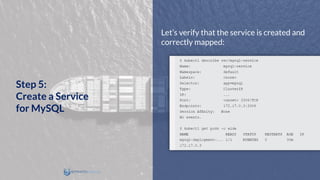

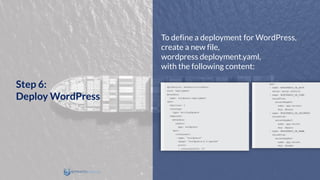

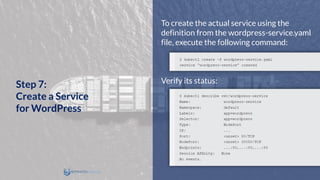

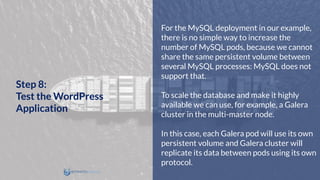


This document provides steps to deploy a WordPress application with a MySQL database on Kubernetes. It demonstrates creating secrets for database credentials, persistent volumes for database storage, services for external access, and deploying the WordPress and MySQL containers. Various Kubernetes objects like deployments, services, secrets and persistent volumes are defined in YAML files and applied to set up the WordPress application on Kubernetes.


![[OpenInfra Days Korea 2018] Day 2 - E4 - 딥다이브: immutable Kubernetes architecture](https://cdn.slidesharecdn.com/ss_thumbnails/e41530linuxkit-k8s-180704110158-thumbnail.jpg?width=640&height=640&fit=bounds)