This document provides an introduction to Flash MX, including its capabilities, uses, and basic tools. It discusses what Flash is, what can be created with it, and helpful prerequisite knowledge. It then outlines the Flash workspace and provides tutorials on illustrating, text, symbols, layers, and tweened animation. The goals are to familiarize users with Flash's capabilities and learning curve.
![Introduction to Flash MX Sarah Bombich A
1/6
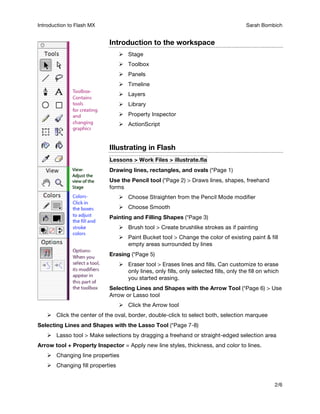
Introduction to Flash MX
Goals
Familiar with Flash’s capabilities
Knowledge of when it is (or is not) appropriate to recommend Flash as a solution
Understanding of learning curve
Familiar with Flash’s workspace and basic tools
What is Flash?
Macromedia Flash MX is a powerful environment for creating a broad range of high-
impact content and rich applications for the Internet. The approachable environment
includes powerful video, multimedia, and application development features, which allow
designers and developers to create rich user interfaces, online advertising, e-learning
courses and enterprise application front ends [macromedia.com].
Vector-based
Interface is driven by Actionscript
What Can I Make With Flash?
Web sites
Web site interfaces
CD-ROM interfaces
Web-based presentations
Computer-based training modules (eLearning), such as online quizzes
Animated images
Prerequisite and Helpful Knowledge
Familiar with basic scripting concepts, such as those behind interactive web pages (i.e.
difference between html and javascript) is essential
Experience with vector drawing tools (such as Adobe Illustrator or Macromedia
Freehand) helpful
Familiarity with non-linear video editing helpful
Familiarity with using layers in graphics programs helpful (such as Adobe Photoshop)](https://image.slidesharecdn.com/introtoflash-101124145107-phpapp02/85/Introduction-to-Flash-1-320.jpg)


![5G Explained! A High Level Overview [Introduction]](https://cdn.slidesharecdn.com/ss_thumbnails/5gexplainedahighleveloverview-260119165306-cc137a3e-thumbnail.jpg?width=640&height=640&fit=bounds)


