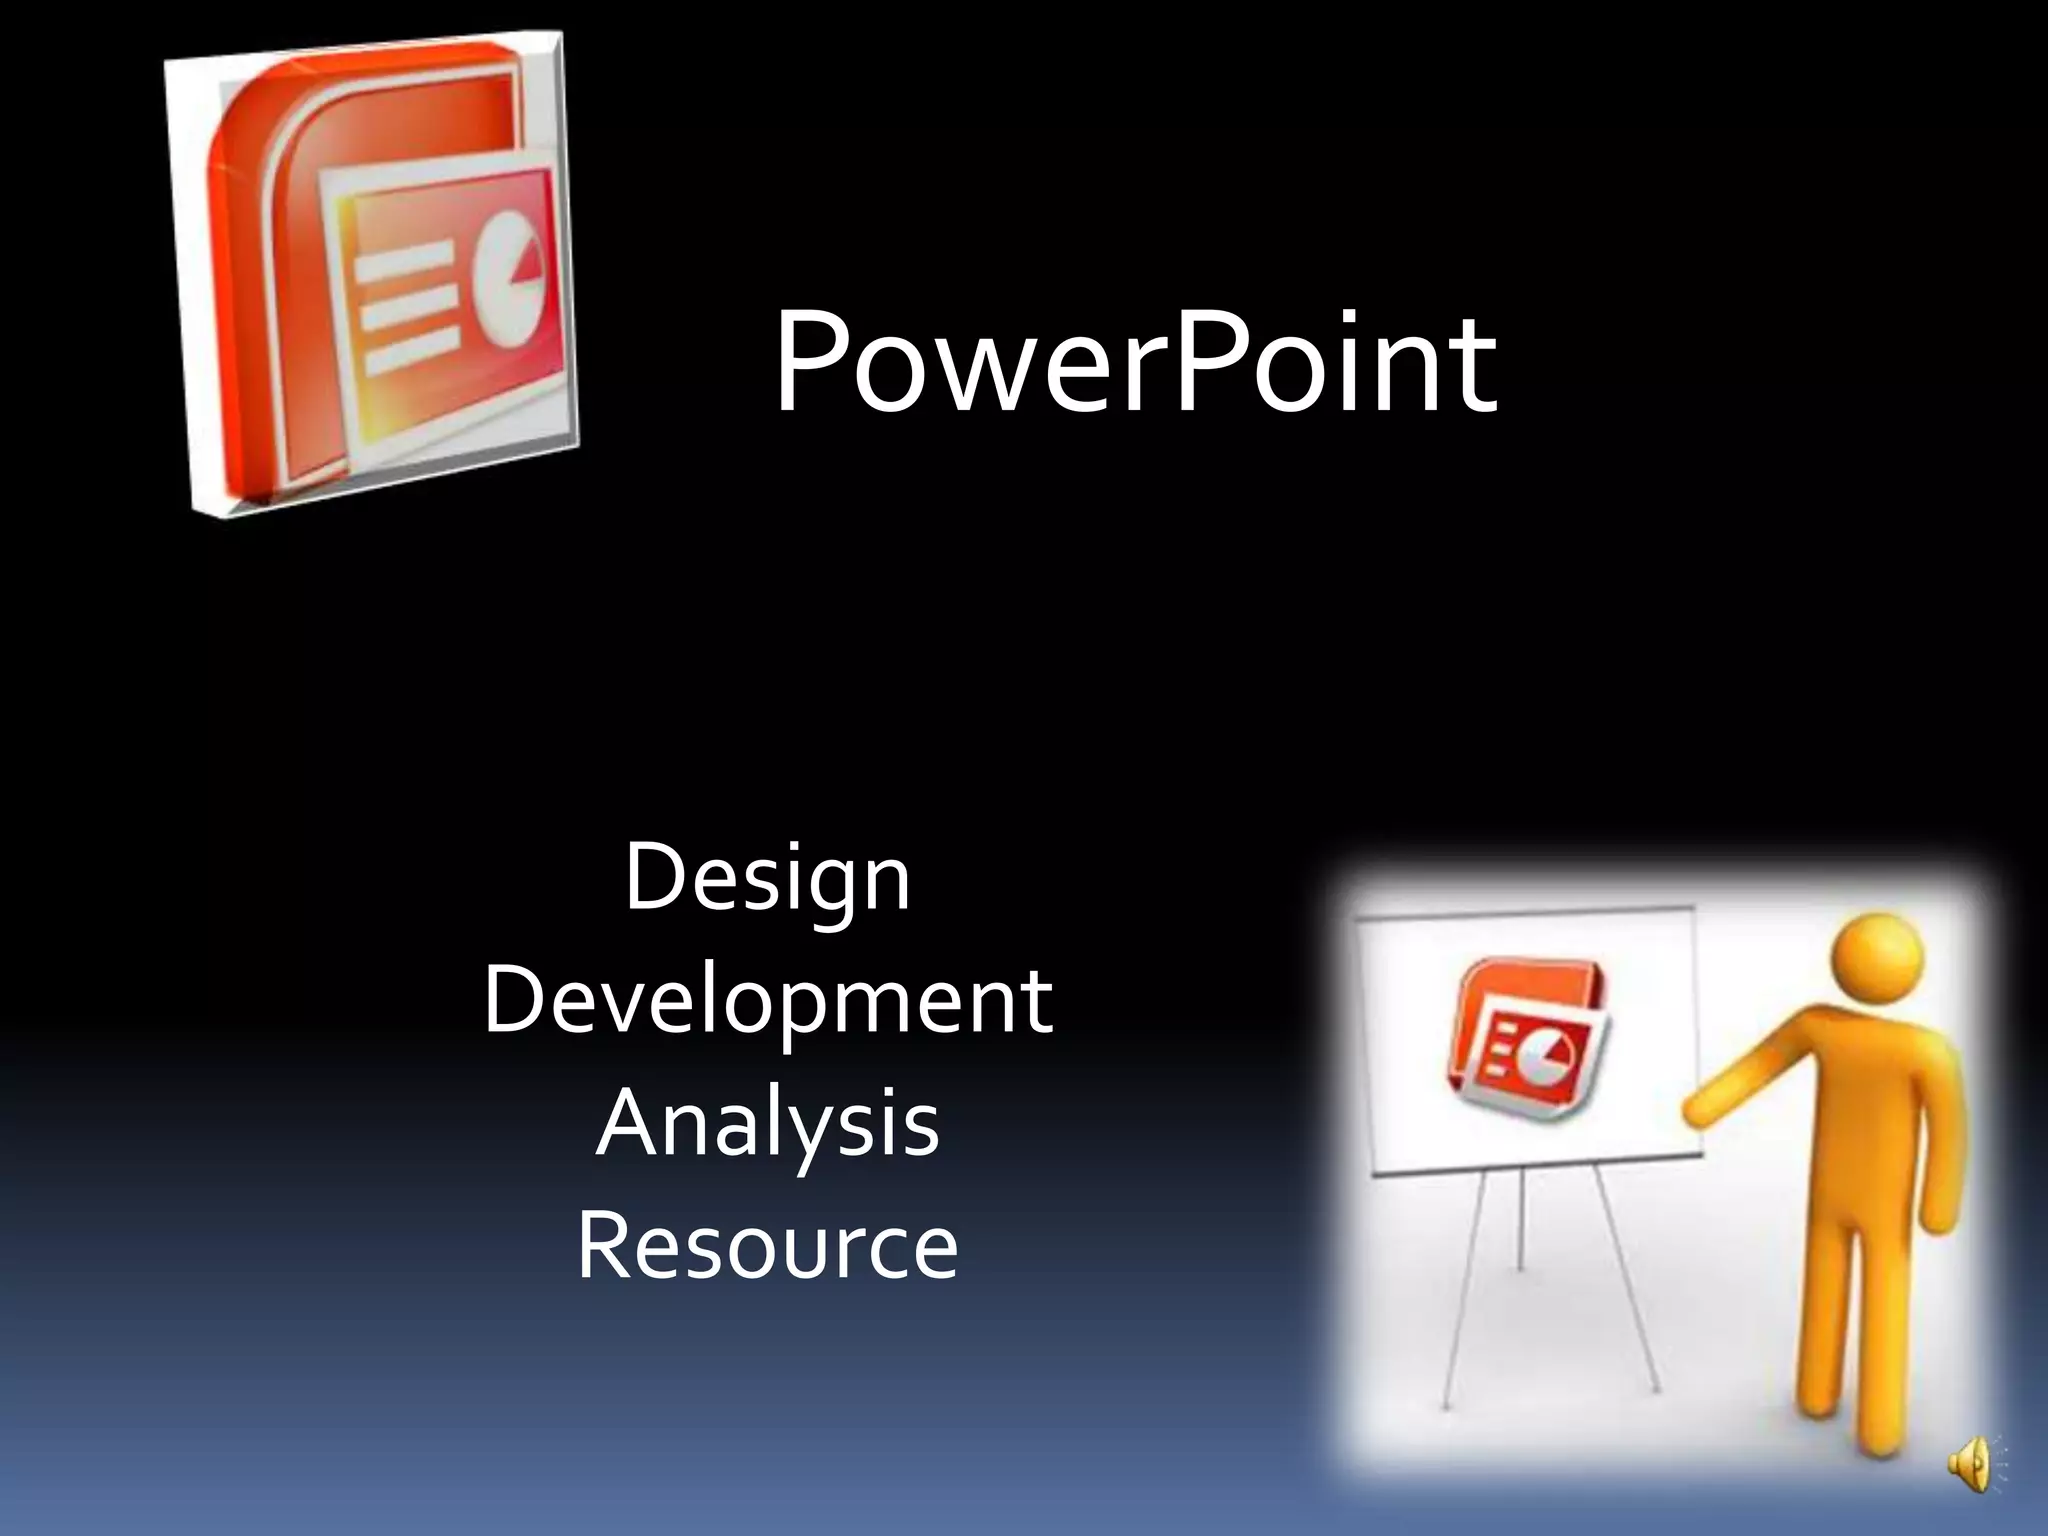
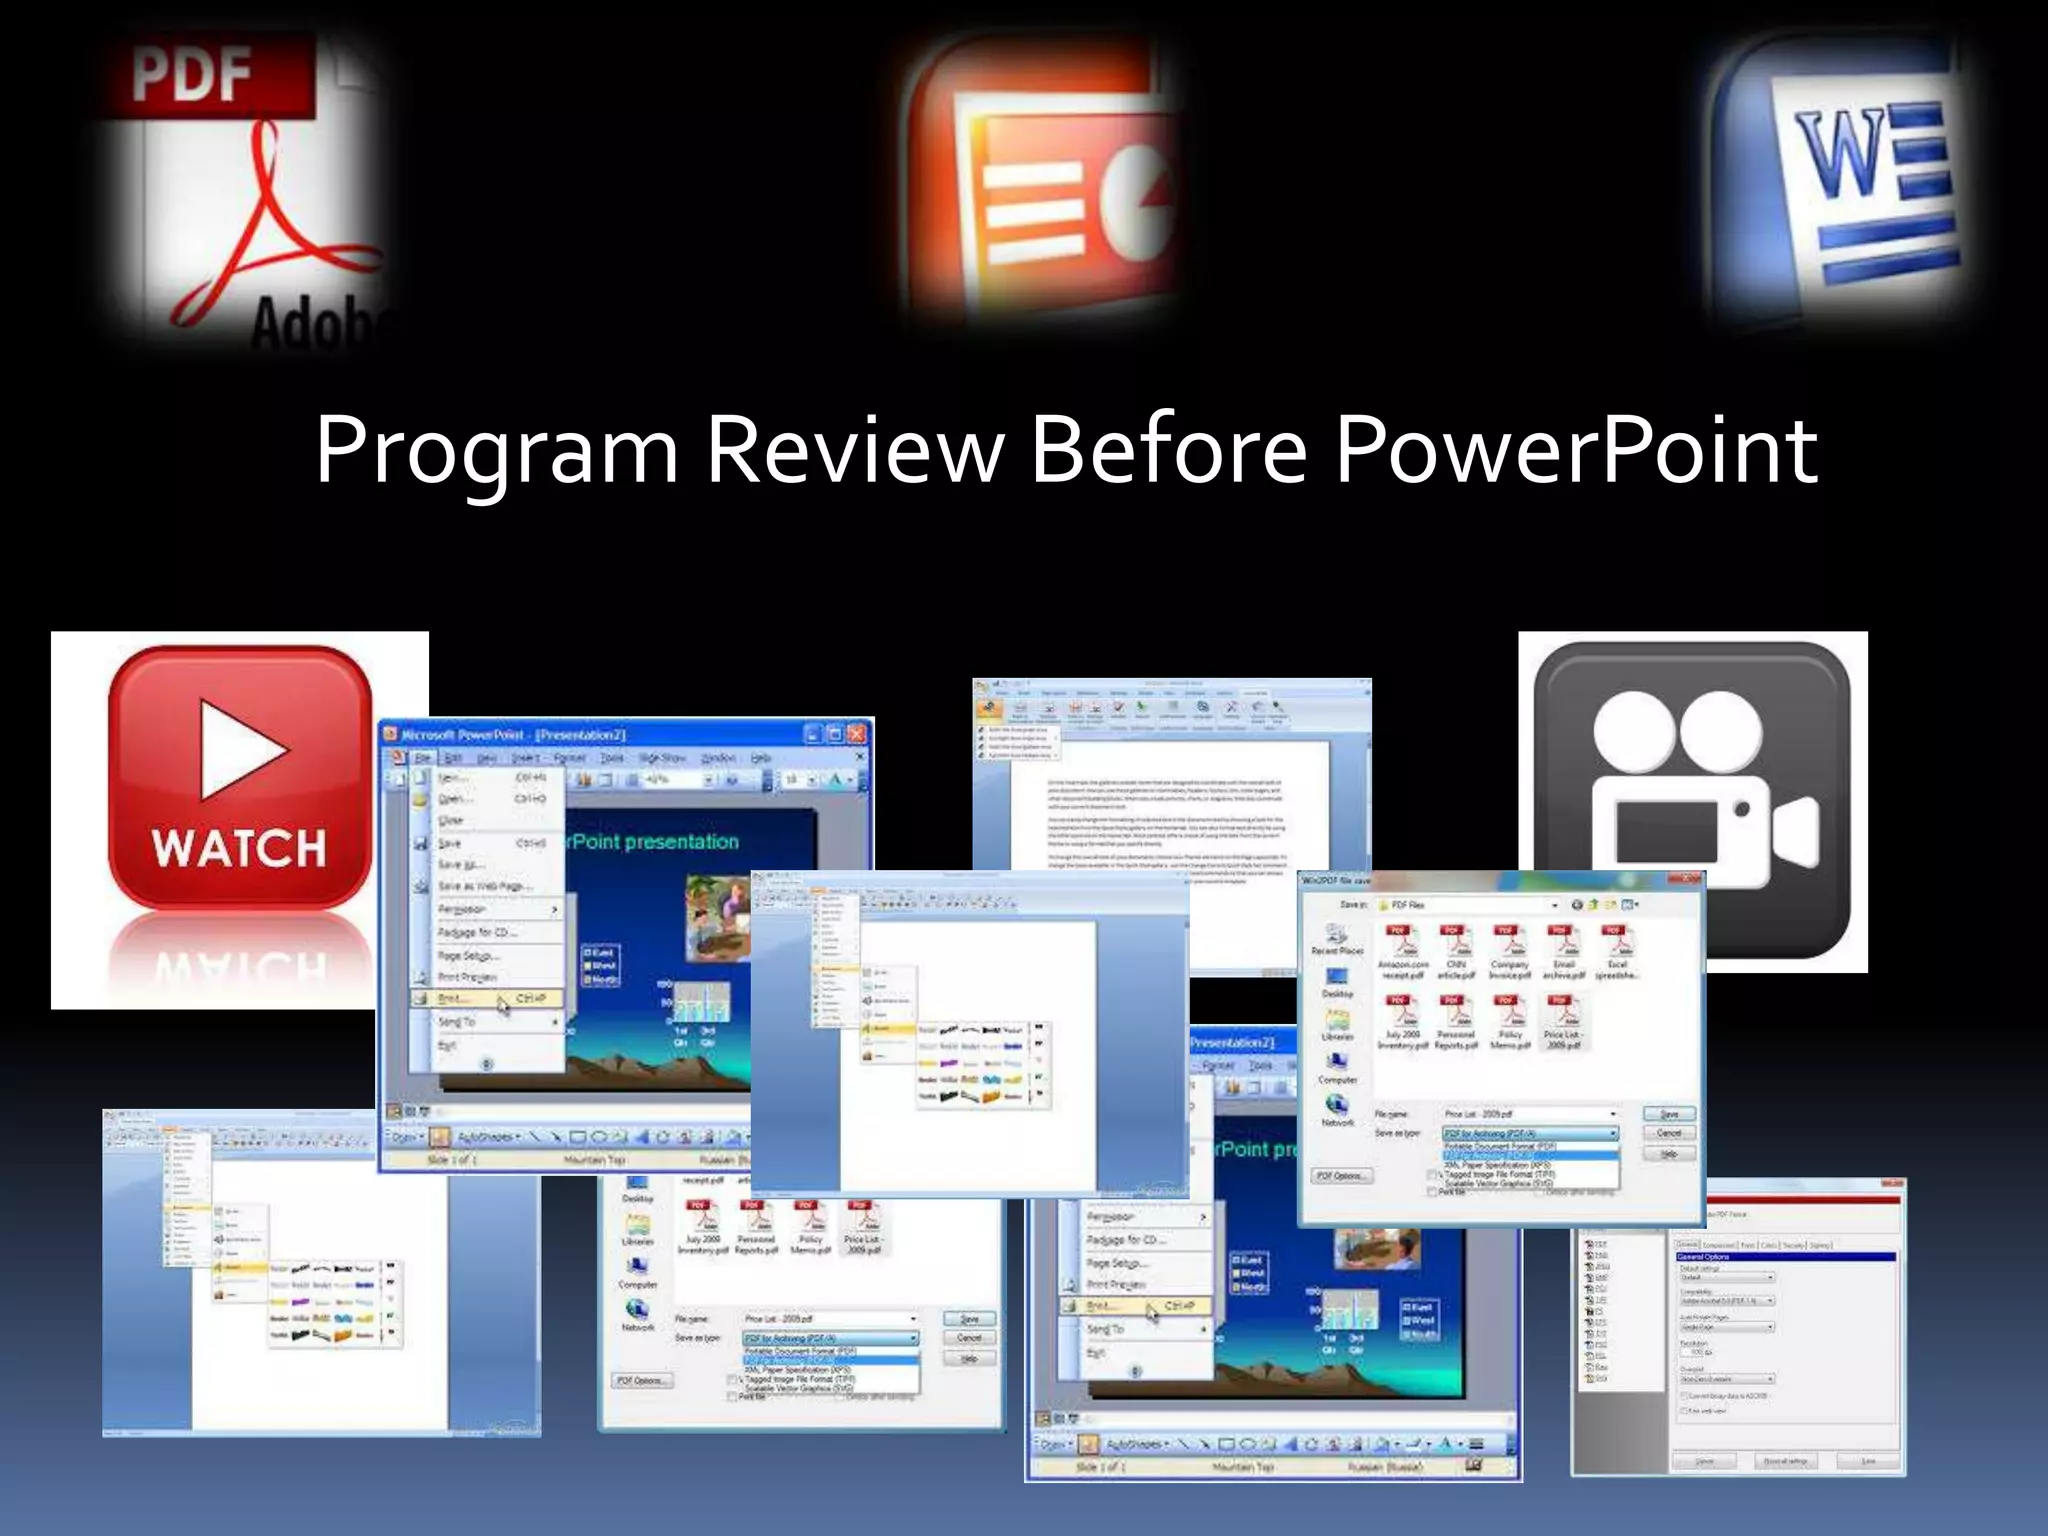
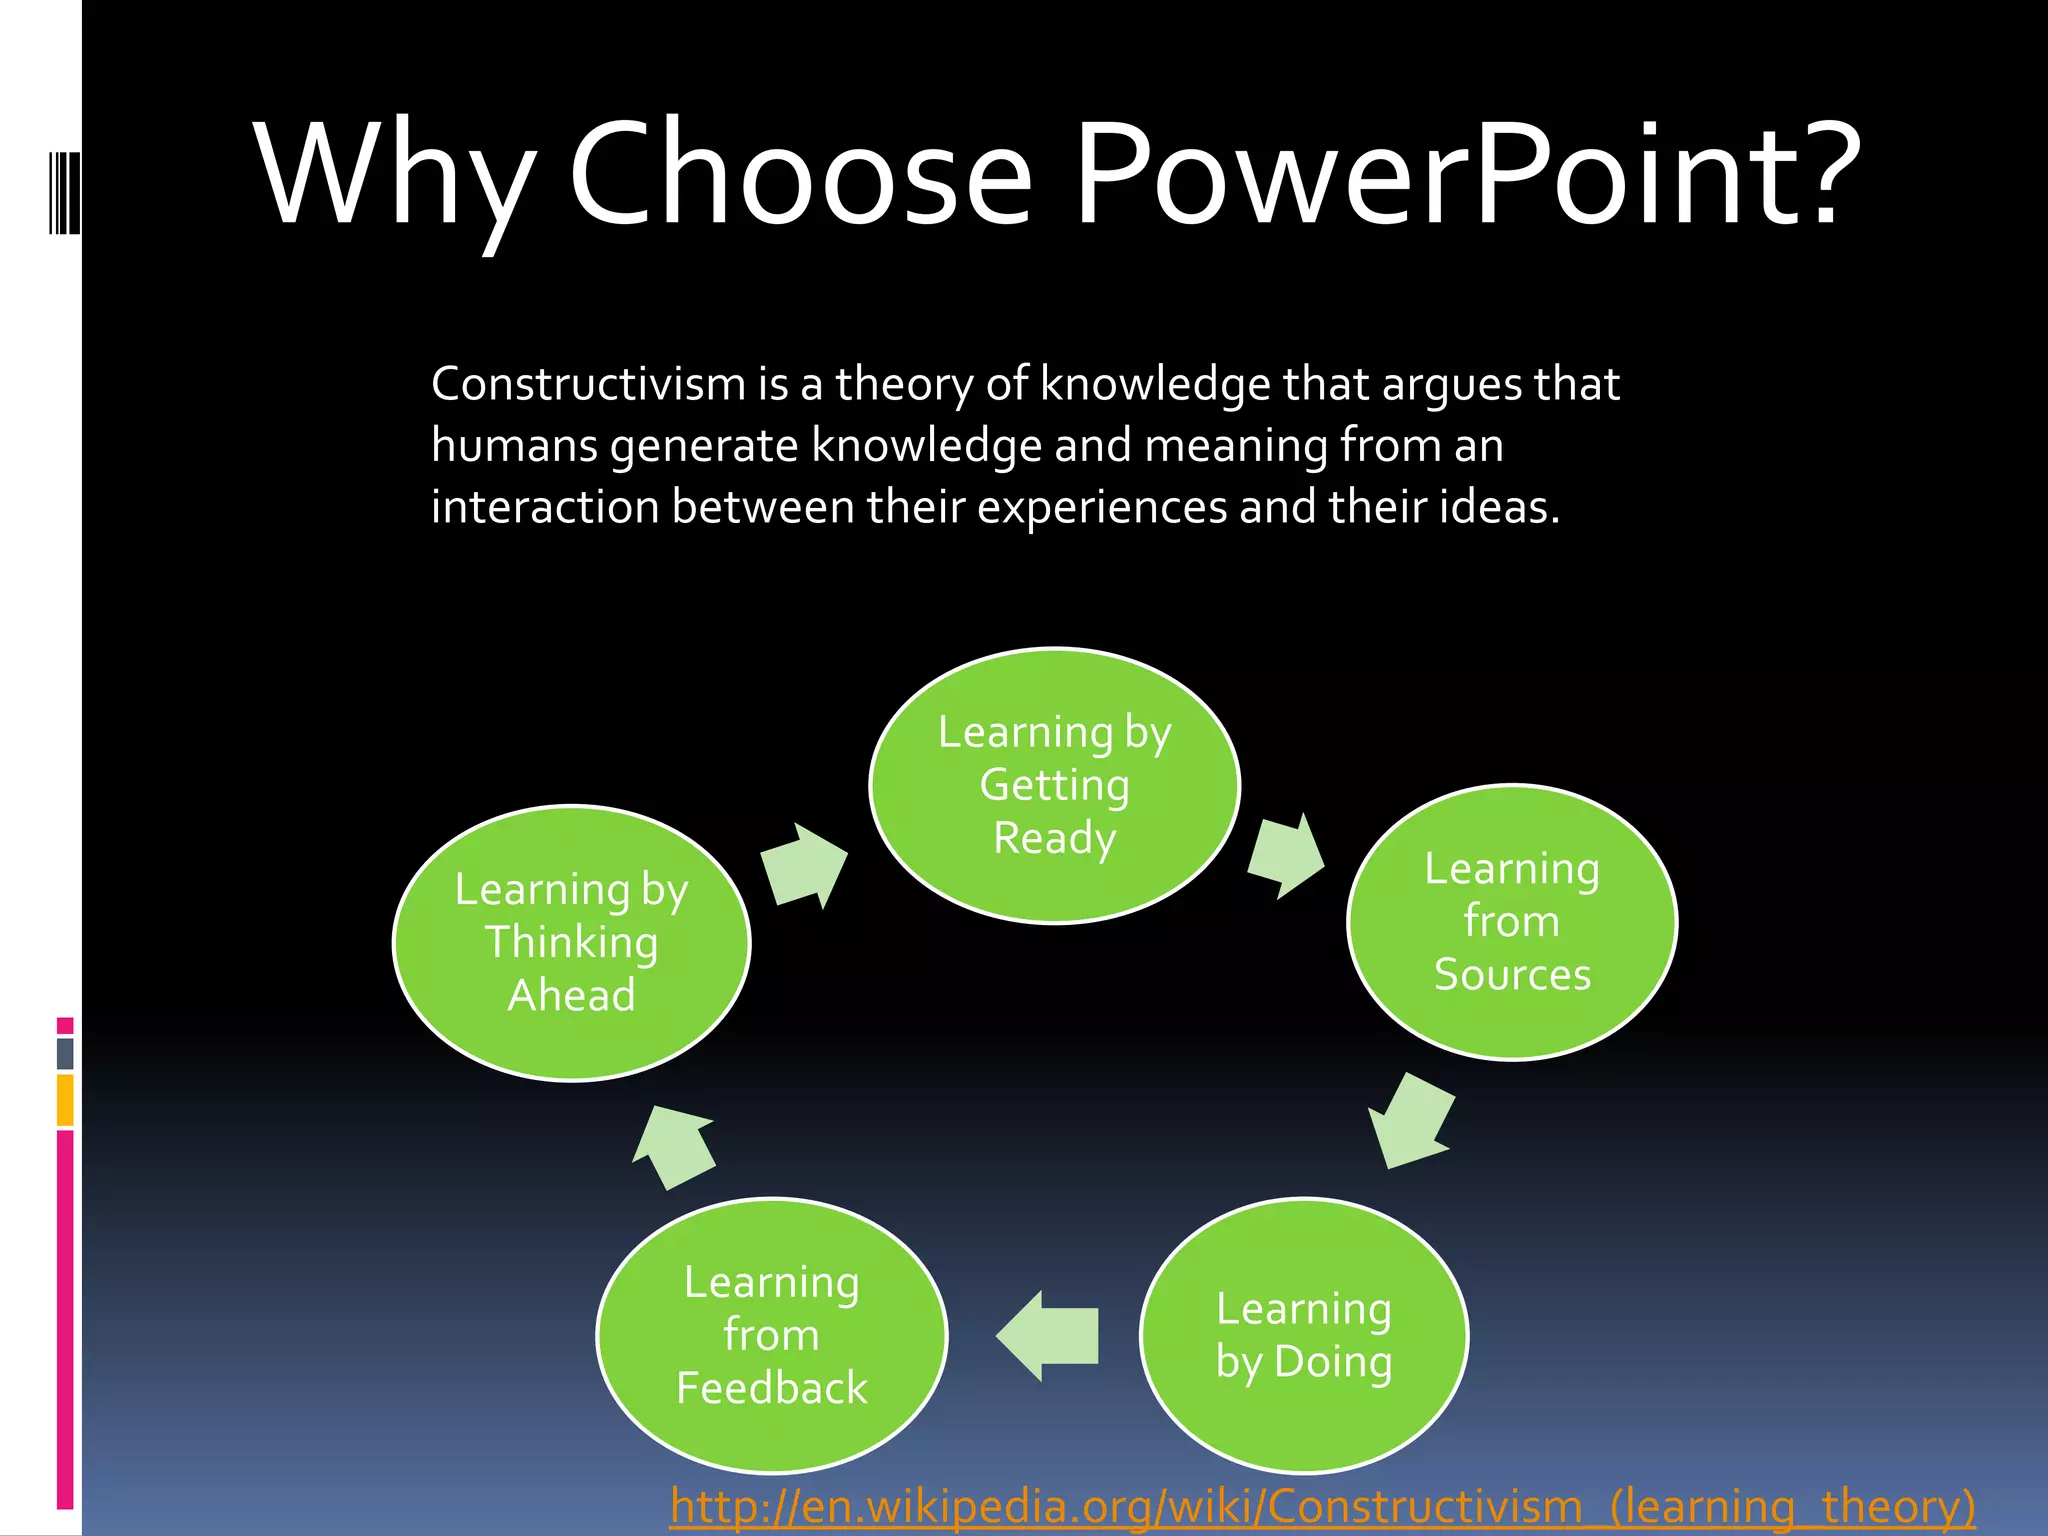
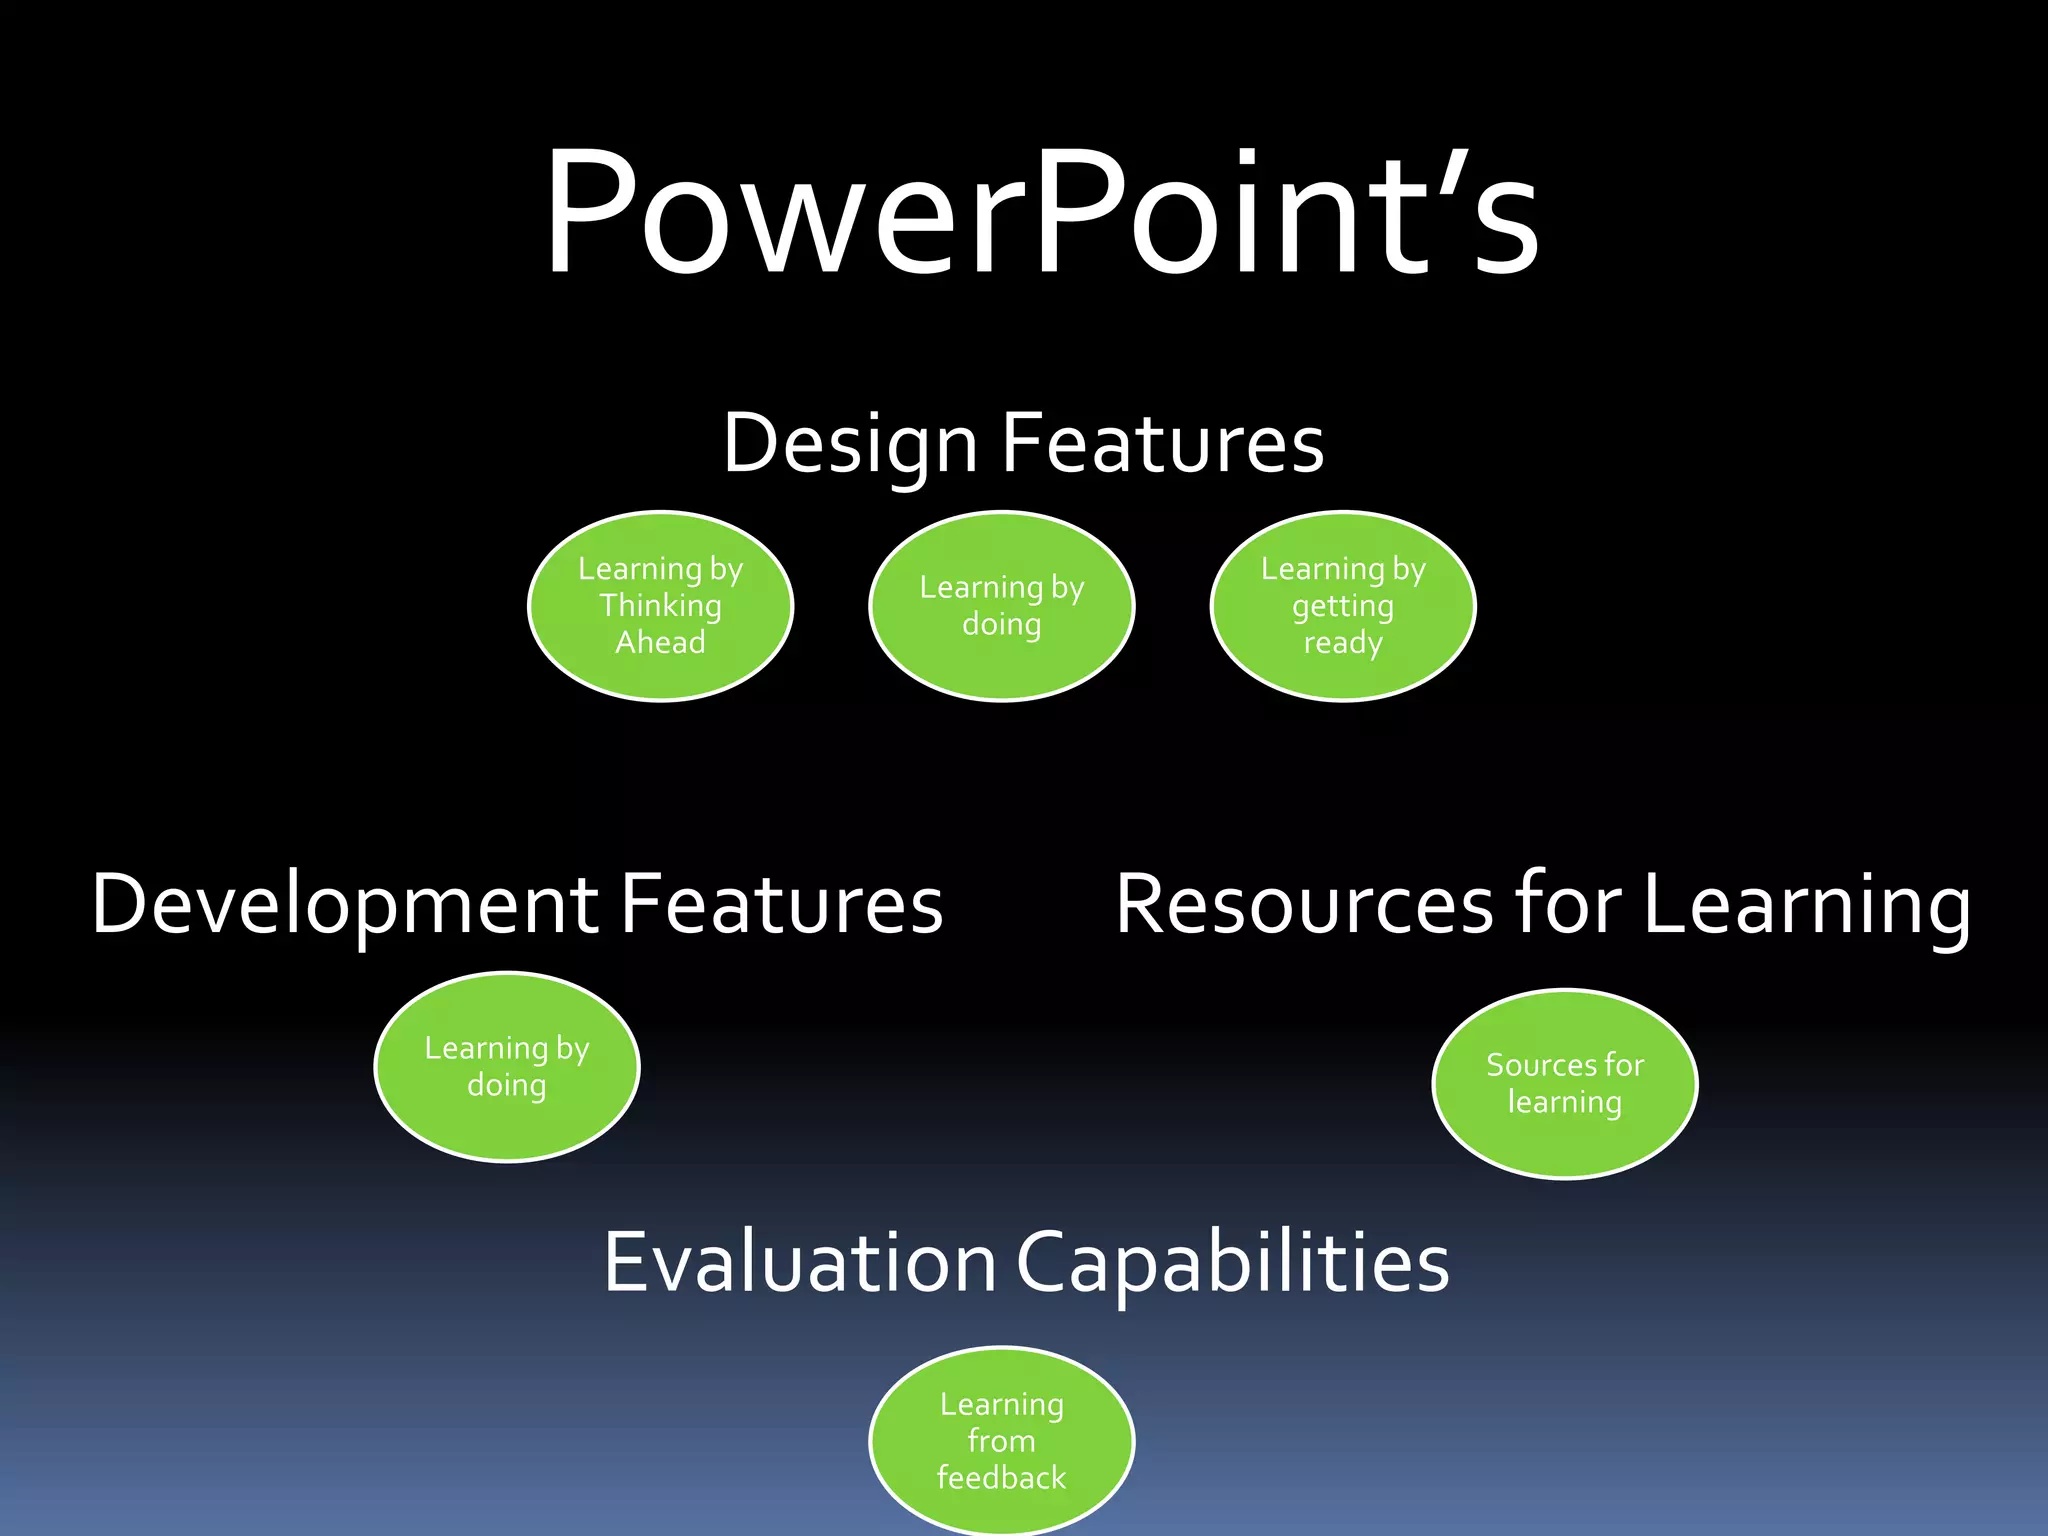
INTC5001 RUBRIC – FINAL PROJECT (PROJECT F)
                              Jessica Kowal


Digital Lesson:-
           The digital lesson that I have chosen for my final project is
            the Development and Alumni Affairs Program Review.
Audience:
           Internal: Staff of the Office of Development and Alumni Affairs
           External: Campus Community, Foundation Board Members,
                       Alumni Association Members and all of you 

Objective:
             To provide all of my audiences with a comprehensive visual,
             audio and interactive overview of the Development and Alumni Affairs program.
PowerPoint


  Design
Development
  Analysis
 Resource
Program Review Before PowerPoint
1 Document
DAUNTING TASK
                                                                          Transition speed
           Add empahsis                Transition sound
                                                                               Add Entrance
Slide orientation                                         Embed web links
                    Animations
                                           Font size

  Embed video                                                Custom animation
                               Insert word art
                                                                                 Picture effects
                    Slide transition             Slide lay out

Insert object                                                         Insert text box
                      Insert smartchart
                                             Import excel documents
                                                                          Insert sound clips
    Import word documents
                                       Insert shapes

                Import jpegs                                Import pdfs

Add exit                               Add moonpath                           Insert chart
Other Tools Considered
Why Choose PowerPoint?
  Constructivism is a theory of knowledge that argues that
  humans generate knowledge and meaning from an
  interaction between their experiences and their ideas.


                         Learning by
                           Getting
                           Ready
   Learning by                                    Learning
    Thinking                                        from
     Ahead                                        Sources


             Learning
                                       Learning
               from
                                       by Doing
             Feedback

             http://en.wikipedia.org/wiki/Constructivism_(learning_theory)
PowerPoint’s
                          Design Features
                 Learning by                    Learning by
                               Learning by
                  Thinking                        getting
                                 doing
                   Ahead                           ready


Development Features                         Resources for Learning
       Learning by                                            Sources for
         doing                                                 learning


                     Evaluation Capabilities
                                Learning
                                  from
                                feedback
Office of Development and Alumni Affairs
                 Strengths


    Public announcement of Campaign
   Goal being reached and Stretch Goal
   announcement

    Institutional Expansion
Office of Development and Alumni Affairs
                   Strengths


Institutional Expansion of Campaign Goal
  Public announcement
  being reached and Stretch Goal
  announcement
Planned Gifts

               Principal Gifts

                Major Gifts

           Leadership Annual Giving

                Annual Giving


                                      Stewardship
Services
Support


                    Alumni
                    Affairs


                   Data
Office of Development and Alumni Affairs
                         2012 – 2013 Highlights

                  Richard Stockton College of New Jersey Foundation
                             Report of Assets 2003 - 2012
25000000


20000000


15000000


10000000


 5000000


       0
           2003   2004     2005   2006   2007   2008    2009    2010   2011   2012
Office of Development and Alumni Affairs
             Opportunities


                         Recently completed Foundation Board Strategic Plan

                             Expansion of Annual Giving program


                  Let’s DoRestructured Staffing
                          More.
                                 Richard Stockton Society Growth
  Final 16 months of the Campaign provide a chance
  to raise more support with a focus on scholarships
Office of Development and Alumni Affairs
         2013 Program Review


                          LINK TO PROGRAM REVIEW ONLINE
Screencast Narrative

   A conversion opportunity for this program review that I
believe would advance its impact even further would be to do
      a screen cast with my boss providing a narrative.
What word would YOU      choose to
   describe this presentation?

Intc5001 – final project presentation j.kowal

  • 1.
    INTC5001 RUBRIC –FINAL PROJECT (PROJECT F) Jessica Kowal Digital Lesson:- The digital lesson that I have chosen for my final project is the Development and Alumni Affairs Program Review. Audience: Internal: Staff of the Office of Development and Alumni Affairs External: Campus Community, Foundation Board Members, Alumni Association Members and all of you  Objective: To provide all of my audiences with a comprehensive visual, audio and interactive overview of the Development and Alumni Affairs program.
  • 2.
  • 3.
  • 4.
  • 5.
    DAUNTING TASK Transition speed Add empahsis Transition sound Add Entrance Slide orientation Embed web links Animations Font size Embed video Custom animation Insert word art Picture effects Slide transition Slide lay out Insert object Insert text box Insert smartchart Import excel documents Insert sound clips Import word documents Insert shapes Import jpegs Import pdfs Add exit Add moonpath Insert chart
  • 6.
  • 7.
    Why Choose PowerPoint? Constructivism is a theory of knowledge that argues that humans generate knowledge and meaning from an interaction between their experiences and their ideas. Learning by Getting Ready Learning by Learning Thinking from Ahead Sources Learning Learning from by Doing Feedback http://en.wikipedia.org/wiki/Constructivism_(learning_theory)
  • 8.
    PowerPoint’s Design Features Learning by Learning by Learning by Thinking getting doing Ahead ready Development Features Resources for Learning Learning by Sources for doing learning Evaluation Capabilities Learning from feedback
  • 9.
    Office of Developmentand Alumni Affairs Strengths  Public announcement of Campaign Goal being reached and Stretch Goal announcement  Institutional Expansion
  • 10.
    Office of Developmentand Alumni Affairs Strengths Institutional Expansion of Campaign Goal Public announcement being reached and Stretch Goal announcement
  • 11.
    Planned Gifts Principal Gifts Major Gifts Leadership Annual Giving Annual Giving Stewardship Services Support Alumni Affairs Data
  • 12.
    Office of Developmentand Alumni Affairs 2012 – 2013 Highlights Richard Stockton College of New Jersey Foundation Report of Assets 2003 - 2012 25000000 20000000 15000000 10000000 5000000 0 2003 2004 2005 2006 2007 2008 2009 2010 2011 2012
  • 13.
    Office of Developmentand Alumni Affairs Opportunities Recently completed Foundation Board Strategic Plan Expansion of Annual Giving program Let’s DoRestructured Staffing More. Richard Stockton Society Growth Final 16 months of the Campaign provide a chance to raise more support with a focus on scholarships
  • 14.
    Office of Developmentand Alumni Affairs 2013 Program Review LINK TO PROGRAM REVIEW ONLINE
  • 15.
    Screencast Narrative A conversion opportunity for this program review that I believe would advance its impact even further would be to do a screen cast with my boss providing a narrative.
  • 16.
    What word wouldYOU choose to describe this presentation?

Editor's Notes

  • #2 Transparent 3-D pyramid(Intermediate)To reproduce the shape effects on this slide, do the following:On the Home tab, in theSlides group, click Layout, and then click BlankOn the Home tab, in the Drawing group, click Shapes, and then under BasicShapes click IsoscelesTriangle (first row, third option from the left). On the slide, drag to draw a triangle.Select the triangle. Under Drawing Tools, on the Format tab, in the Size group, do the following:In the Shape Height box, enter 5.09”.In the Shape Width box, enter 2.78”.Also under Drawing Tools, on the Format tab, in the Shape Styles group, click the Format Shape dialog box launcher. In the Format Shape dialog box, click Fill in the left pane, select Gradient fill in the Fill pane, and then click the button next to Preset colors, and then click Silver (fifth row, third option from the left).Also under Gradient stops, customize the gradient stops that you added as follows:Select the first stop in the slider, and then in the Transparency box, enter 50%.Select the next stop in the slider, and then in the Transparency box, enter 50%.Select the next stop in the slider, and then in the Transparency box, enter 50%.Select the next stop in the slider, and then in the Transparency box, enter 30%.Select the next stop in the slider, and then in the Transparency box, enter 50%.Select the last stop in the slider, and then in the Transparency box, enter 0%.Also in the Format Shape dialog box, click Line Color in the left pane, and then select No line in the LineColor pane. Also in the Format Shape dialog box, click 3-D Format in the left pane, and then do the following in the 3-D Format pane:Under Bevel, click the button next to Top, and then under Bevel, click Angle (second row, first option from the left). Next to Top, in the Width box, enter 77 pt, and in the Height box, enter 240 pt.Under Contour, click the button next to Color, and then under Theme Colors click Black, Text 1 (first row, second option from the left).In the Size box, enter 1 pt. Under Surface, click the button next to Material, and then under Translucent click Clear (third option from the left). Click the button next to Lighting, and then under Neutral click Balance (first row, second option from the left). Also in the Format Shape dialog box, click 3-D Rotation in the left pane, and then do the following in the 3-D Rotation pane:Under Rotation, in the X box, enter 65°.In the Y box, enter 315°.In the Z box, enter 280°.Under Object position, in the Distance from ground box, enter 100 pt.Also in the Format Shape dialog box, click Shadow in the left pane, and then do the following in the Shadow pane:Click the button next to Presets, and then under Outer click Offset Diagonal Bottom Right (first row, first option from the left).In the Blur box, enter 40 pt.In the Distance box, enter 23 pt. To reproduce the background effects on this slide, do the following:On the Design tab, in the Background group, click Background Styles, and then click Format Background. In the Format Background dialog box, click Fill in the left pane, select Gradient fill in the Fill pane, and then do the following:In the Type list, select Linear.In the Angle box, enter 90.Under Gradient stops, click Add gradient stops or Remove gradient stops until two stops appear in the slider.Also under Gradient stops, customize the gradient stops as follows:Select the first stop in the slider, and then do the following: In the Position box, enter 50%.Click the button next to Color, and then under Theme Colors click Black, Text 1, Lighter 5% (sixth row, second option from the left).In the Transparency box, enter 0%. Select the first stop in the slider, and then do the following: In the Position box, enter 100%.Click the button next to Color, click More Colors, and then in the Colors dialog box, on the Custom tab, enter values for Red: 107, Green: 123, Blue: 191.In the Transparency box, enter 0%.
  • #11 Transparent 3-D pyramid(Intermediate)To reproduce the shape effects on this slide, do the following:On the Home tab, in theSlides group, click Layout, and then click BlankOn the Home tab, in the Drawing group, click Shapes, and then under BasicShapes click IsoscelesTriangle (first row, third option from the left). On the slide, drag to draw a triangle.Select the triangle. Under Drawing Tools, on the Format tab, in the Size group, do the following:In the Shape Height box, enter 5.09”.In the Shape Width box, enter 2.78”.Also under Drawing Tools, on the Format tab, in the Shape Styles group, click the Format Shape dialog box launcher. In the Format Shape dialog box, click Fill in the left pane, select Gradient fill in the Fill pane, and then click the button next to Preset colors, and then click Silver (fifth row, third option from the left).Also under Gradient stops, customize the gradient stops that you added as follows:Select the first stop in the slider, and then in the Transparency box, enter 50%.Select the next stop in the slider, and then in the Transparency box, enter 50%.Select the next stop in the slider, and then in the Transparency box, enter 50%.Select the next stop in the slider, and then in the Transparency box, enter 30%.Select the next stop in the slider, and then in the Transparency box, enter 50%.Select the last stop in the slider, and then in the Transparency box, enter 0%.Also in the Format Shape dialog box, click Line Color in the left pane, and then select No line in the LineColor pane. Also in the Format Shape dialog box, click 3-D Format in the left pane, and then do the following in the 3-D Format pane:Under Bevel, click the button next to Top, and then under Bevel, click Angle (second row, first option from the left). Next to Top, in the Width box, enter 77 pt, and in the Height box, enter 240 pt.Under Contour, click the button next to Color, and then under Theme Colors click Black, Text 1 (first row, second option from the left).In the Size box, enter 1 pt. Under Surface, click the button next to Material, and then under Translucent click Clear (third option from the left). Click the button next to Lighting, and then under Neutral click Balance (first row, second option from the left). Also in the Format Shape dialog box, click 3-D Rotation in the left pane, and then do the following in the 3-D Rotation pane:Under Rotation, in the X box, enter 65°.In the Y box, enter 315°.In the Z box, enter 280°.Under Object position, in the Distance from ground box, enter 100 pt.Also in the Format Shape dialog box, click Shadow in the left pane, and then do the following in the Shadow pane:Click the button next to Presets, and then under Outer click Offset Diagonal Bottom Right (first row, first option from the left).In the Blur box, enter 40 pt.In the Distance box, enter 23 pt. To reproduce the background effects on this slide, do the following:On the Design tab, in the Background group, click Background Styles, and then click Format Background. In the Format Background dialog box, click Fill in the left pane, select Gradient fill in the Fill pane, and then do the following:In the Type list, select Linear.In the Angle box, enter 90.Under Gradient stops, click Add gradient stops or Remove gradient stops until two stops appear in the slider.Also under Gradient stops, customize the gradient stops as follows:Select the first stop in the slider, and then do the following: In the Position box, enter 50%.Click the button next to Color, and then under Theme Colors click Black, Text 1, Lighter 5% (sixth row, second option from the left).In the Transparency box, enter 0%. Select the first stop in the slider, and then do the following: In the Position box, enter 100%.Click the button next to Color, click More Colors, and then in the Colors dialog box, on the Custom tab, enter values for Red: 107, Green: 123, Blue: 191.In the Transparency box, enter 0%.
  • #13 Transparent 3-D pyramid(Intermediate)To reproduce the shape effects on this slide, do the following:On the Home tab, in the Slides group, click Layout, and then click BlankOn the Home tab, in the Drawing group, click Shapes, and then under BasicShapes click IsoscelesTriangle (first row, third option from the left). On the slide, drag to draw a triangle.Select the triangle. Under Drawing Tools, on the Format tab, in the Size group, do the following:In the Shape Height box, enter 5.09”.In the Shape Width box, enter 2.78”.Also under Drawing Tools, on the Format tab, in the Shape Styles group, click the Format Shape dialog box launcher. In the Format Shape dialog box, click Fill in the left pane, select Gradient fill in the Fill pane, and then click the button next to Preset colors, and then click Silver (fifth row, third option from the left).Also under Gradient stops, customize the gradient stops that you added as follows:Select the first stop in the slider, and then in the Transparency box, enter 50%.Select the next stop in the slider, and then in the Transparency box, enter 50%.Select the next stop in the slider, and then in the Transparency box, enter 50%.Select the next stop in the slider, and then in the Transparency box, enter 30%.Select the next stop in the slider, and then in the Transparency box, enter 50%.Select the last stop in the slider, and then in the Transparency box, enter 0%.Also in the Format Shape dialog box, click Line Color in the left pane, and then select No line in the LineColor pane. Also in the Format Shape dialog box, click 3-D Format in the left pane, and then do the following in the 3-D Format pane:Under Bevel, click the button next to Top, and then under Bevel, click Angle (second row, first option from the left). Next to Top, in the Width box, enter 77 pt, and in the Height box, enter 240 pt.Under Contour, click the button next to Color, and then under Theme Colors click Black, Text 1 (first row, second option from the left).In the Size box, enter 1 pt. Under Surface, click the button next to Material, and then under Translucent click Clear (third option from the left). Click the button next to Lighting, and then under Neutral click Balance (first row, second option from the left). Also in the Format Shape dialog box, click 3-D Rotation in the left pane, and then do the following in the 3-D Rotation pane:Under Rotation, in the X box, enter 65°.In the Y box, enter 315°.In the Z box, enter 280°.Under Object position, in the Distance from ground box, enter 100 pt.Also in the Format Shape dialog box, click Shadow in the left pane, and then do the following in the Shadow pane:Click the button next to Presets, and then under Outer click Offset Diagonal Bottom Right (first row, first option from the left).In the Blur box, enter 40 pt.In the Distance box, enter 23 pt. To reproduce the background effects on this slide, do the following:On the Design tab, in the Background group, click Background Styles, and then click Format Background. In the Format Background dialog box, click Fill in the left pane, select Gradient fill in the Fill pane, and then do the following:In the Type list, select Linear.In the Angle box, enter 90.Under Gradient stops, click Add gradient stops or Remove gradient stops until two stops appear in the slider.Also under Gradient stops, customize the gradient stops as follows:Select the first stop in the slider, and then do the following: In the Position box, enter 50%.Click the button next to Color, and then under Theme Colors click Black, Text 1, Lighter 5% (sixth row, second option from the left).In the Transparency box, enter 0%. Select the first stop in the slider, and then do the following: In the Position box, enter 100%.Click the button next to Color, click More Colors, and then in the Colors dialog box, on the Custom tab, enter values for Red: 107, Green: 123, Blue: 191.In the Transparency box, enter 0%.
  • #15 Transparent 3-D pyramid(Intermediate)To reproduce the shape effects on this slide, do the following:On the Home tab, in theSlides group, click Layout, and then click BlankOn the Home tab, in the Drawing group, click Shapes, and then under BasicShapes click IsoscelesTriangle (first row, third option from the left). On the slide, drag to draw a triangle.Select the triangle. Under Drawing Tools, on the Format tab, in the Size group, do the following:In the Shape Height box, enter 5.09”.In the Shape Width box, enter 2.78”.Also under Drawing Tools, on the Format tab, in the Shape Styles group, click the Format Shape dialog box launcher. In the Format Shape dialog box, click Fill in the left pane, select Gradient fill in the Fill pane, and then click the button next to Preset colors, and then click Silver (fifth row, third option from the left).Also under Gradient stops, customize the gradient stops that you added as follows:Select the first stop in the slider, and then in the Transparency box, enter 50%.Select the next stop in the slider, and then in the Transparency box, enter 50%.Select the next stop in the slider, and then in the Transparency box, enter 50%.Select the next stop in the slider, and then in the Transparency box, enter 30%.Select the next stop in the slider, and then in the Transparency box, enter 50%.Select the last stop in the slider, and then in the Transparency box, enter 0%.Also in the Format Shape dialog box, click Line Color in the left pane, and then select No line in the LineColor pane. Also in the Format Shape dialog box, click 3-D Format in the left pane, and then do the following in the 3-D Format pane:Under Bevel, click the button next to Top, and then under Bevel, click Angle (second row, first option from the left). Next to Top, in the Width box, enter 77 pt, and in the Height box, enter 240 pt.Under Contour, click the button next to Color, and then under Theme Colors click Black, Text 1 (first row, second option from the left).In the Size box, enter 1 pt. Under Surface, click the button next to Material, and then under Translucent click Clear (third option from the left). Click the button next to Lighting, and then under Neutral click Balance (first row, second option from the left). Also in the Format Shape dialog box, click 3-D Rotation in the left pane, and then do the following in the 3-D Rotation pane:Under Rotation, in the X box, enter 65°.In the Y box, enter 315°.In the Z box, enter 280°.Under Object position, in the Distance from ground box, enter 100 pt.Also in the Format Shape dialog box, click Shadow in the left pane, and then do the following in the Shadow pane:Click the button next to Presets, and then under Outer click Offset Diagonal Bottom Right (first row, first option from the left).In the Blur box, enter 40 pt.In the Distance box, enter 23 pt. To reproduce the background effects on this slide, do the following:On the Design tab, in the Background group, click Background Styles, and then click Format Background. In the Format Background dialog box, click Fill in the left pane, select Gradient fill in the Fill pane, and then do the following:In the Type list, select Linear.In the Angle box, enter 90.Under Gradient stops, click Add gradient stops or Remove gradient stops until two stops appear in the slider.Also under Gradient stops, customize the gradient stops as follows:Select the first stop in the slider, and then do the following: In the Position box, enter 50%.Click the button next to Color, and then under Theme Colors click Black, Text 1, Lighter 5% (sixth row, second option from the left).In the Transparency box, enter 0%. Select the first stop in the slider, and then do the following: In the Position box, enter 100%.Click the button next to Color, click More Colors, and then in the Colors dialog box, on the Custom tab, enter values for Red: 107, Green: 123, Blue: 191.In the Transparency box, enter 0%.
  • #16 Transparent 3-D pyramid(Intermediate)To reproduce the shape effects on this slide, do the following:On the Home tab, in theSlides group, click Layout, and then click BlankOn the Home tab, in the Drawing group, click Shapes, and then under BasicShapes click IsoscelesTriangle (first row, third option from the left). On the slide, drag to draw a triangle.Select the triangle. Under Drawing Tools, on the Format tab, in the Size group, do the following:In the Shape Height box, enter 5.09”.In the Shape Width box, enter 2.78”.Also under Drawing Tools, on the Format tab, in the Shape Styles group, click the Format Shape dialog box launcher. In the Format Shape dialog box, click Fill in the left pane, select Gradient fill in the Fill pane, and then click the button next to Preset colors, and then click Silver (fifth row, third option from the left).Also under Gradient stops, customize the gradient stops that you added as follows:Select the first stop in the slider, and then in the Transparency box, enter 50%.Select the next stop in the slider, and then in the Transparency box, enter 50%.Select the next stop in the slider, and then in the Transparency box, enter 50%.Select the next stop in the slider, and then in the Transparency box, enter 30%.Select the next stop in the slider, and then in the Transparency box, enter 50%.Select the last stop in the slider, and then in the Transparency box, enter 0%.Also in the Format Shape dialog box, click Line Color in the left pane, and then select No line in the LineColor pane. Also in the Format Shape dialog box, click 3-D Format in the left pane, and then do the following in the 3-D Format pane:Under Bevel, click the button next to Top, and then under Bevel, click Angle (second row, first option from the left). Next to Top, in the Width box, enter 77 pt, and in the Height box, enter 240 pt.Under Contour, click the button next to Color, and then under Theme Colors click Black, Text 1 (first row, second option from the left).In the Size box, enter 1 pt. Under Surface, click the button next to Material, and then under Translucent click Clear (third option from the left). Click the button next to Lighting, and then under Neutral click Balance (first row, second option from the left). Also in the Format Shape dialog box, click 3-D Rotation in the left pane, and then do the following in the 3-D Rotation pane:Under Rotation, in the X box, enter 65°.In the Y box, enter 315°.In the Z box, enter 280°.Under Object position, in the Distance from ground box, enter 100 pt.Also in the Format Shape dialog box, click Shadow in the left pane, and then do the following in the Shadow pane:Click the button next to Presets, and then under Outer click Offset Diagonal Bottom Right (first row, first option from the left).In the Blur box, enter 40 pt.In the Distance box, enter 23 pt. To reproduce the background effects on this slide, do the following:On the Design tab, in the Background group, click Background Styles, and then click Format Background. In the Format Background dialog box, click Fill in the left pane, select Gradient fill in the Fill pane, and then do the following:In the Type list, select Linear.In the Angle box, enter 90.Under Gradient stops, click Add gradient stops or Remove gradient stops until two stops appear in the slider.Also under Gradient stops, customize the gradient stops as follows:Select the first stop in the slider, and then do the following: In the Position box, enter 50%.Click the button next to Color, and then under Theme Colors click Black, Text 1, Lighter 5% (sixth row, second option from the left).In the Transparency box, enter 0%. Select the first stop in the slider, and then do the following: In the Position box, enter 100%.Click the button next to Color, click More Colors, and then in the Colors dialog box, on the Custom tab, enter values for Red: 107, Green: 123, Blue: 191.In the Transparency box, enter 0%.