Download to read offline

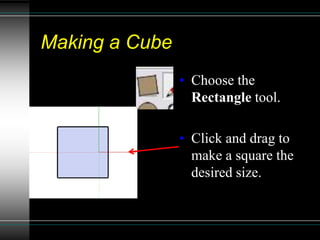
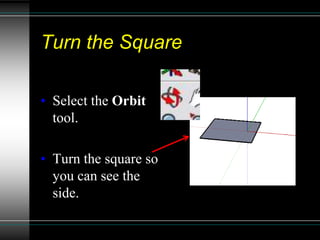
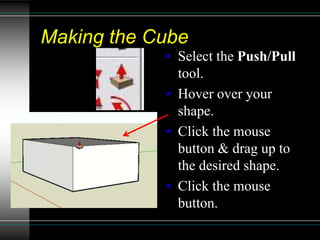
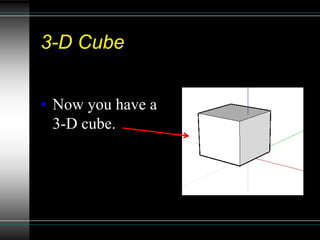
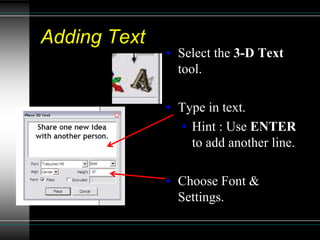
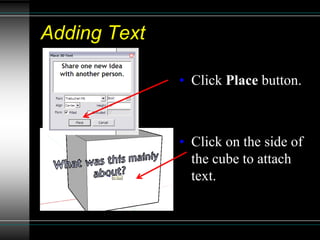
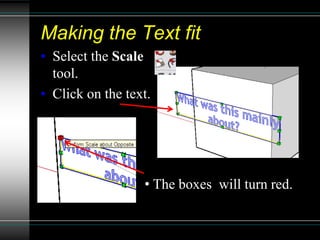
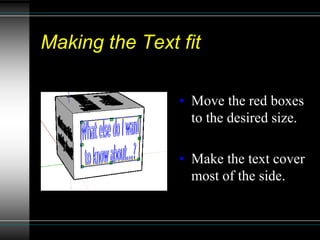
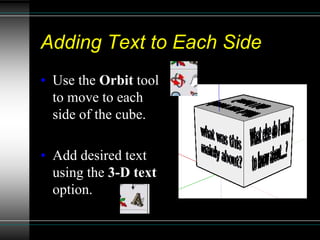
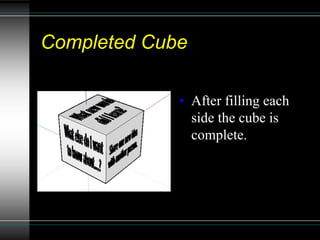

This document provides instructions for creating a 3D cube with text labels in Google SketchUp. It outlines downloading and opening SketchUp, using the rectangle, push/pull, scale, 3D text and orbit tools to first make a square, extrude it into a cube, and then add and size text to each side. The summary provides a step-by-step process for making a basic 3D modeled cube with labeling in SketchUp.