Downloaded 264 times

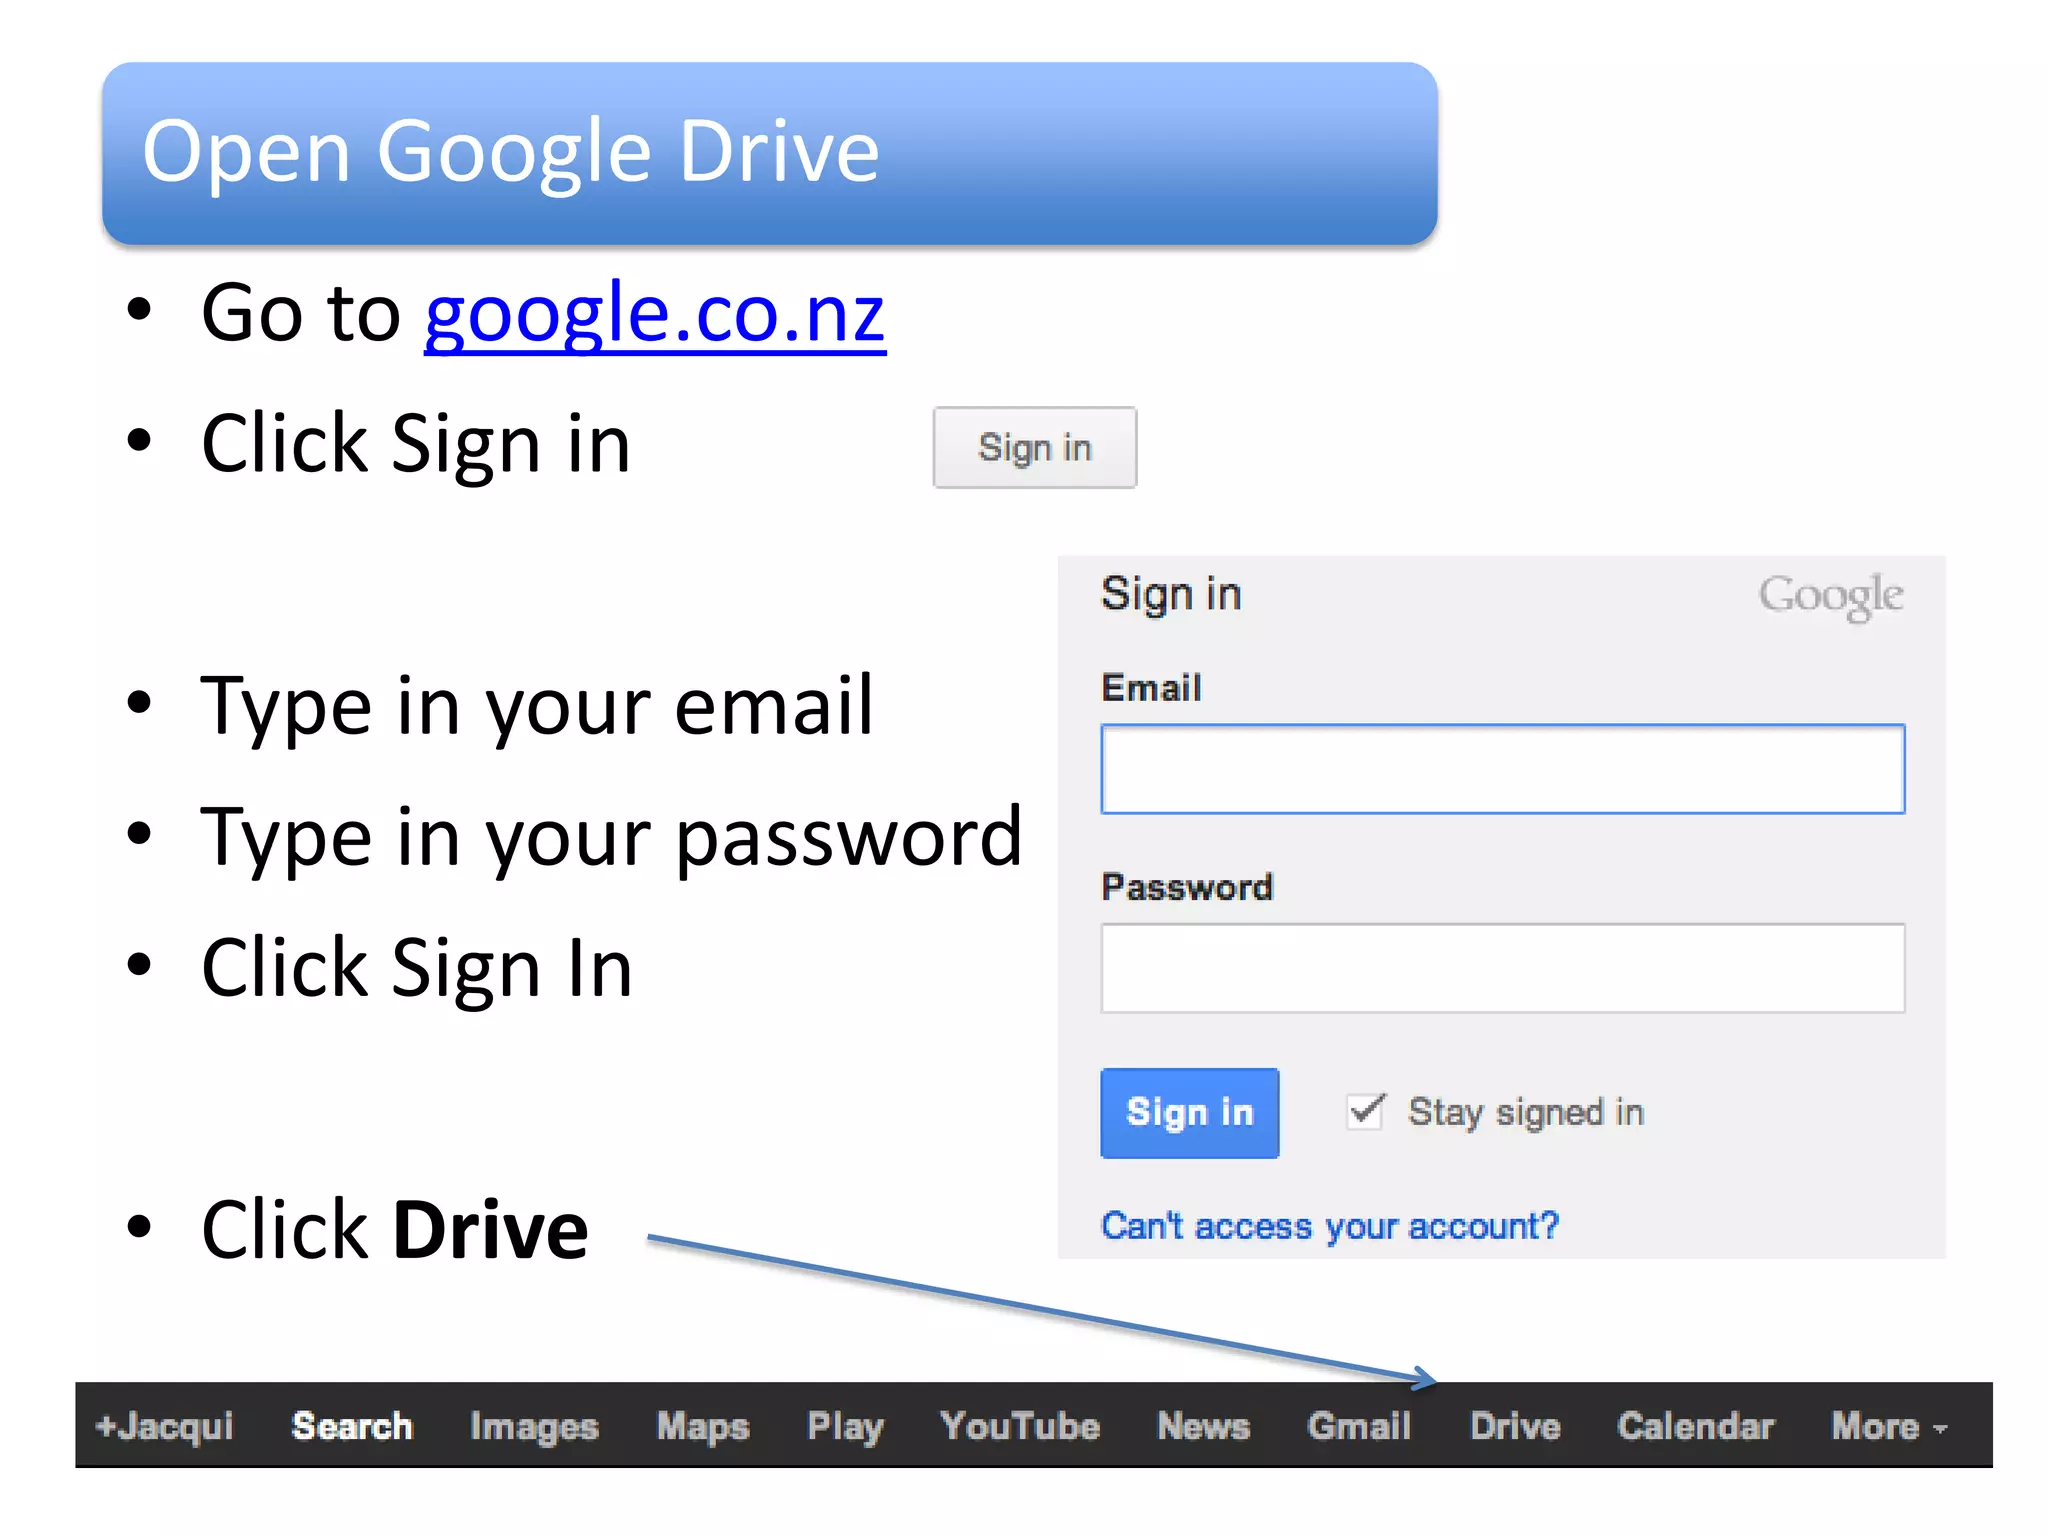
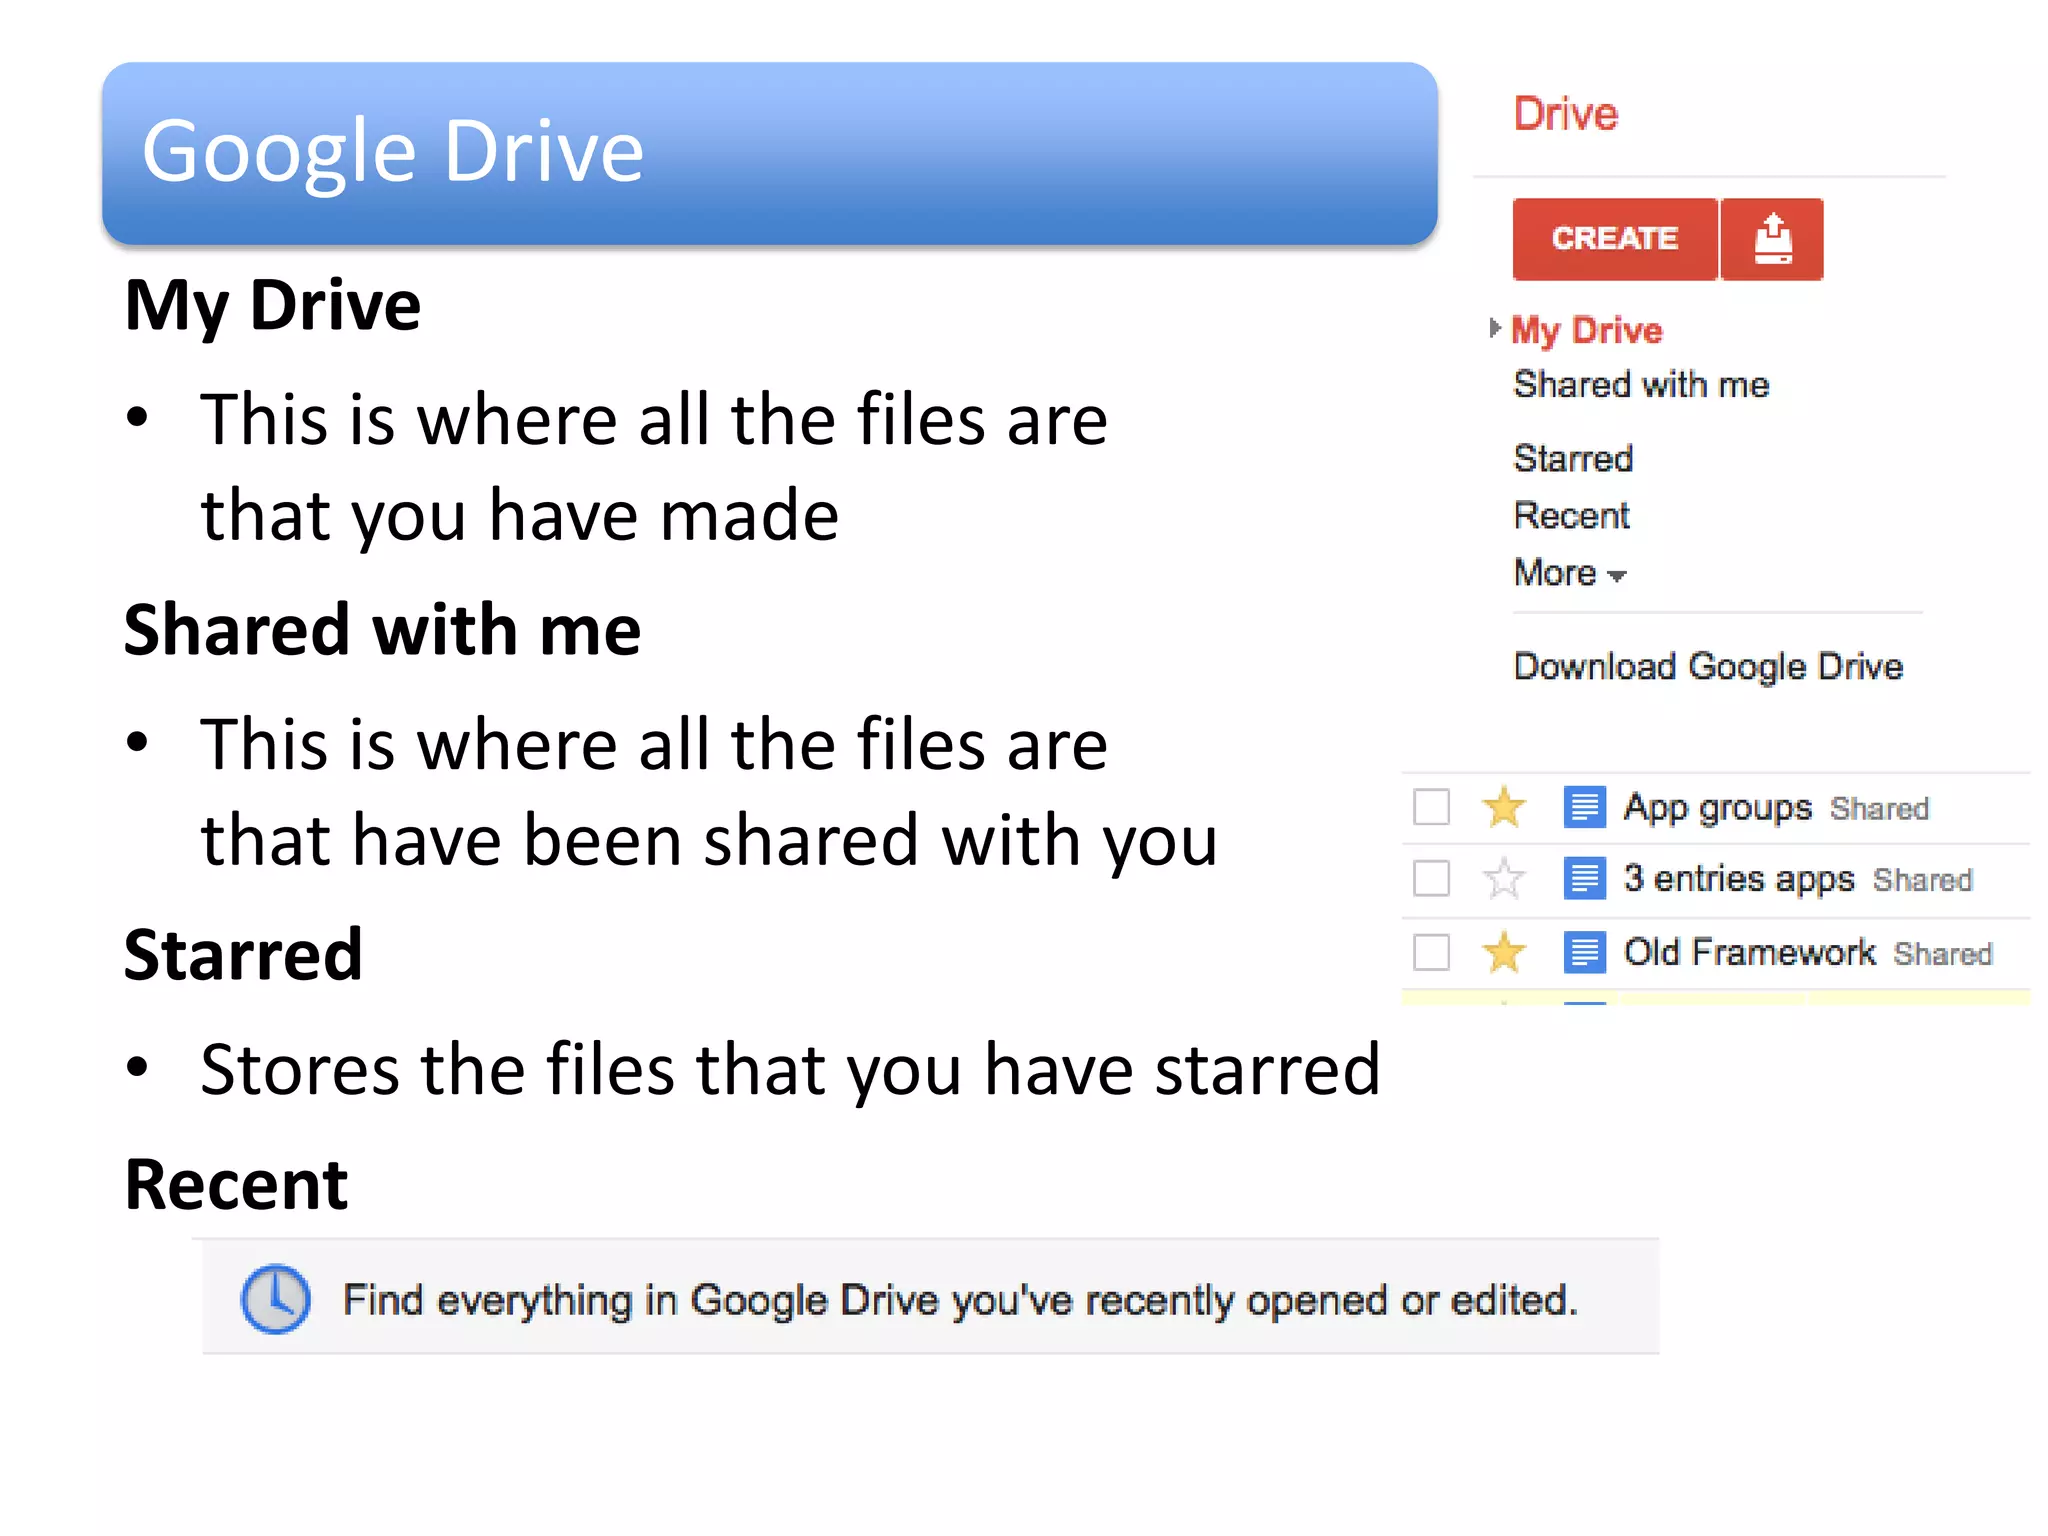
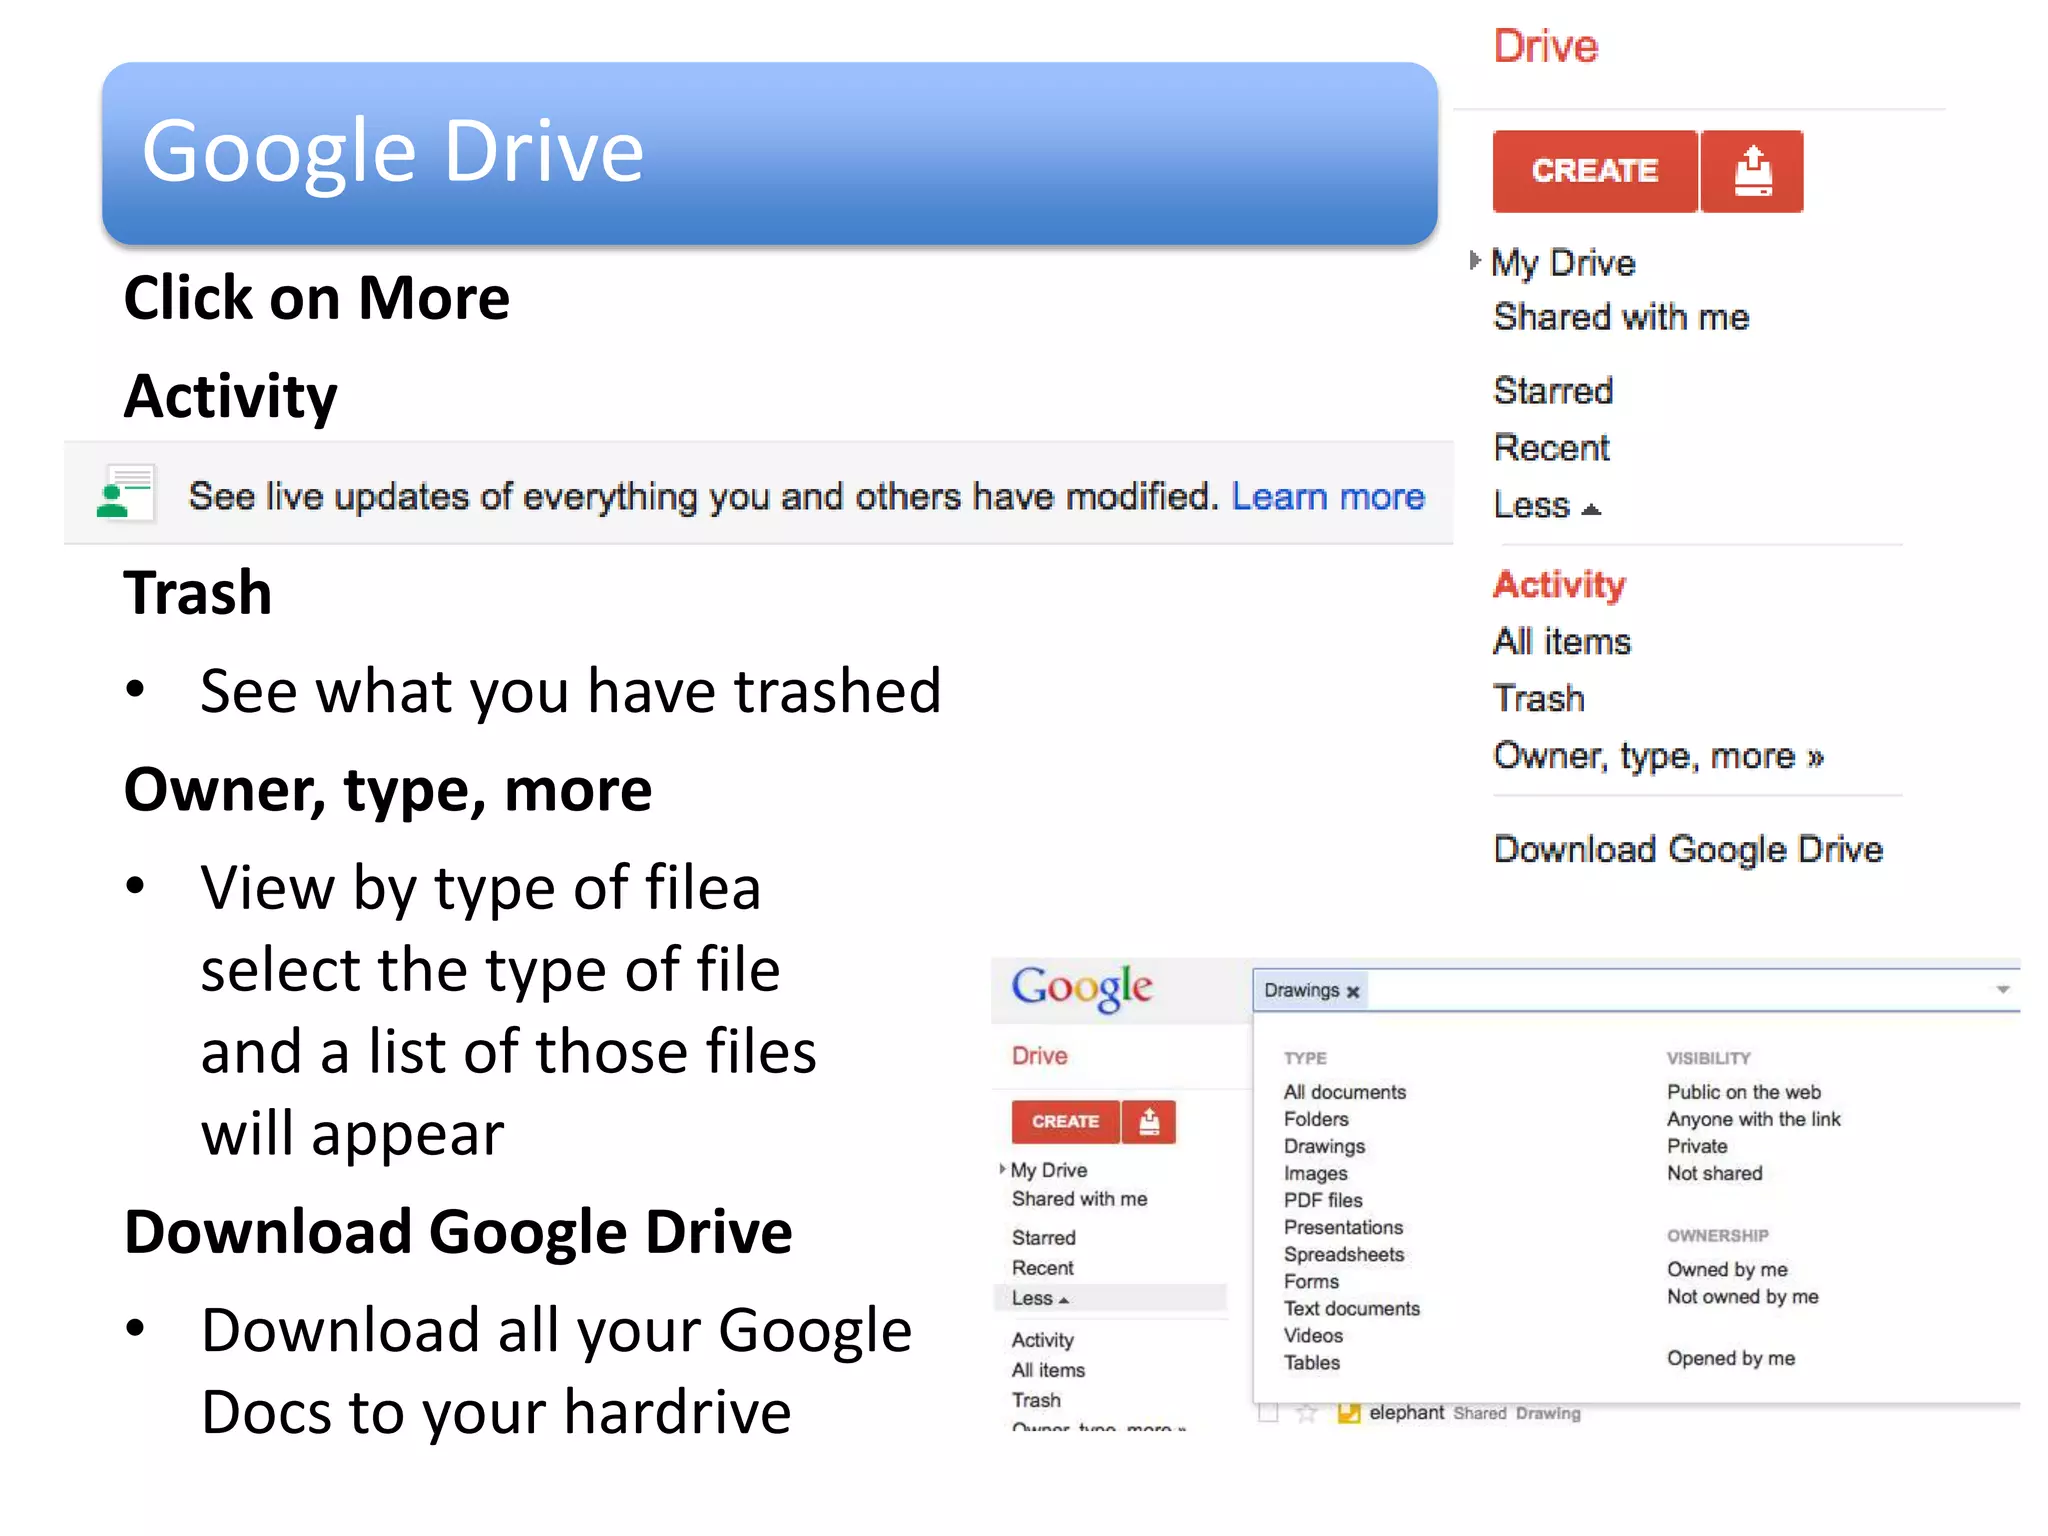
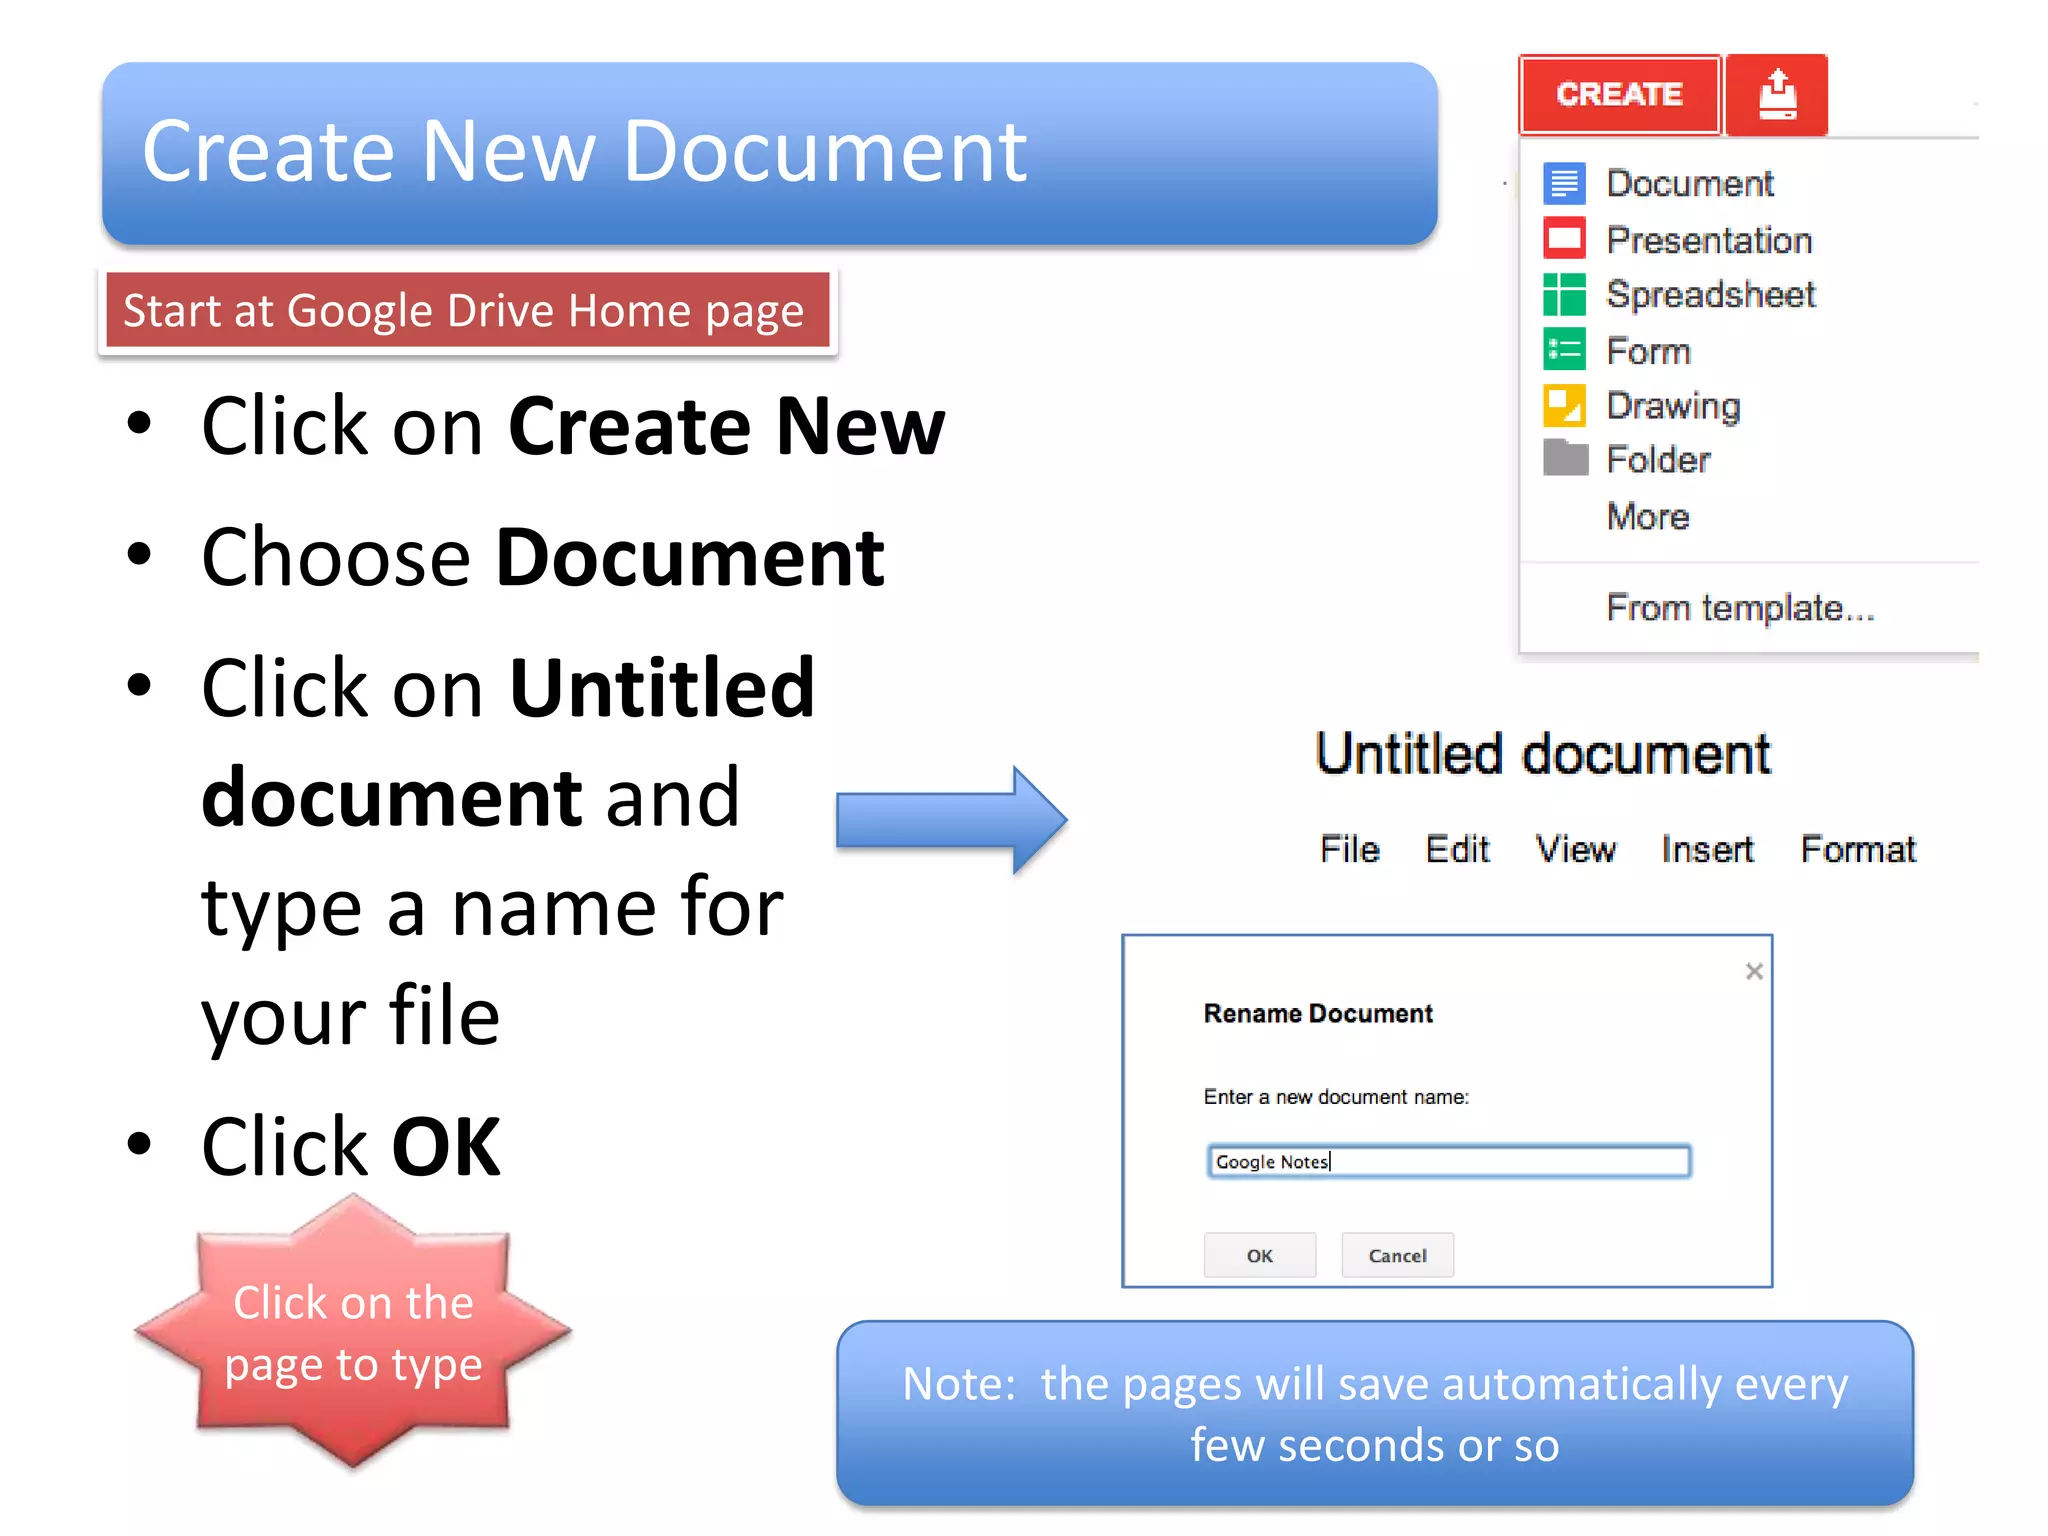


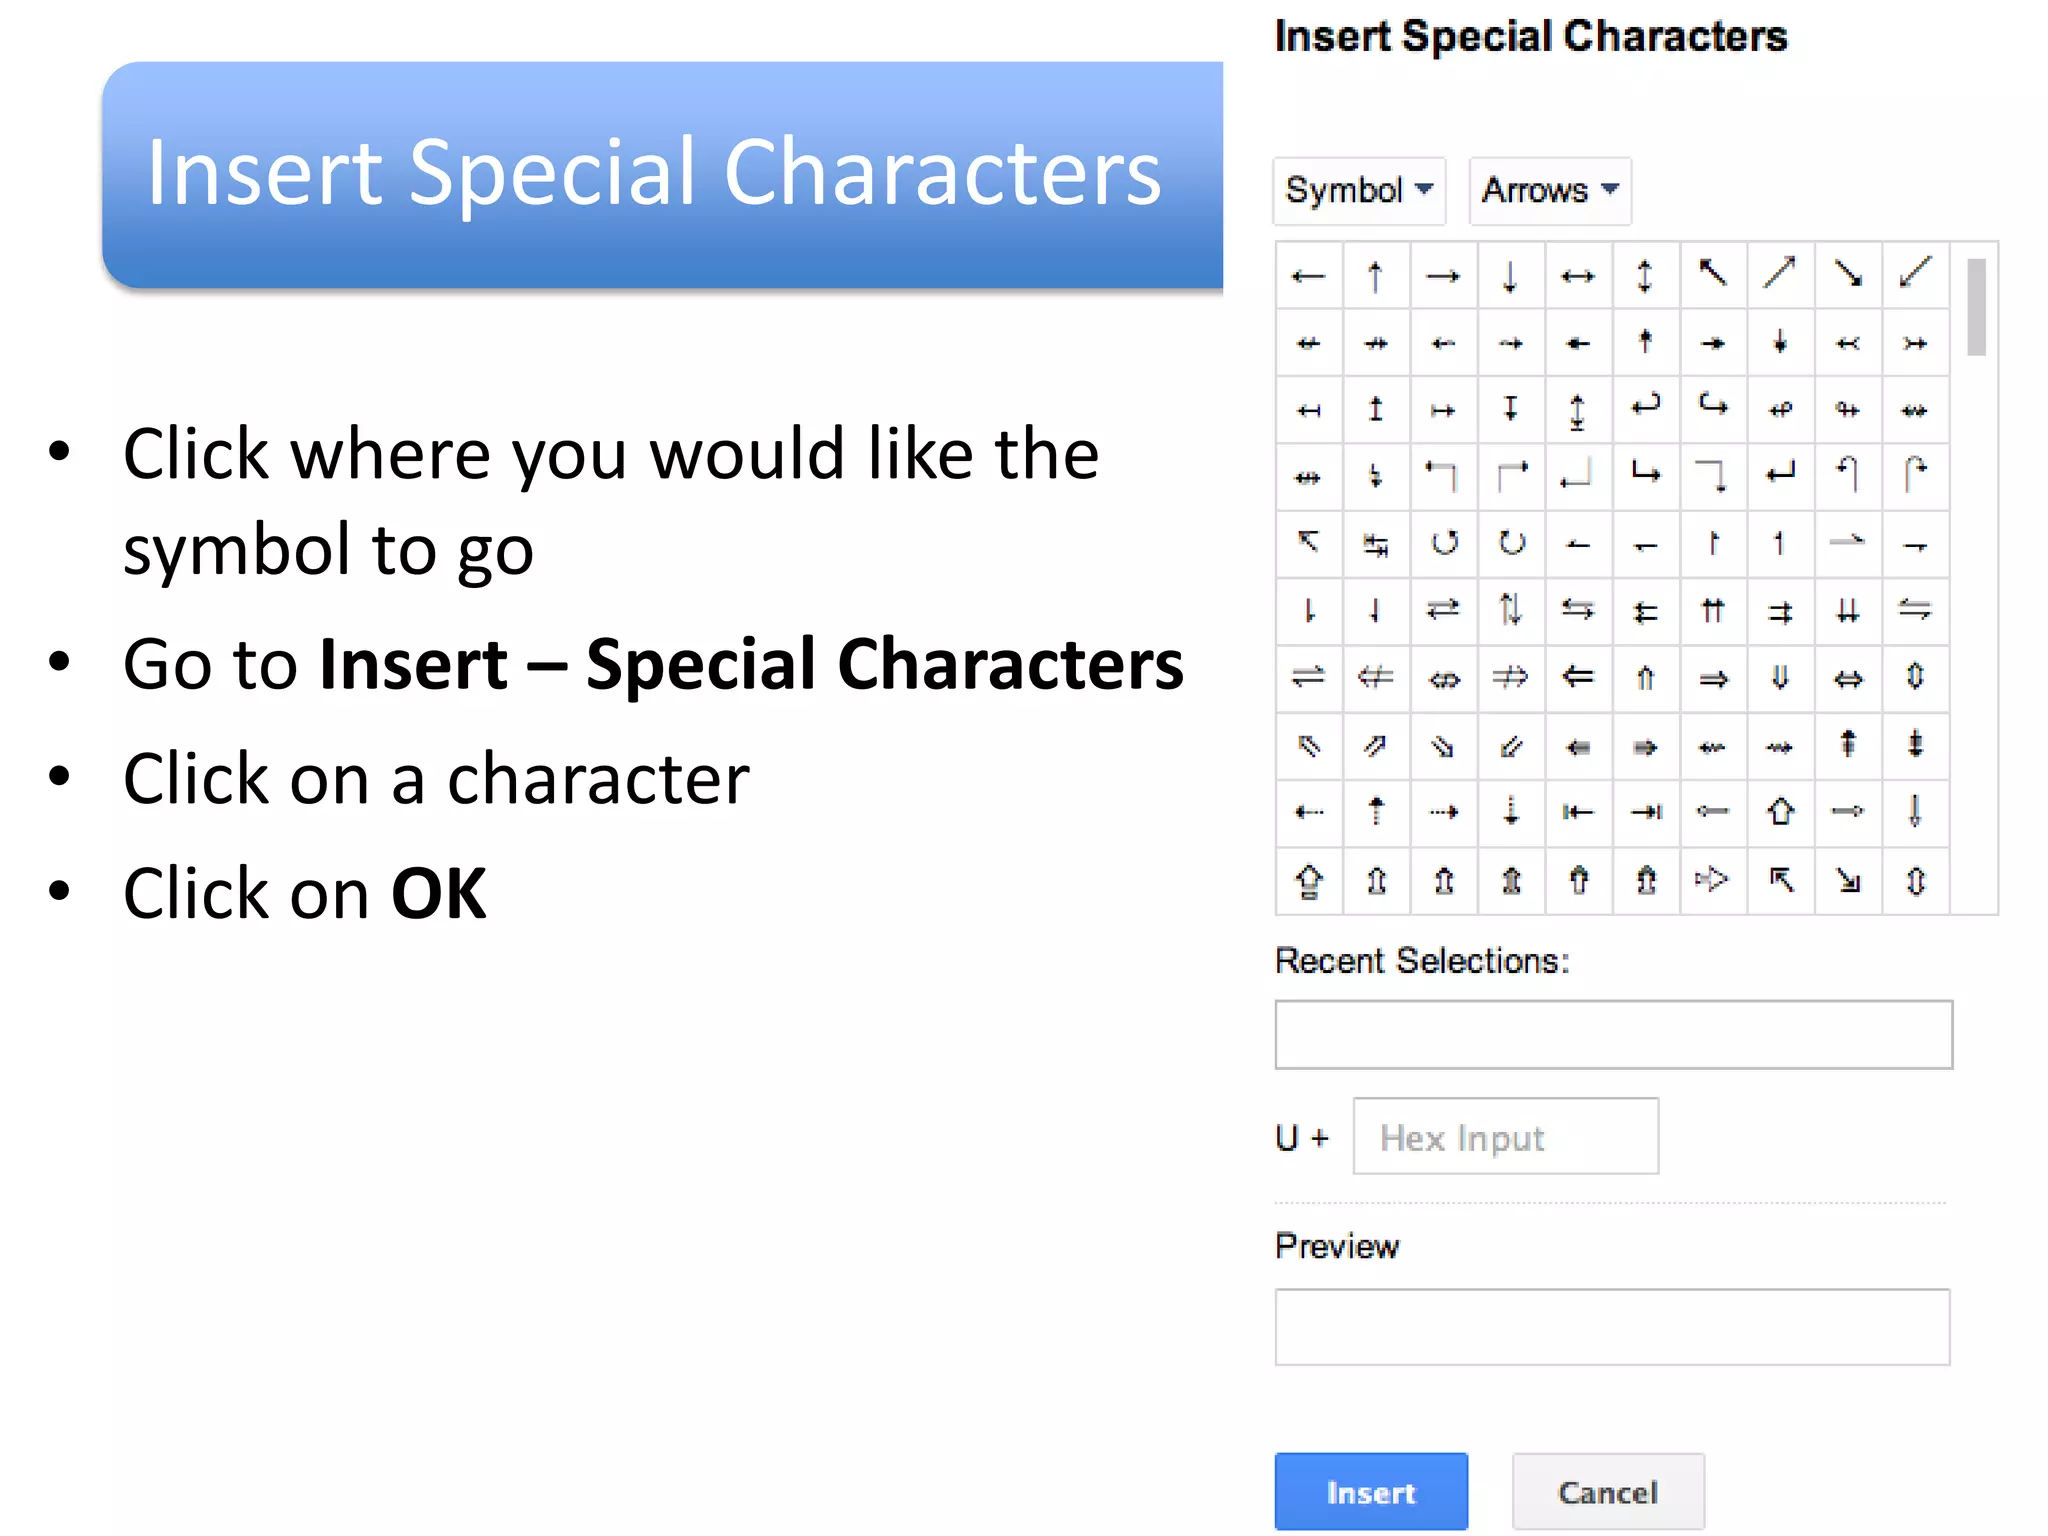
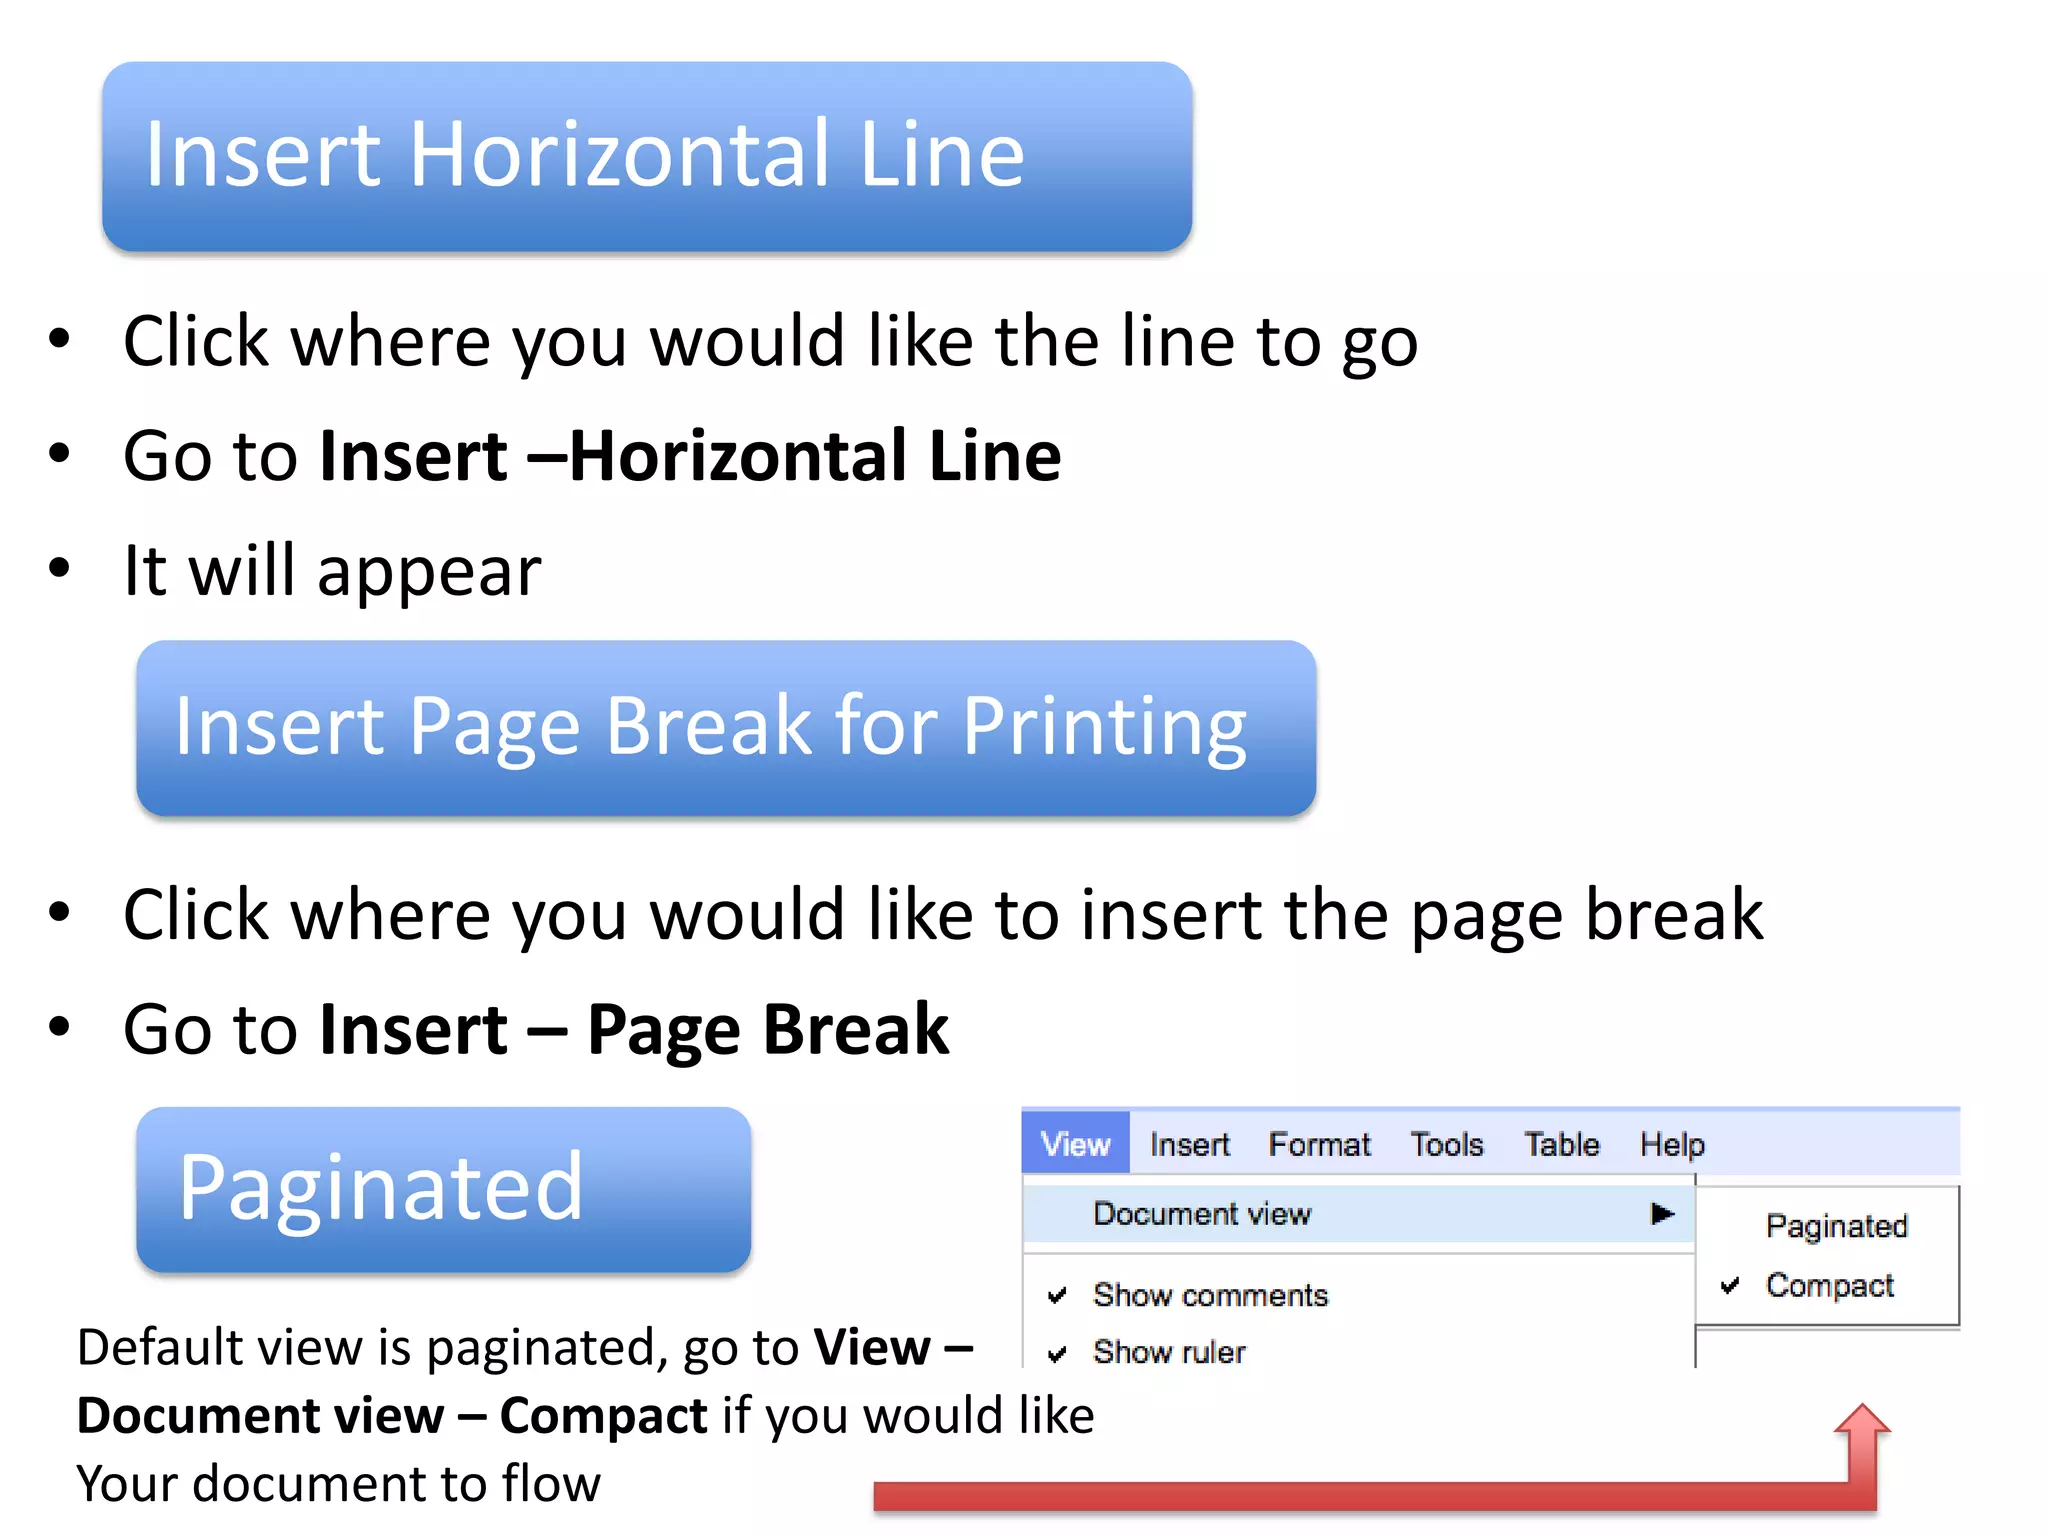
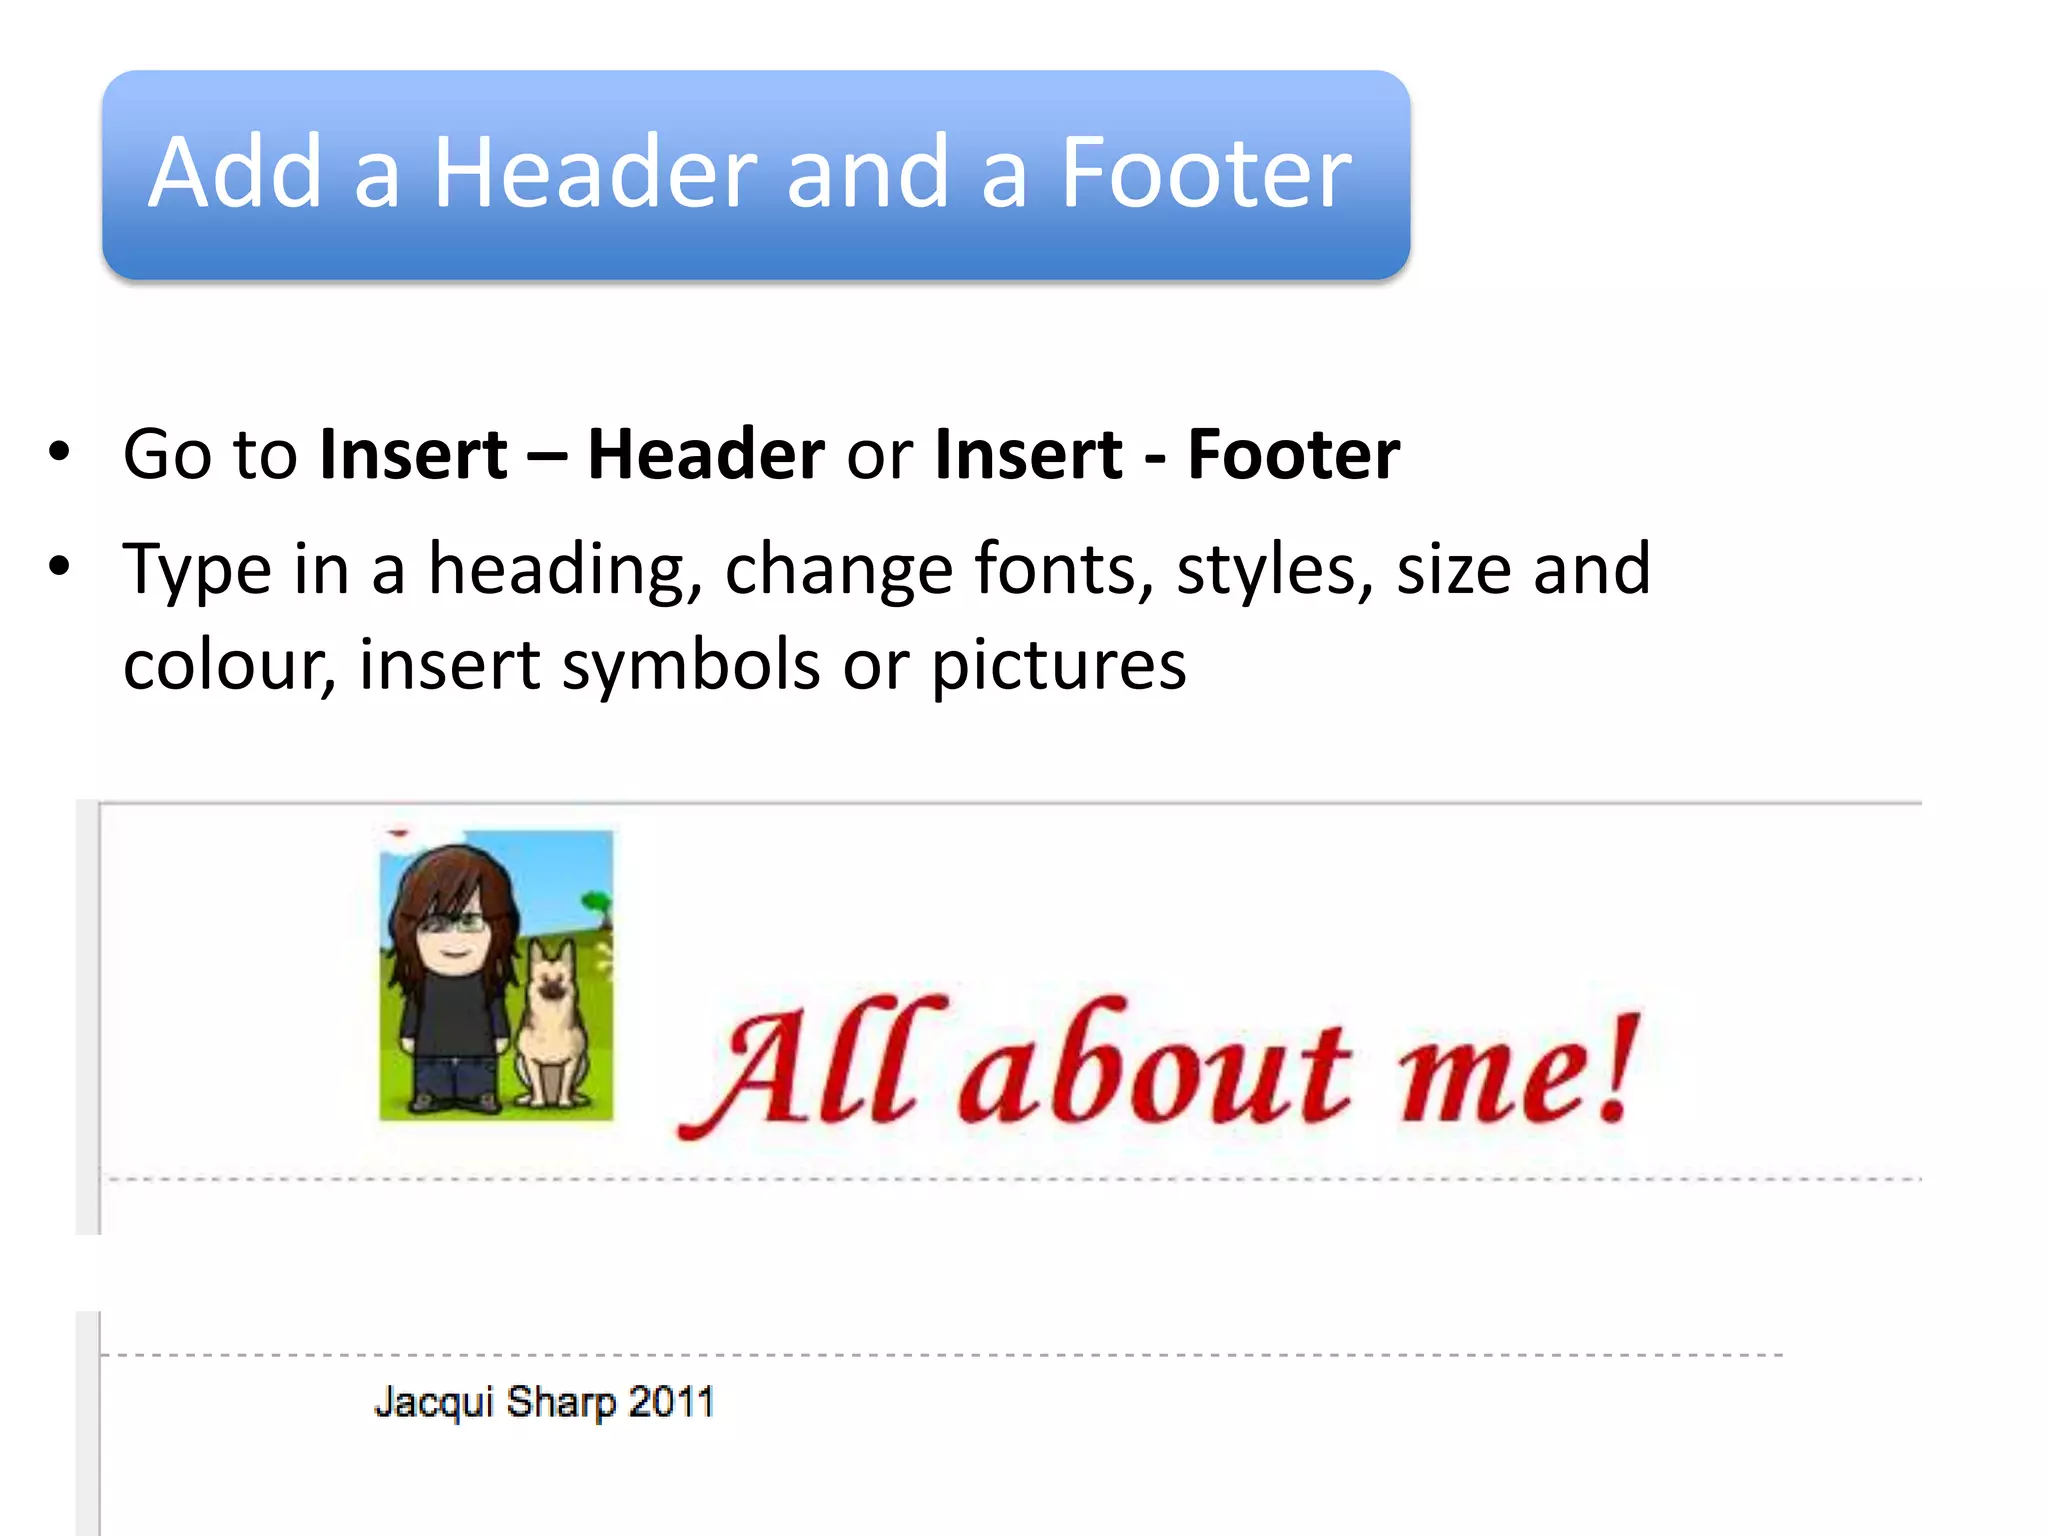
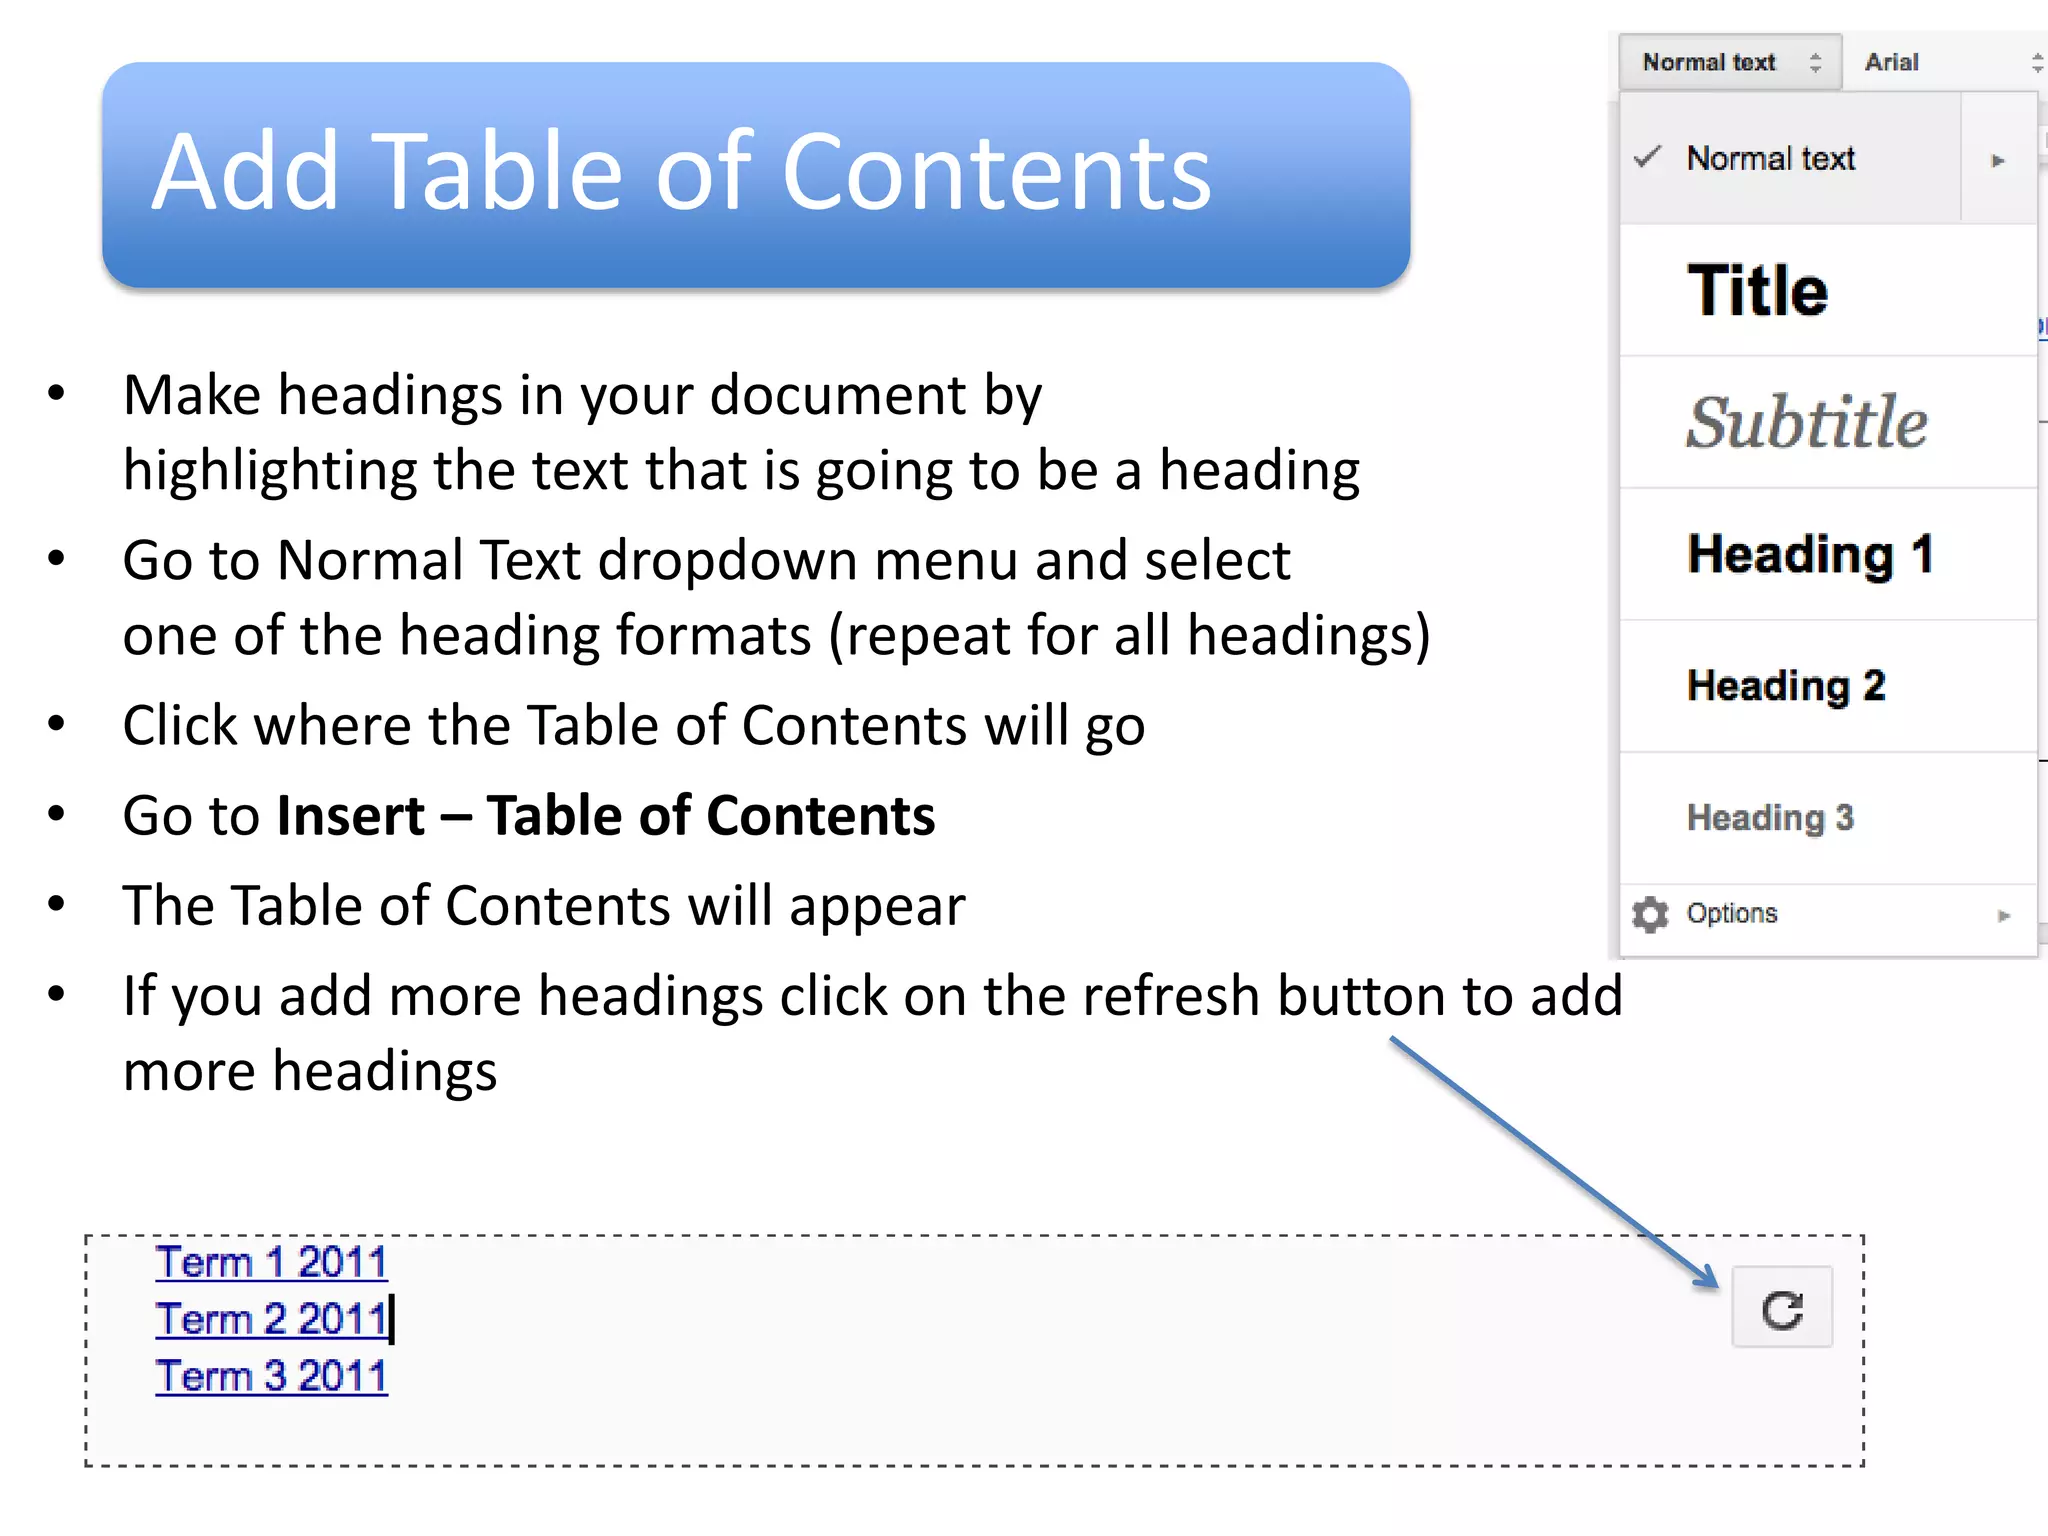


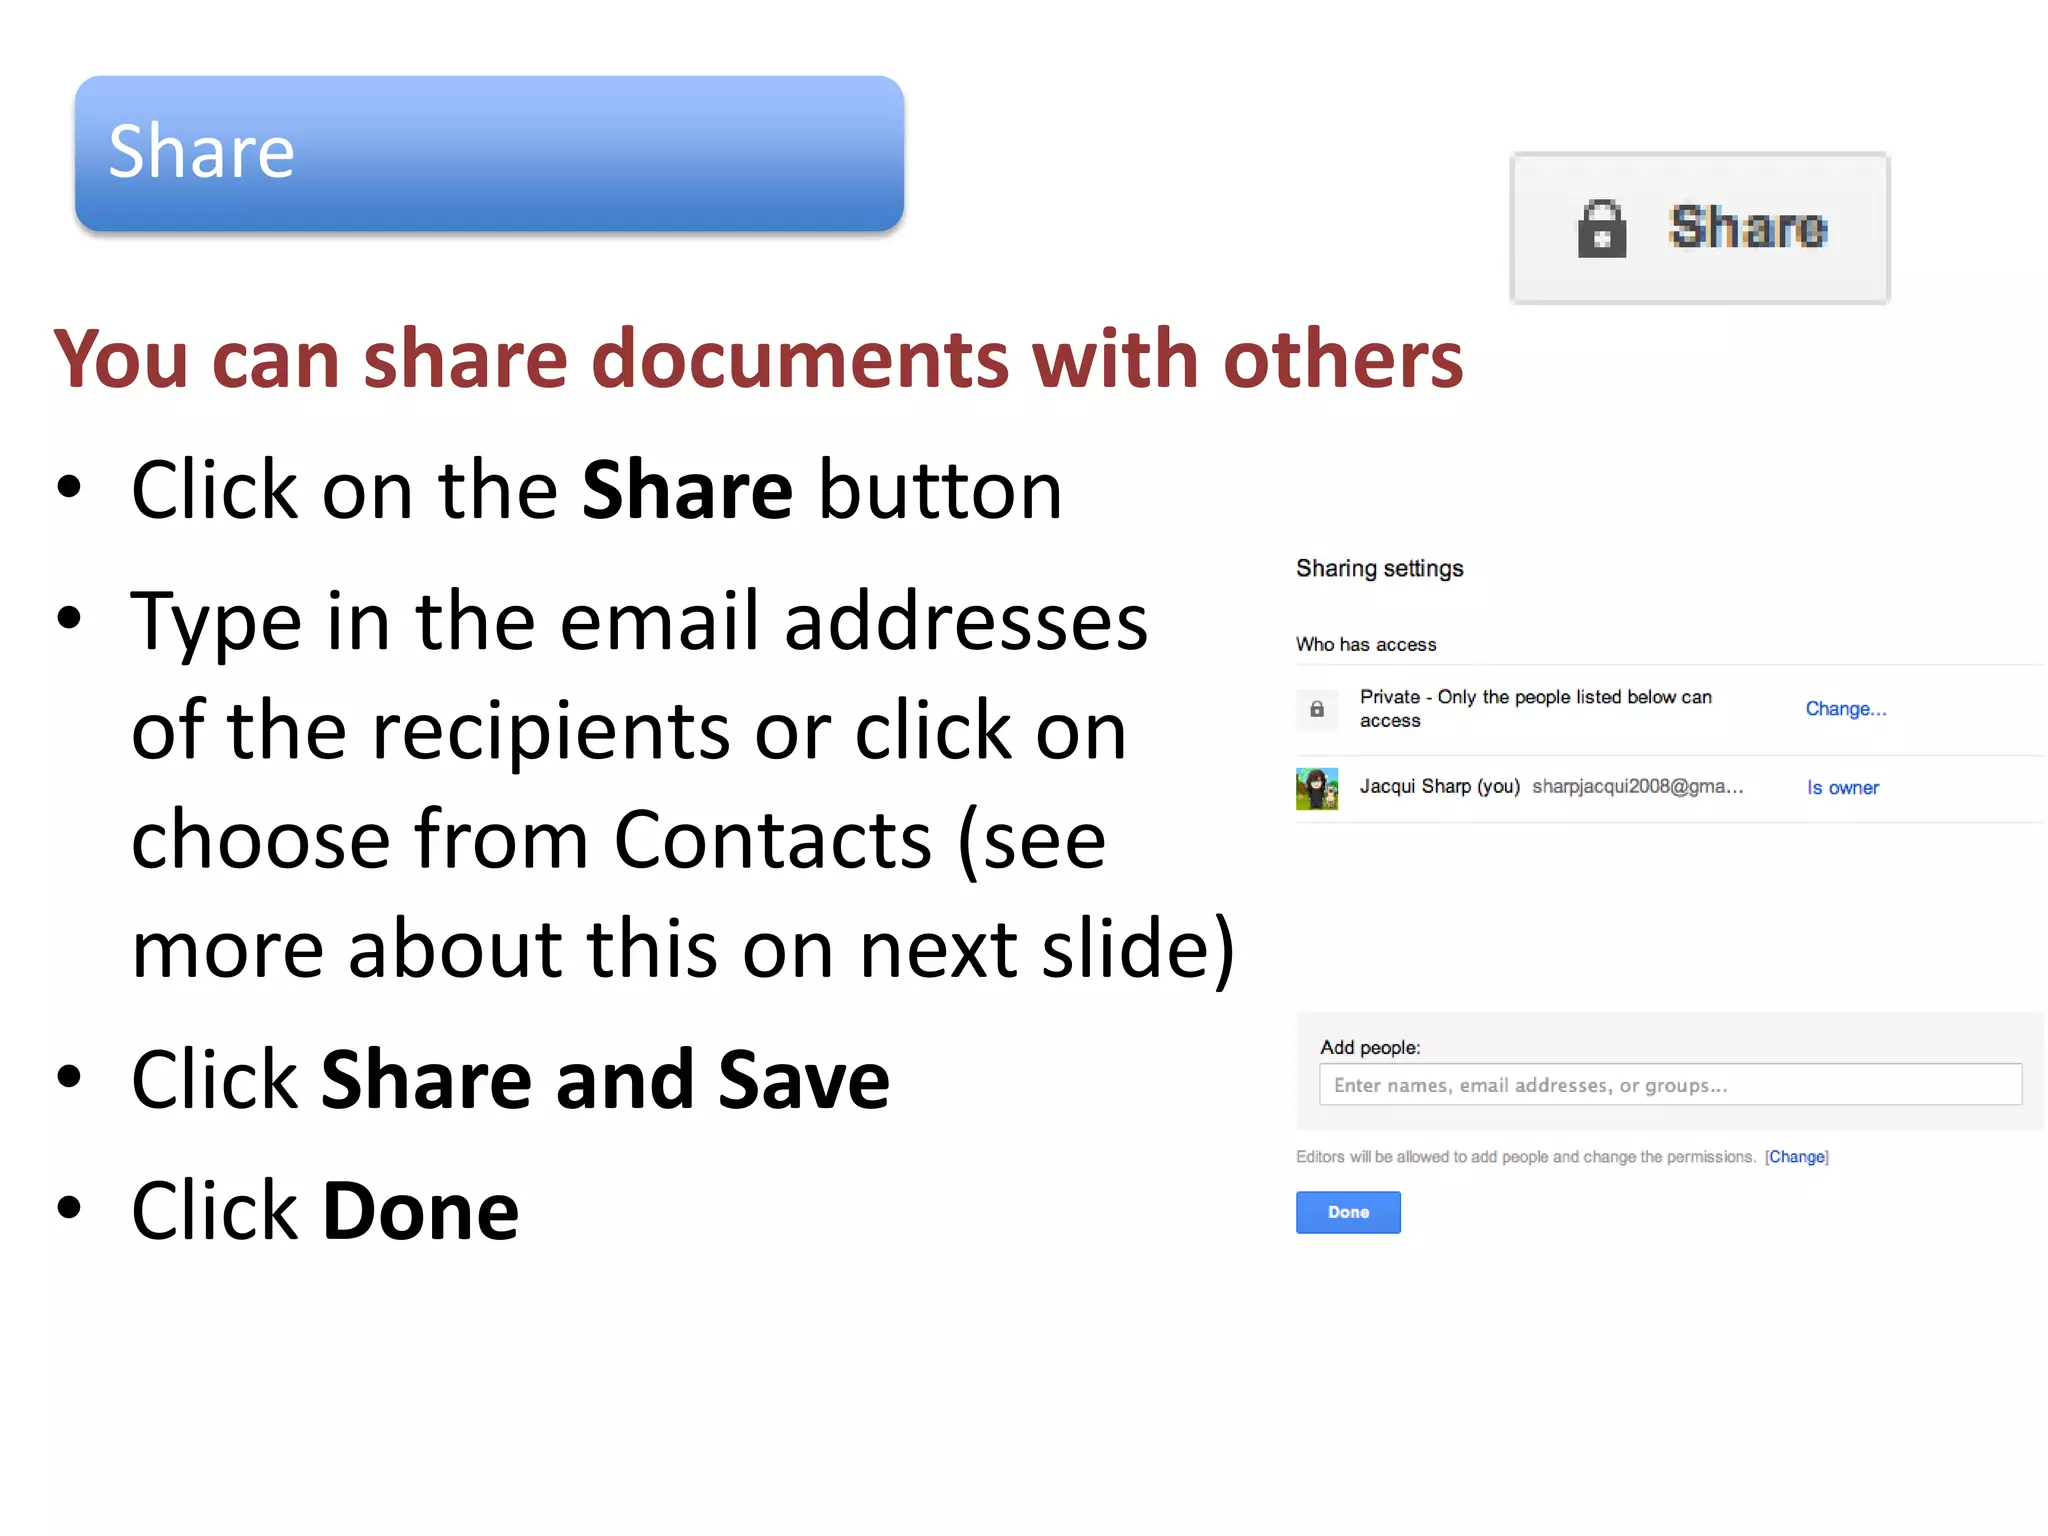
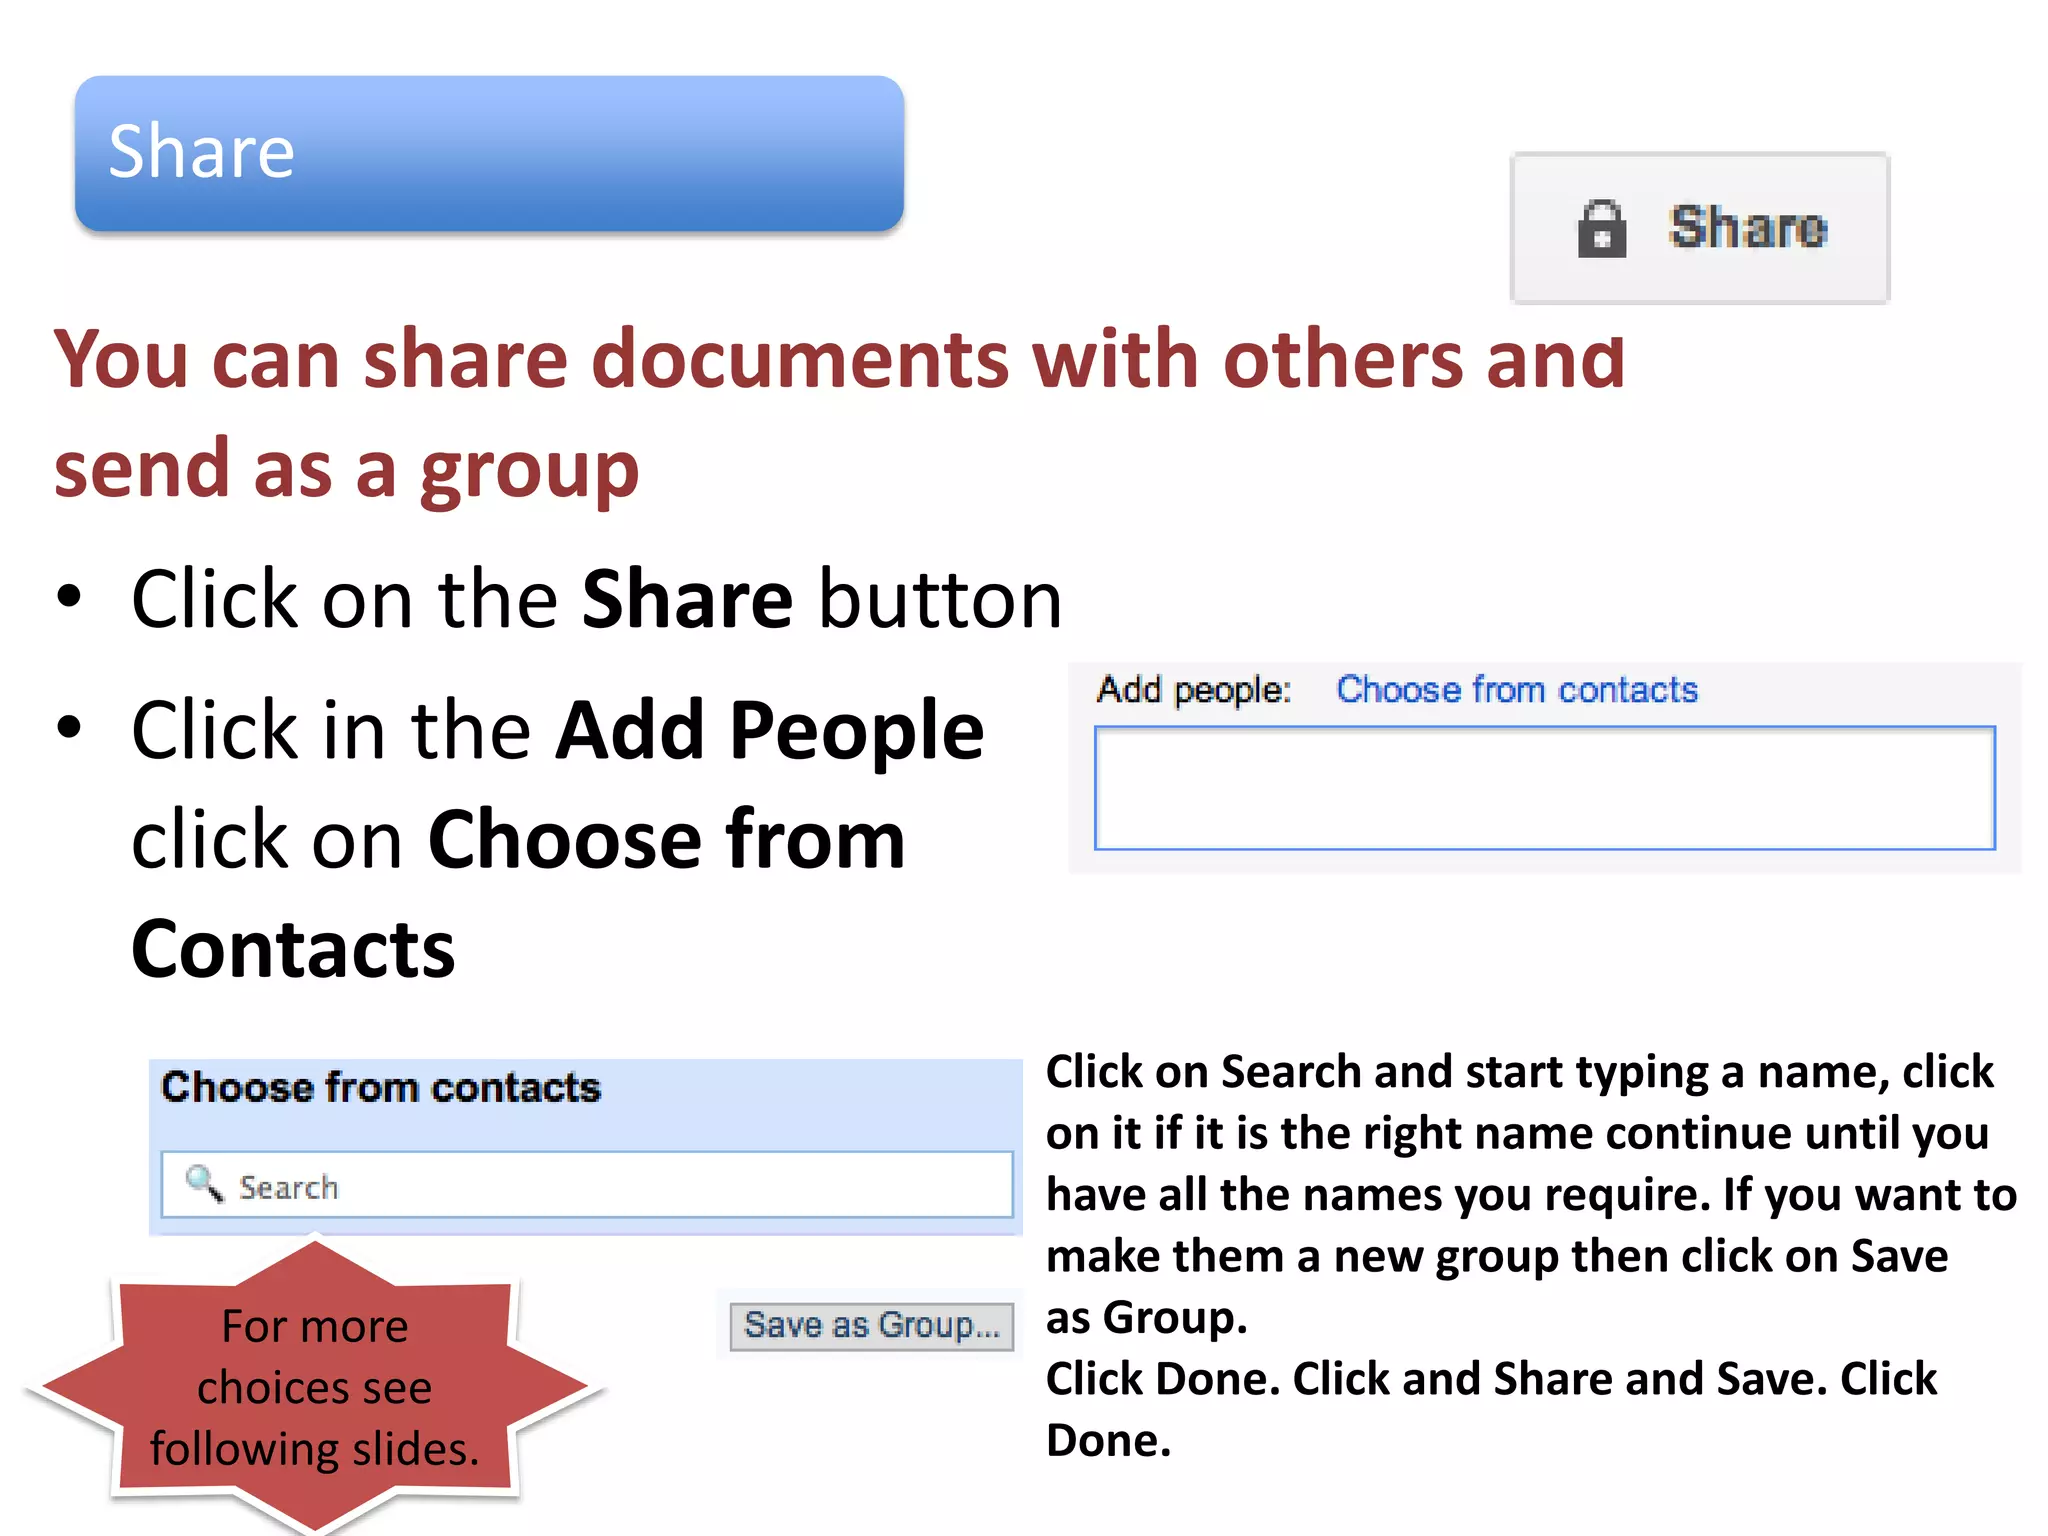


Google Drive allows users to create, edit, store and share files online. Key features include: - Creating and editing documents, spreadsheets and presentations using Google Docs, Sheets and Slides. Files are automatically saved. - Organizing files into folders within My Drive to keep work organized. Files and folders can also be shared with other users. - Inserting images, drawings, comments, headers and footers, tables and more into documents for enhanced formatting and collaboration. - Publishing documents online to embed and share on websites and blogs, as well as downloading files to a local computer.


