Download to read offline


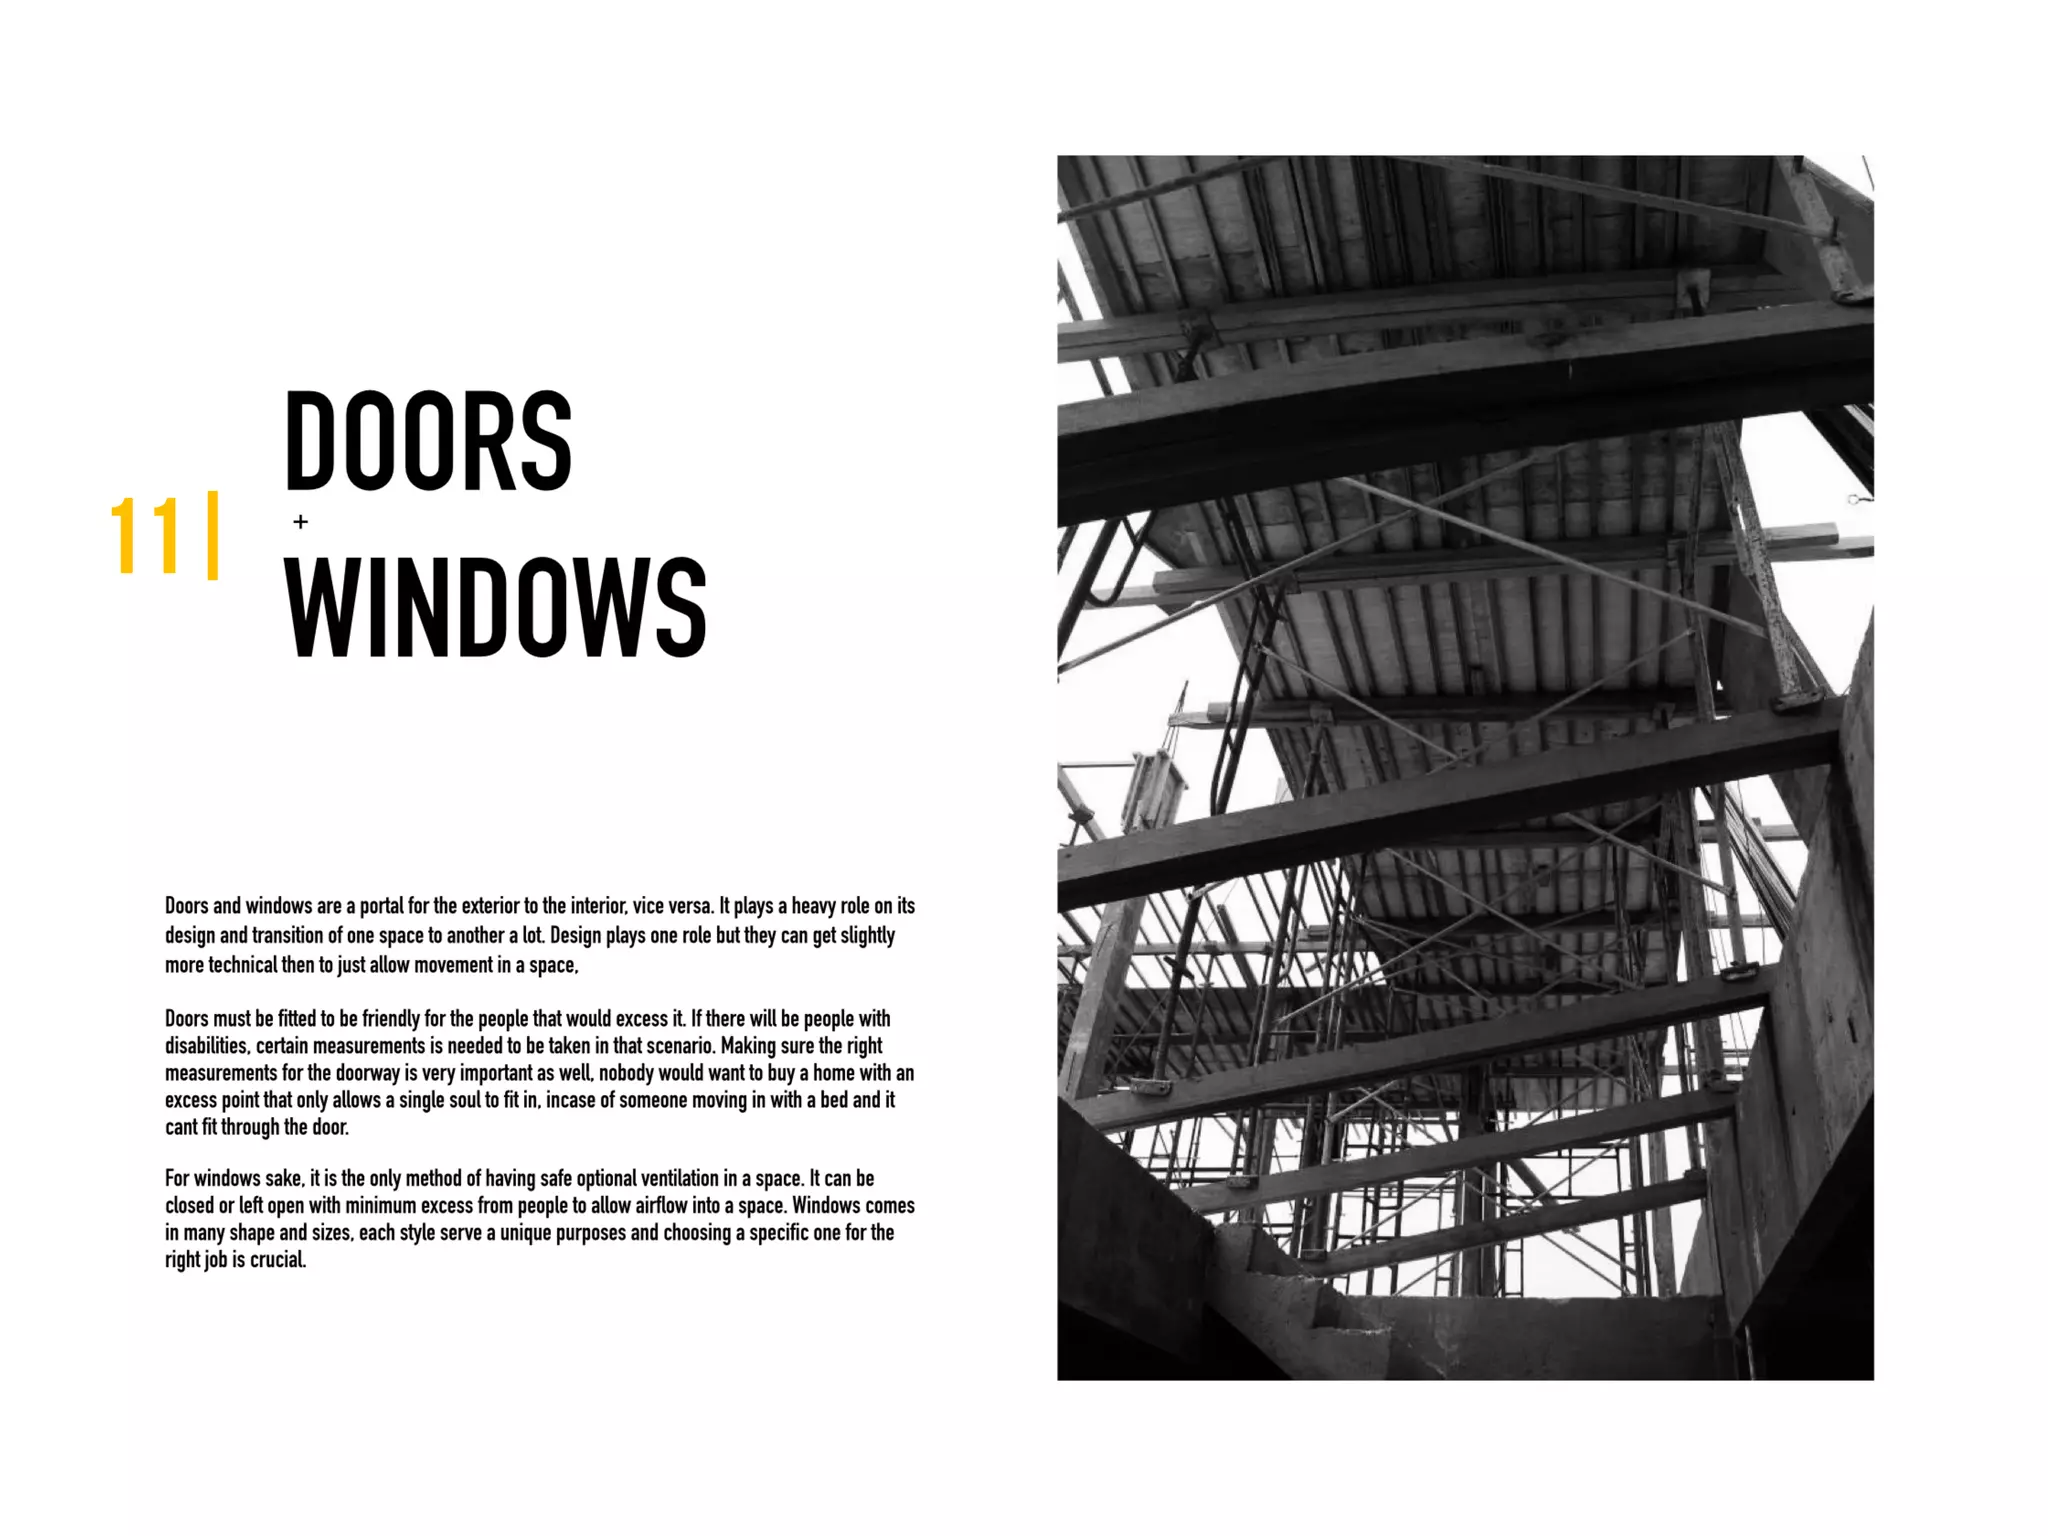


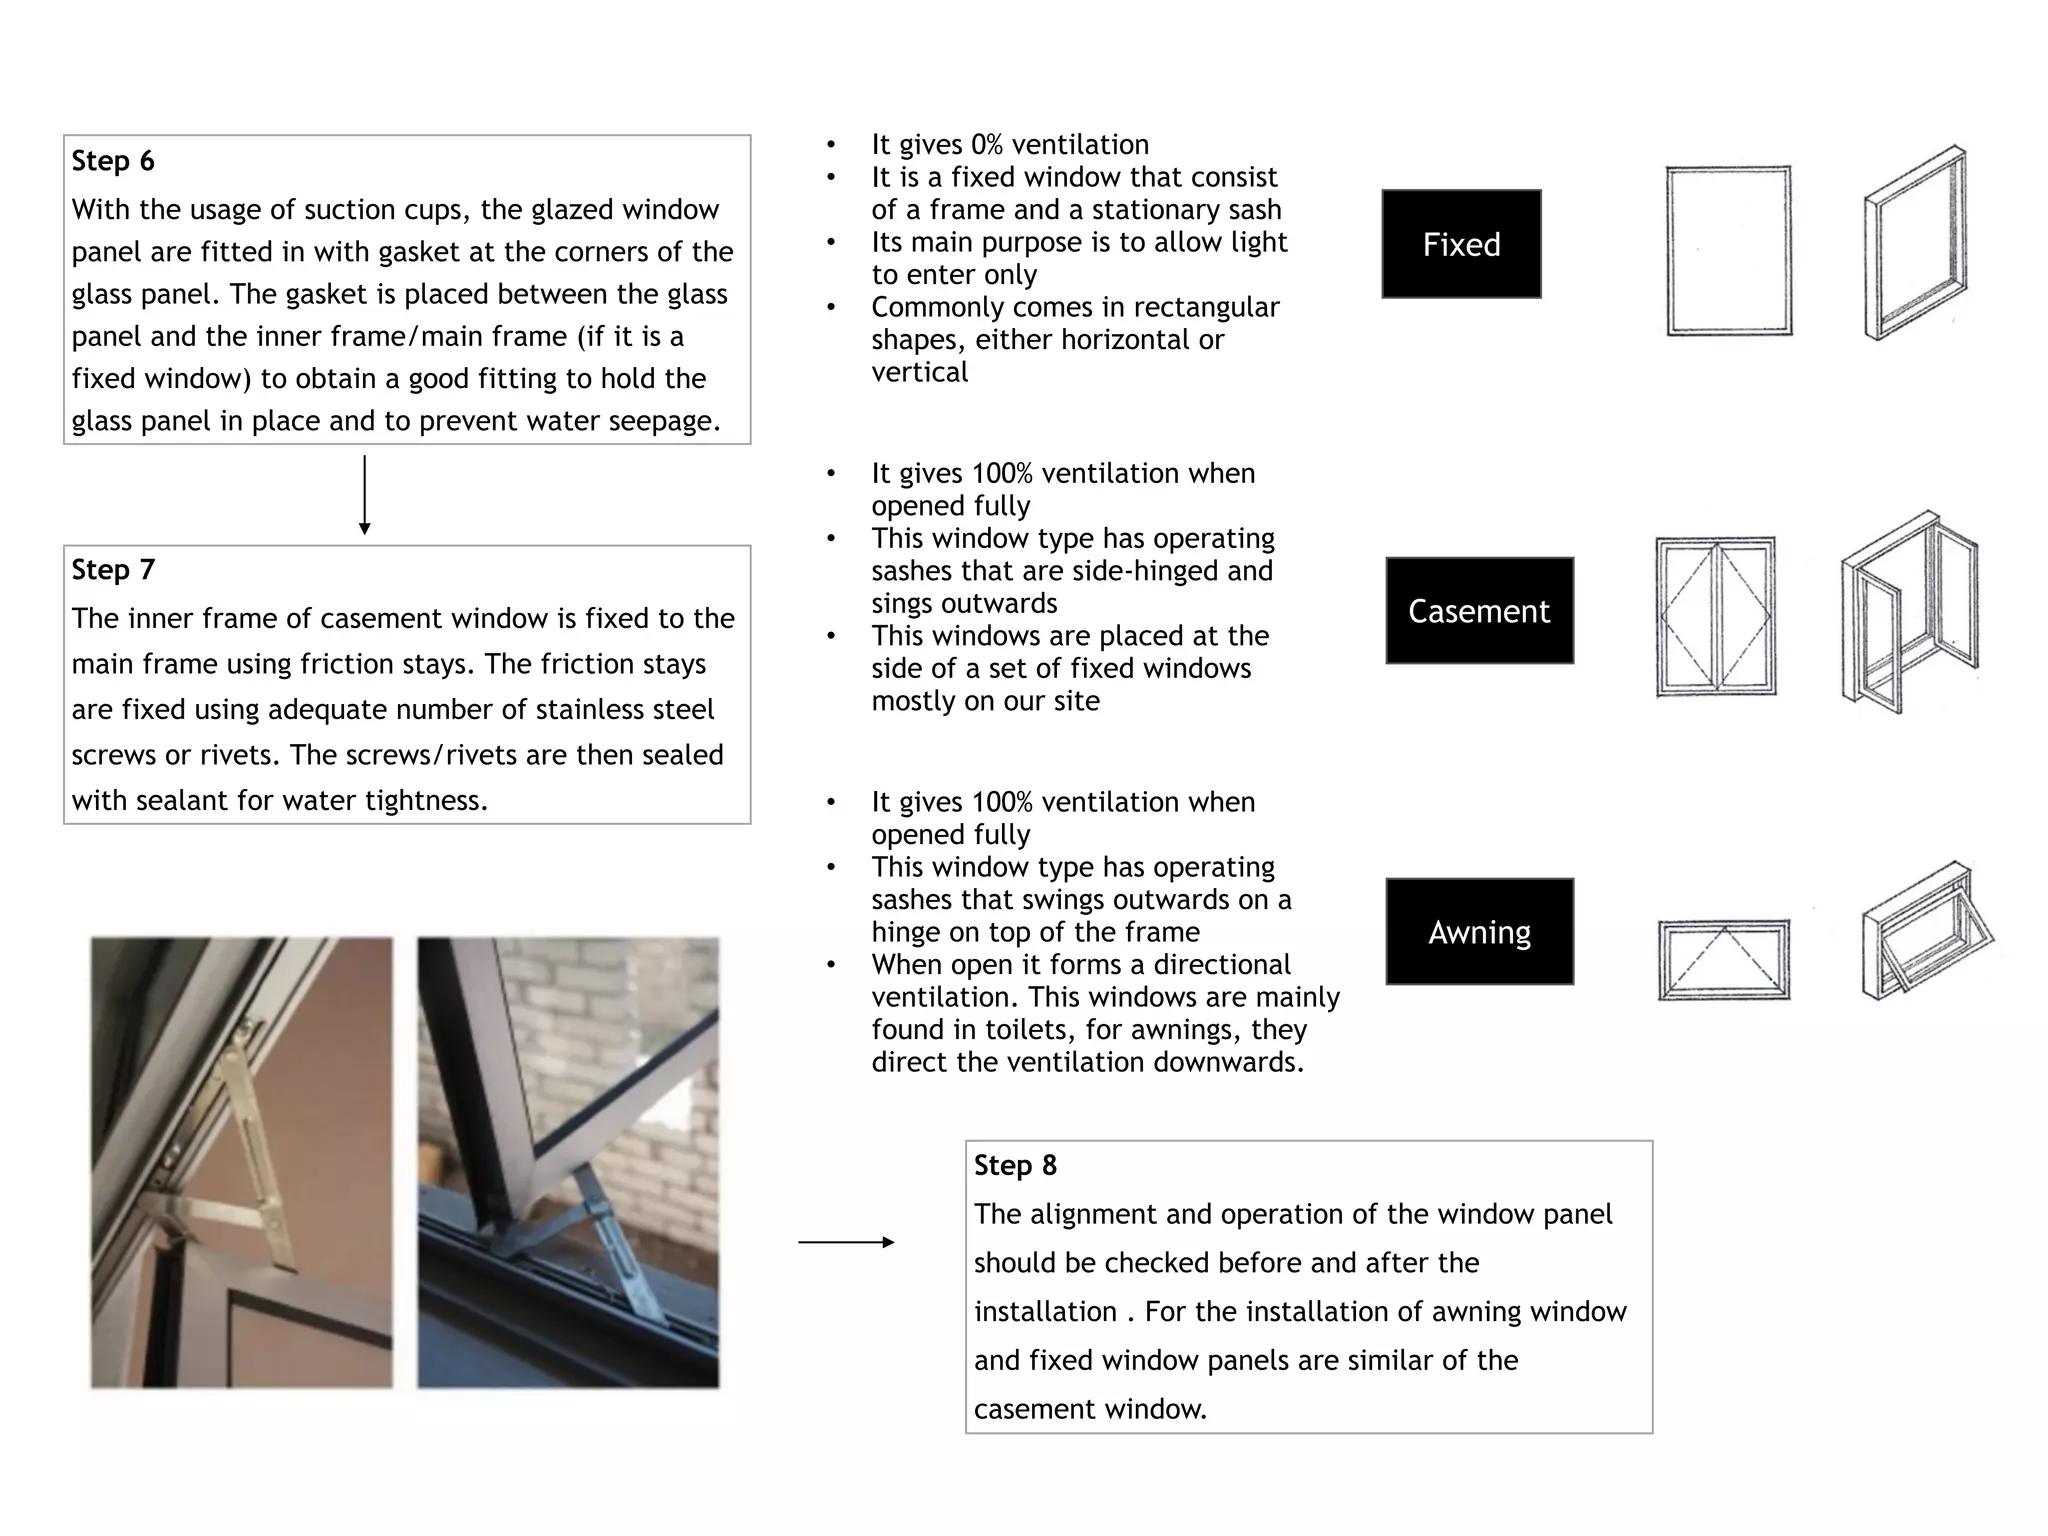


This document provides step-by-step instructions for installing doors and windows. For doors, it describes measuring the opening, aligning the frame and securing it with wedges, installing the door panel with hinges and the lockset. For windows, it explains confirming the sub-frame layout, fixing the main frame, installing the glazed panel with gaskets, and checking the operation. Common door and window types are also defined, such as fixed, casement and awning windows. The document aims to clearly explain the installation process for these building elements.


![Lecture 7[1]](https://cdn.slidesharecdn.com/ss_thumbnails/lecture71-190506153702-thumbnail.jpg?width=640&height=640&fit=bounds)