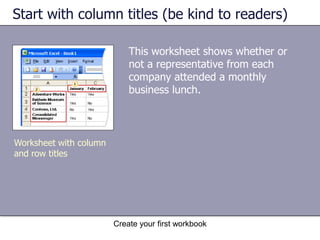
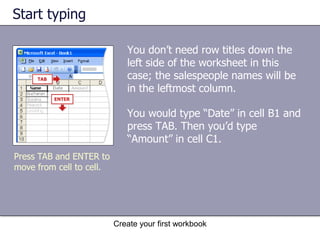
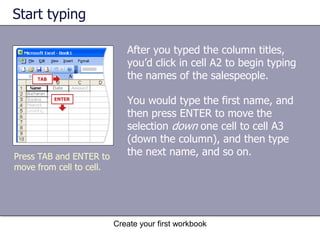
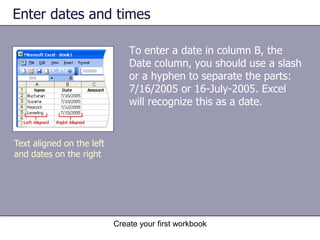
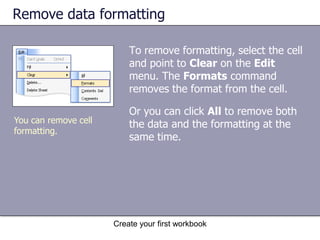
This document provides an overview and lessons for a Microsoft Excel 2003 training course on creating a workbook. It covers topics such as creating and navigating workbooks and worksheets, entering different types of data into cells including text, numbers, dates and times, and editing data. It also discusses formatting cells and removing formatting. The lessons include objectives, instructions, examples and practice questions.
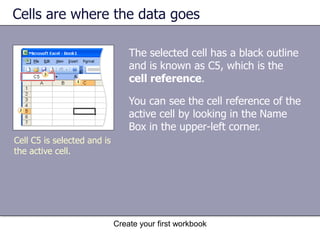
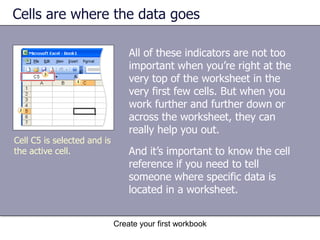
![[Your company name] presents:Microsoft® Office Excel®2003 TrainingCreate your first workbook](https://image.slidesharecdn.com/excellecture-091005155249-phpapp02/85/Excel-Lecture-1-320.jpg)
![[Your company name] presents:Microsoft® Office Excel®2003 TrainingCreate your first workbook](https://image.slidesharecdn.com/excellecture-091005155249-phpapp02/75/Excel-Lecture-1-2048.jpg)