Download to read offline
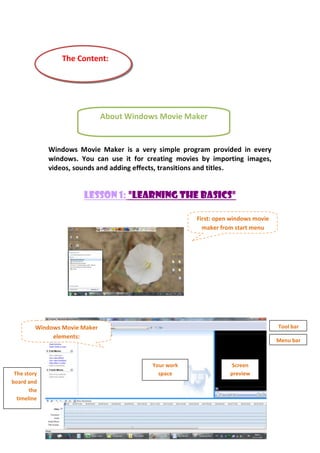
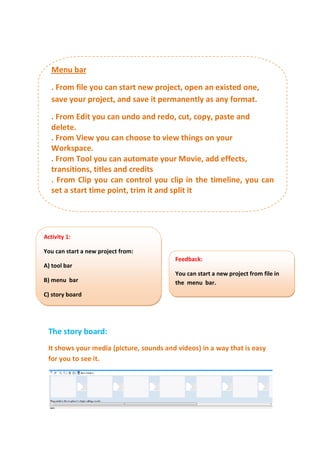
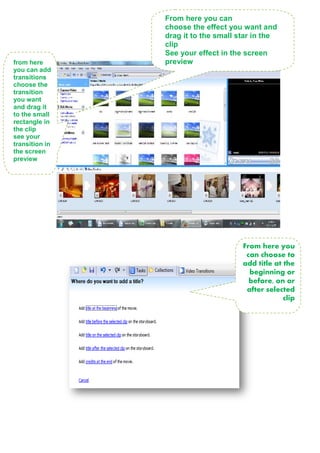
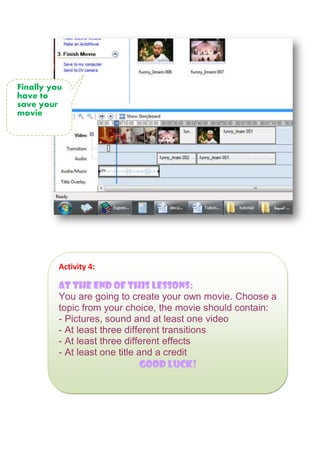

At the end of the course, students will be able to produce a short movie using Windows Movie Maker by: - Importing pictures, videos and sounds into the program - Adding effects, transitions, titles and credits to customize the movie - Saving the finished movie The document provides step-by-step instructions on how to use Windows Movie Maker to create a movie, including how to import media, edit the timeline, and add effects, transitions, and titles before saving the completed project.