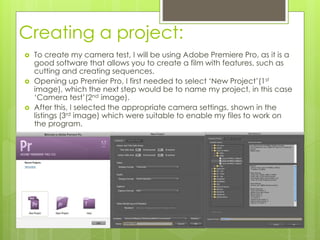
The document describes the steps to create a camera test video using Adobe Premiere Pro CS5. It involves:
1) Creating a new project and selecting appropriate camera settings.
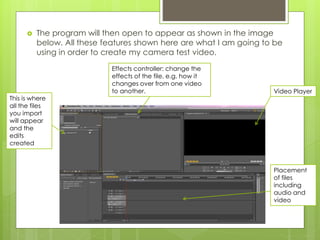
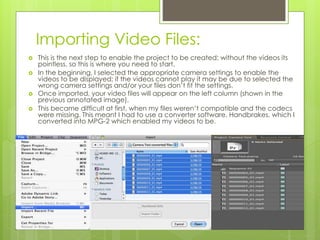
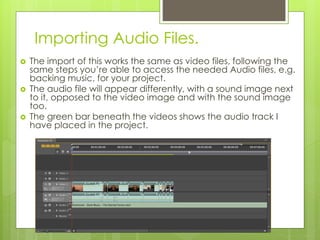
2) Importing video and audio files, ensuring the files are compatible by converting formats if needed.
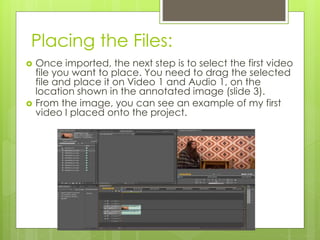
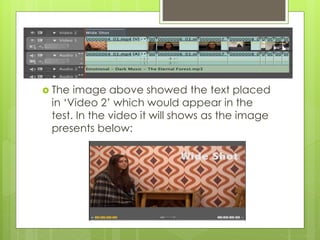
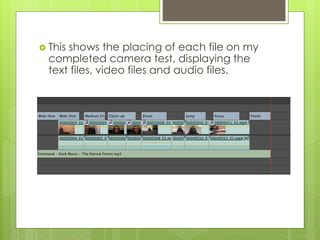
3) Placing the files on the timeline by dragging them to the appropriate video and audio tracks.
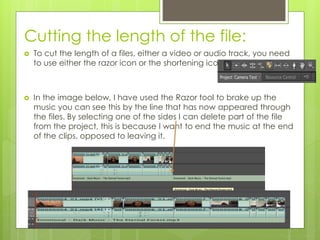
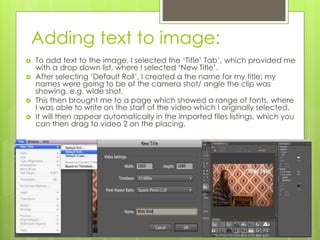
4) Editing the files by cutting lengths using razor and shorten tools, and adding text titles to identify camera shots.