Downloaded 412 times
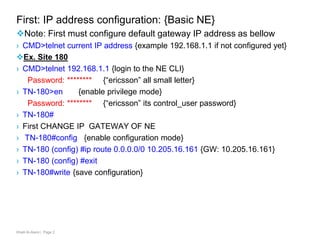
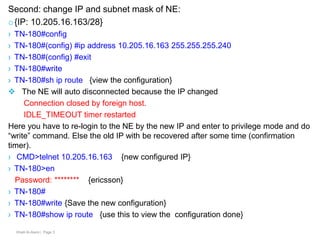
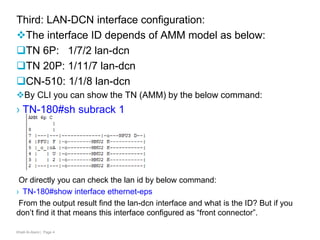
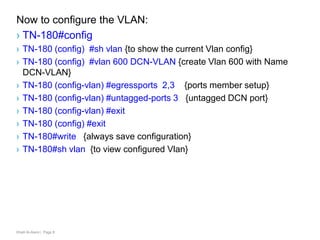
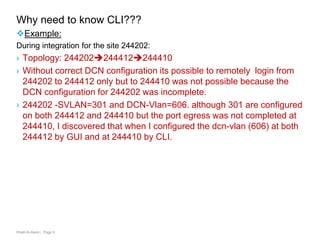


This document provides instructions for configuring a MINI-Link TN device via the command line interface (CLI). It discusses how to configure the IP address, subnet mask, default gateway, and LAN-DCN interface. The LAN-DCN interface configuration includes enabling the interface, assigning it to a bridge port, configuring its role, and adding it to a VLAN for DCN connectivity. Understanding how to configure these settings via CLI is important for troubleshooting connectivity issues between network elements during integration.


![Nemo outdoor 6_training_aug2011 [compatibility mode]](https://cdn.slidesharecdn.com/ss_thumbnails/nemooutdoor6trainingaug2011compatibilitymode-130826015745-phpapp02-thumbnail.jpg?width=640&height=640&fit=bounds)