Downloaded 145 times

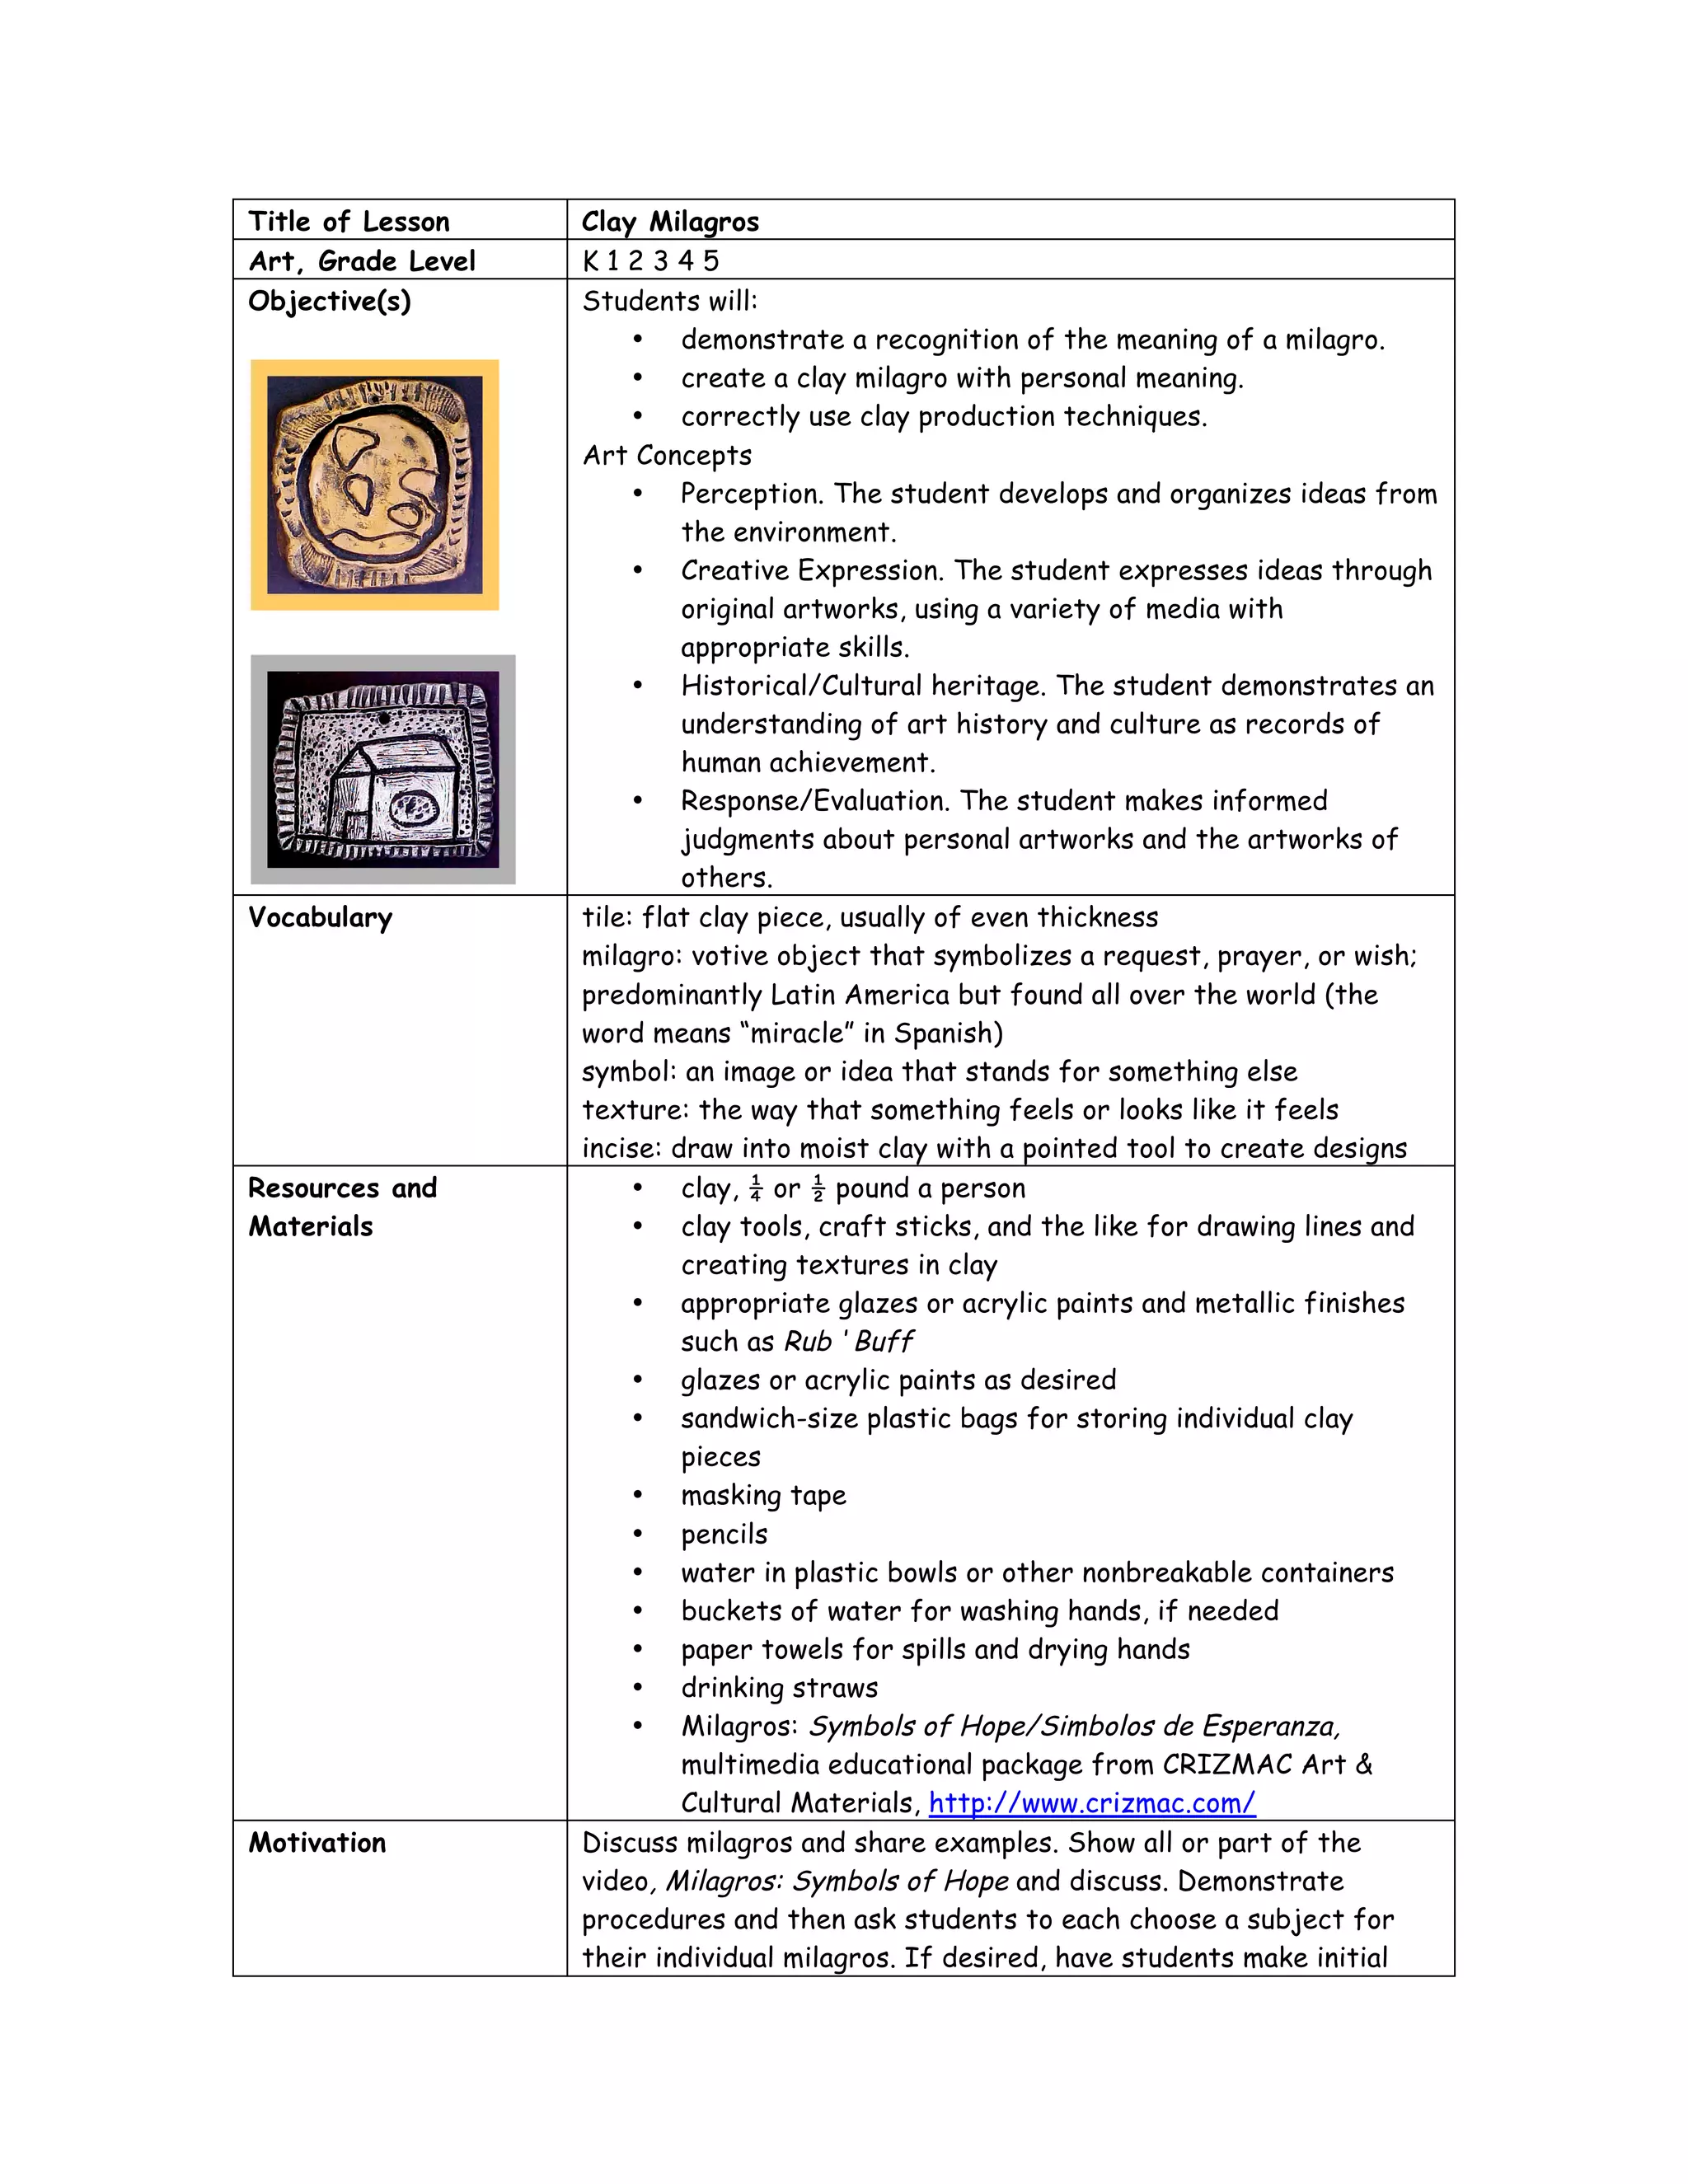
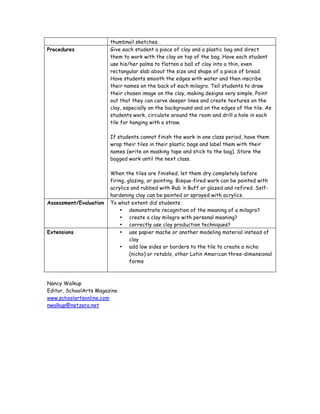

The lesson teaches students about milagros, votive objects in Latin American culture. Students will create their own milagros using either clay or foil as the material. They will learn about the cultural significance of milagros and use techniques like incising, adding texture and borders. The teacher will demonstrate procedures like flattening, shaping and punching holes in the materials. Students' understanding of milagros and their ability to correctly use production techniques will be assessed.


