Download to read offline


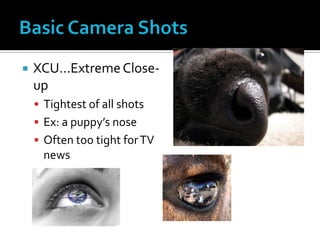

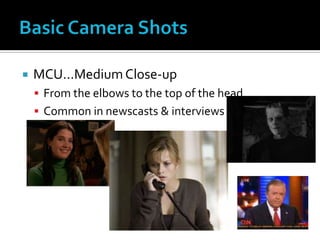
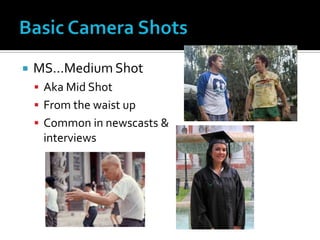
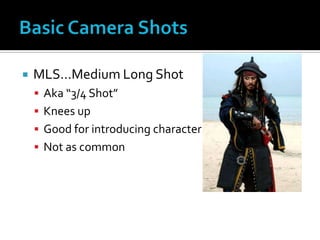
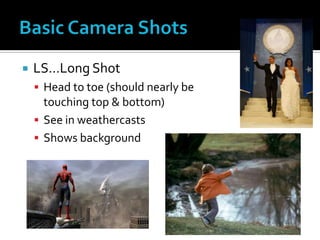
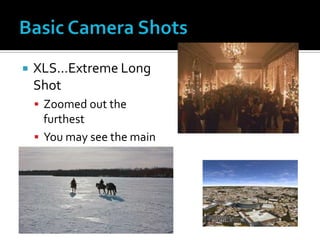
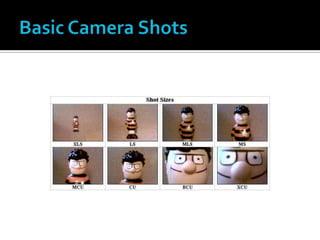
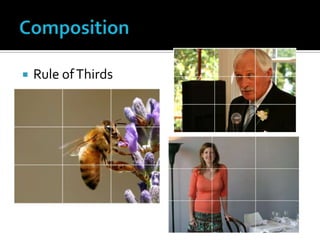
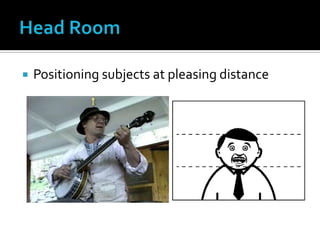


This document provides an overview of key concepts for using a video camera, including: - Different types of shots like close-ups, medium shots, and long shots that can be used. - Techniques for proper framing using the rule of thirds. - Tips for adjusting settings like focus, zoom, white balance, and ensuring proper lighting when shooting. - Guidance on using tripods, monopods, and handheld shooting techniques. - Notes on pre-roll and post-roll periods to allow for smooth editing.


![As media lesson 3 2014 foundation portfolio - shots [no clips]](https://cdn.slidesharecdn.com/ss_thumbnails/asmedialesson32014-foundationportfolio-shotsnoclips-140916020355-phpapp02-thumbnail.jpg?width=640&height=640&fit=bounds)


