Bandaging involves covering an injured body part to support it and restrict movement. The main purposes of bandaging are to support injuries, control bleeding, prevent contamination and swelling, and immobilize fractures or dislocations. Common types of bandages include roller, triangular, and special bandages. General principles for applying bandages properly include using the right size and material, supporting the injury, and ensuring the bandage is not too tight or loose. Different winding techniques are used depending on the body part, such as simple spiral, figure-of-eight, and spica wraps. Slings are also used to support injured upper limbs.
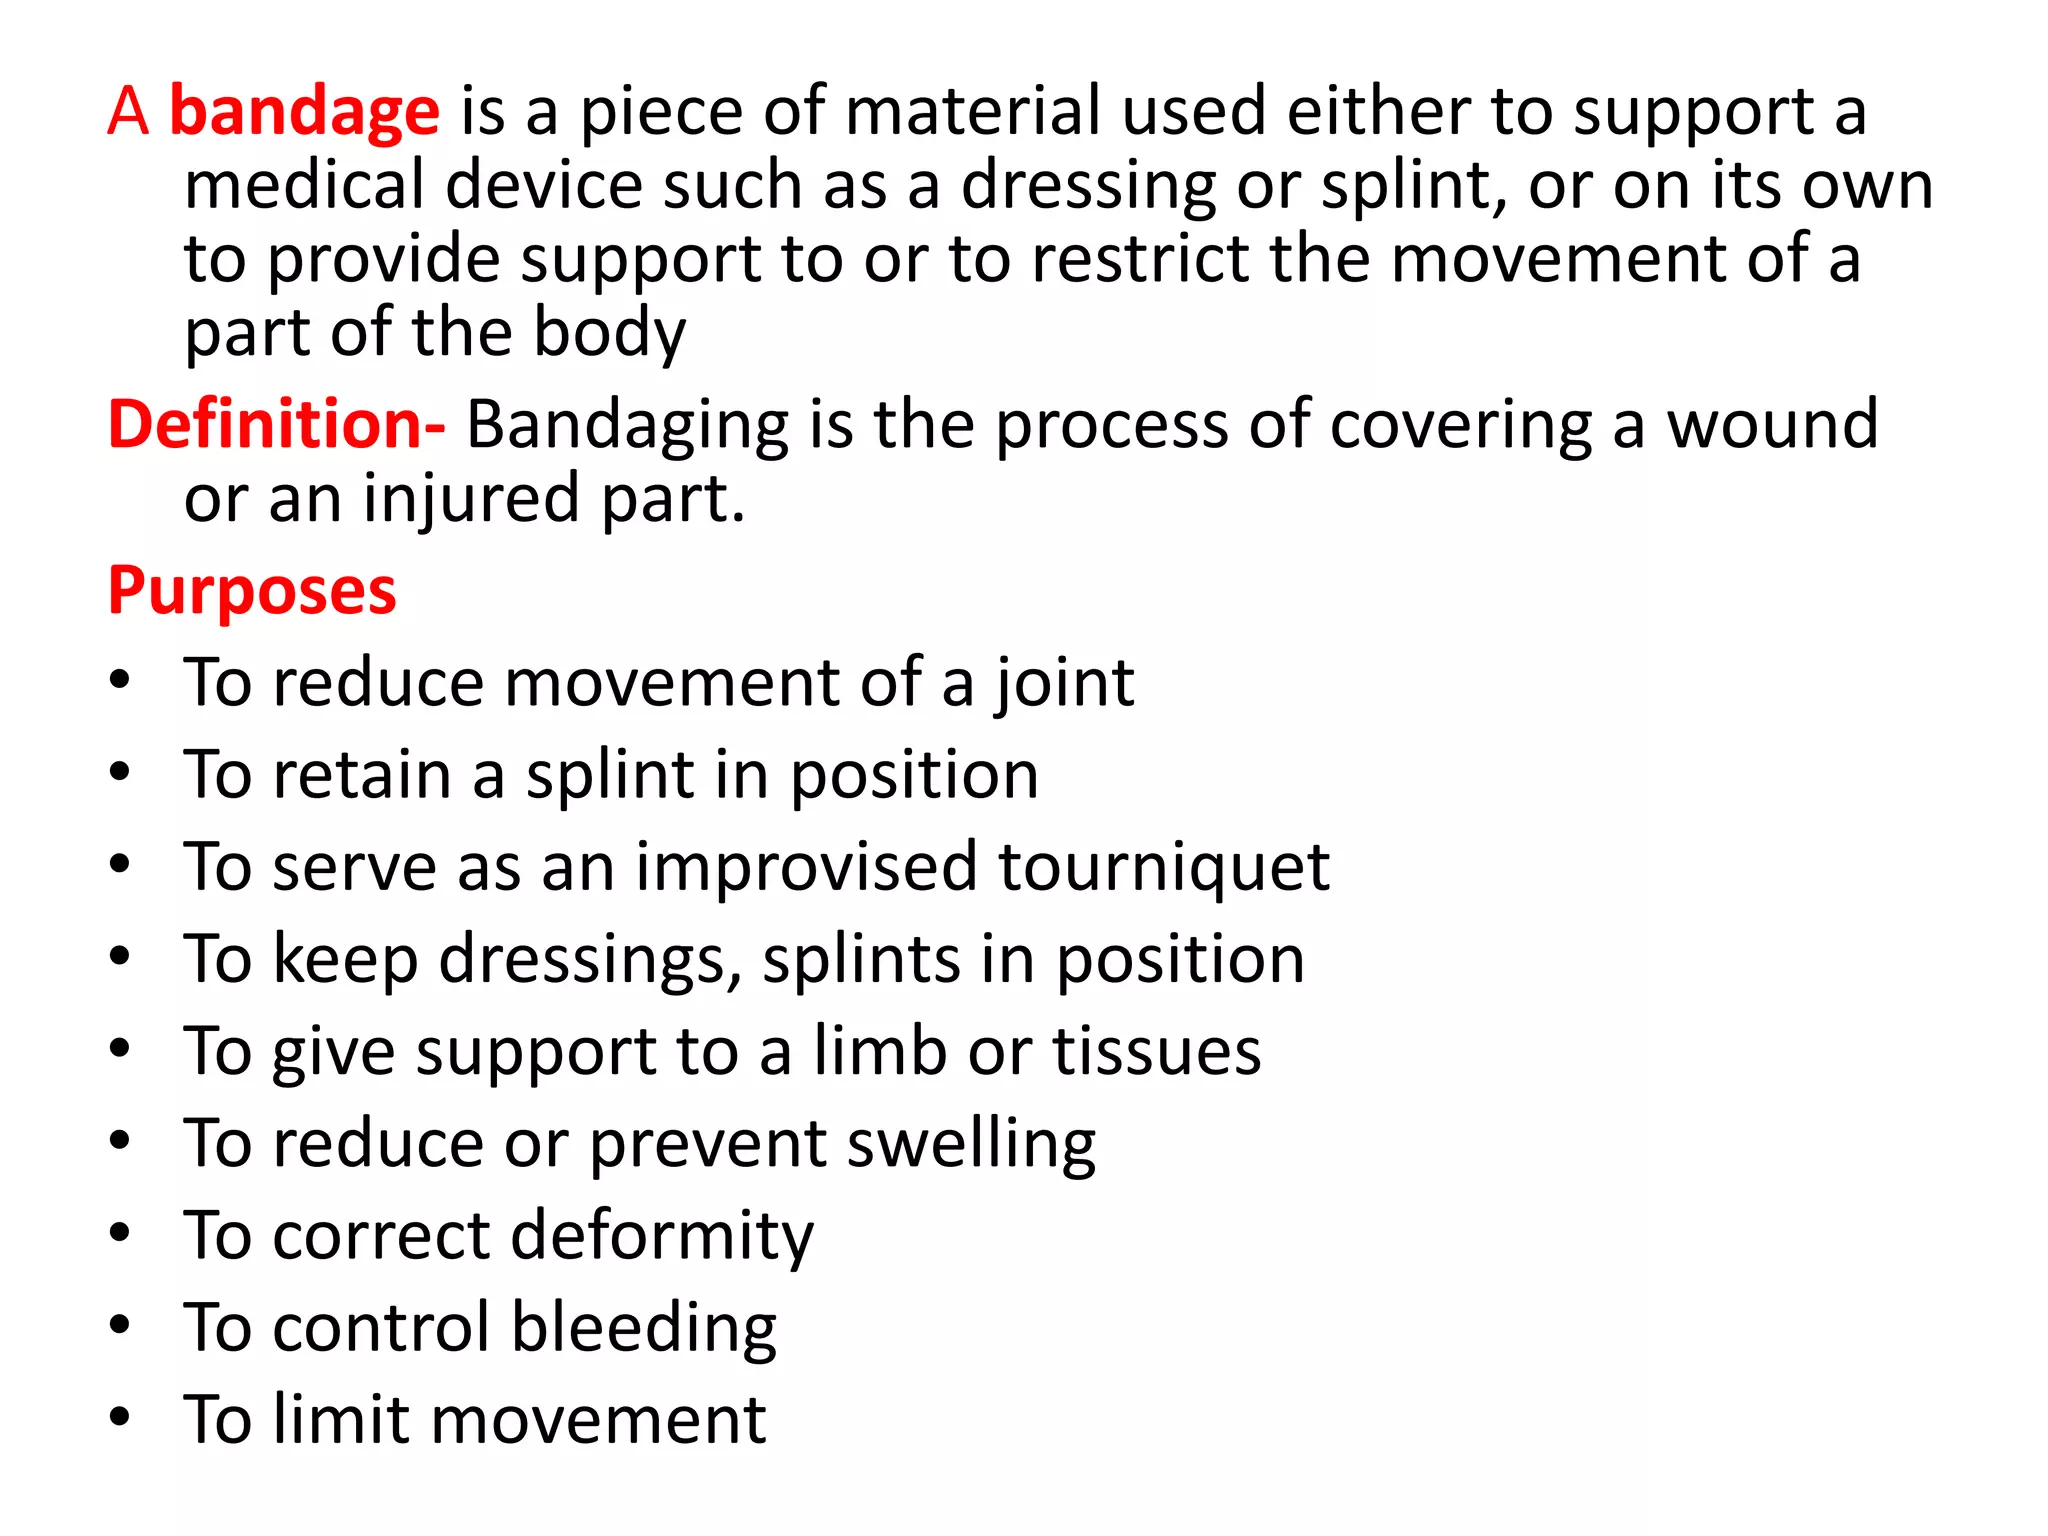
A bandage isa piece of material used either to support a
medical device such as a dressing or splint, or on its own
to provide support to or to restrict the movement of a
part of the body
Definition- Bandaging is the process of covering a wound
or an injured part.
Purposes
• To reduce movement of a joint
• To retain a splint in position
• To serve as an improvised tourniquet
• To keep dressings, splints in position
• To give support to a limb or tissues
• To reduce or prevent swelling
• To correct deformity
• To control bleeding
• To limit movement
3.
• To preventcontamination of wound
by holding dressings in position.
• To provide support to the part that is
injured, sprained or dislocated joint.
• To provide rest to the part that is
injured.
• To prevent & control hemorrhage.
• To restrict movement / immobilize a
fracture or a dislocation.
• To correct deformity.
• To maintain pressure e.g. elastic
bandages applied to the improve
venous return
GENERAL PRINCIPLES: -
•Select a bandage of proper size & suitable material.
• Put the patient in a comfortable position.
• Support the injured area while bandaging. If a joint is
involved, flex it slightly.
• Face the patient while applying the bandage, except
when applying it to the head.
• Hold the roll of the bandage in the right hand when
applying bandage on the left side, Hold the bandage
with the roll uppermost & apply the outer surface to
the skin, unrolling a few centimeters of the bandage at
a time.
• Put some cotton wool on the part to be bandaged so
that the bandage does not slip or cause cutting into the
skin underneath.
• Bandage from below upward, & from within outward.
7.
• Hold theend of the of the bandage over the
outer aspect of the injured area & wind the
bandage around the part twice to fix it.
• When bandaging a limb start with an oblique
turn to keep the bandage in position, as an
alternative method.
• Cover two thirds of the bandage by the next
one, while covering a large area by winding the
roller bandage around the part. Keep the edges
parallel.
• Keep even & not too tight pressure while
applying bandage, too tight bandage interferes
with circulation.
8.
• Finish witha straight turn & fix the end with a
safety pin, sticking plaster or by dividing the
terminal portion of the bandage longitudinally &
tying the two ends around the bandaged part.
• If possible, leave fingers & toes exposed to check
circulation.
• Do not bandage the part too tightly or too
loosely.
• Observe the extremities carefully for any signs of
swelling or blueness due to interference with
circulation by a bandage that is too tight
• When removing a bandage, pass it from one hand
to the other, so that it is collected in a concertina
fashion.
10.
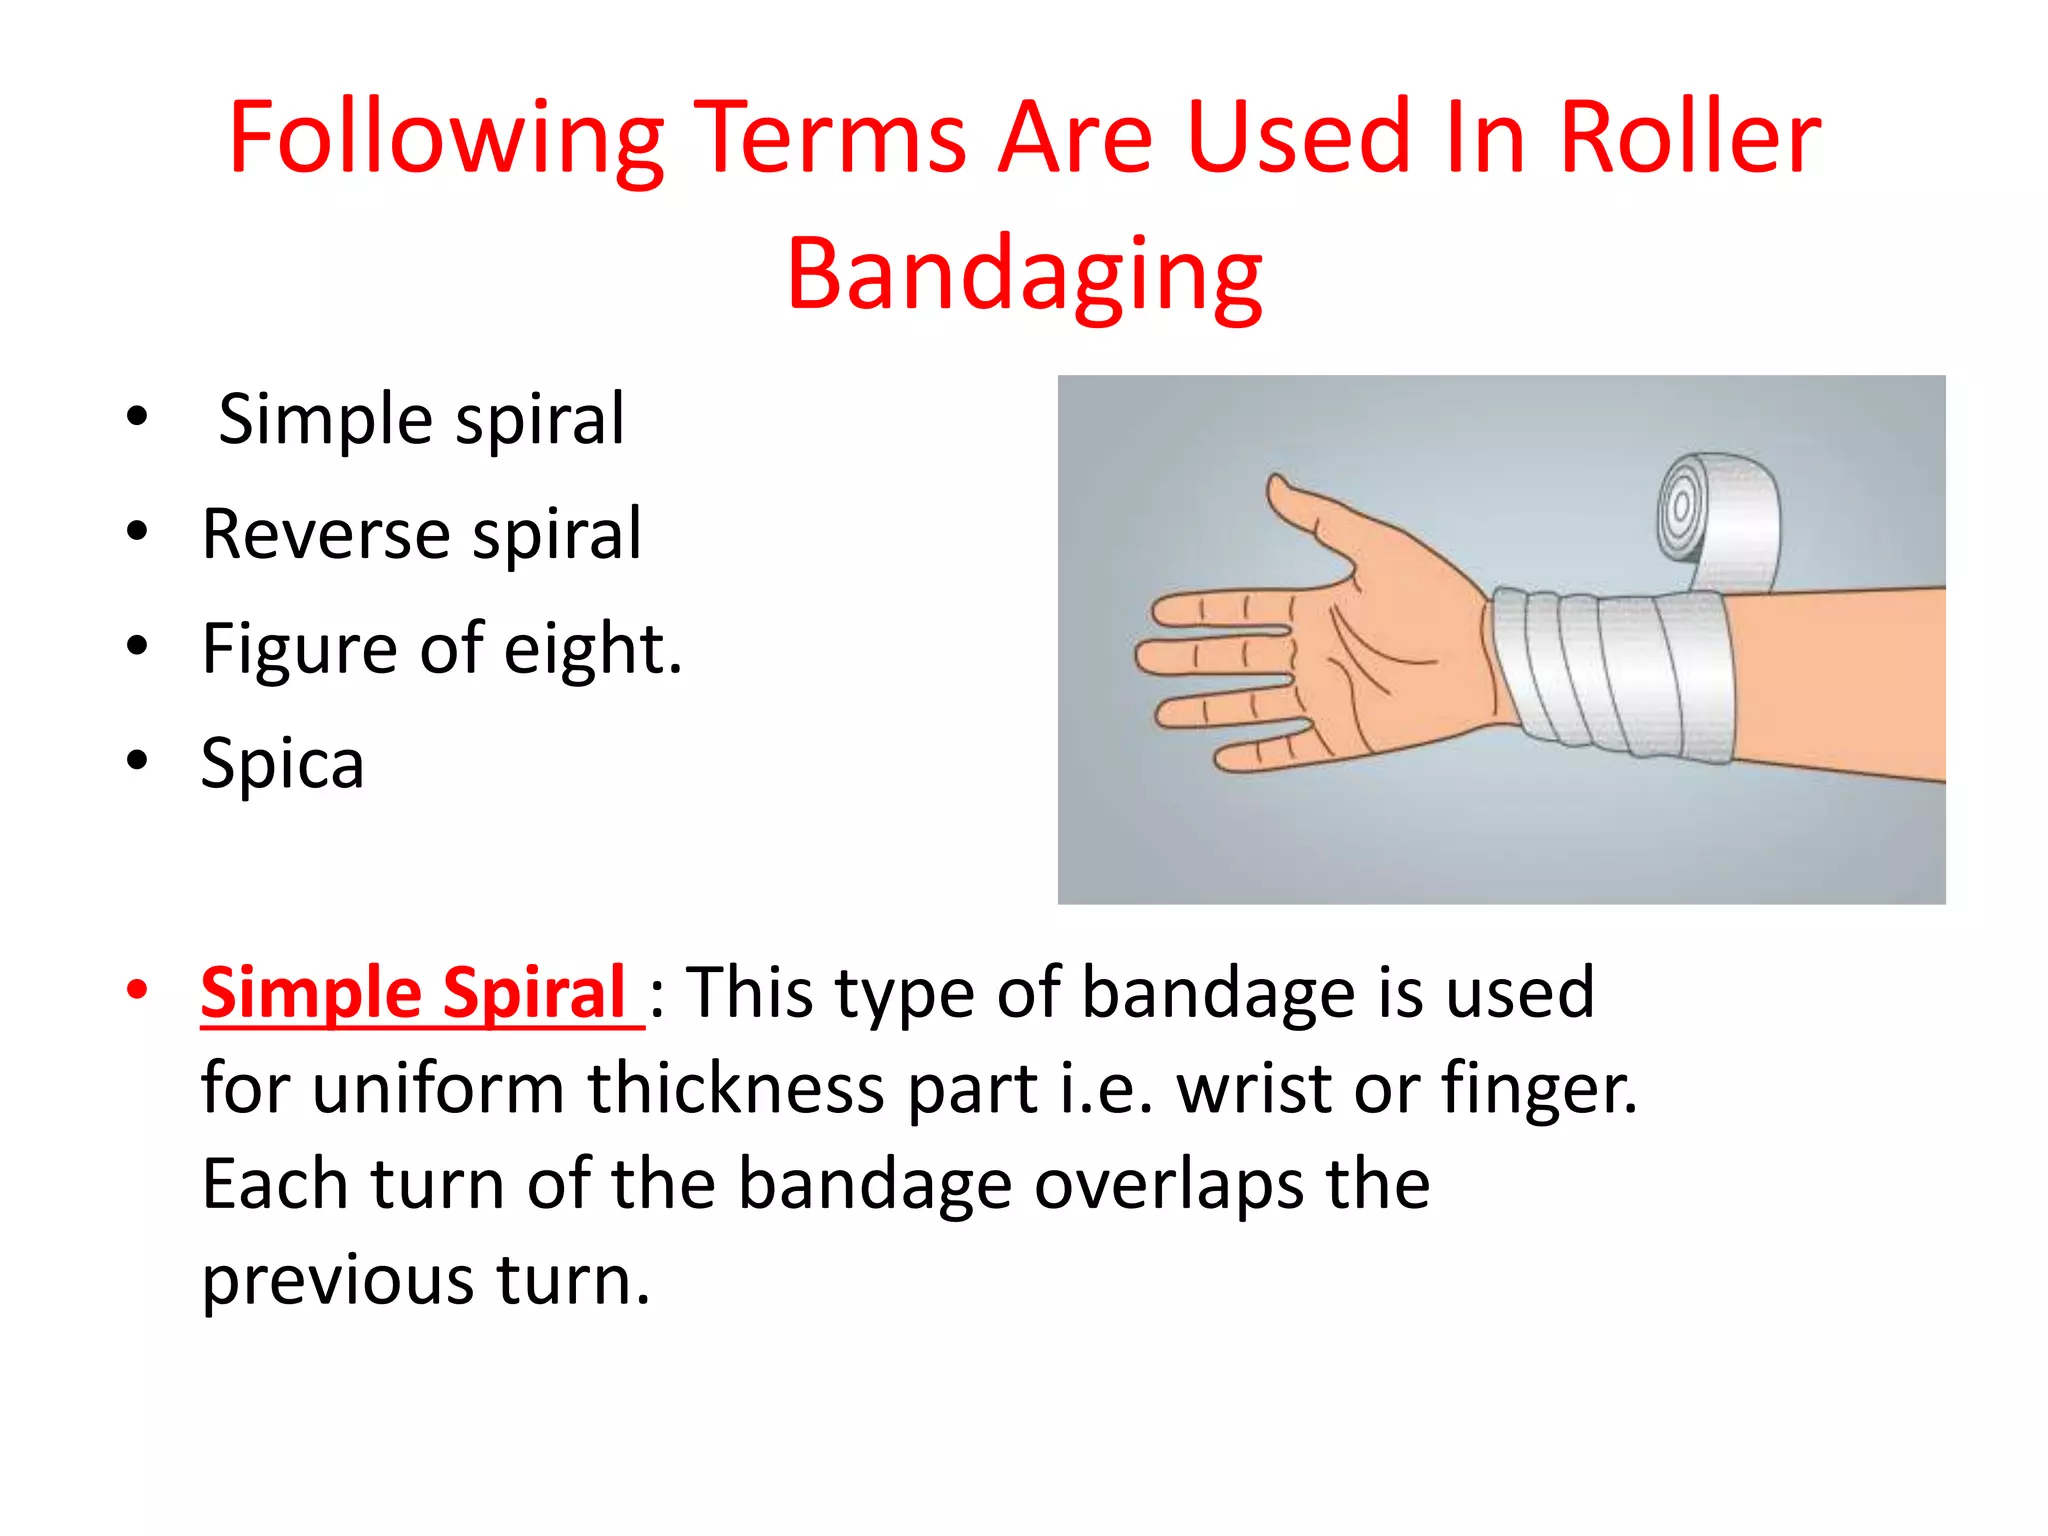
Following Terms AreUsed In Roller
Bandaging
• Simple spiral
• Reverse spiral
• Figure of eight.
• Spica
• Simple Spiral : This type of bandage is used
for uniform thickness part i.e. wrist or finger.
Each turn of the bandage overlaps the
previous turn.
11.
Reverse Spiral:
• Thisbandage is used for the parts where the
thickness varies e.g. legs & forearms.
• It is applied in the same way as the general spiral
bandage, but each turn is reversed as necessary to
prevent gaping & to make the bandage smooth.
12.
Figure of Eight:
Thisbandage is used for
elbow & knee joints.
This bandage is made
by forming two loops or
oblique turns over a
joint.
The turns alternately
ascend & descend to
cover the part.
13.
Spica:
• It isa form of
the figure of
eight bandage.
• The turn is
larger than the
other.
• It is used for
joints at right
angles to the
body, e.g. the
shoulder, groin,
thumb.
14.
Special Bandages:
Many TailBandage:
• This bandage is usually
used for abdominal
wounds & chest
injuries.
• It is prepared from a
number of strips or tails
of flannel or cotton
material.
• It is 4 to 6 inches wide
& has sufficient length
to cover the affected
part.
15.
• Special bandagessuch
as capelin for the head,
eye, ear and breast
bandages
16.
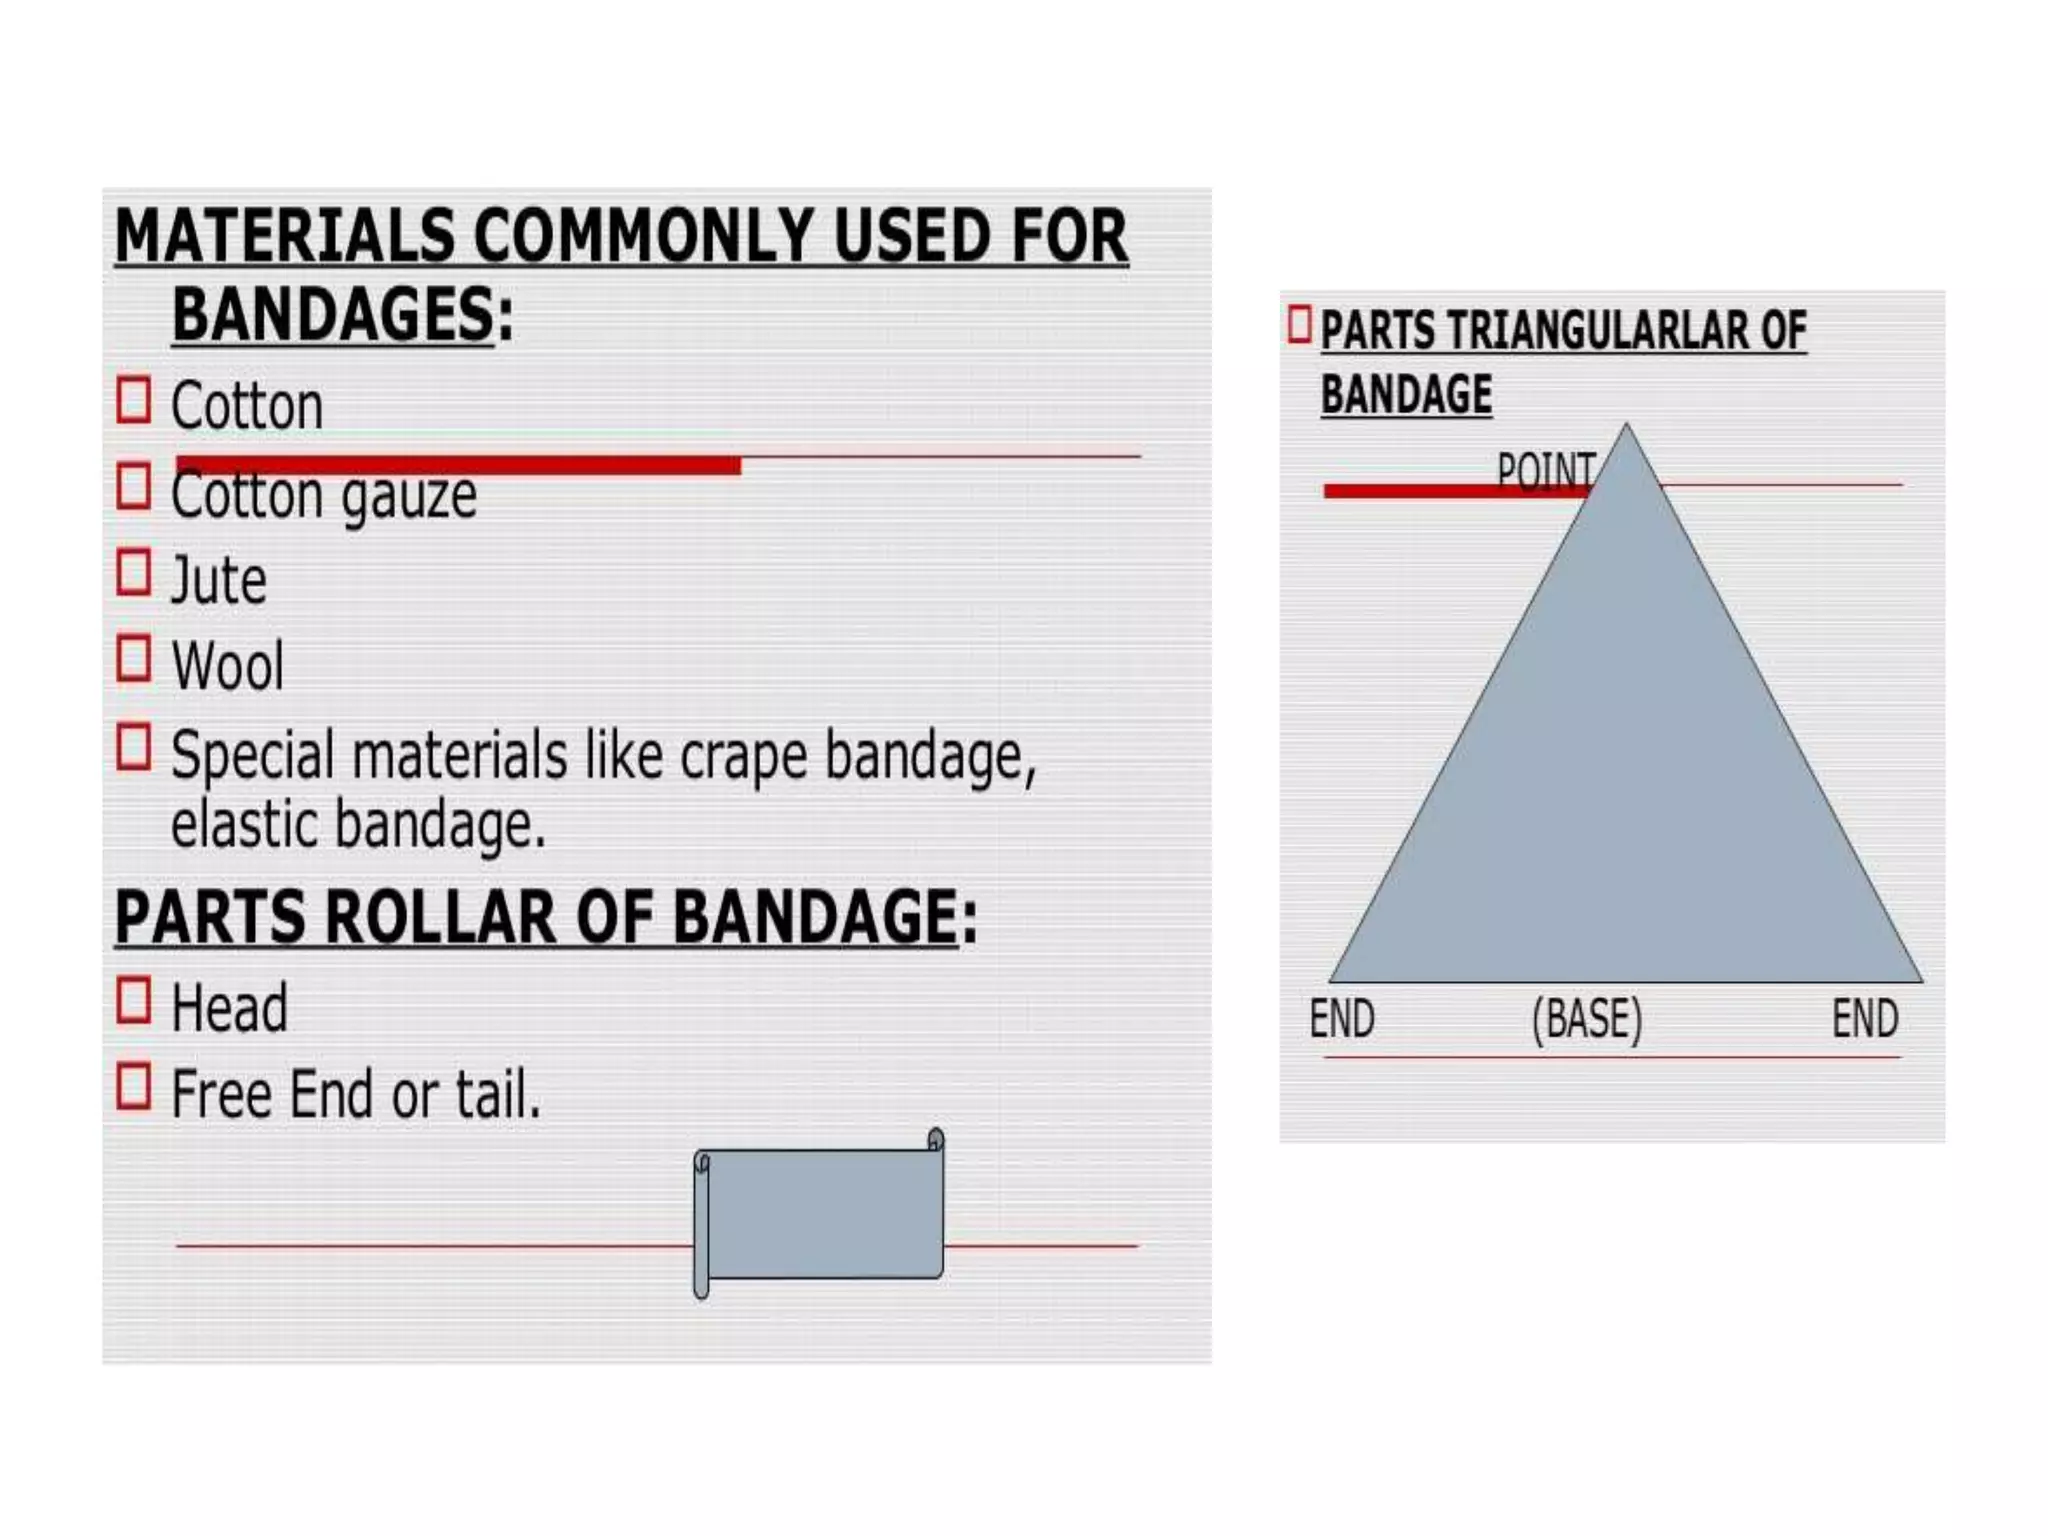
Triangular bandages
• Itis much used in first aid, because it
is more suitable than the roller
bandage for improvisation.
• It is also used a sling to support the
arm. It is made of strong cotton
cloth.
• A piece about 36-40 inches cut
diagonally makes two bandages.
• The long side is called base and the
corner opposite to it is the point.
• The bandage may be applied opened
out or it can be folded into a broad or
narrow bandage
17.
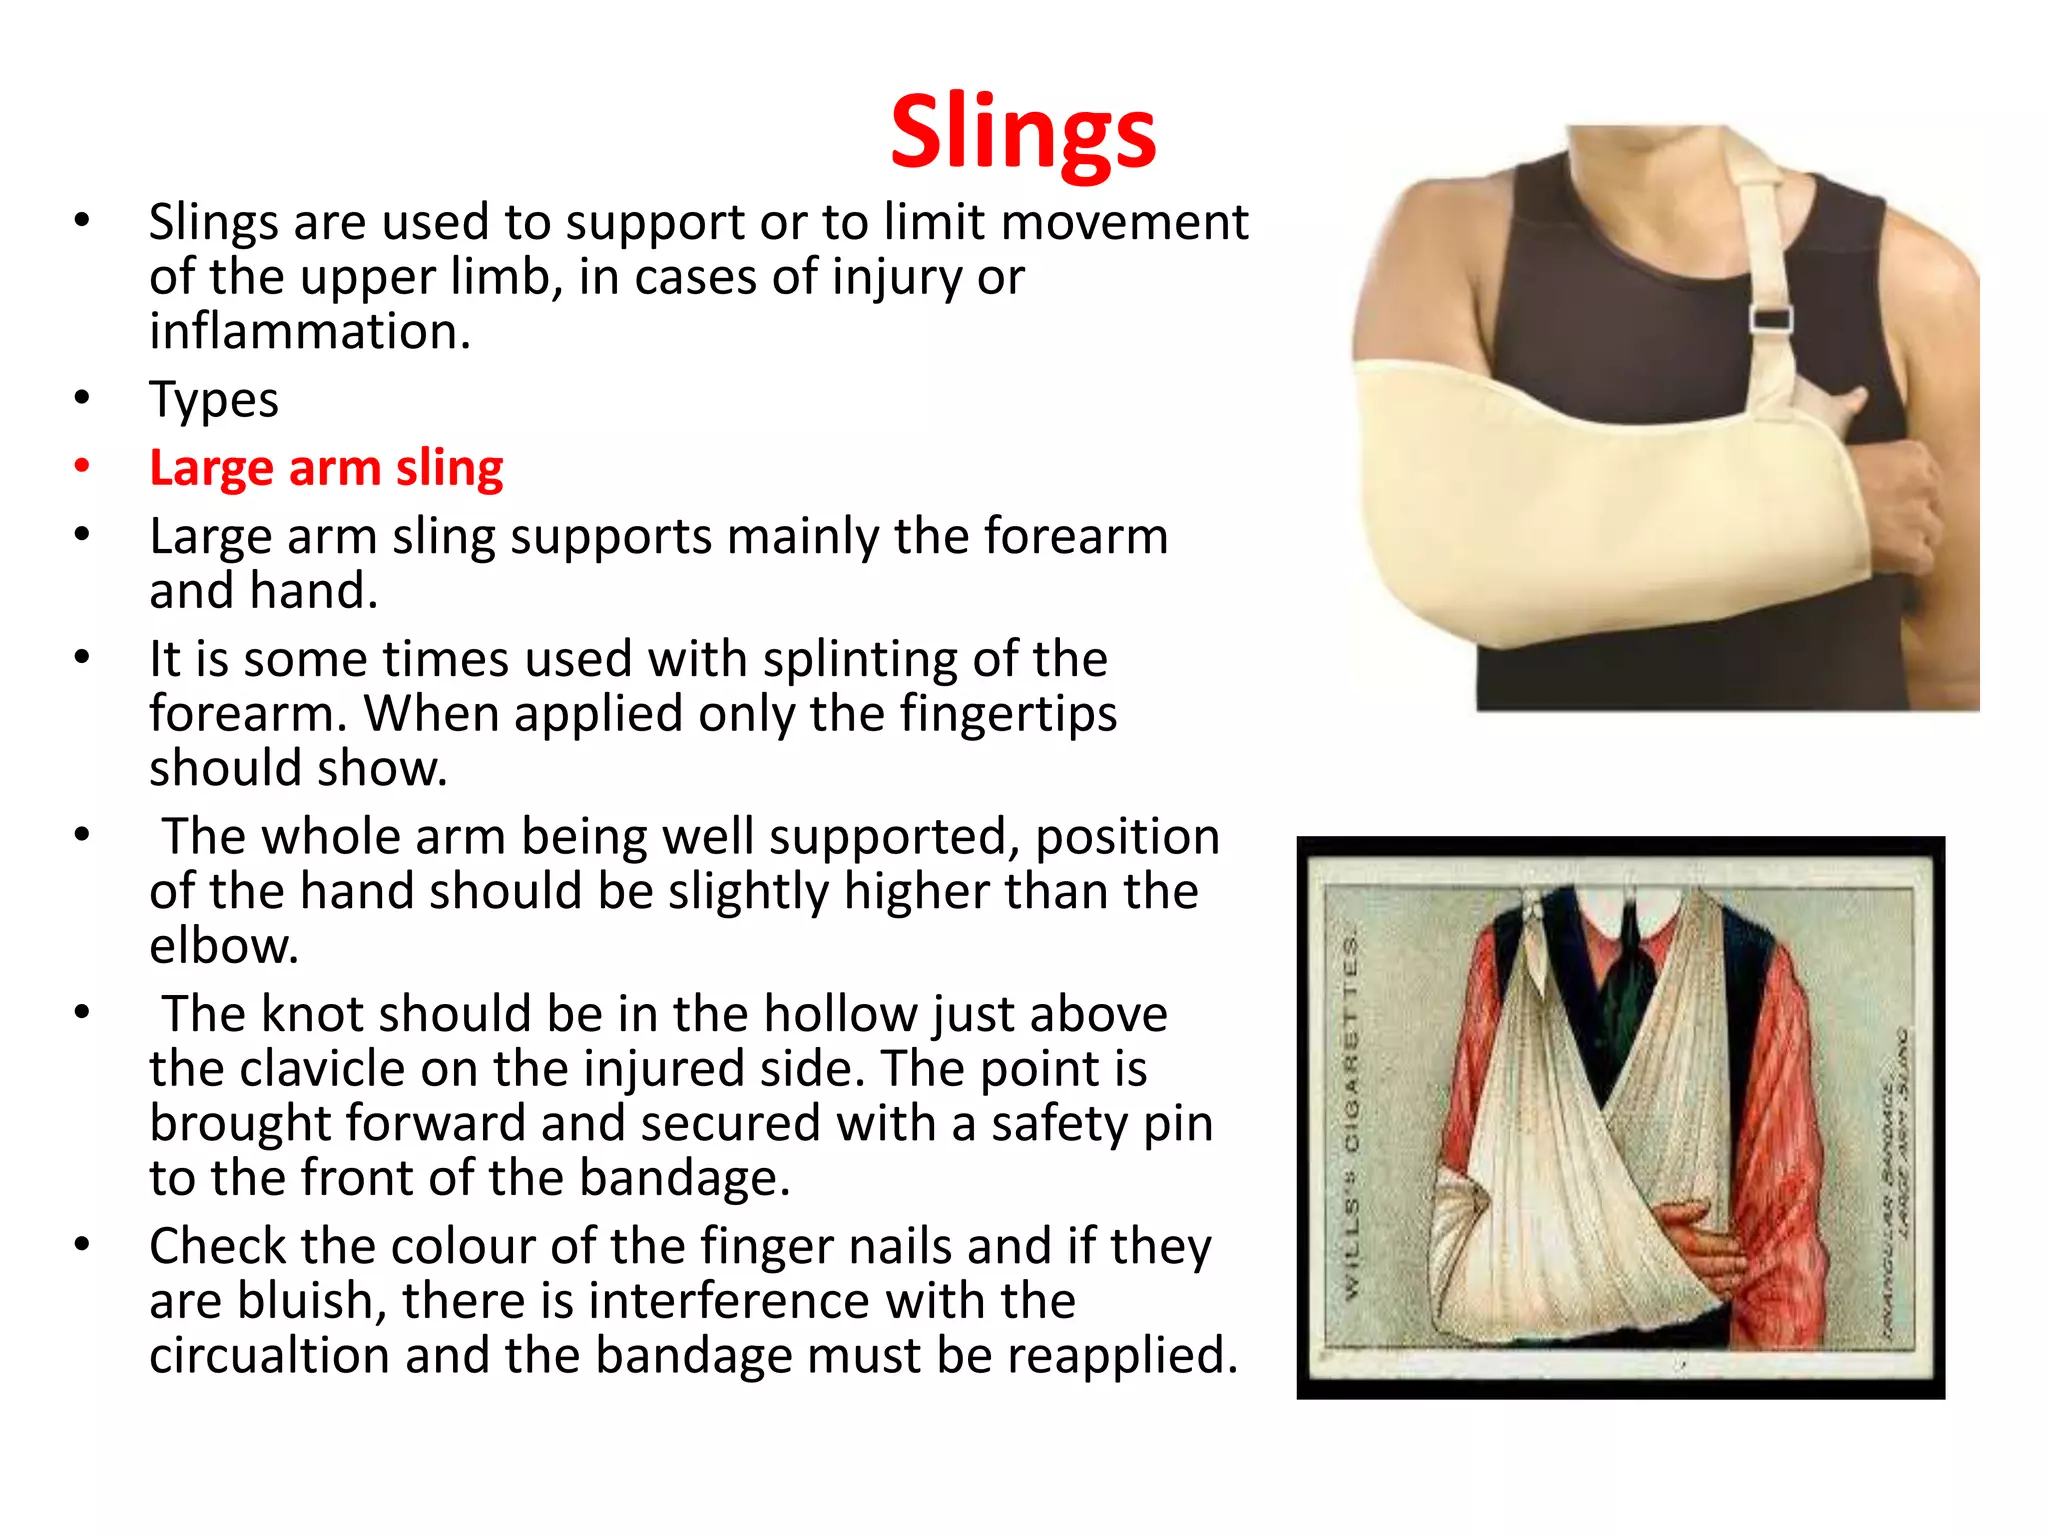
Slings
• Slings areused to support or to limit movement
of the upper limb, in cases of injury or
inflammation.
• Types
• Large arm sling
• Large arm sling supports mainly the forearm
and hand.
• It is some times used with splinting of the
forearm. When applied only the fingertips
should show.
• The whole arm being well supported, position
of the hand should be slightly higher than the
elbow.
• The knot should be in the hollow just above
the clavicle on the injured side. The point is
brought forward and secured with a safety pin
to the front of the bandage.
• Check the colour of the finger nails and if they
are bluish, there is interference with the
circualtion and the bandage must be reapplied.
18.
Caller and cuffsling
• Both are used to support the wrist
in many cases of upper arm injury.
• With the patient forearm flexed and
the fingers touching the opposite
shoulder, a clove hitch made from a
narrow bandage is placed round the
wrist.
• The ends of the bandage pass round
the neck and are tied in the hollow
just above the clavicle.
• To make a clove hitch take a narrow
bandage,make a loop, make a
second loop and lay it on top of the
first, then place the top loop behind
the first without turning either loop
19.
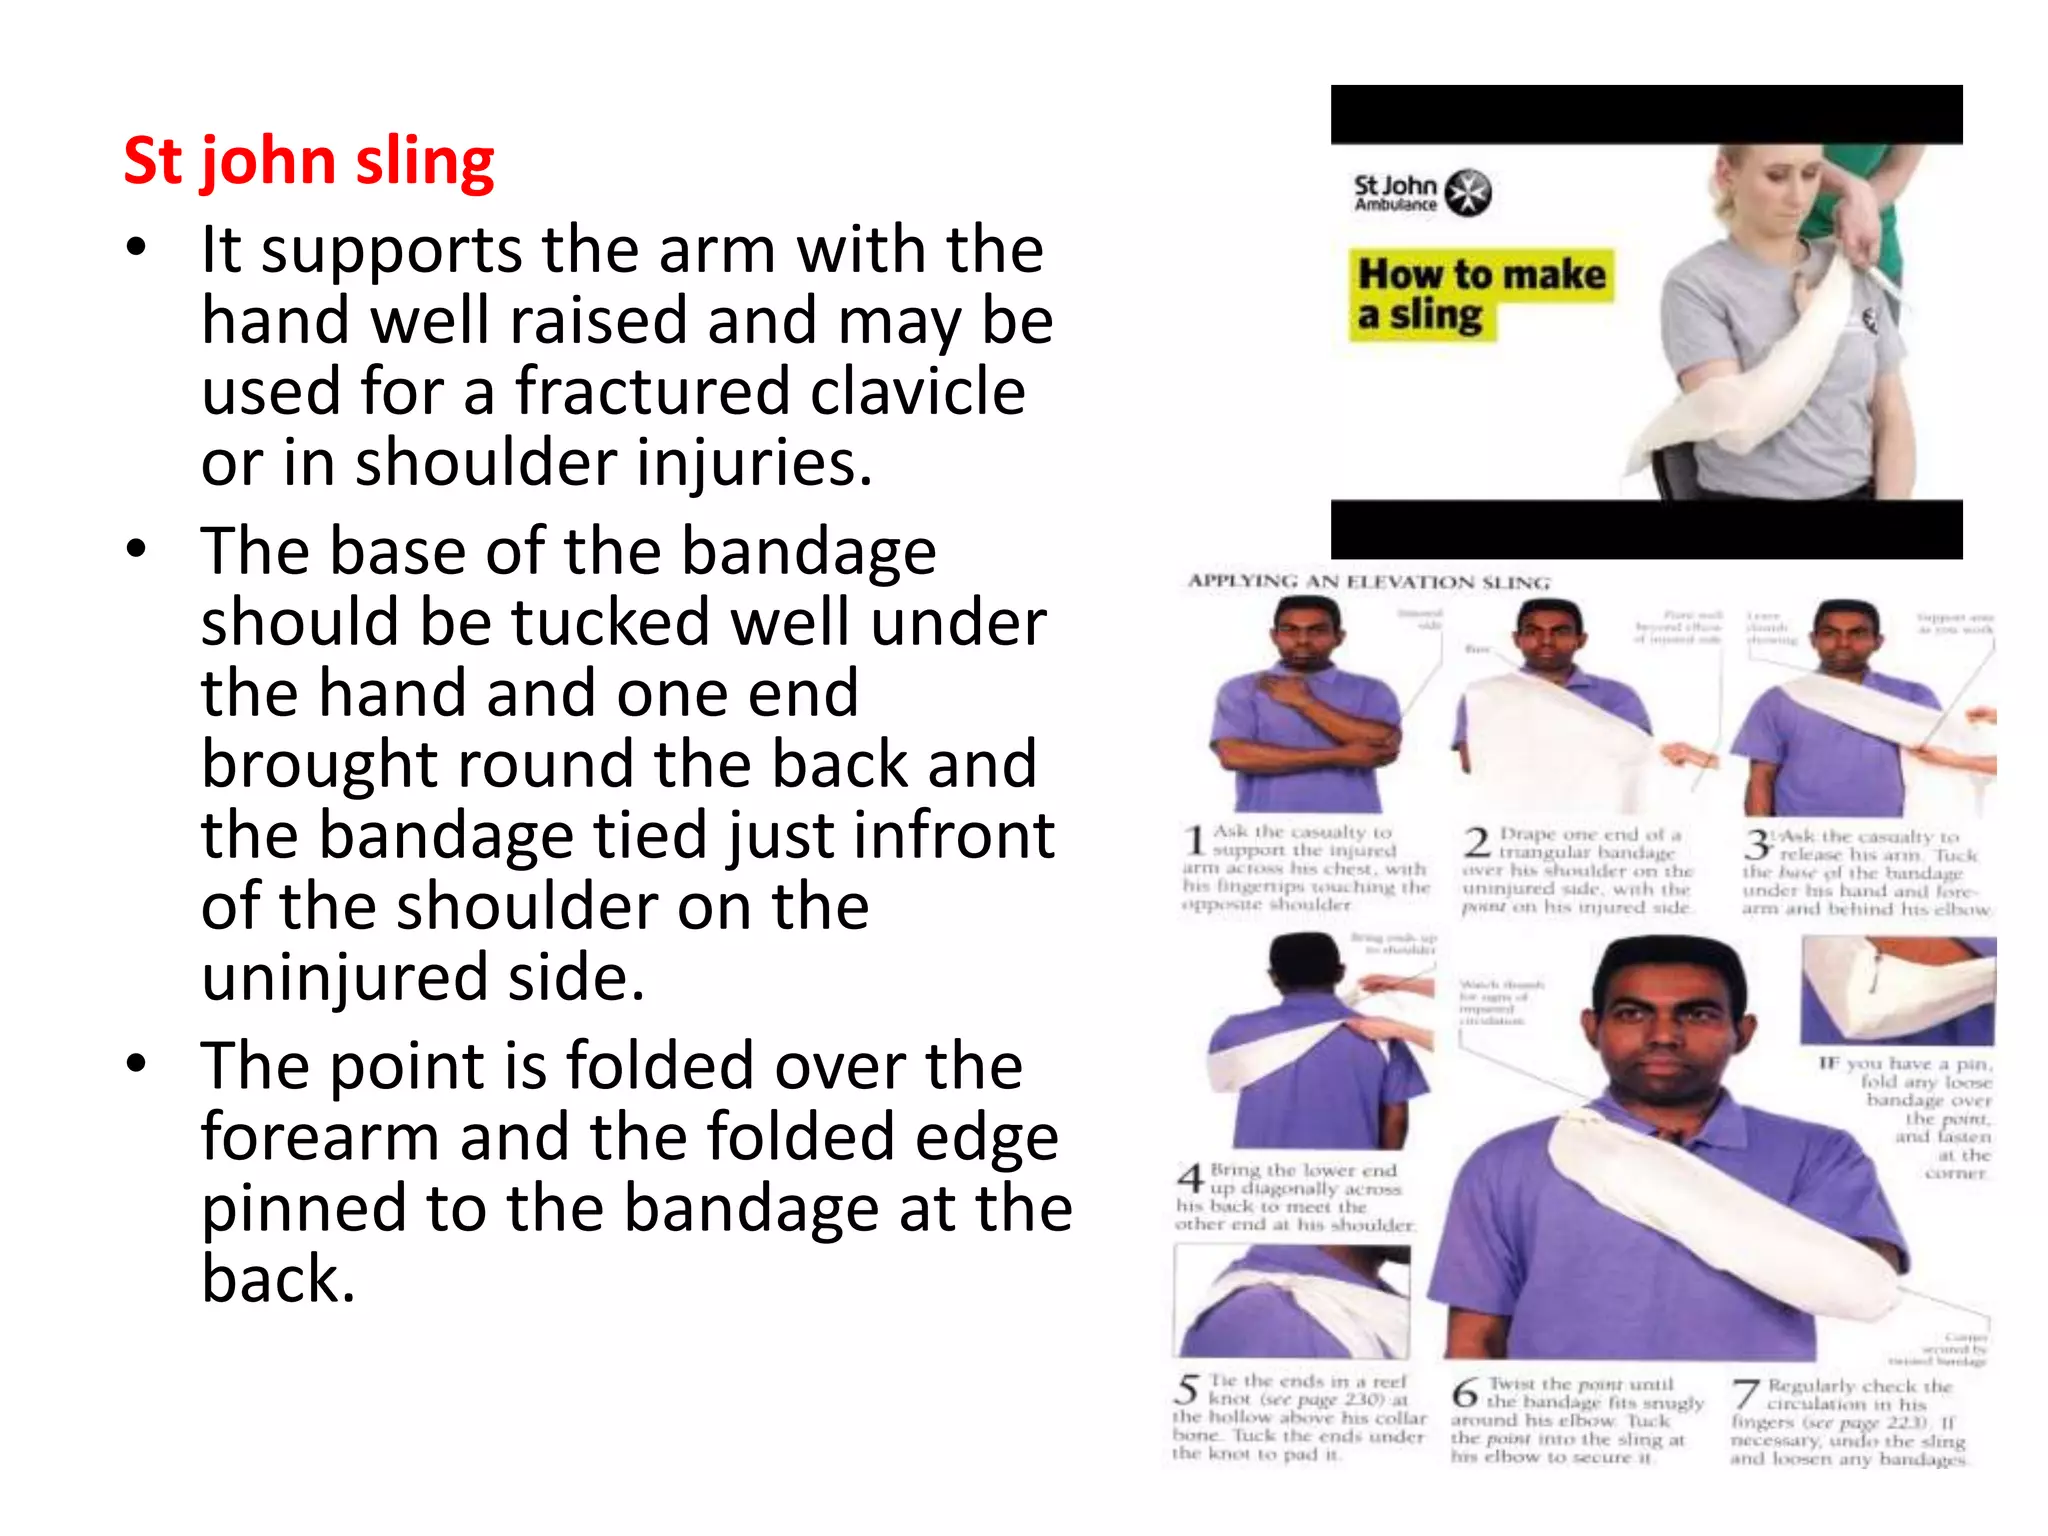
St john sling
•It supports the arm with the
hand well raised and may be
used for a fractured clavicle
or in shoulder injuries.
• The base of the bandage
should be tucked well under
the hand and one end
brought round the back and
the bandage tied just infront
of the shoulder on the
uninjured side.
• The point is folded over the
forearm and the folded edge
pinned to the bandage at the
back.
20.
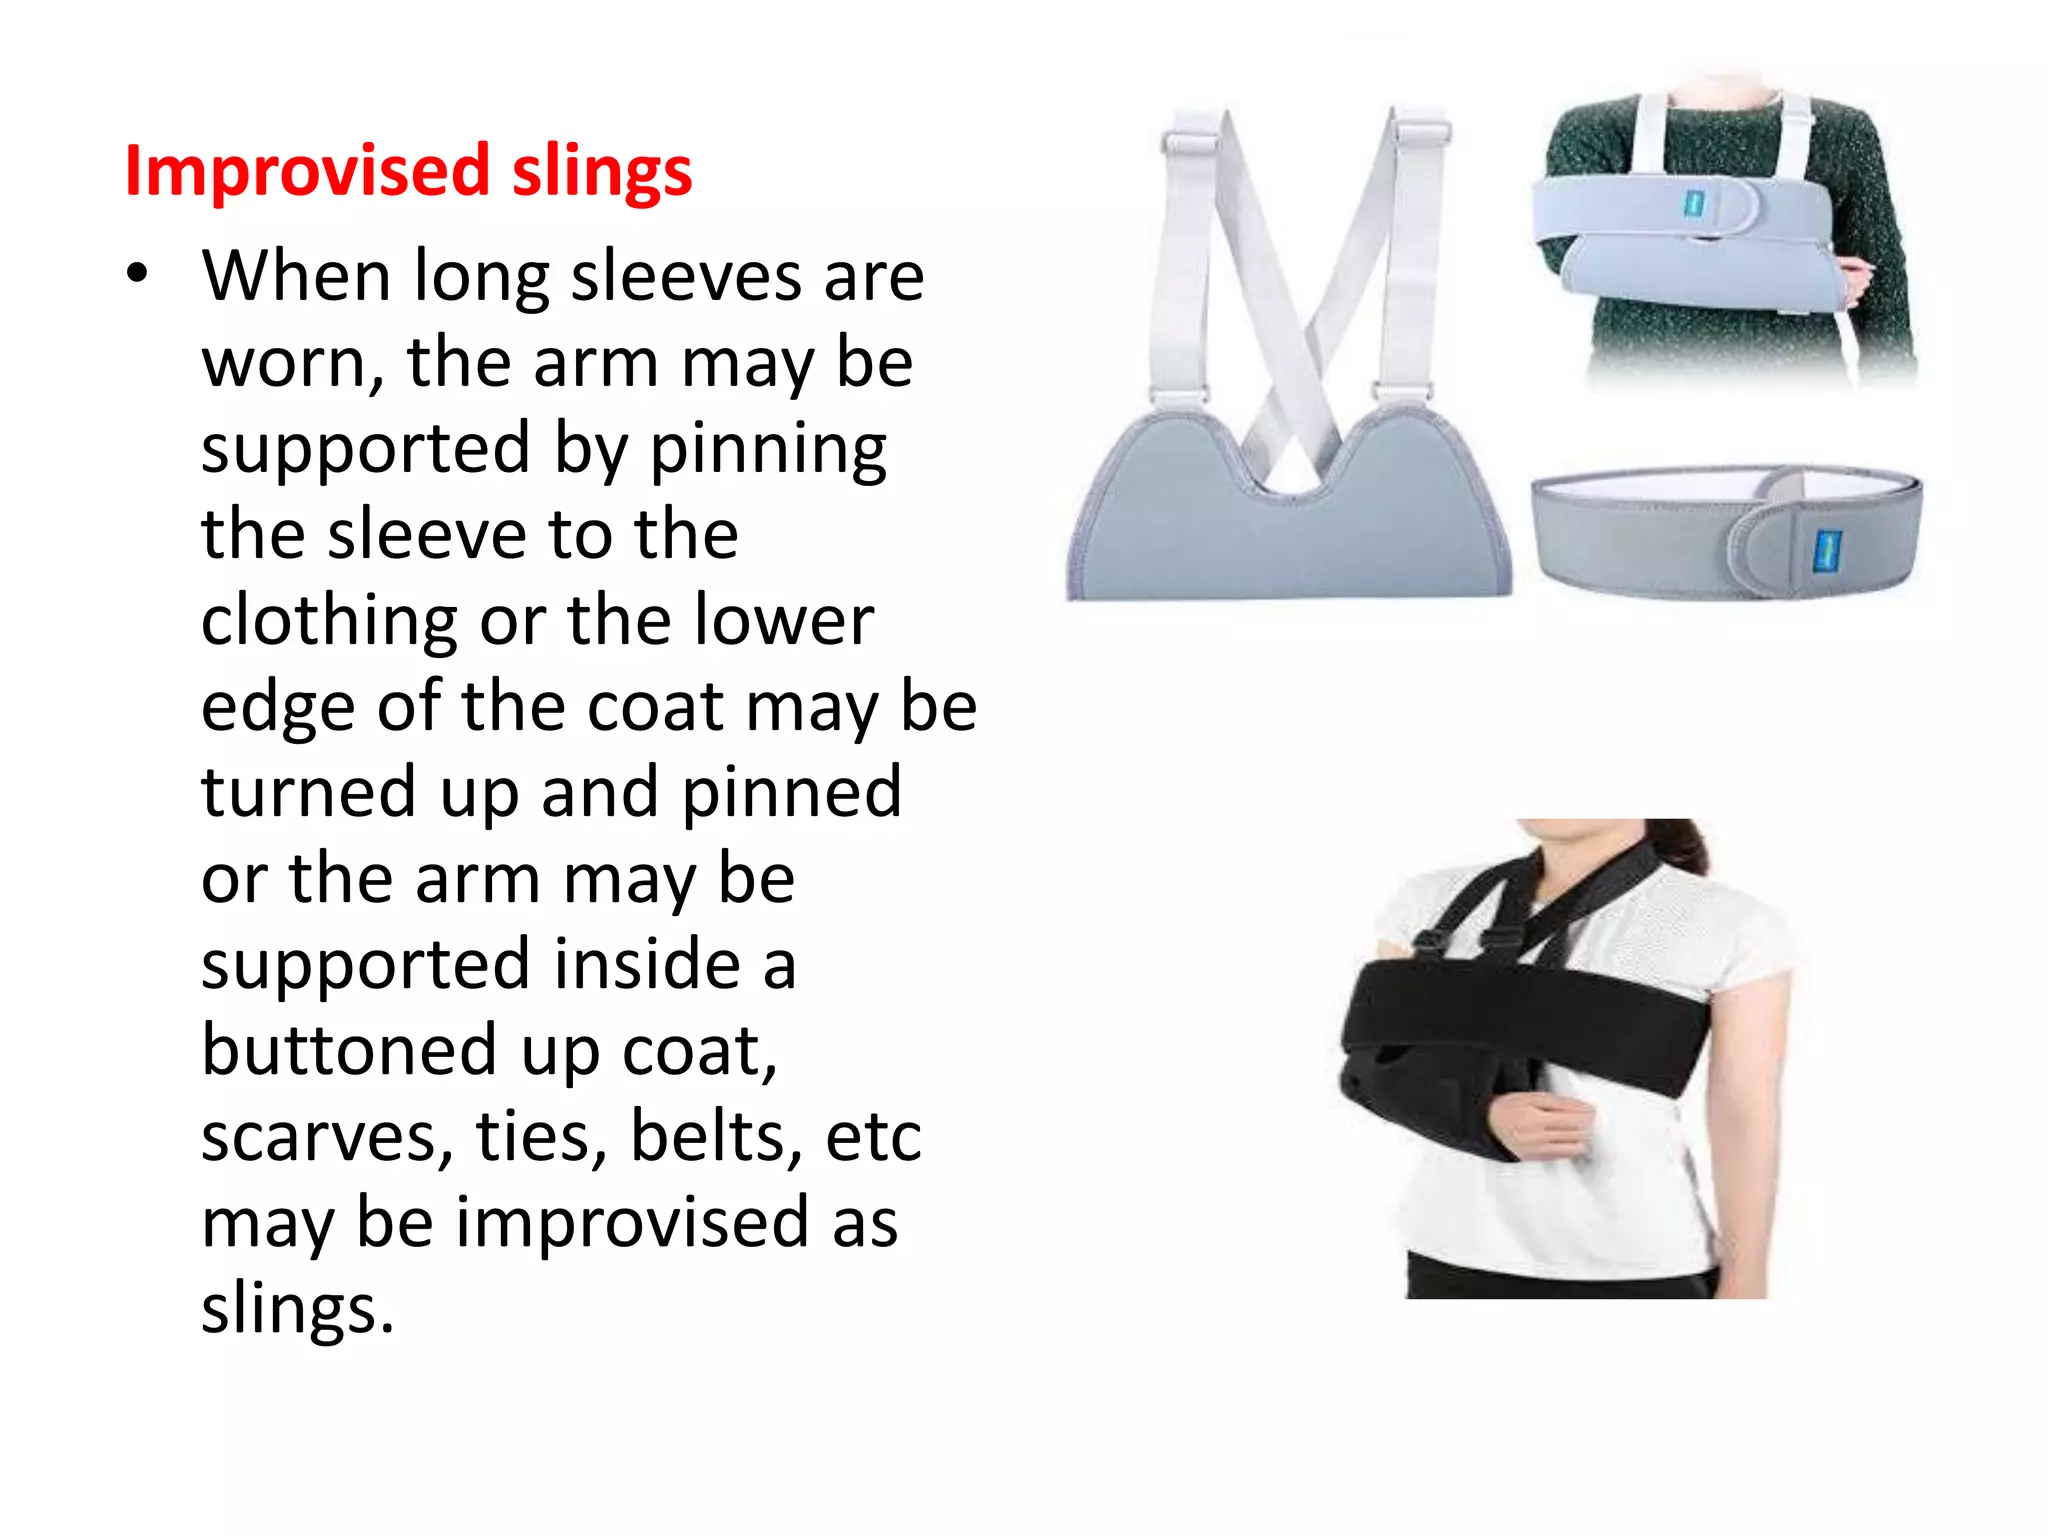
Improvised slings
• Whenlong sleeves are
worn, the arm may be
supported by pinning
the sleeve to the
clothing or the lower
edge of the coat may be
turned up and pinned
or the arm may be
supported inside a
buttoned up coat,
scarves, ties, belts, etc
may be improvised as
slings.
21.
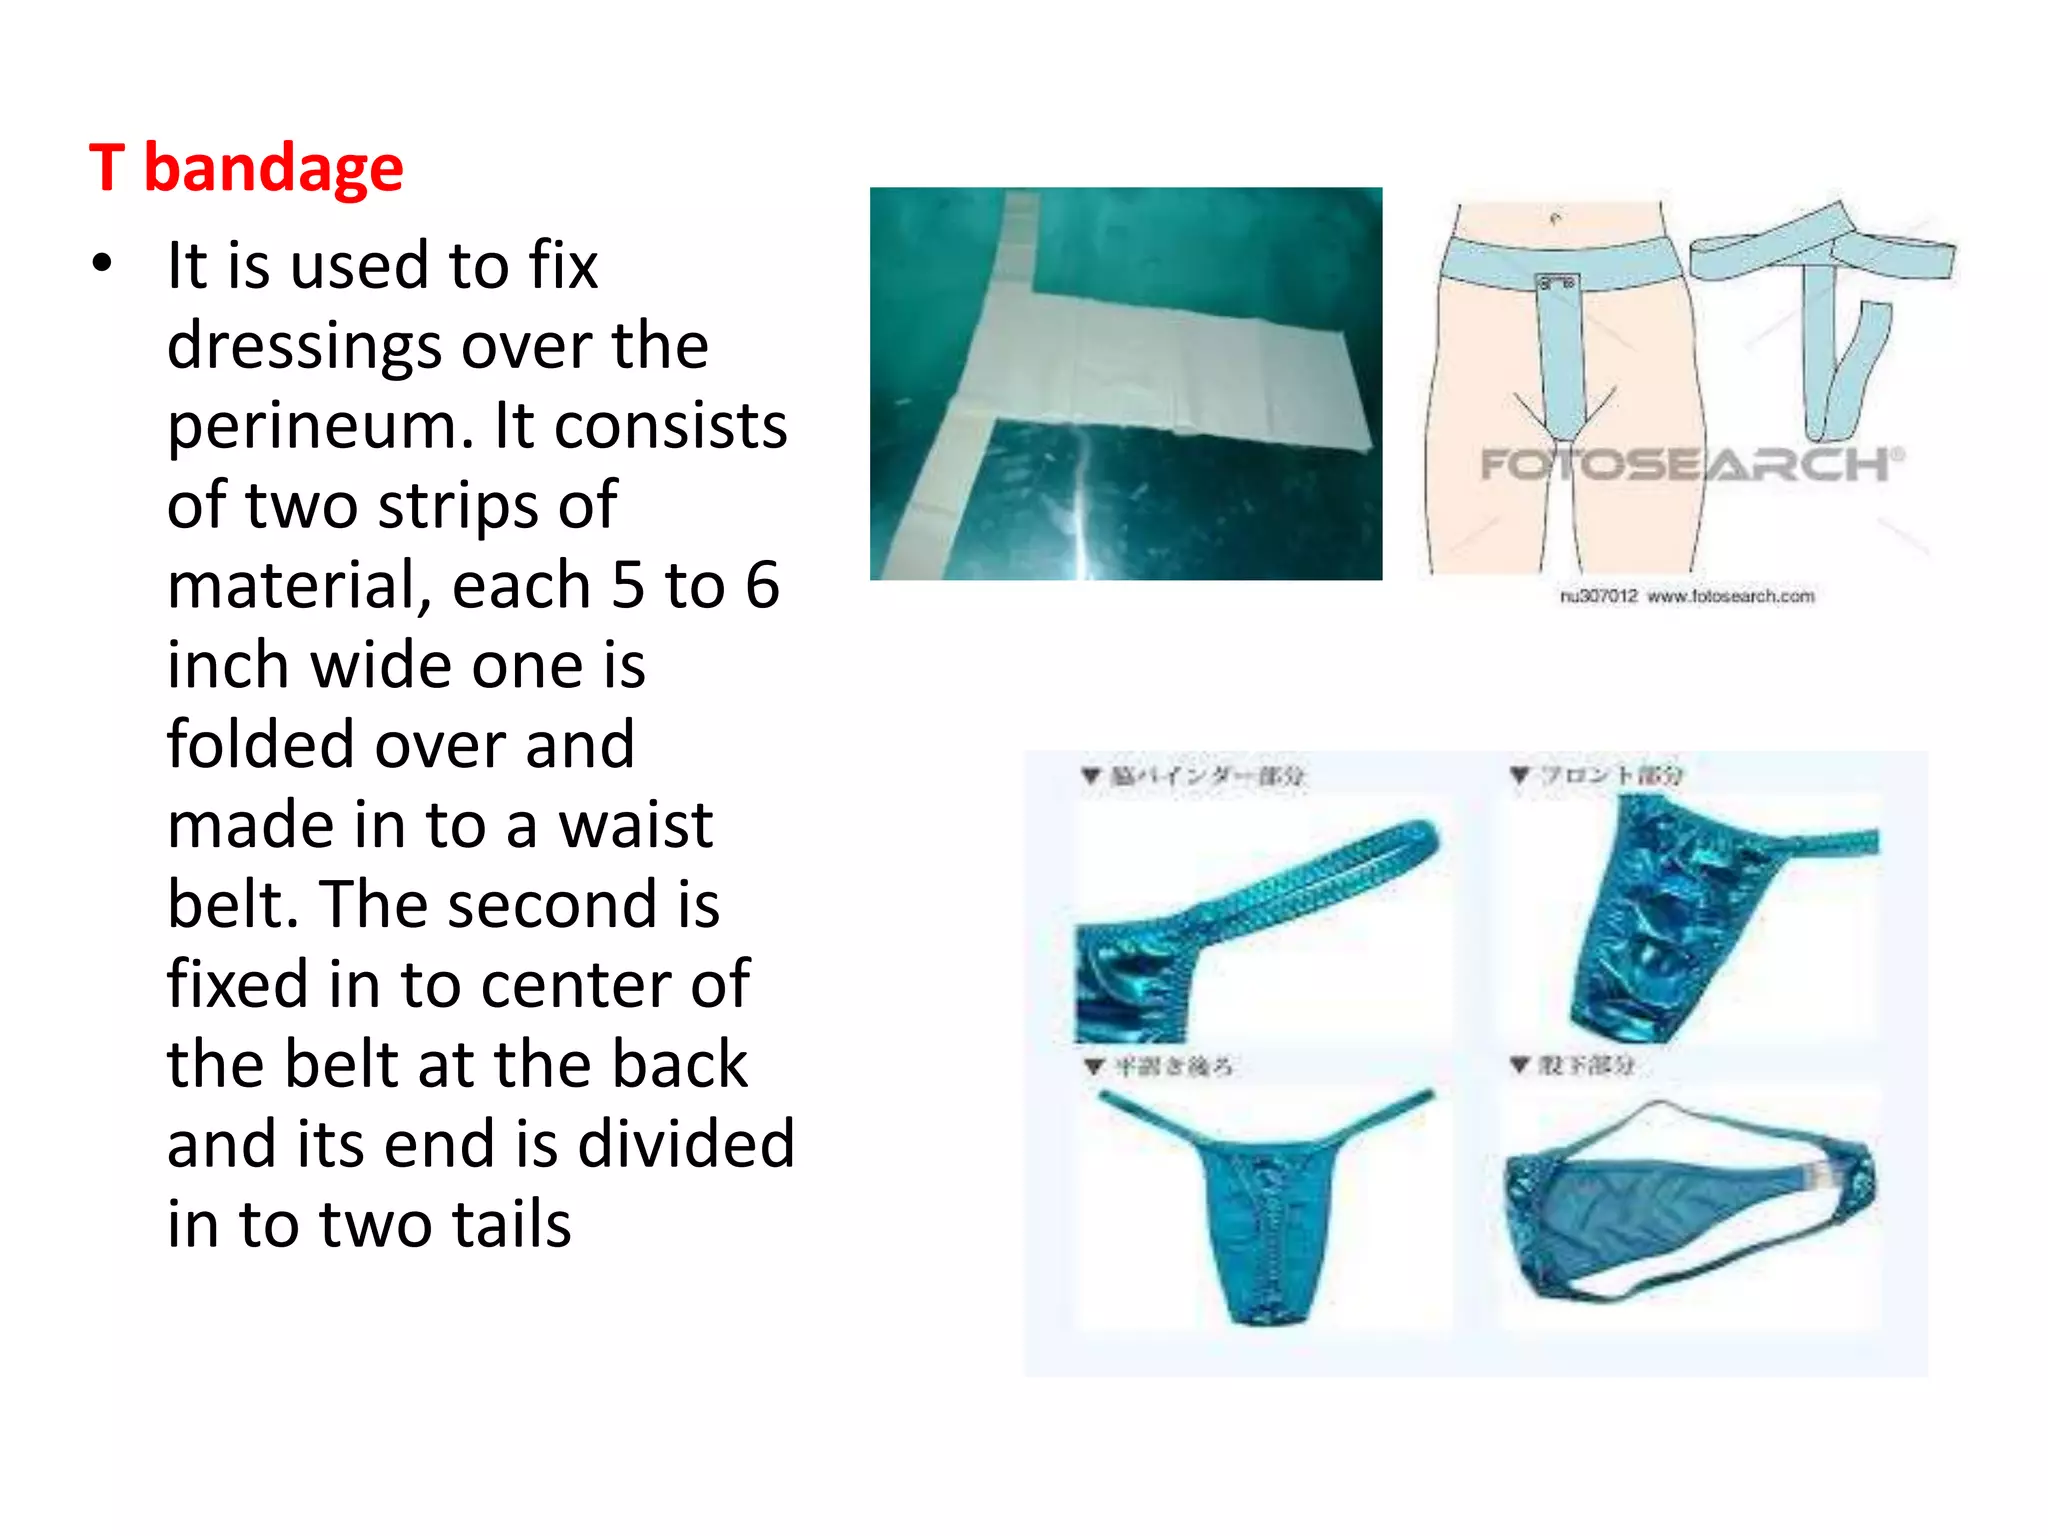
T bandage
• Itis used to fix
dressings over the
perineum. It consists
of two strips of
material, each 5 to 6
inch wide one is
folded over and
made in to a waist
belt. The second is
fixed in to center of
the belt at the back
and its end is divided
in to two tails
22.
Other uses
• Elbowbandage
• Shoulder bandage
• Hip bandage
• Bandage for back of chest
• Bandage for chest


![Bandages and Binders [Autosaved].pptx](https://cdn.slidesharecdn.com/ss_thumbnails/bandagesandbindersautosaved-230314063514-38348509-thumbnail.jpg?width=640&height=640&fit=bounds)


![2nd yr bsc[n] cet ppt-methods of teaching -nsg education](https://cdn.slidesharecdn.com/ss_thumbnails/2ndyrbscncet-ppt-methodsofteaching-nsgeducation-200426055039-thumbnail.jpg?width=640&height=640&fit=bounds)


