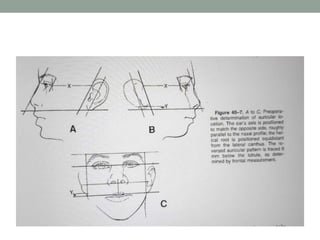
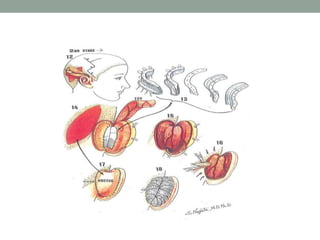
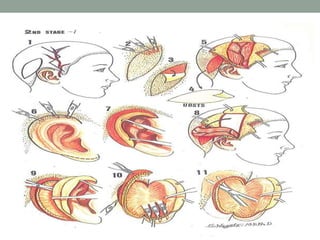
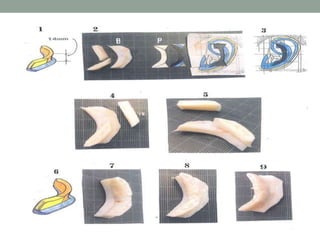
1. The document describes techniques for auricular reconstruction, including the Brent and Nagata techniques.
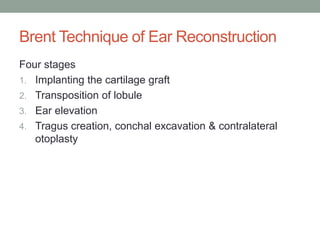
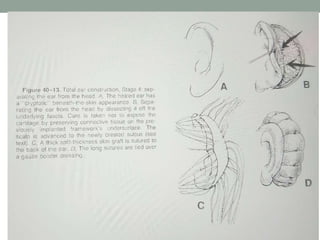
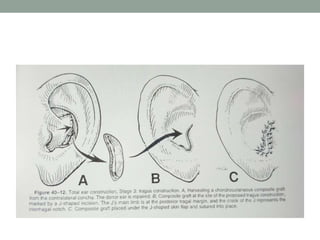
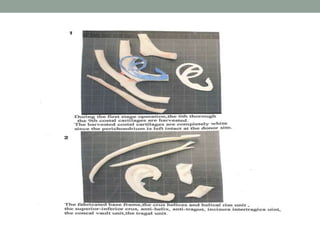
2. The Brent technique is a four stage process using autogenous rib cartilage grafts to reconstruct the ear framework.
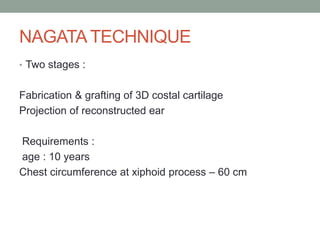
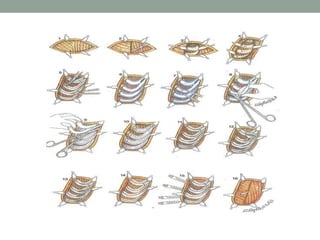
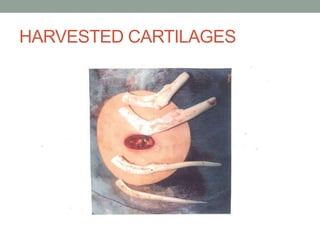
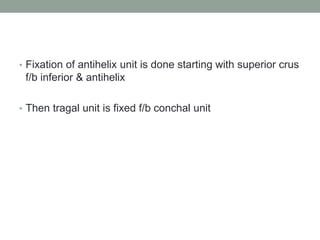
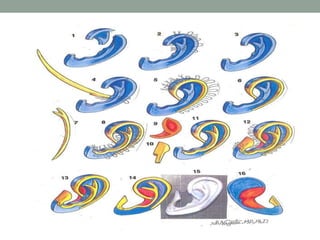
3. The Nagata technique is a two stage process using costal cartilage blocks to fabricate a three-dimensional ear framework, which is then used to reconstruct the ear and project it outward.