Download as PDF, PPTX


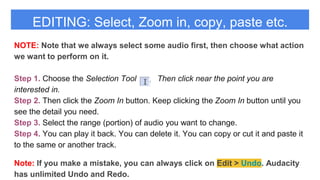


The document outlines a workshop for creating a podcast using Audacity, a free and open-source audio editor. Participants will learn how to record audio, import files, edit tracks, and mix narration with background music while gaining familiarity with key features of Audacity. The objective is to produce and export a final podcast project by applying various audio editing techniques.


