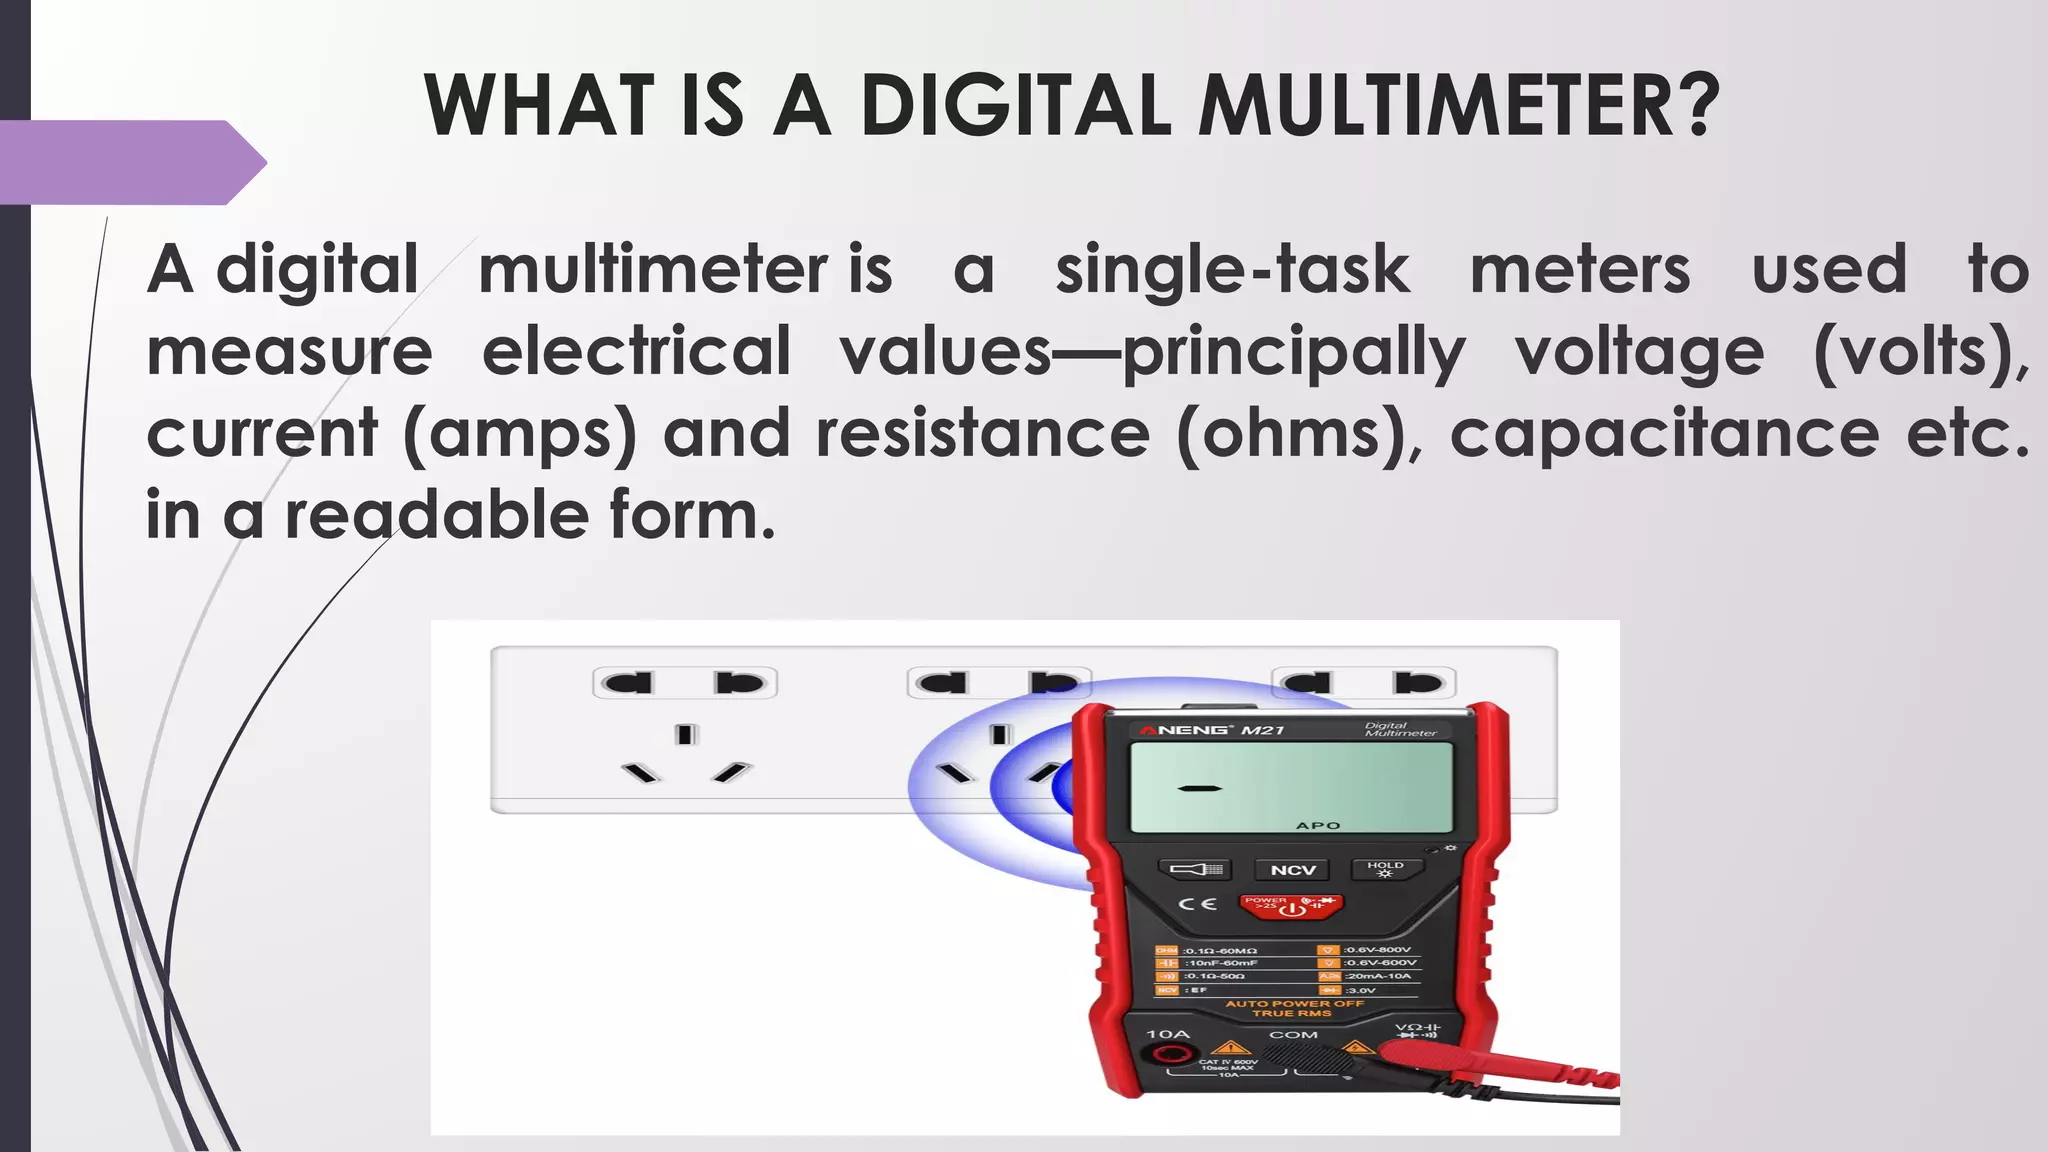
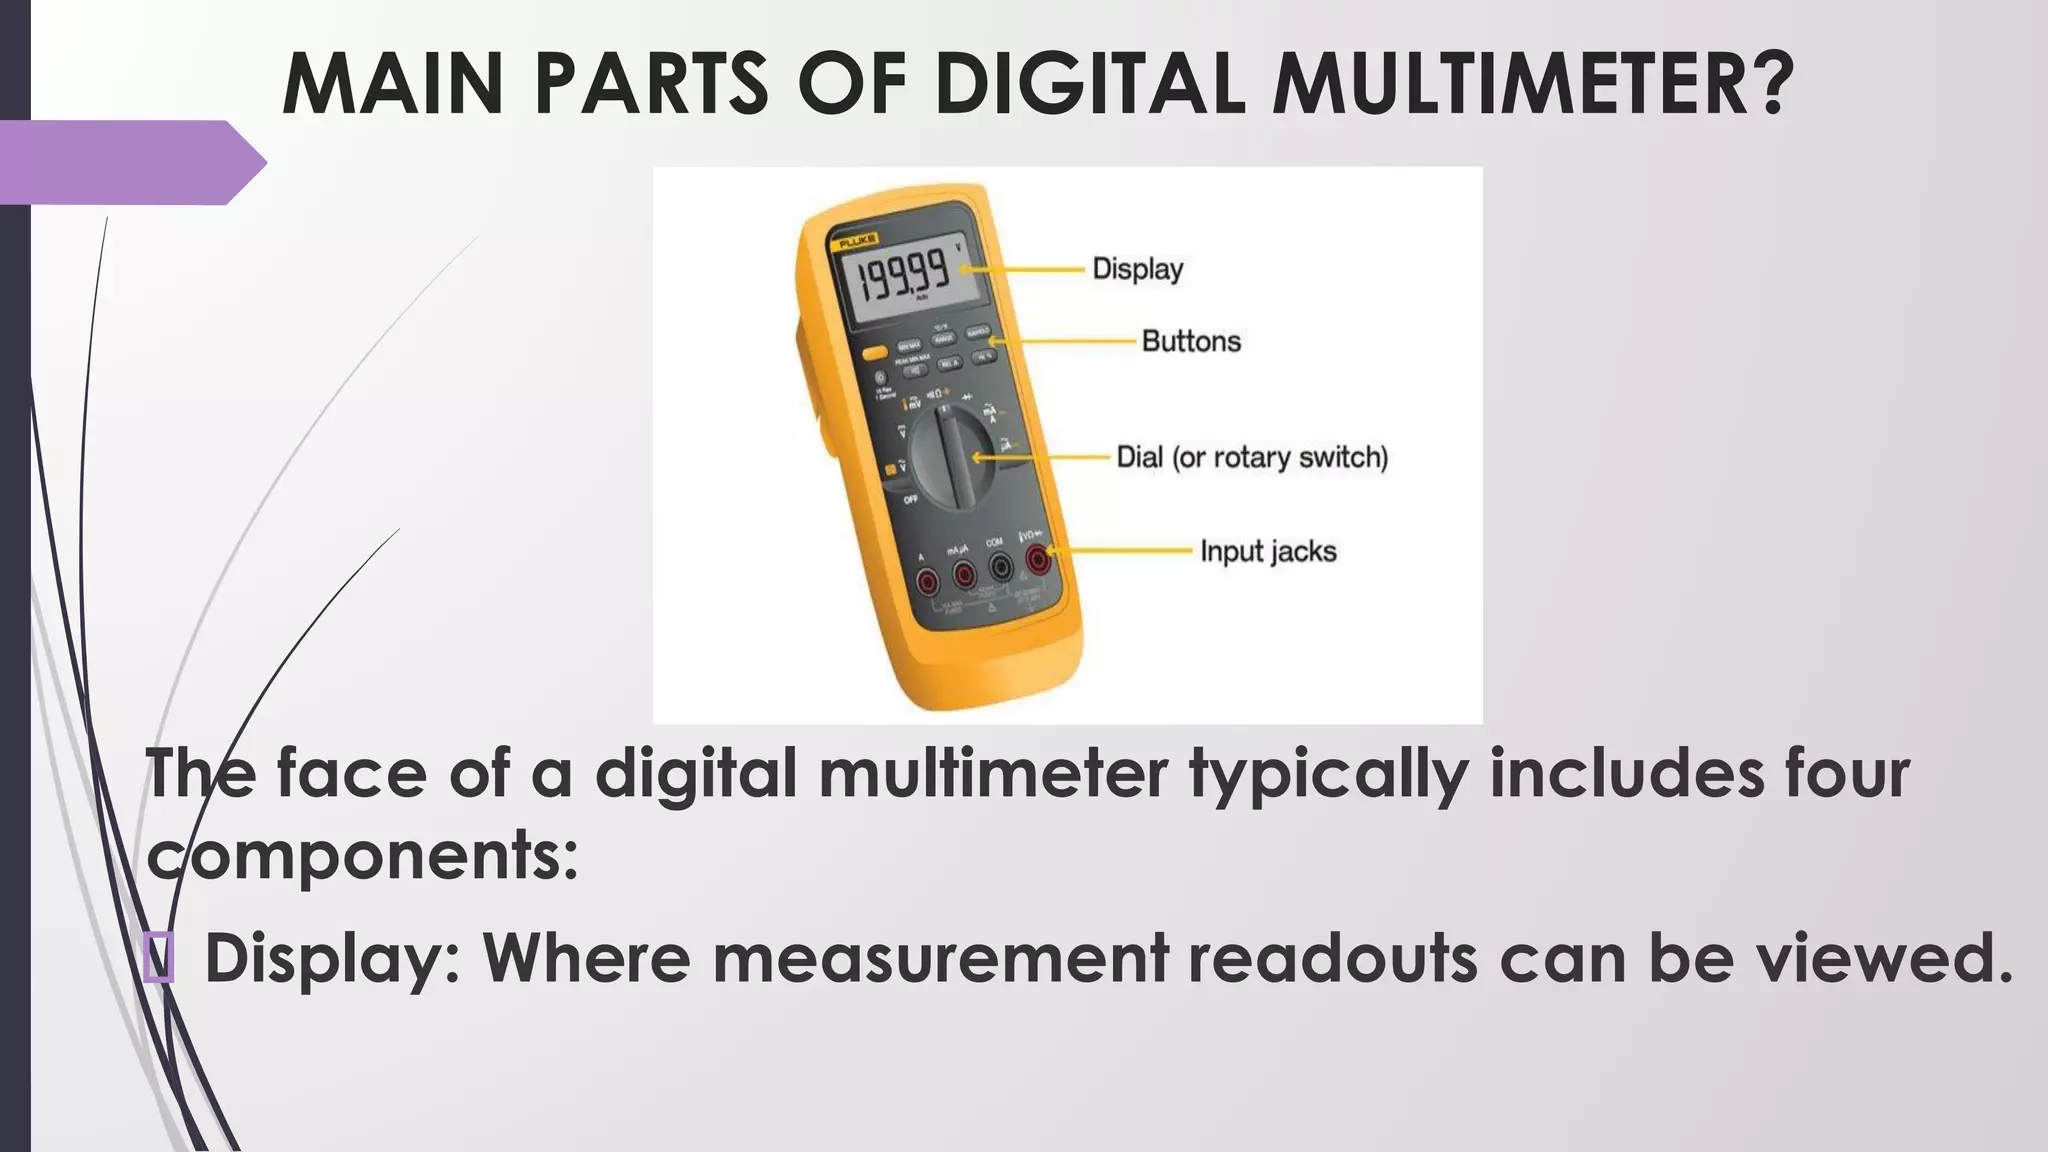
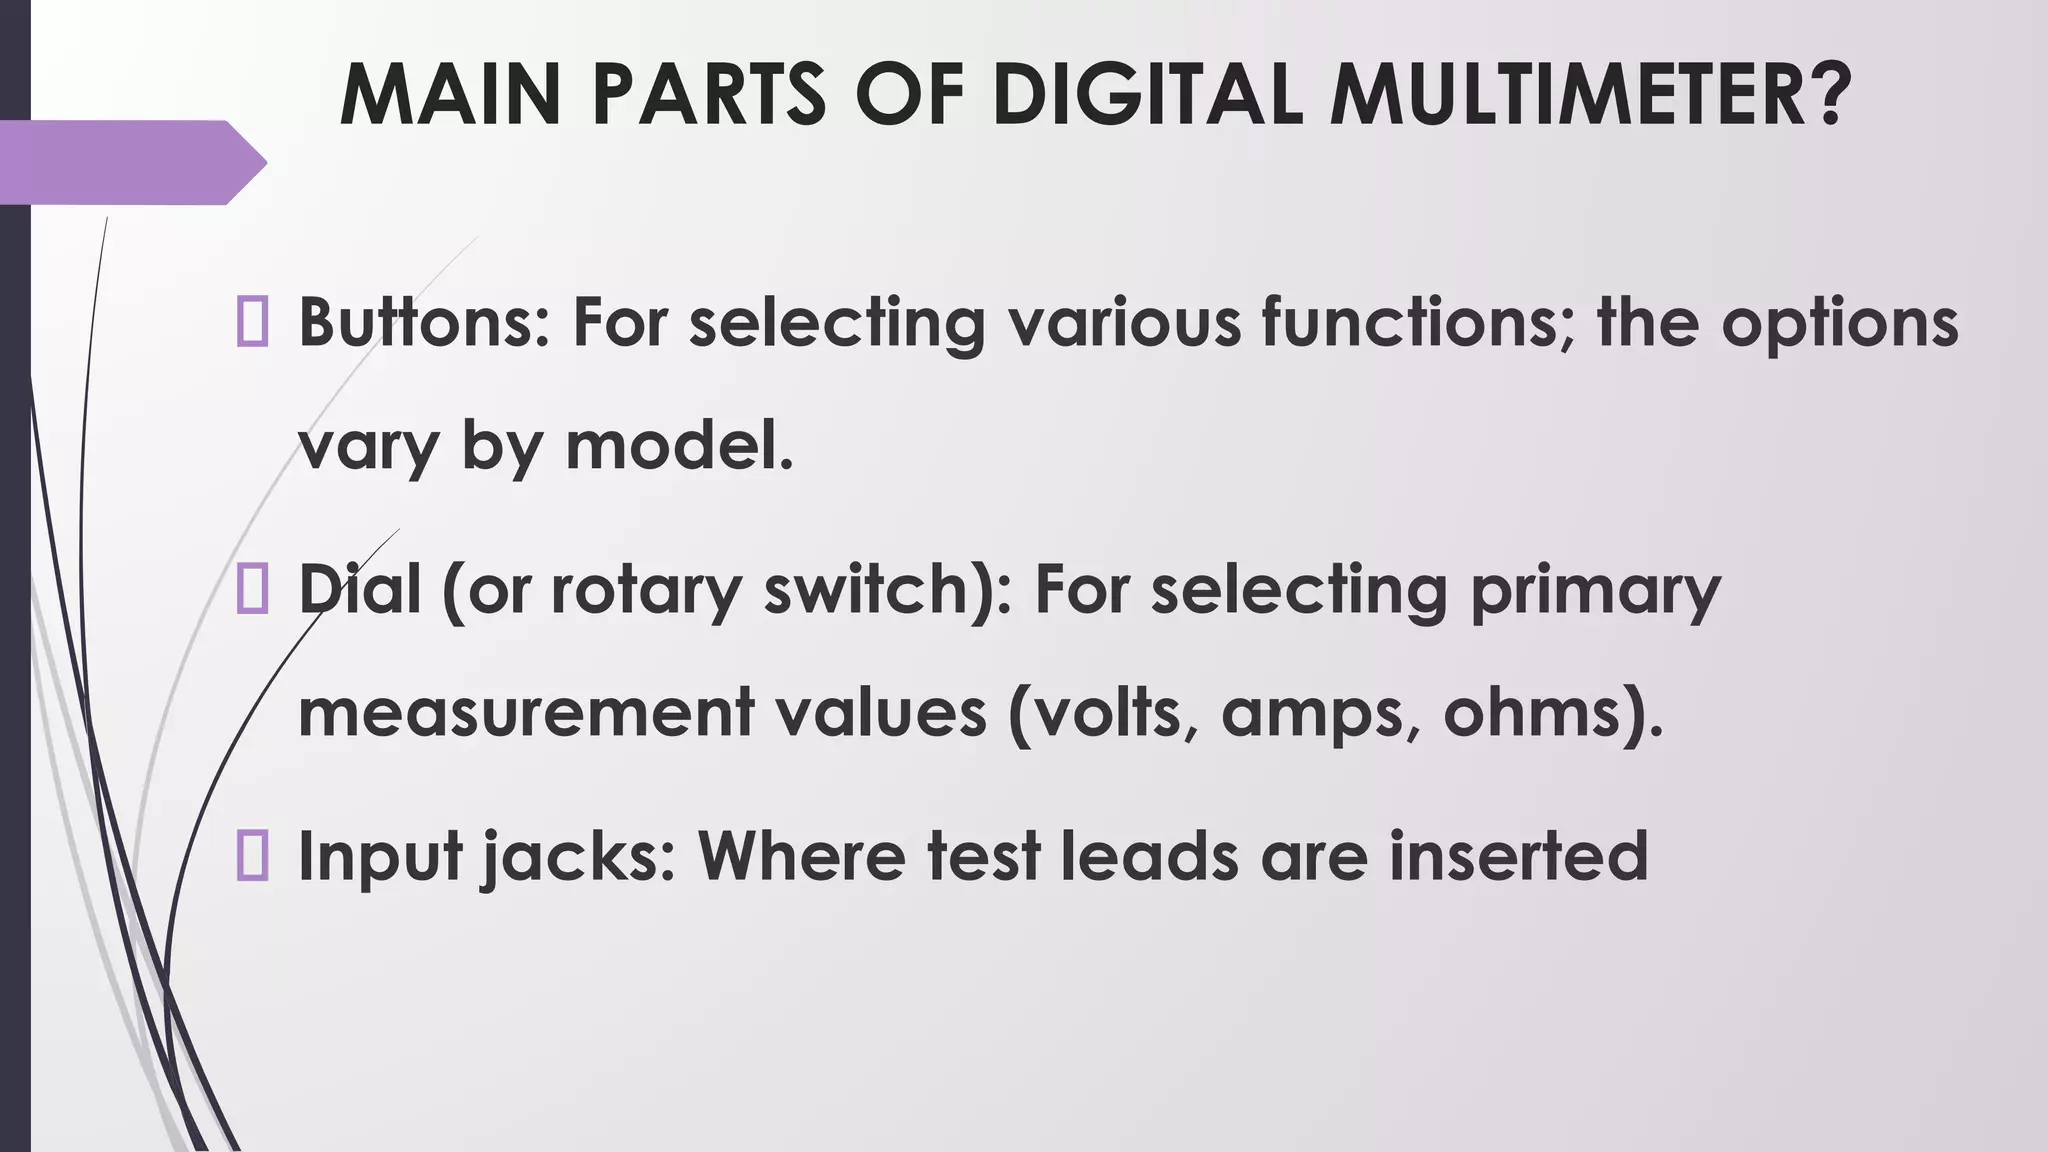
APPLICATION OF
MULTIMETER
WHAT IS A DIGITAL MULTIMETER?
A digital multimeter is a single-task meters used to
measure electrical values—principally voltage (volts),
current (amps) and resistance (ohms), capacitance etc.
in a readable form. 
MAIN PARTS OF DIGITAL MULTIMETER?
The face of a digital multimeter typically includes four
components:
Display: Where measurement readouts can be viewed.
MAIN PARTS OF DIGITAL MULTIMETER?
Buttons: For selecting various functions; the options
vary by model.
Dial (or rotary switch): For selecting primary
measurement values (volts, amps, ohms).
Input jacks: Where test leads are inserted
Measuring Voltage
To start, let's measure voltage on a AA battery: Plug the
black probe into COM and the red probe into mAVΩ. Set
the multimeter to "2V" in the DC (direct current) range
Measuring Voltage
Almost all portable electronics use direct current),
not alternating current.
Connect the black probe to the battery's ground or '-'
and the red probe to power or '+'. Squeeze the probes
with a little pressure against the positive and negative
terminals of the AA battery.
Measuring Voltage
If you've got a fresh battery, you should see around
1.5V on the display (this battery is brand new, so its
voltage is slightly higher than 1.5V).
Measuring DC Voltage
If you're measuring DC voltage (such as a battery or a
sensor hooked up to an Arduino) you want to set the
knob where the V has a straight line.
Measuring AC Voltage
AC voltage (like what comes out of the wall) can be
dangerous, so we rarely need to use the AC voltage
setting (the V with a wavy line next to it).
If you're messing with AC, we recommend you get
a non-contact tester rather than use a digital multimeter
Measuring Resistance
Pick out a random resistor and set the multimeter to
the 20kΩ setting. Then hold the probes against the
resistor legs with the same amount of pressure you
Measuring Resistance
The meter will read one of three things, 0.00, 1, or
the actual resistor value.
In this case, the meter reads 0.97, meaning this resistor
has a value of 970Ω, or about 1kΩ (remember you are
in the 20kΩ or 20,000 Ohm mode so you need to move
the decimal three places to the right or 970 Ohms).
Measuring Resistance
If the multimeter reads 1 or displays OL, it's
overloaded. You will need to try a higher mode such
as 200kΩ mode or 2MΩ (megaohm) mode. There is
no harm if this happen, it simply means the range
knob needs to be adjusted.
If the multimeter reads 0.00 or nearly zero, then you
need to lower the mode to 2kΩ or 200Ω.
Measuring Current
The current consumption for many breadboard
projects is usually under 200mA. Make sure the red
probe is plugged into the 200mA fused port.
Measuring Current
On multimeter, the 200mA hole is the same port/hole
as voltage and resistance reading (the port is
labeled mAVΩ).
This means you can keep the red probe in the same
port to measure current, voltage, or resistance.
However, if you suspect that your circuit will be using
close to or more than 200mA, switch your probe to the
10A side, just to be safe.
Measuring Current
Overloading the current can result in a blown fuse
rather than just an overload display. More on that in
a bit.
Application of MULTIMETER.pptx.pdf

Application of MULTIMETER.pptx.pdf

  • 1.
  • 2.
    WHAT IS ADIGITAL MULTIMETER? A digital multimeter is a single-task meters used to measure electrical values—principally voltage (volts), current (amps) and resistance (ohms), capacitance etc. in a readable form. 
  • 3.
    MAIN PARTS OFDIGITAL MULTIMETER? The face of a digital multimeter typically includes four components: Display: Where measurement readouts can be viewed.
  • 4.
    MAIN PARTS OFDIGITAL MULTIMETER? Buttons: For selecting various functions; the options vary by model. Dial (or rotary switch): For selecting primary measurement values (volts, amps, ohms). Input jacks: Where test leads are inserted
  • 5.
    Measuring Voltage To start,let's measure voltage on a AA battery: Plug the black probe into COM and the red probe into mAVΩ. Set the multimeter to "2V" in the DC (direct current) range
  • 6.
    Measuring Voltage Almost allportable electronics use direct current), not alternating current. Connect the black probe to the battery's ground or '-' and the red probe to power or '+'. Squeeze the probes with a little pressure against the positive and negative terminals of the AA battery.
  • 7.
    Measuring Voltage If you'vegot a fresh battery, you should see around 1.5V on the display (this battery is brand new, so its voltage is slightly higher than 1.5V).
  • 8.
    Measuring DC Voltage Ifyou're measuring DC voltage (such as a battery or a sensor hooked up to an Arduino) you want to set the knob where the V has a straight line.
  • 9.
    Measuring AC Voltage ACvoltage (like what comes out of the wall) can be dangerous, so we rarely need to use the AC voltage setting (the V with a wavy line next to it). If you're messing with AC, we recommend you get a non-contact tester rather than use a digital multimeter
  • 10.
    Measuring Resistance Pick outa random resistor and set the multimeter to the 20kΩ setting. Then hold the probes against the resistor legs with the same amount of pressure you
  • 11.
    Measuring Resistance The meterwill read one of three things, 0.00, 1, or the actual resistor value. In this case, the meter reads 0.97, meaning this resistor has a value of 970Ω, or about 1kΩ (remember you are in the 20kΩ or 20,000 Ohm mode so you need to move the decimal three places to the right or 970 Ohms).
  • 12.
    Measuring Resistance If themultimeter reads 1 or displays OL, it's overloaded. You will need to try a higher mode such as 200kΩ mode or 2MΩ (megaohm) mode. There is no harm if this happen, it simply means the range knob needs to be adjusted. If the multimeter reads 0.00 or nearly zero, then you need to lower the mode to 2kΩ or 200Ω.
  • 13.
    Measuring Current The currentconsumption for many breadboard projects is usually under 200mA. Make sure the red probe is plugged into the 200mA fused port.
  • 14.
    Measuring Current On multimeter, the200mA hole is the same port/hole as voltage and resistance reading (the port is labeled mAVΩ). This means you can keep the red probe in the same port to measure current, voltage, or resistance. However, if you suspect that your circuit will be using close to or more than 200mA, switch your probe to the 10A side, just to be safe.
  • 15.
    Measuring Current Overloading thecurrent can result in a blown fuse rather than just an overload display. More on that in a bit.