1) The document describes Susan Ferdon's process of setting up a home server and creating a basic website to host on that server. She encountered difficulties getting the server set up on her Mac and instead used her husband's Windows laptop.
2) She installed Apache server software, set up dynamic DNS with No-IP, and configured port forwarding on her home router to access the server remotely.
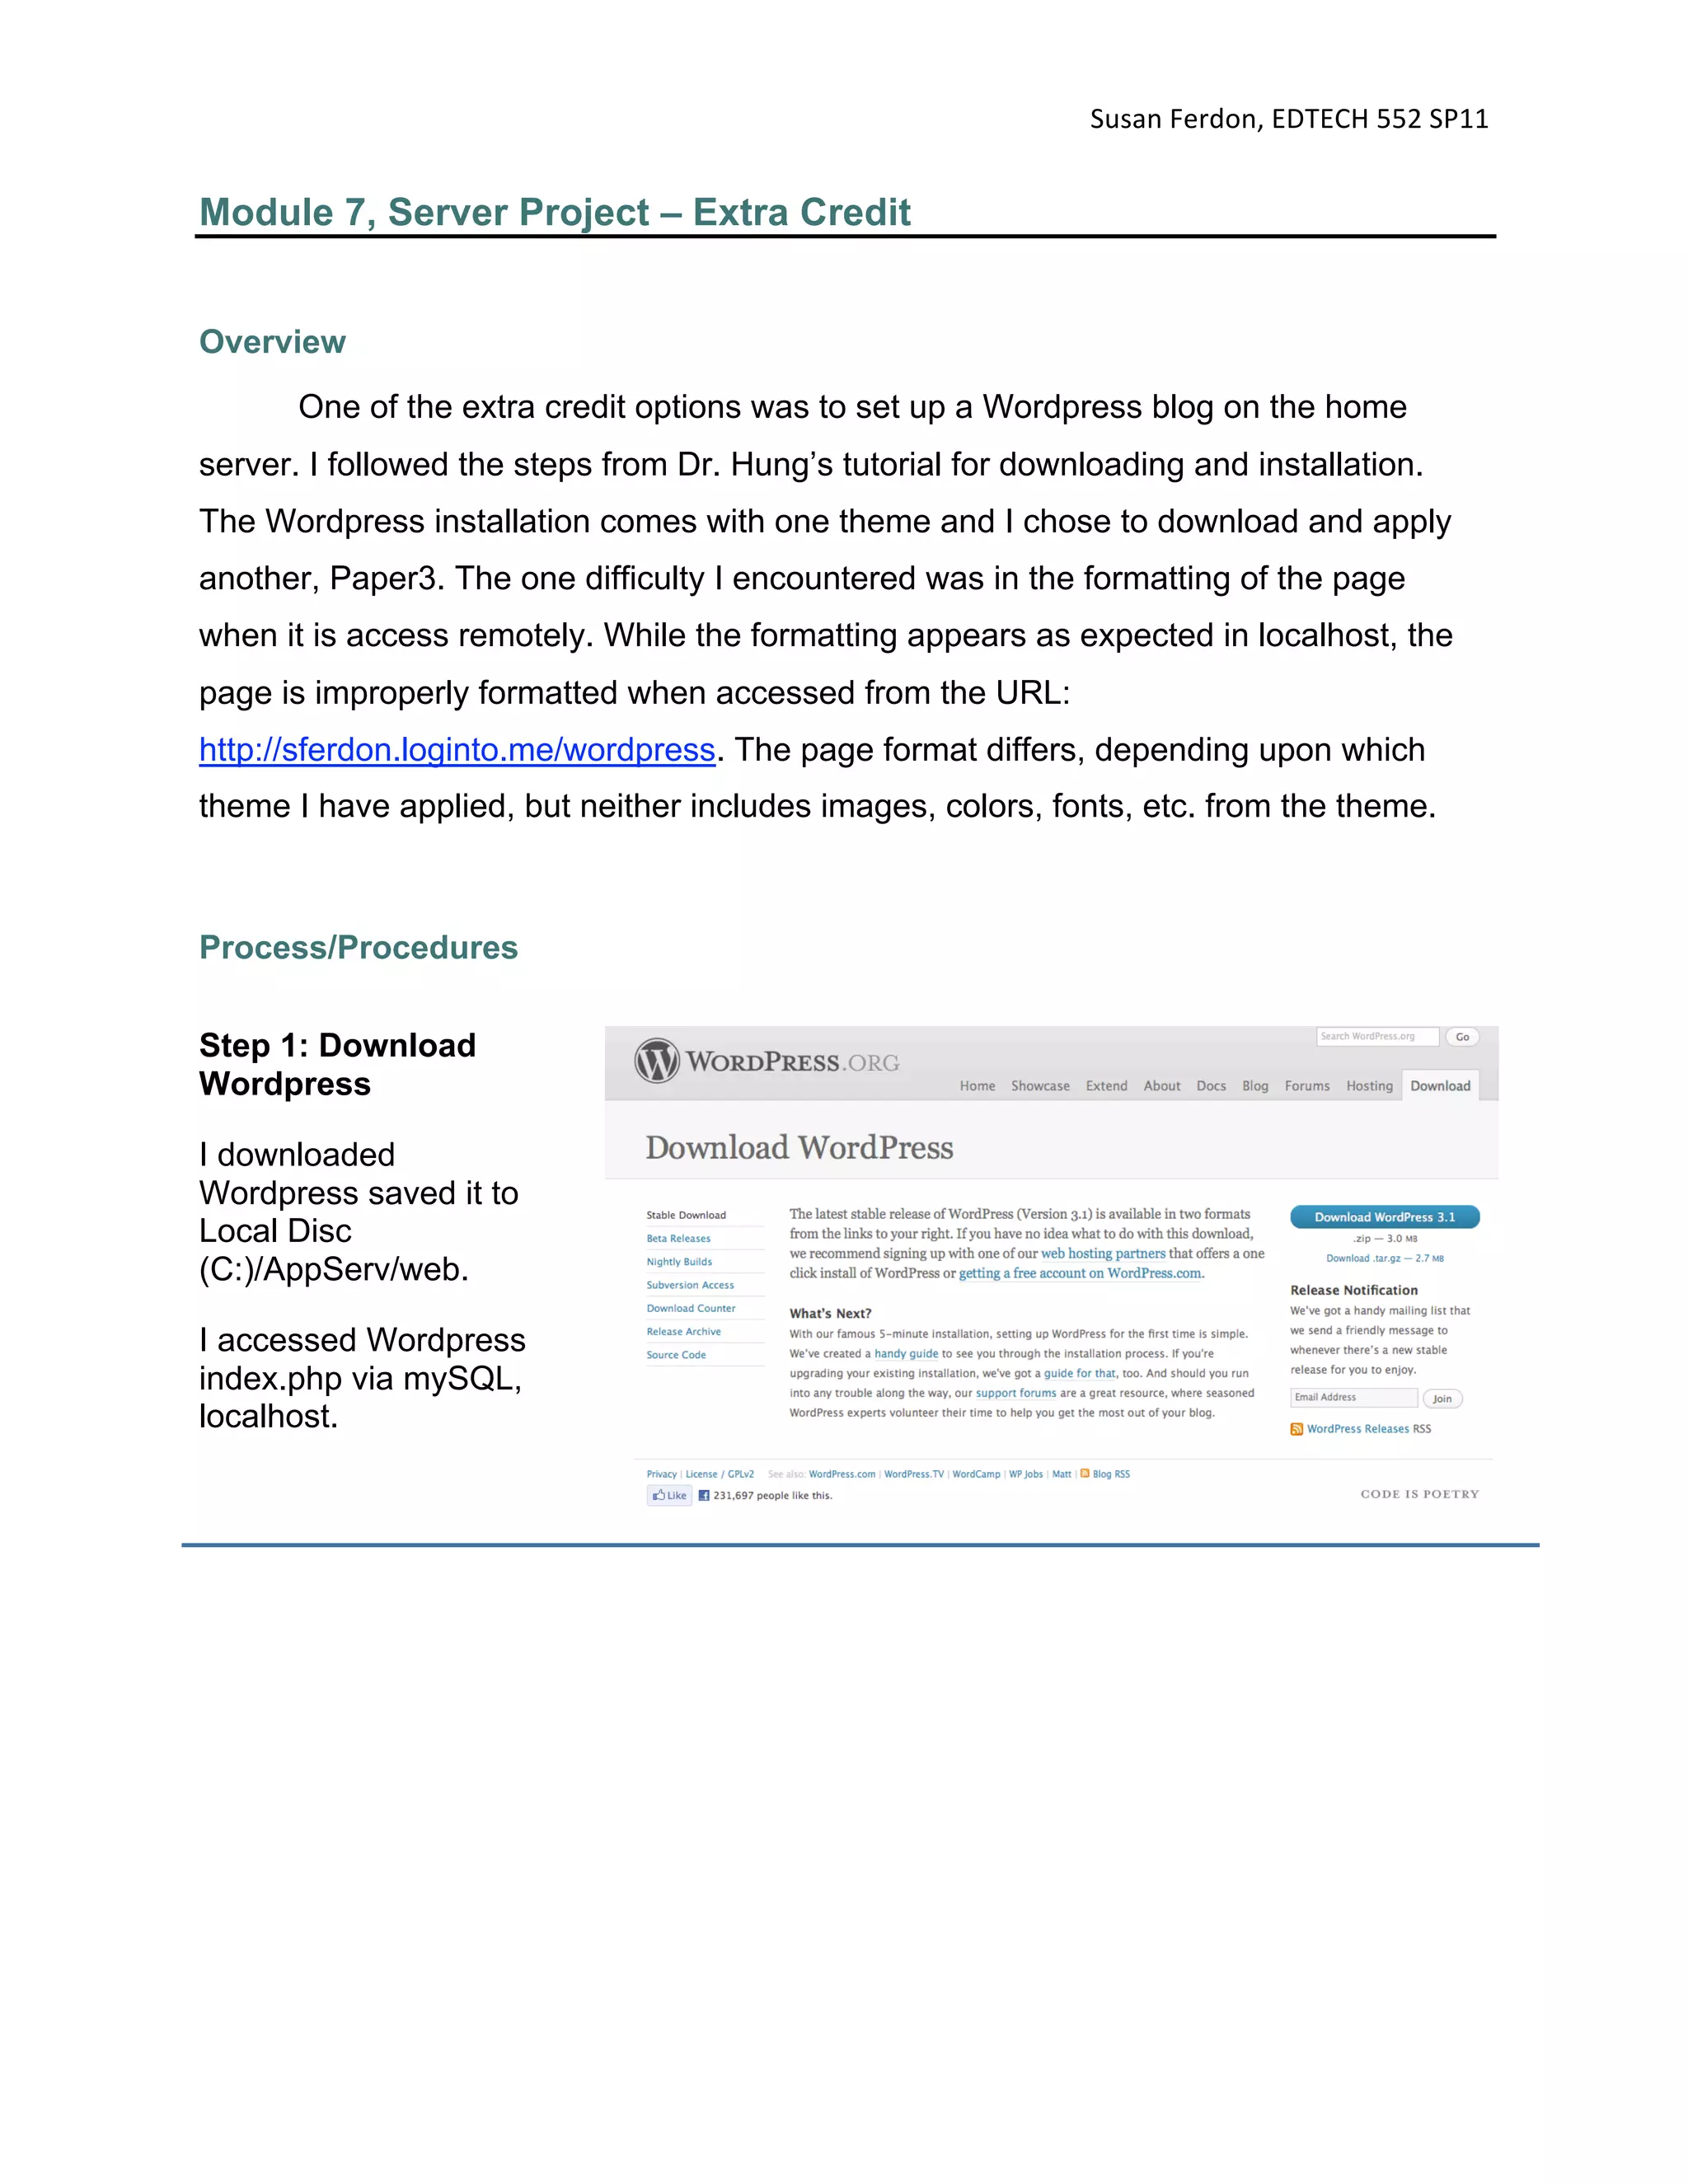
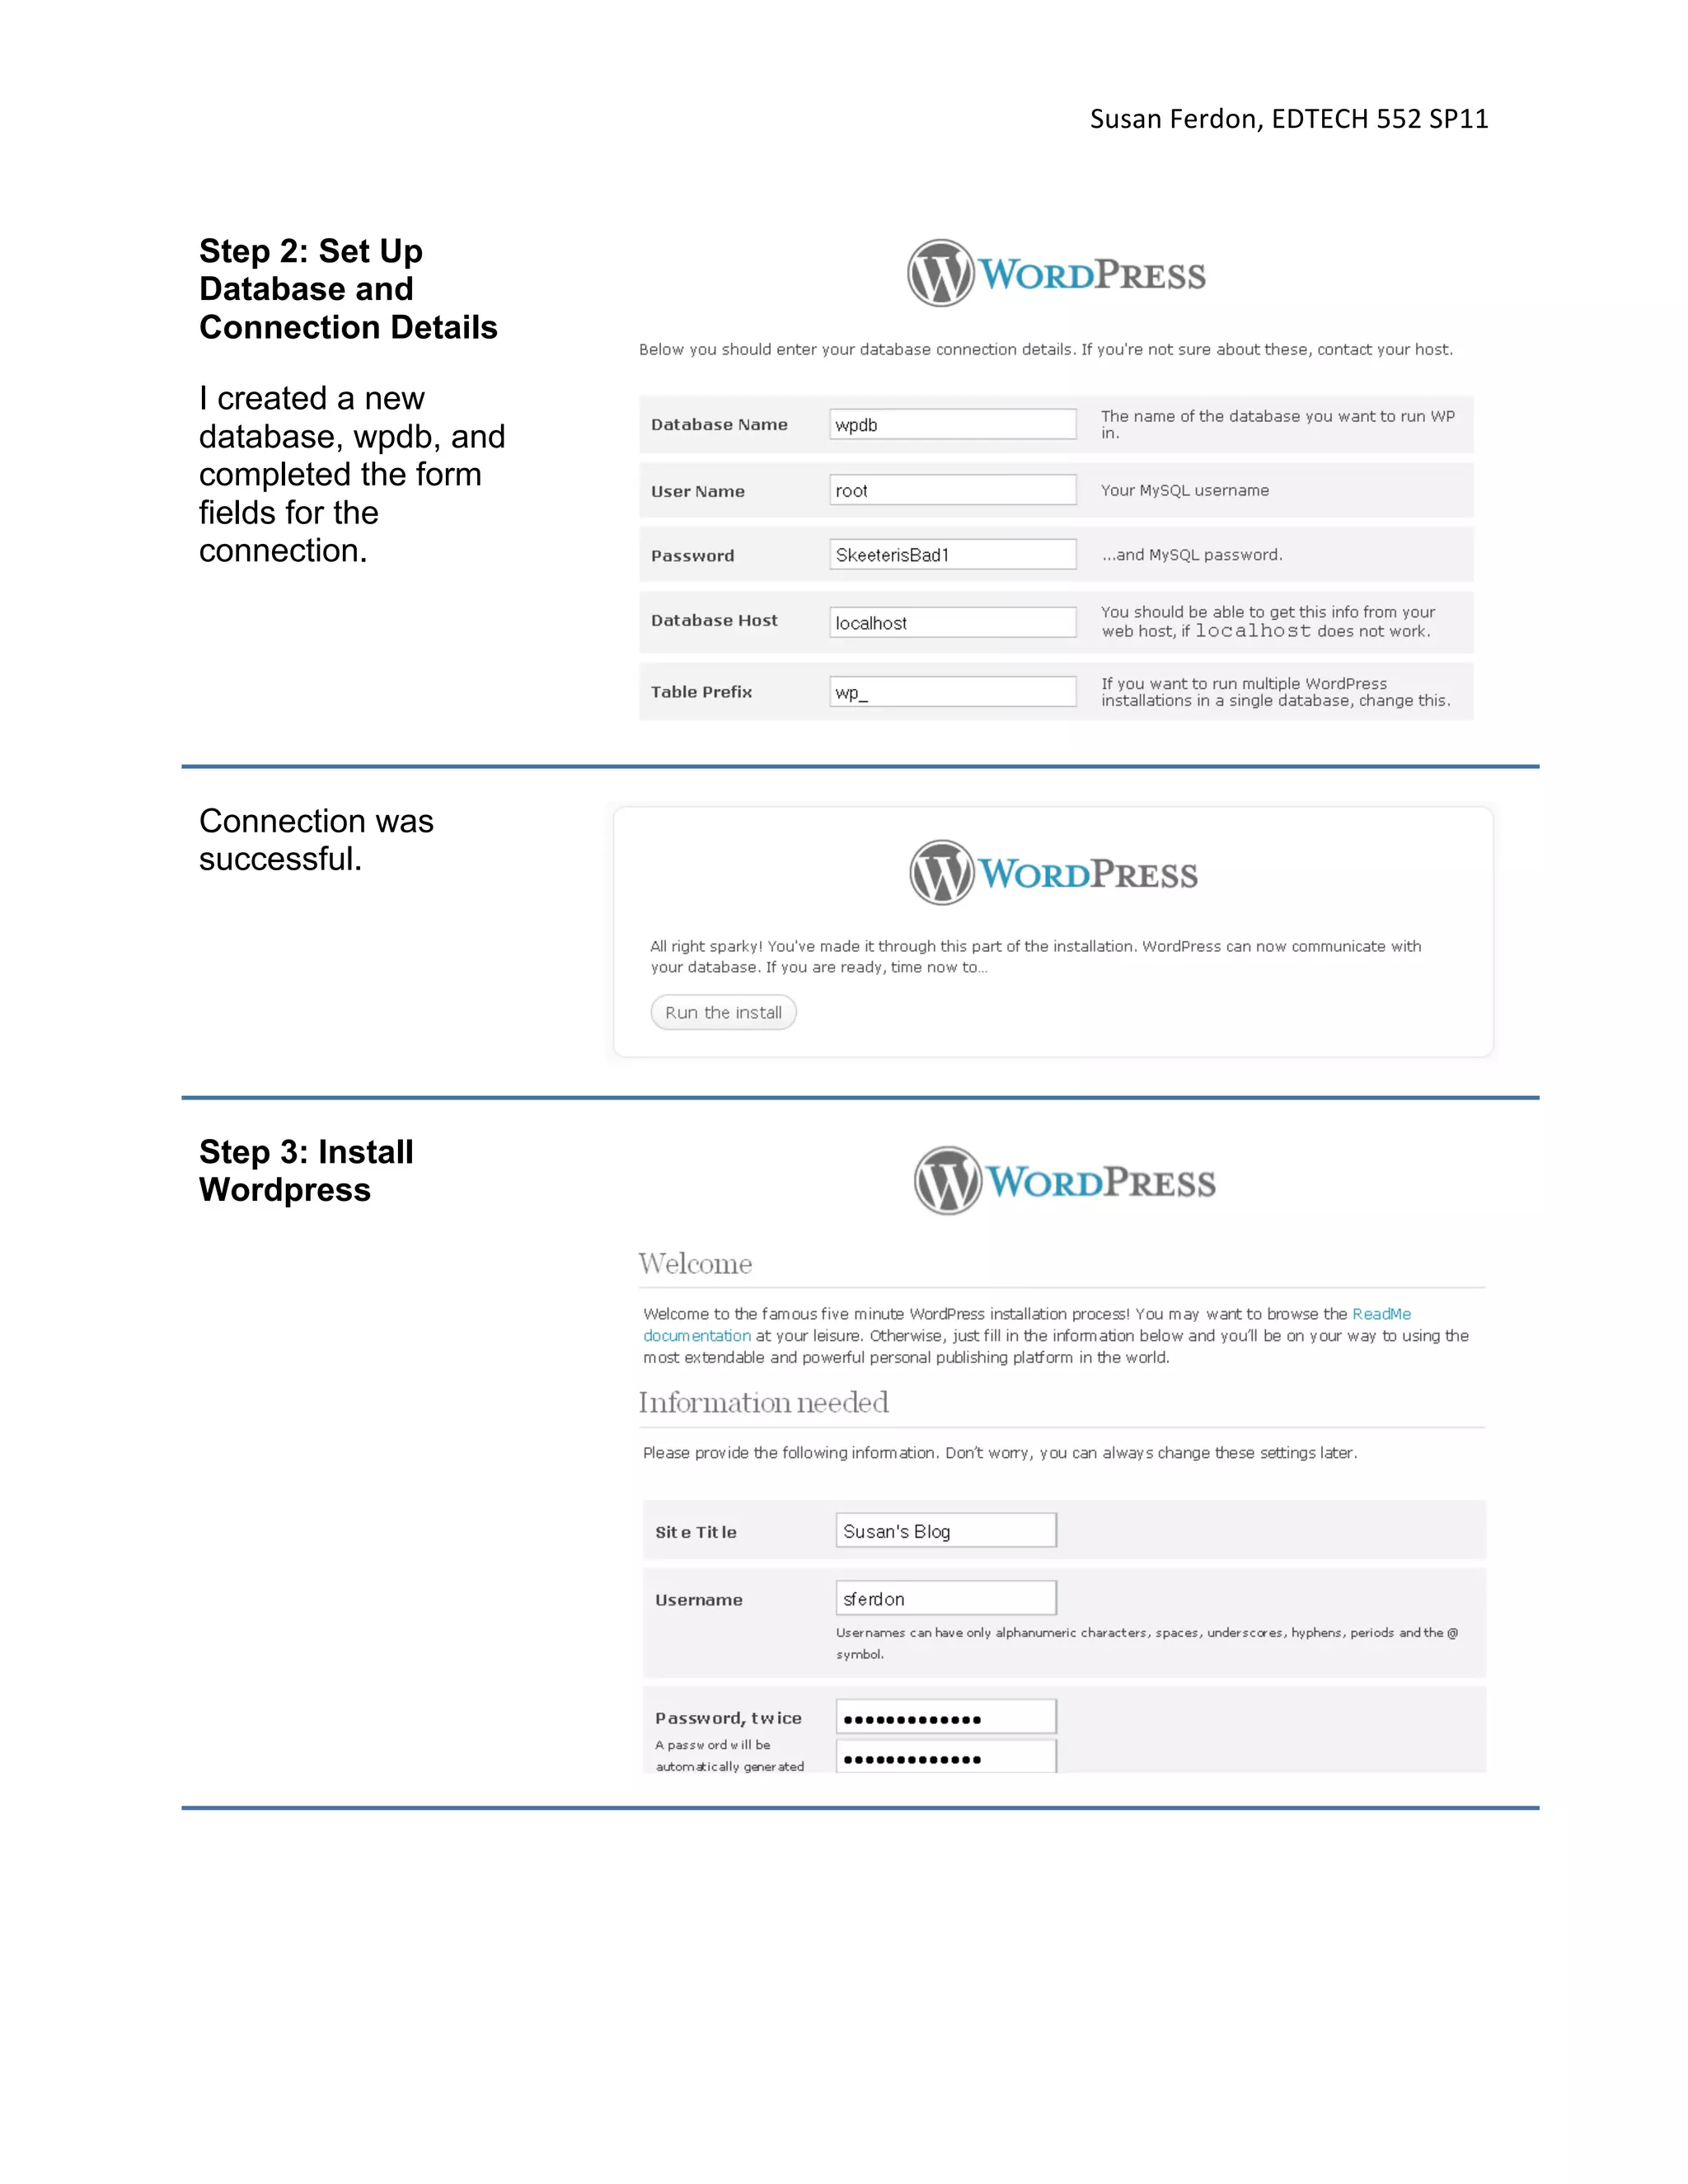
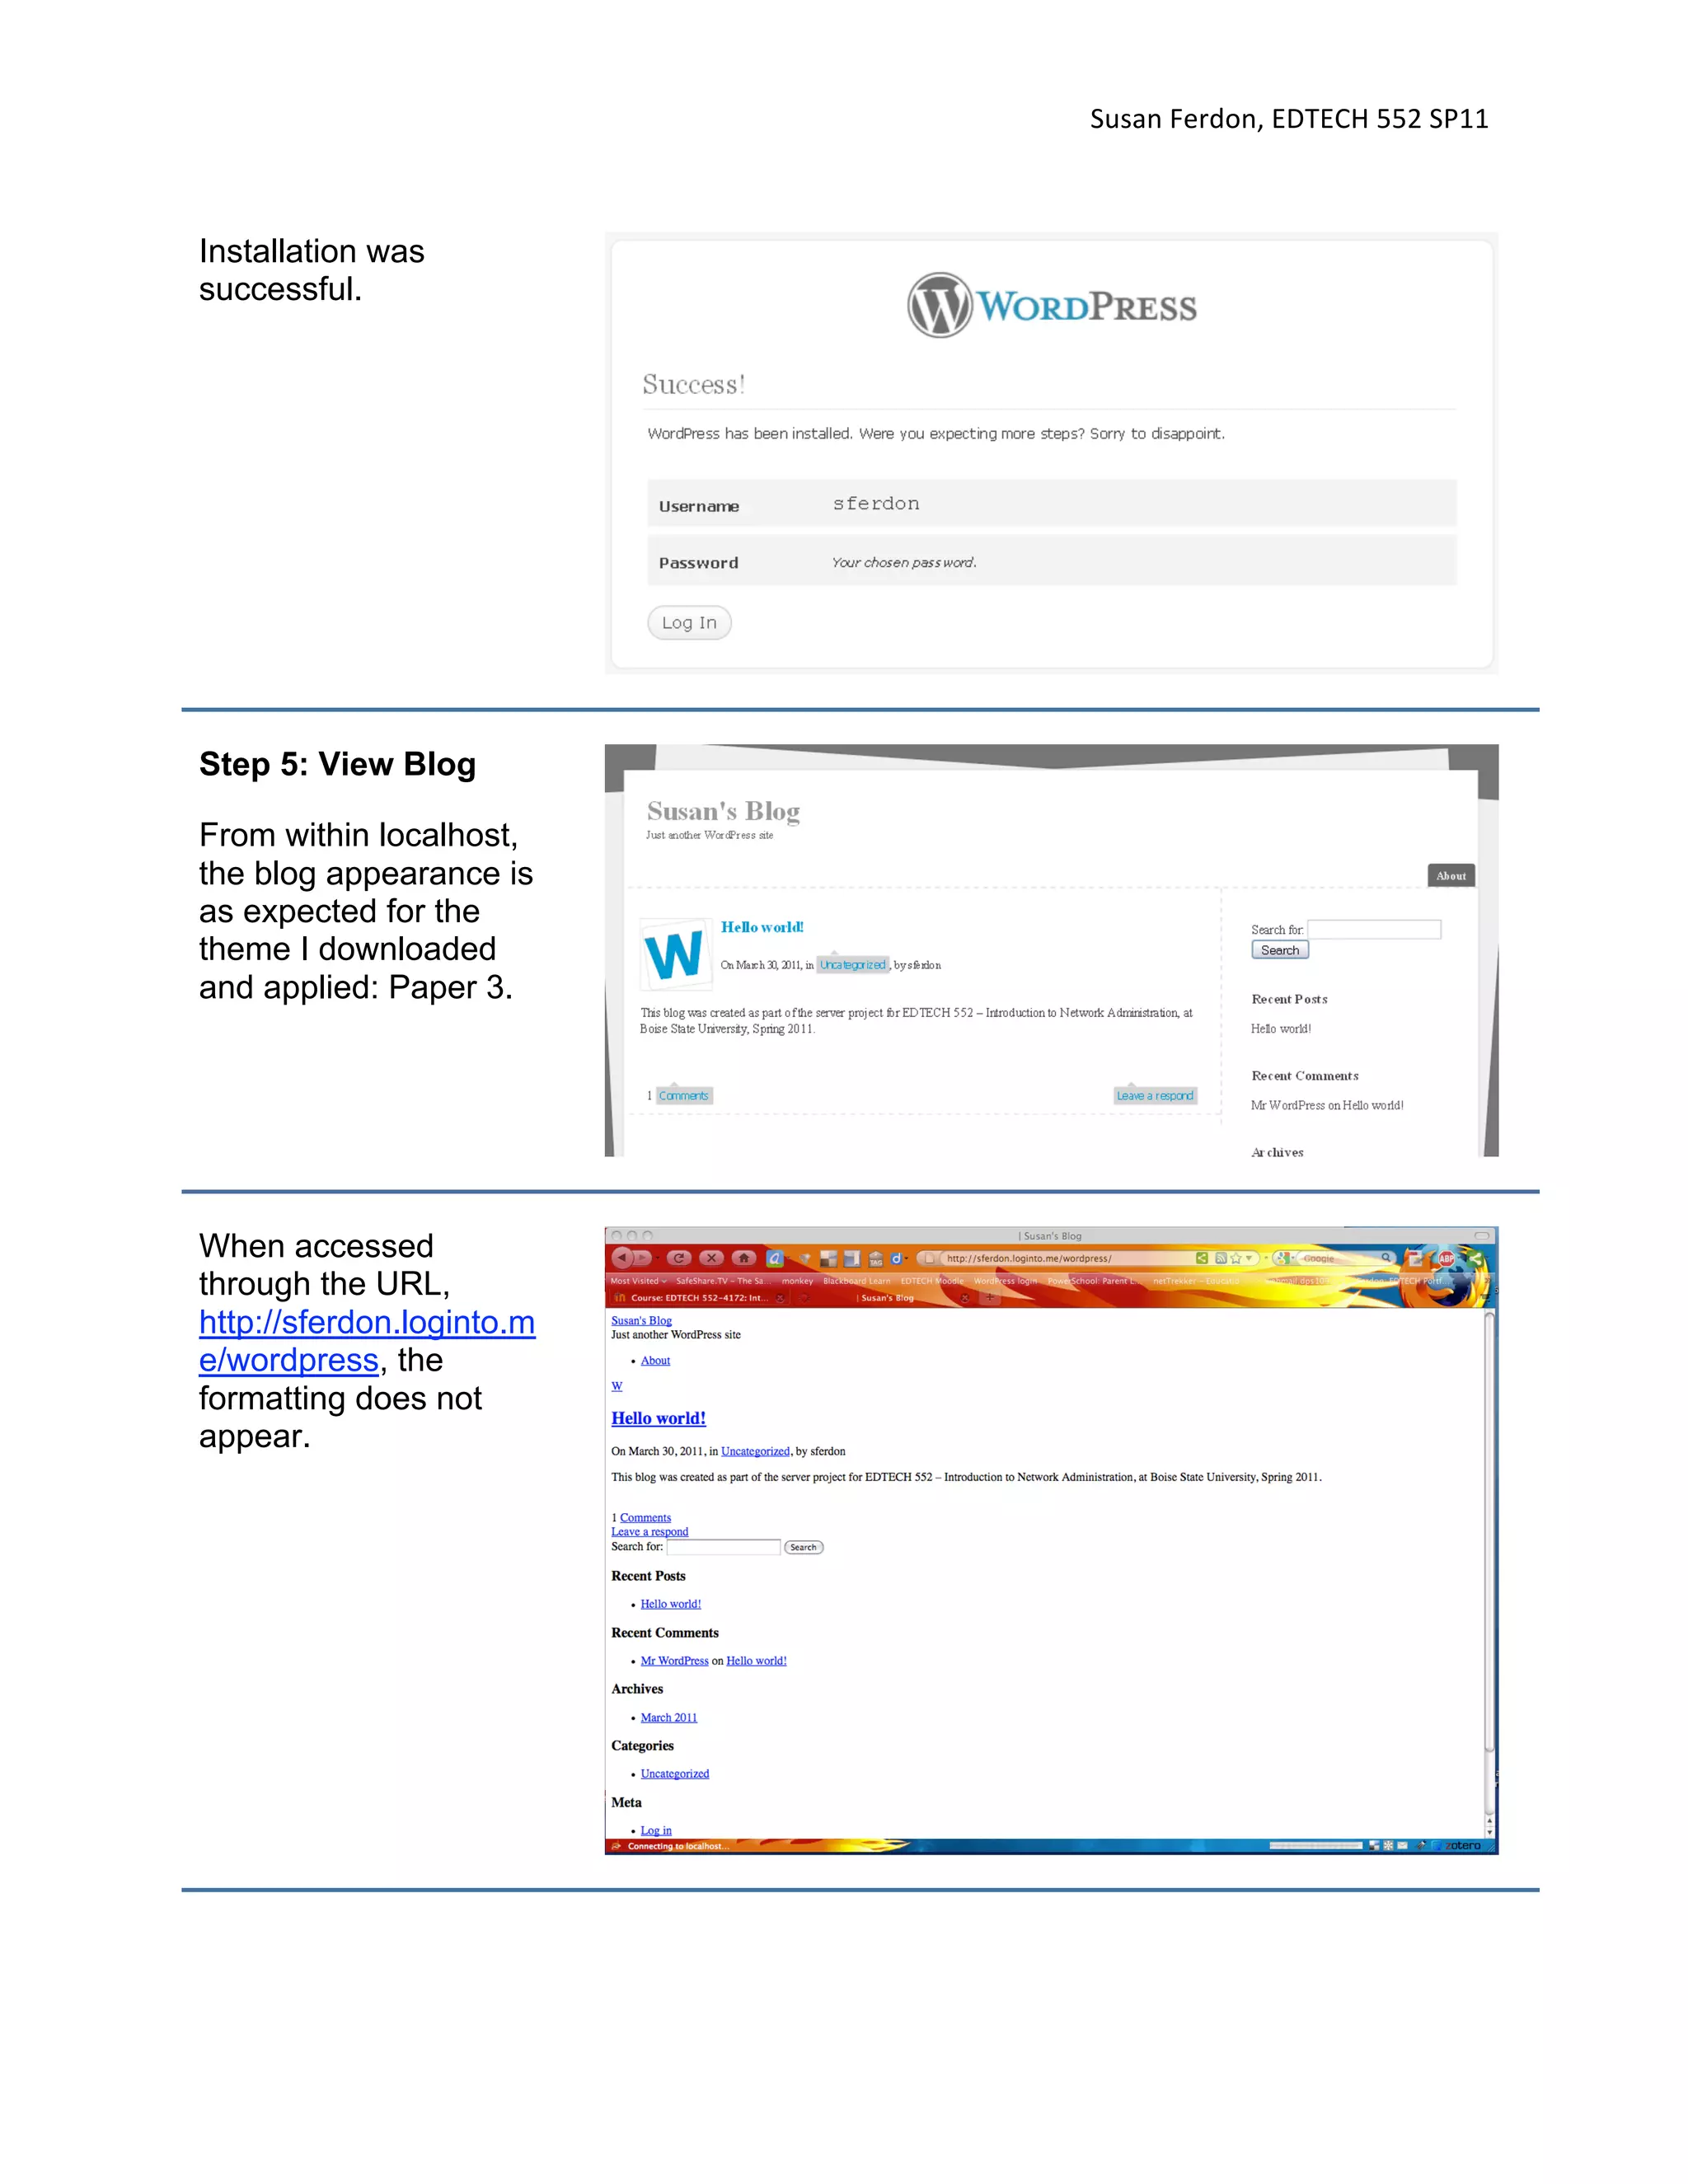
3) As an extra credit task, she also installed WordPress on the server but encountered issues with formatting when accessing the WordPress site remotely versus locally.


![Vibe Coding vs. Spec-Driven Development [Free Meetup]](https://cdn.slidesharecdn.com/ss_thumbnails/vibecodingvsspecdrivendevelopment-251209105622-43f455e7-thumbnail.jpg?width=640&height=640&fit=bounds)


![Coded Agents – with UiPath SDK + LangGraph [Virtual Hands-on Workshop]](https://cdn.slidesharecdn.com/ss_thumbnails/codedagentsdeck-251215155422-5497c599-thumbnail.jpg?width=640&height=640&fit=bounds)


