This document provides information on Java applets including:
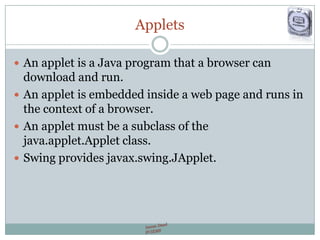
- An applet is a Java program that runs in a web browser context
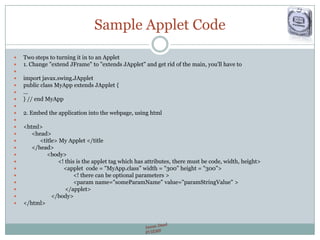
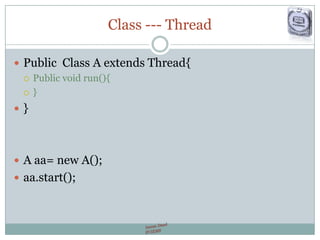
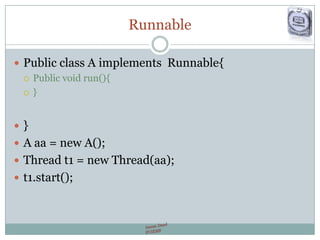
- It must extend the Applet class or JApplet class
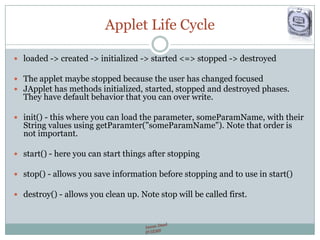
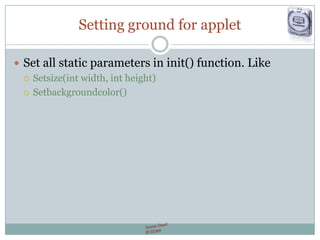
- Includes the applet lifecycle of loading, creating, initializing, starting, stopping, and destroying
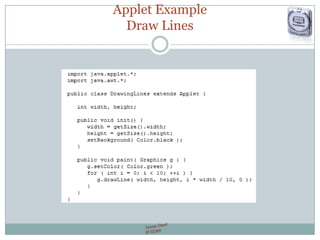
- Provides sample code for creating a basic "MyApp" applet class and embedding it in an HTML page
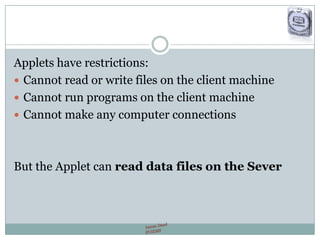
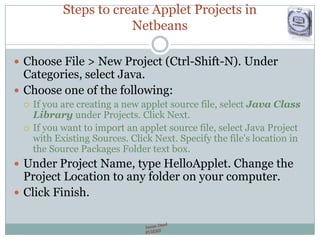
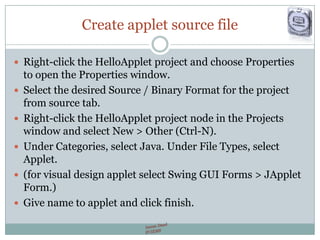
- Discusses restrictions on applets and demonstrates creating an applet project in NetBeans


![[Www.pkbulk.blogspot.com]file and indexing](https://cdn.slidesharecdn.com/ss_thumbnails/www-pkbul-blogspot-comfileandindexing-130615034648-phpapp01-thumbnail.jpg?width=640&height=640&fit=bounds)
![[Www.pkbulk.blogspot.com]dbms12](https://cdn.slidesharecdn.com/ss_thumbnails/www-pkbul-blogspot-comdbms12-130615034629-phpapp02-thumbnail.jpg?width=640&height=640&fit=bounds)
![[Www.pkbulk.blogspot.com]dbms11](https://cdn.slidesharecdn.com/ss_thumbnails/www-pkbul-blogspot-comdbms11-130615034624-phpapp02-thumbnail.jpg?width=640&height=640&fit=bounds)
![[Www.pkbulk.blogspot.com]dbms10](https://cdn.slidesharecdn.com/ss_thumbnails/www-pkbul-blogspot-comdbms10-130615034621-phpapp01-thumbnail.jpg?width=640&height=640&fit=bounds)
![[Www.pkbulk.blogspot.com]dbms09](https://cdn.slidesharecdn.com/ss_thumbnails/www-pkbul-blogspot-comdbms09-130615034619-phpapp02-thumbnail.jpg?width=640&height=640&fit=bounds)
![[Www.pkbulk.blogspot.com]dbms07](https://cdn.slidesharecdn.com/ss_thumbnails/www-pkbul-blogspot-comdbms07-130615034615-phpapp01-thumbnail.jpg?width=640&height=640&fit=bounds)
![[Www.pkbulk.blogspot.com]dbms06](https://cdn.slidesharecdn.com/ss_thumbnails/www-pkbul-blogspot-comdbms06-130615034613-phpapp01-thumbnail.jpg?width=640&height=640&fit=bounds)
![[Www.pkbulk.blogspot.com]dbms05](https://cdn.slidesharecdn.com/ss_thumbnails/www-pkbul-blogspot-comdbms05-130615034608-phpapp02-thumbnail.jpg?width=640&height=640&fit=bounds)
![[Www.pkbulk.blogspot.com]dbms04](https://cdn.slidesharecdn.com/ss_thumbnails/www-pkbul-blogspot-comdbms04-130615034606-phpapp01-thumbnail.jpg?width=640&height=640&fit=bounds)
![[Www.pkbulk.blogspot.com]dbms03](https://cdn.slidesharecdn.com/ss_thumbnails/www-pkbul-blogspot-comdbms03-130615034558-phpapp02-thumbnail.jpg?width=640&height=640&fit=bounds)
![[Www.pkbulk.blogspot.com]dbms02](https://cdn.slidesharecdn.com/ss_thumbnails/www-pkbul-blogspot-comdbms02-130615034556-phpapp02-thumbnail.jpg?width=640&height=640&fit=bounds)
![[Www.pkbulk.blogspot.com]dbms01](https://cdn.slidesharecdn.com/ss_thumbnails/www-pkbul-blogspot-comdbms01-130615034553-phpapp01-thumbnail.jpg?width=640&height=640&fit=bounds)
![[Www.pkbulk.blogspot.com]dbms13](https://cdn.slidesharecdn.com/ss_thumbnails/www-pkbul-blogspot-comdbms13-130615034551-phpapp01-thumbnail.jpg?width=640&height=640&fit=bounds)


