Download to read offline
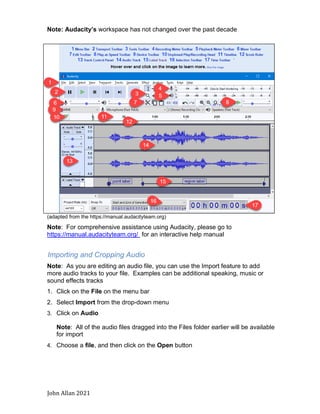


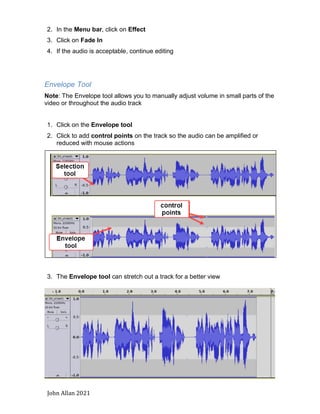
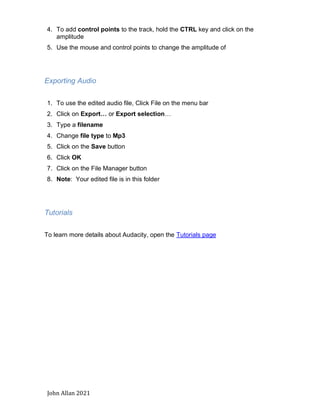

This document provides instructions for editing audio files using the Audacity Online Editor Chrome Extension. It describes how to upload and import audio clips, select portions of audio to edit, add silence or apply effects like normalization and fading. Editing techniques covered include cropping, removing tracks, and using the envelope tool to adjust volume over time. The document explains how to export edited audio files from the online editor.


