Download to read offline
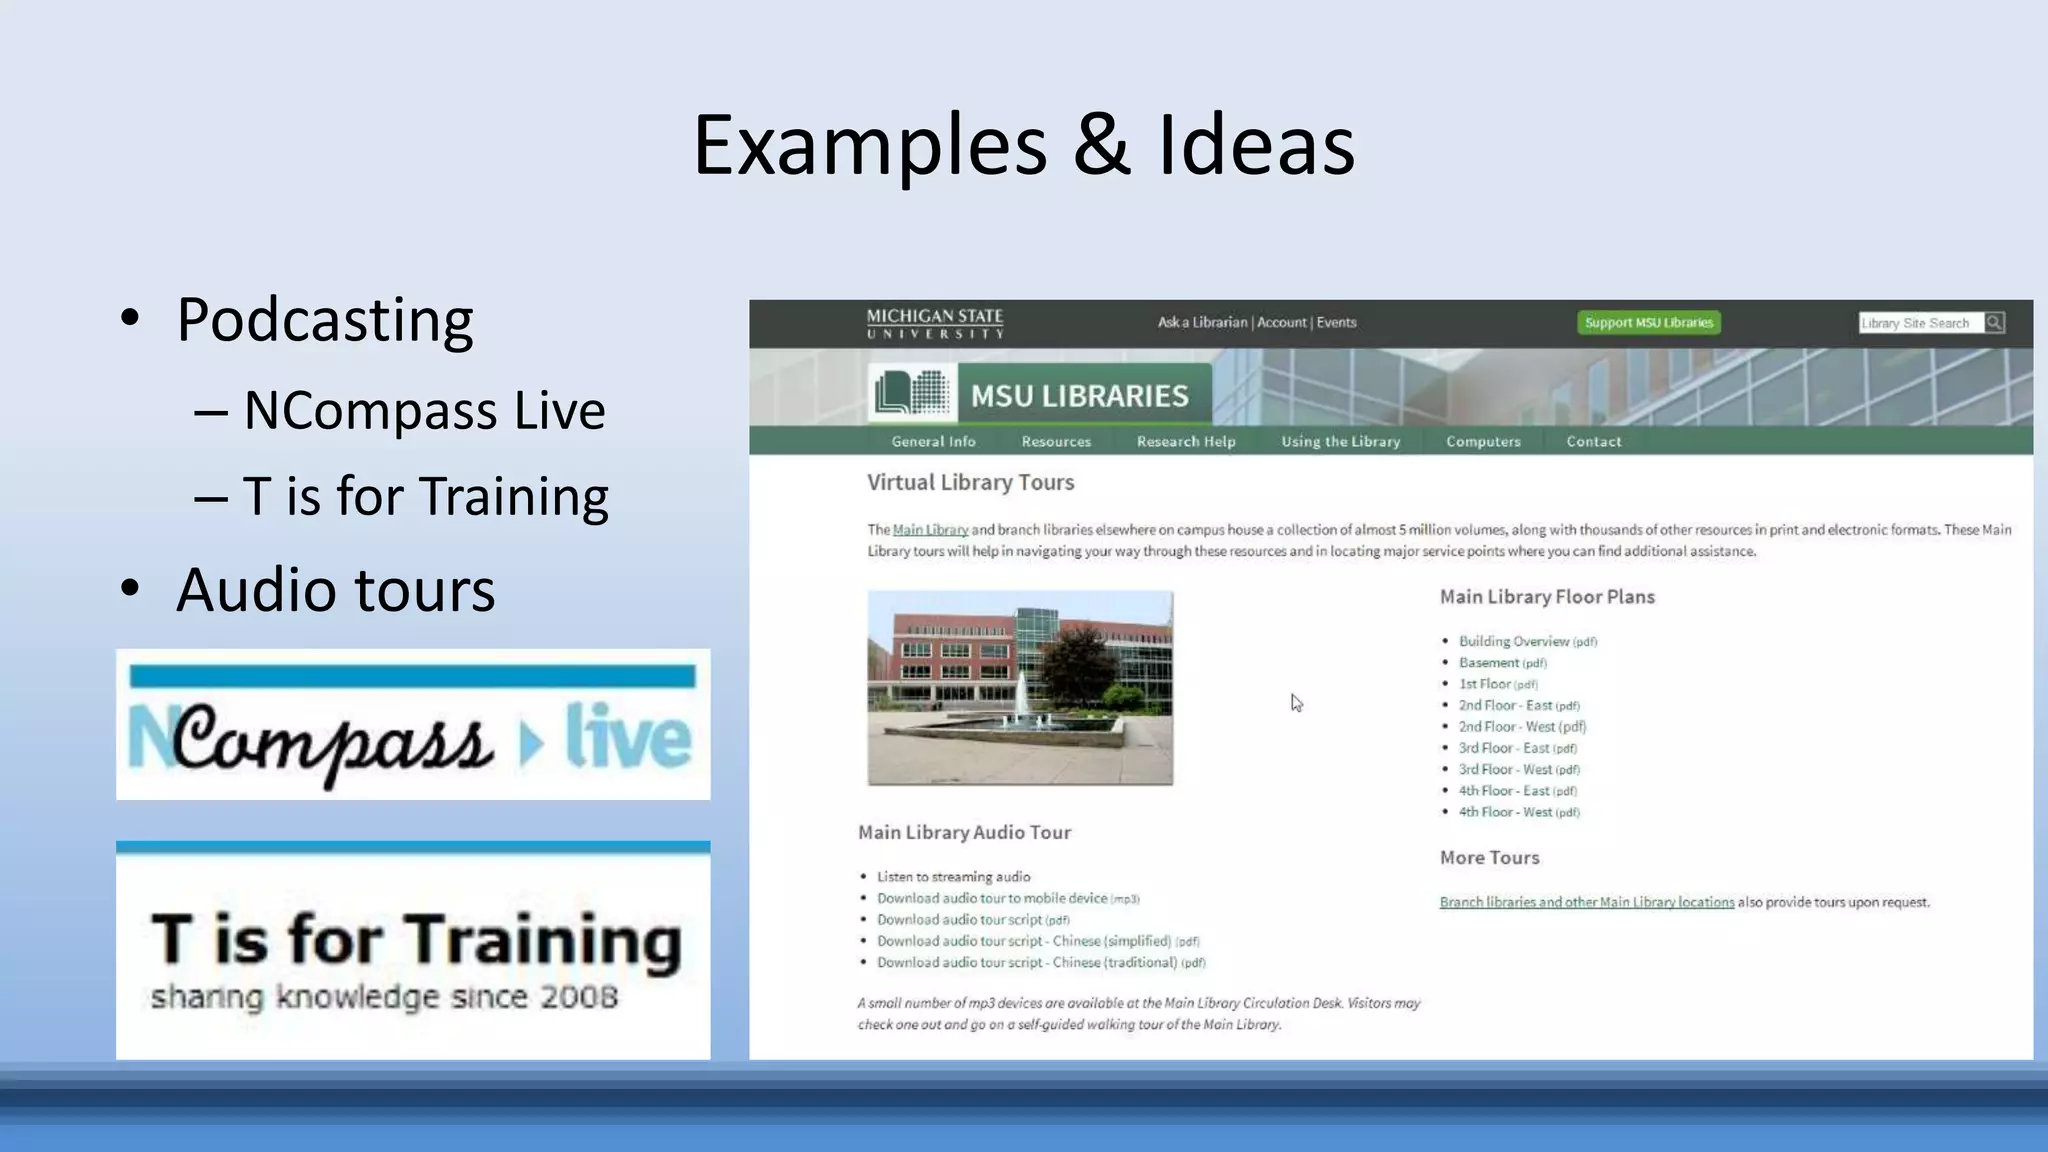
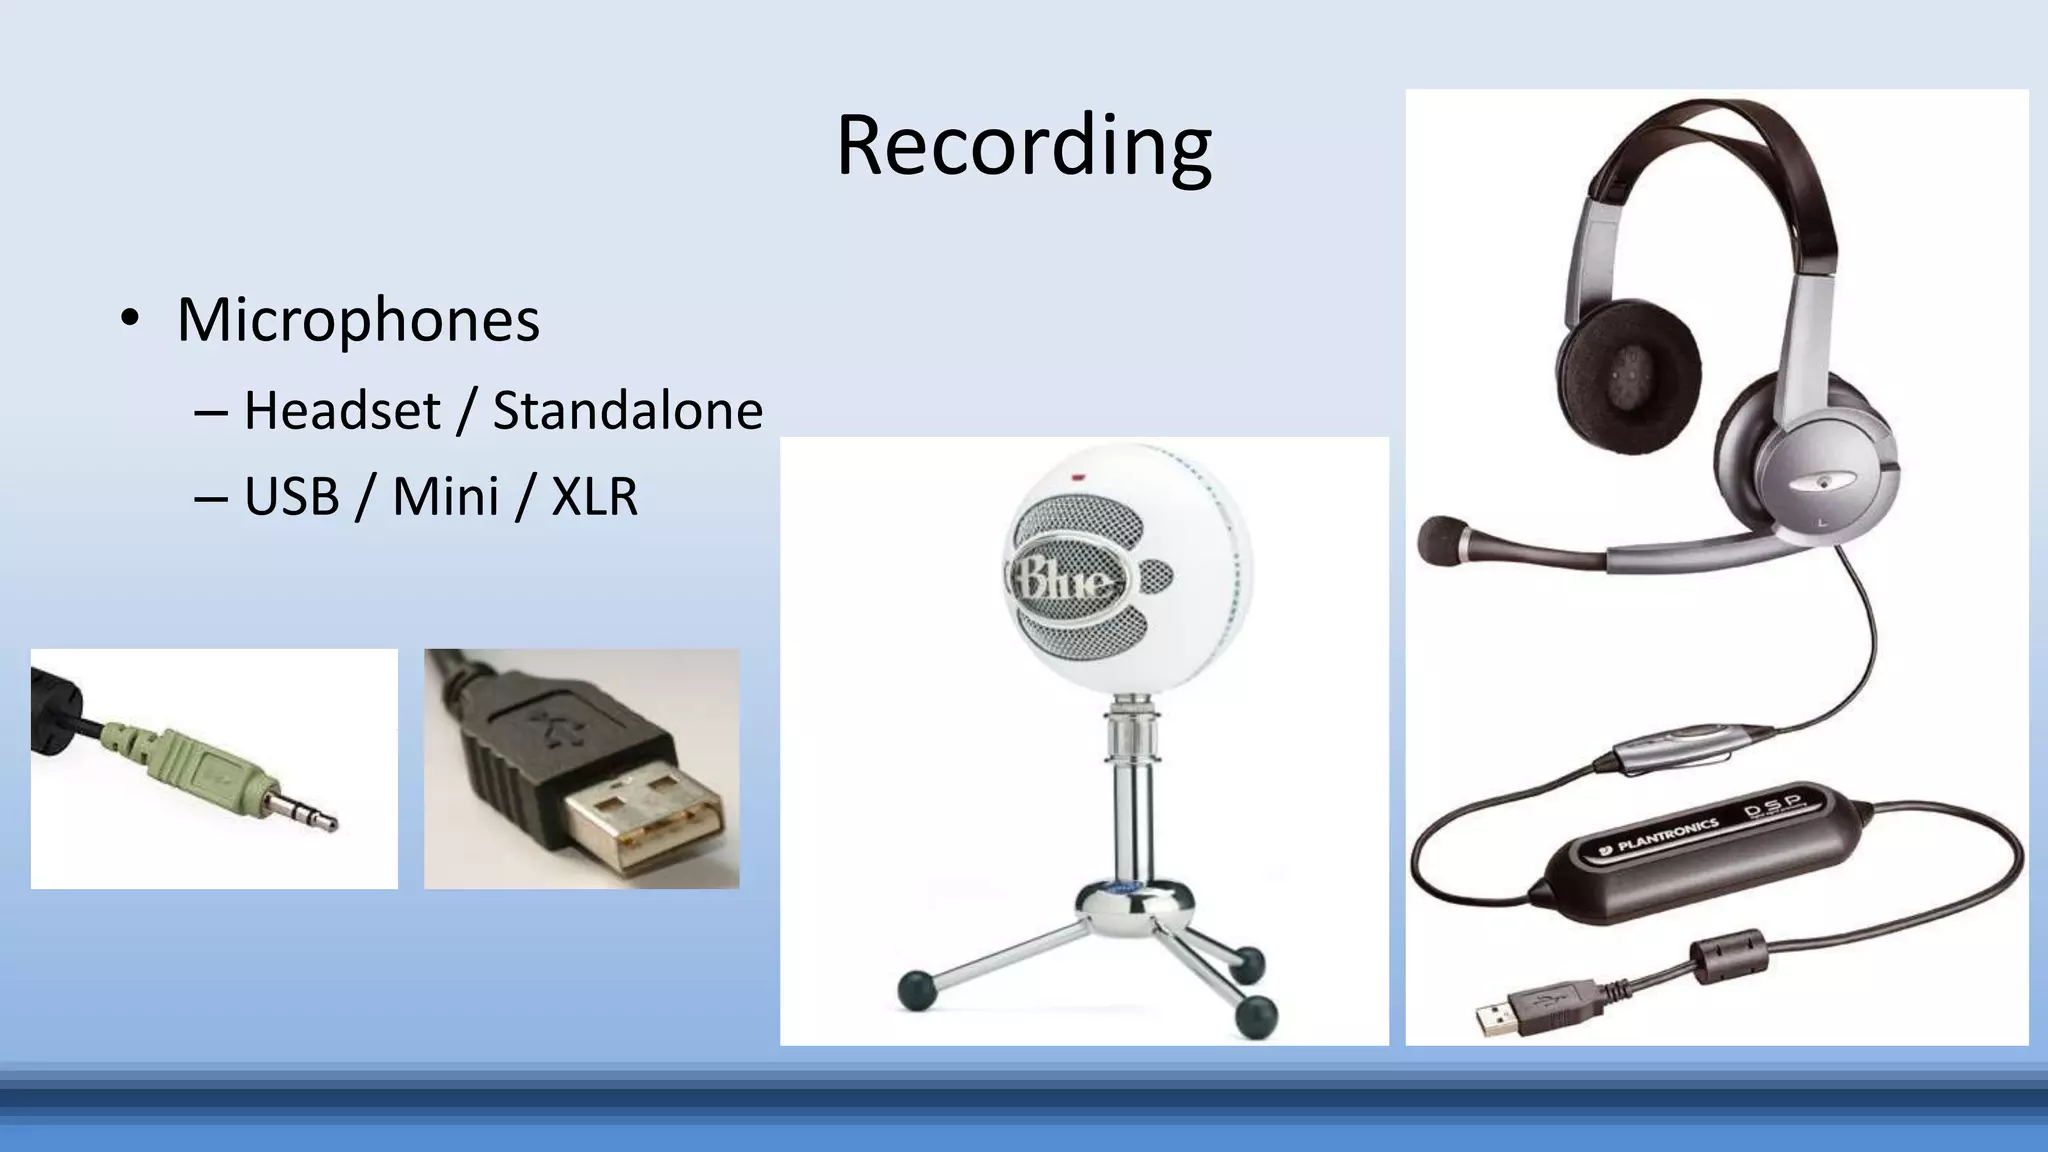
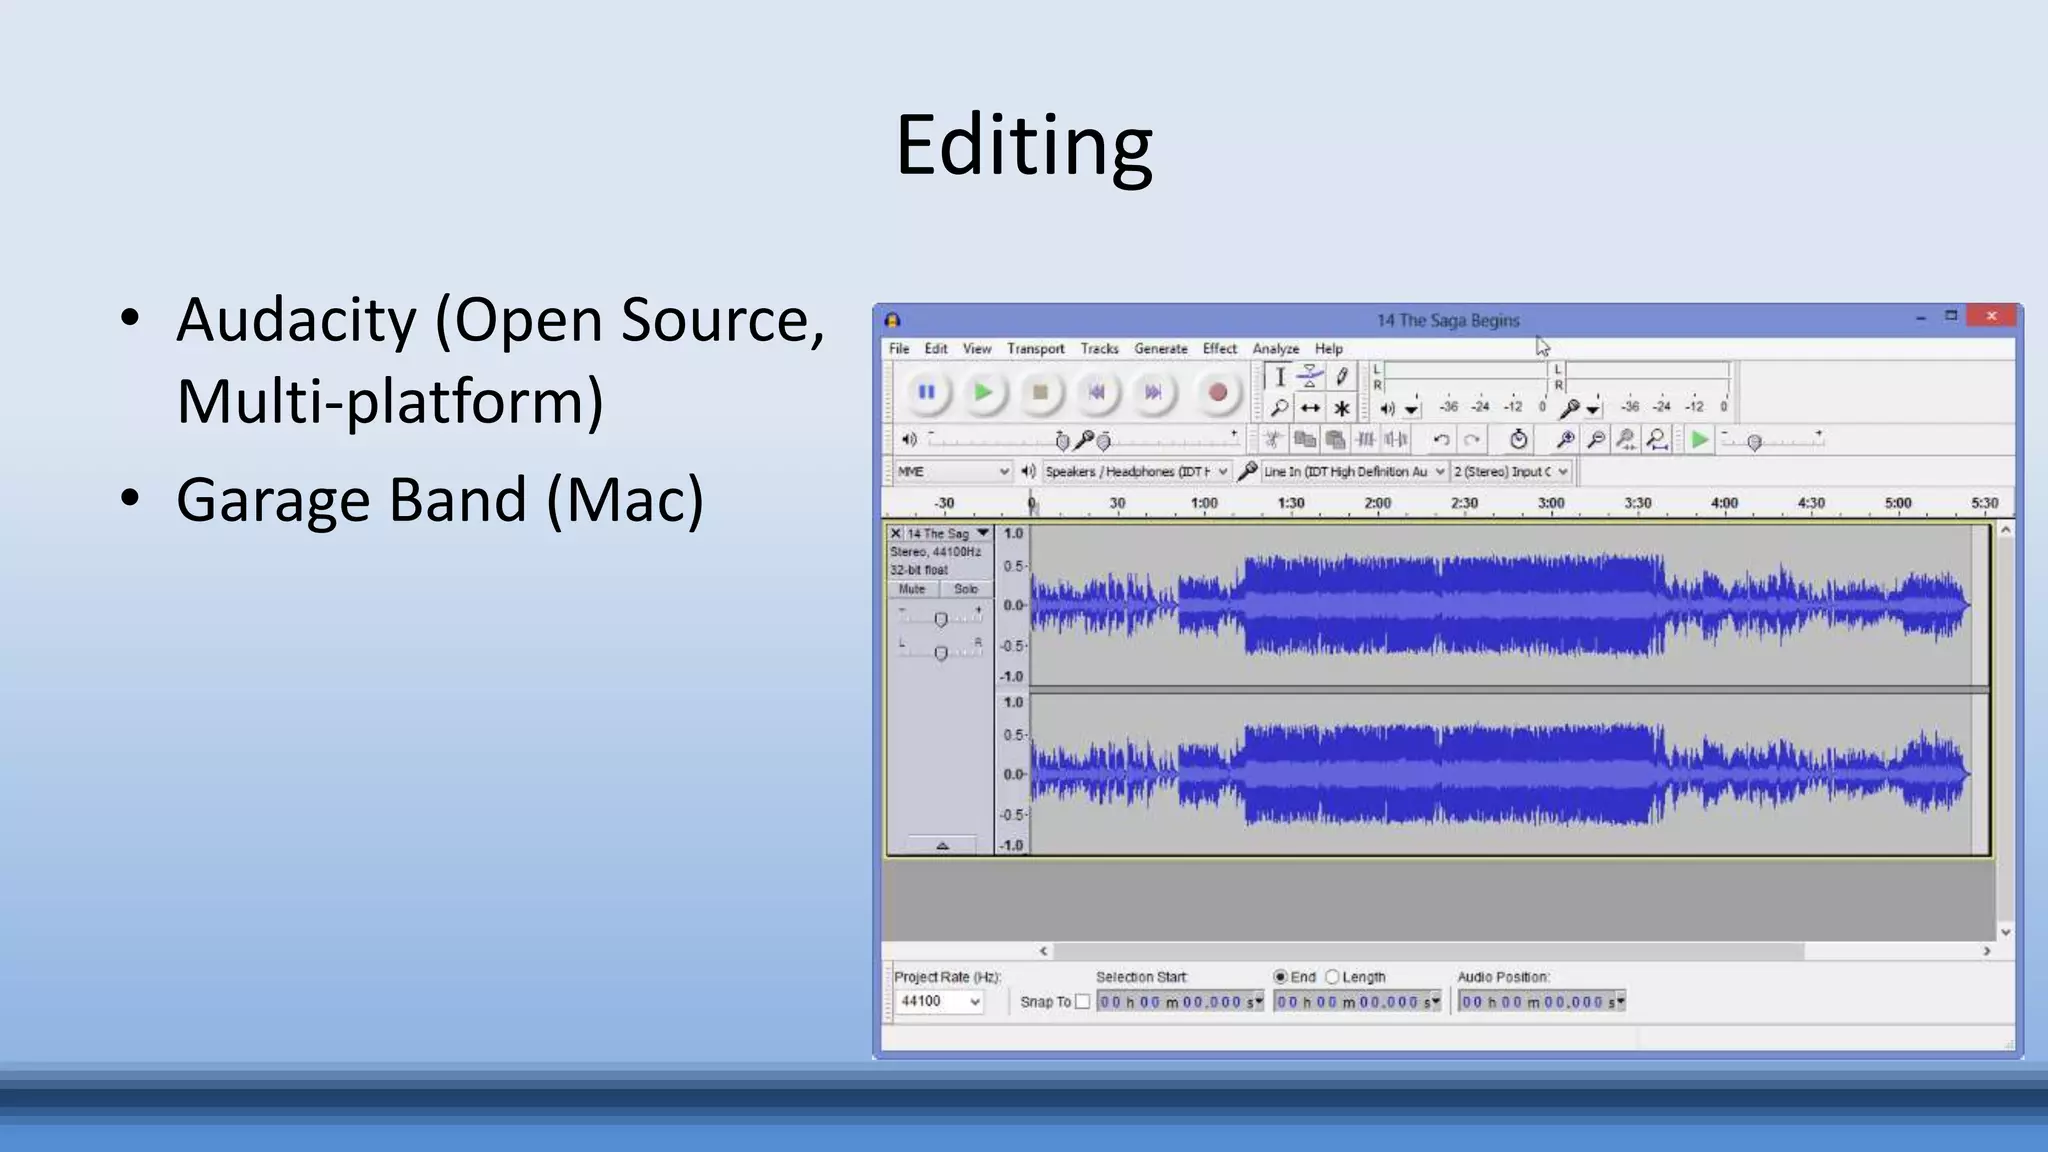
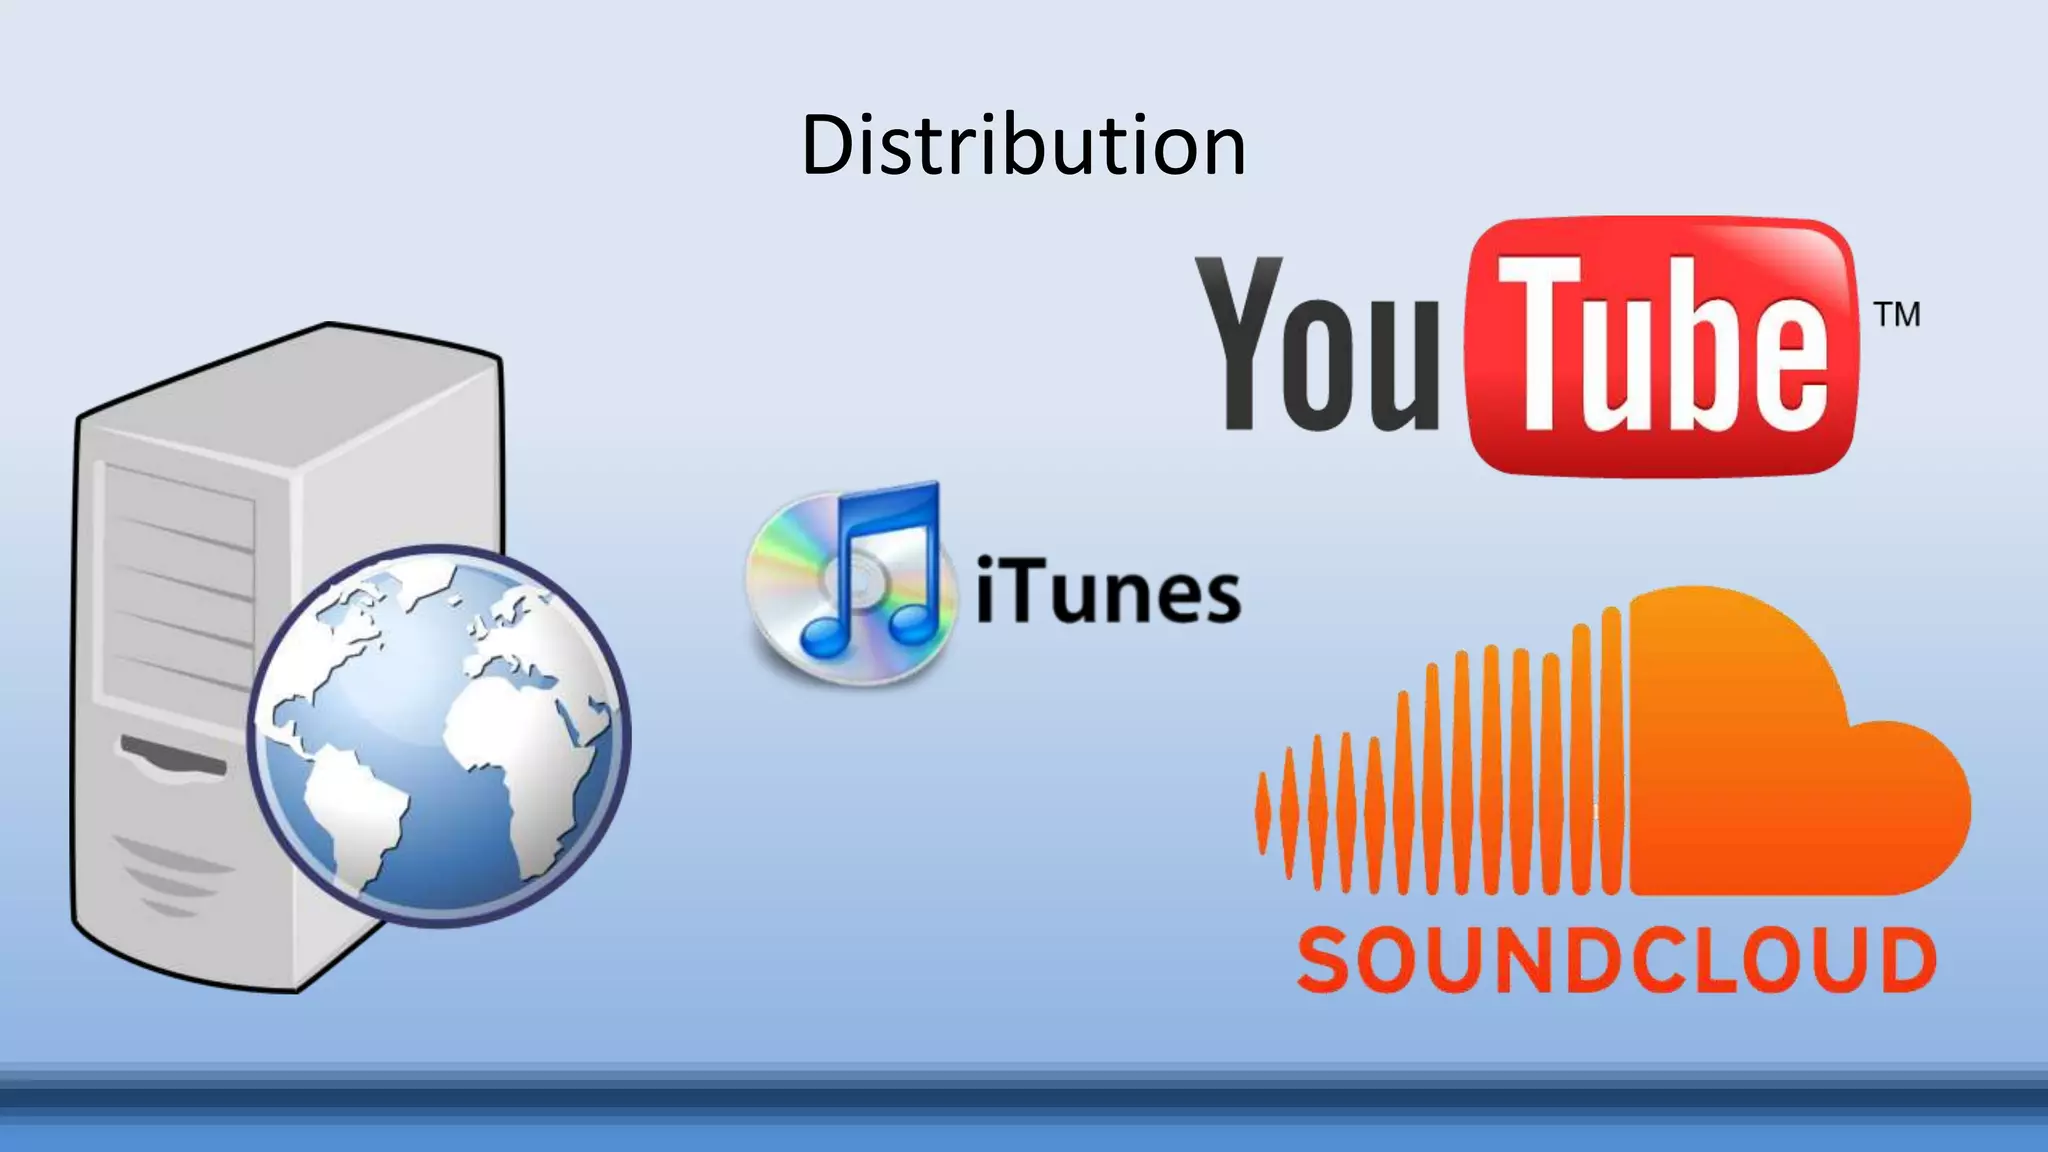


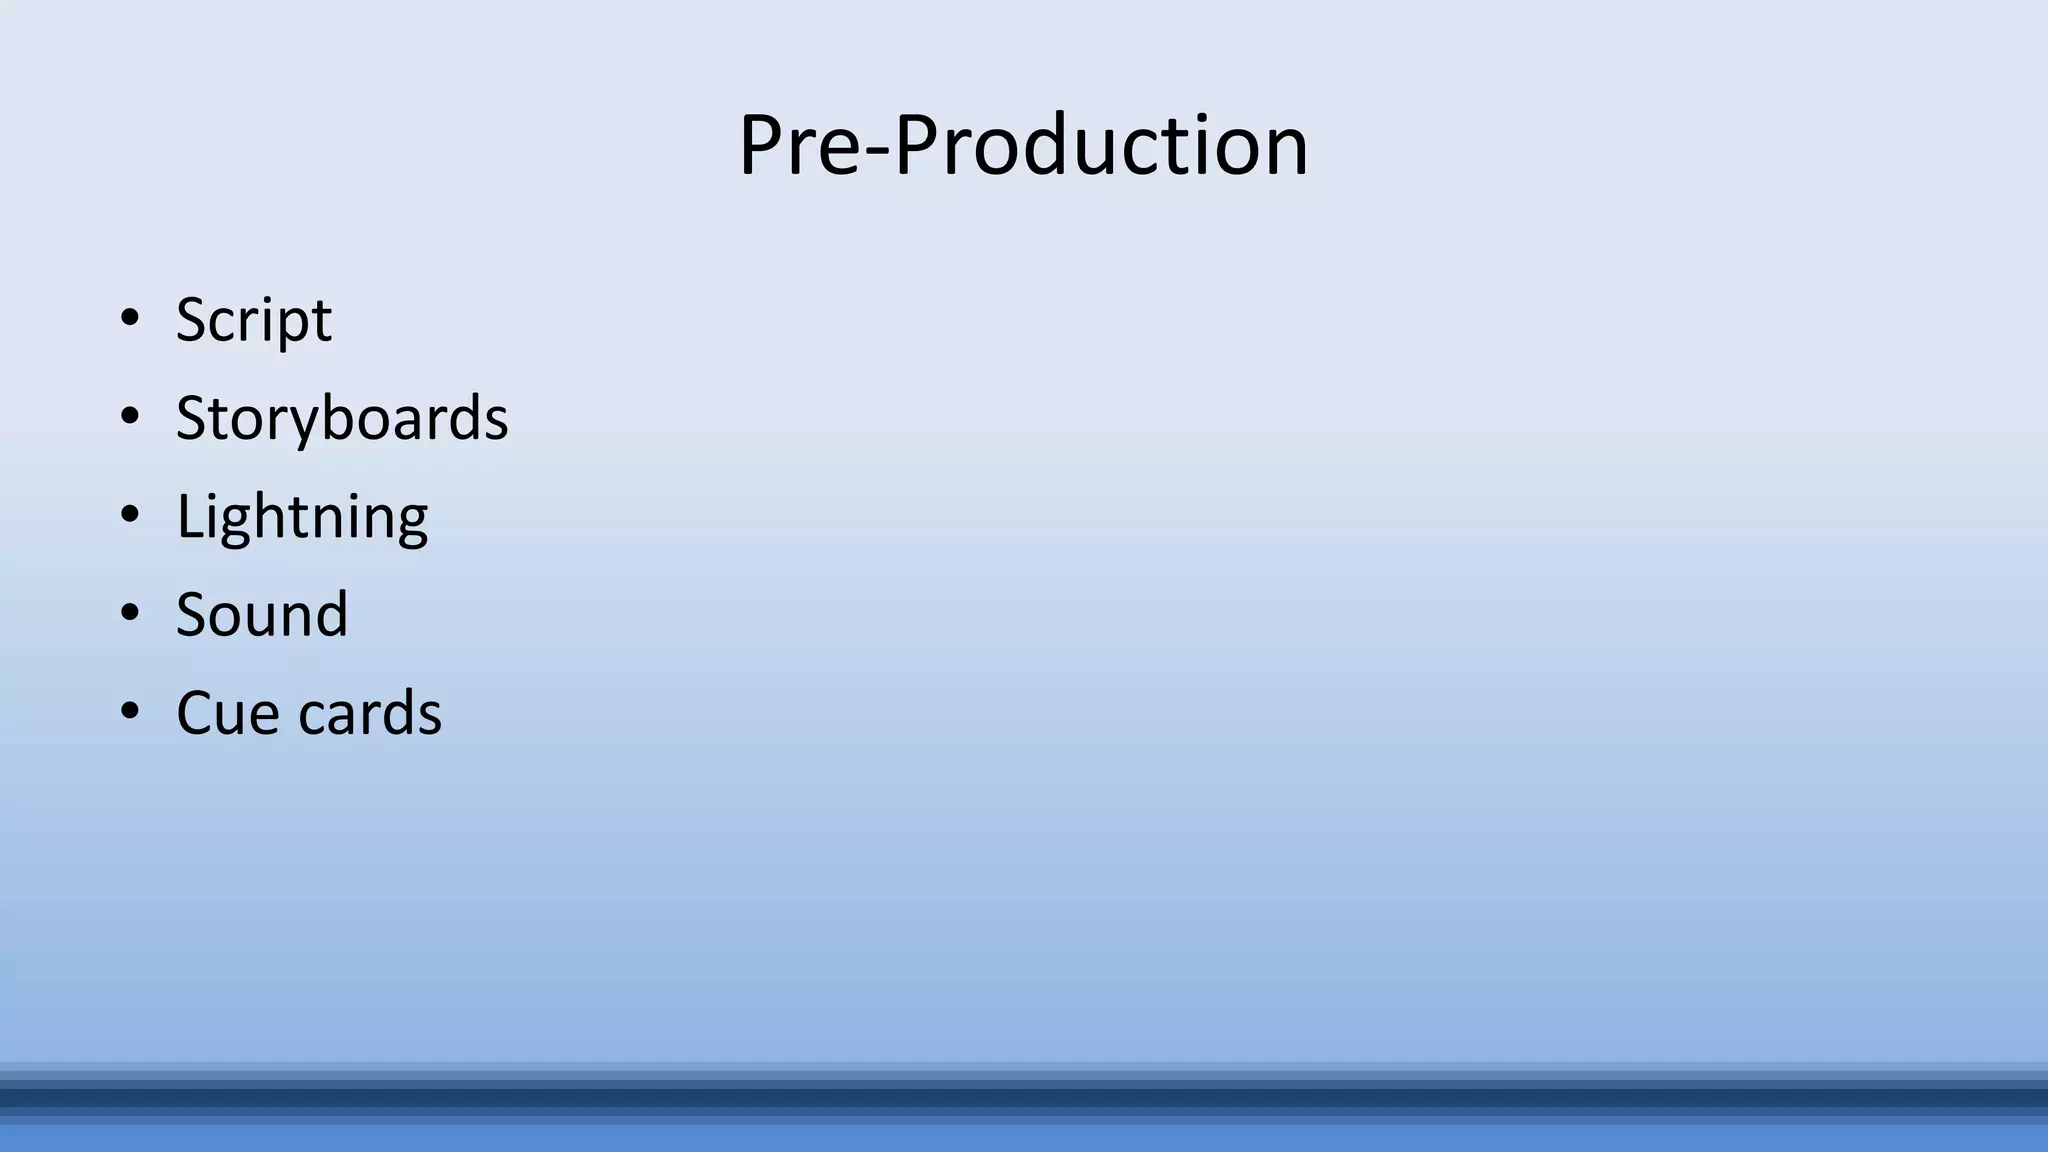
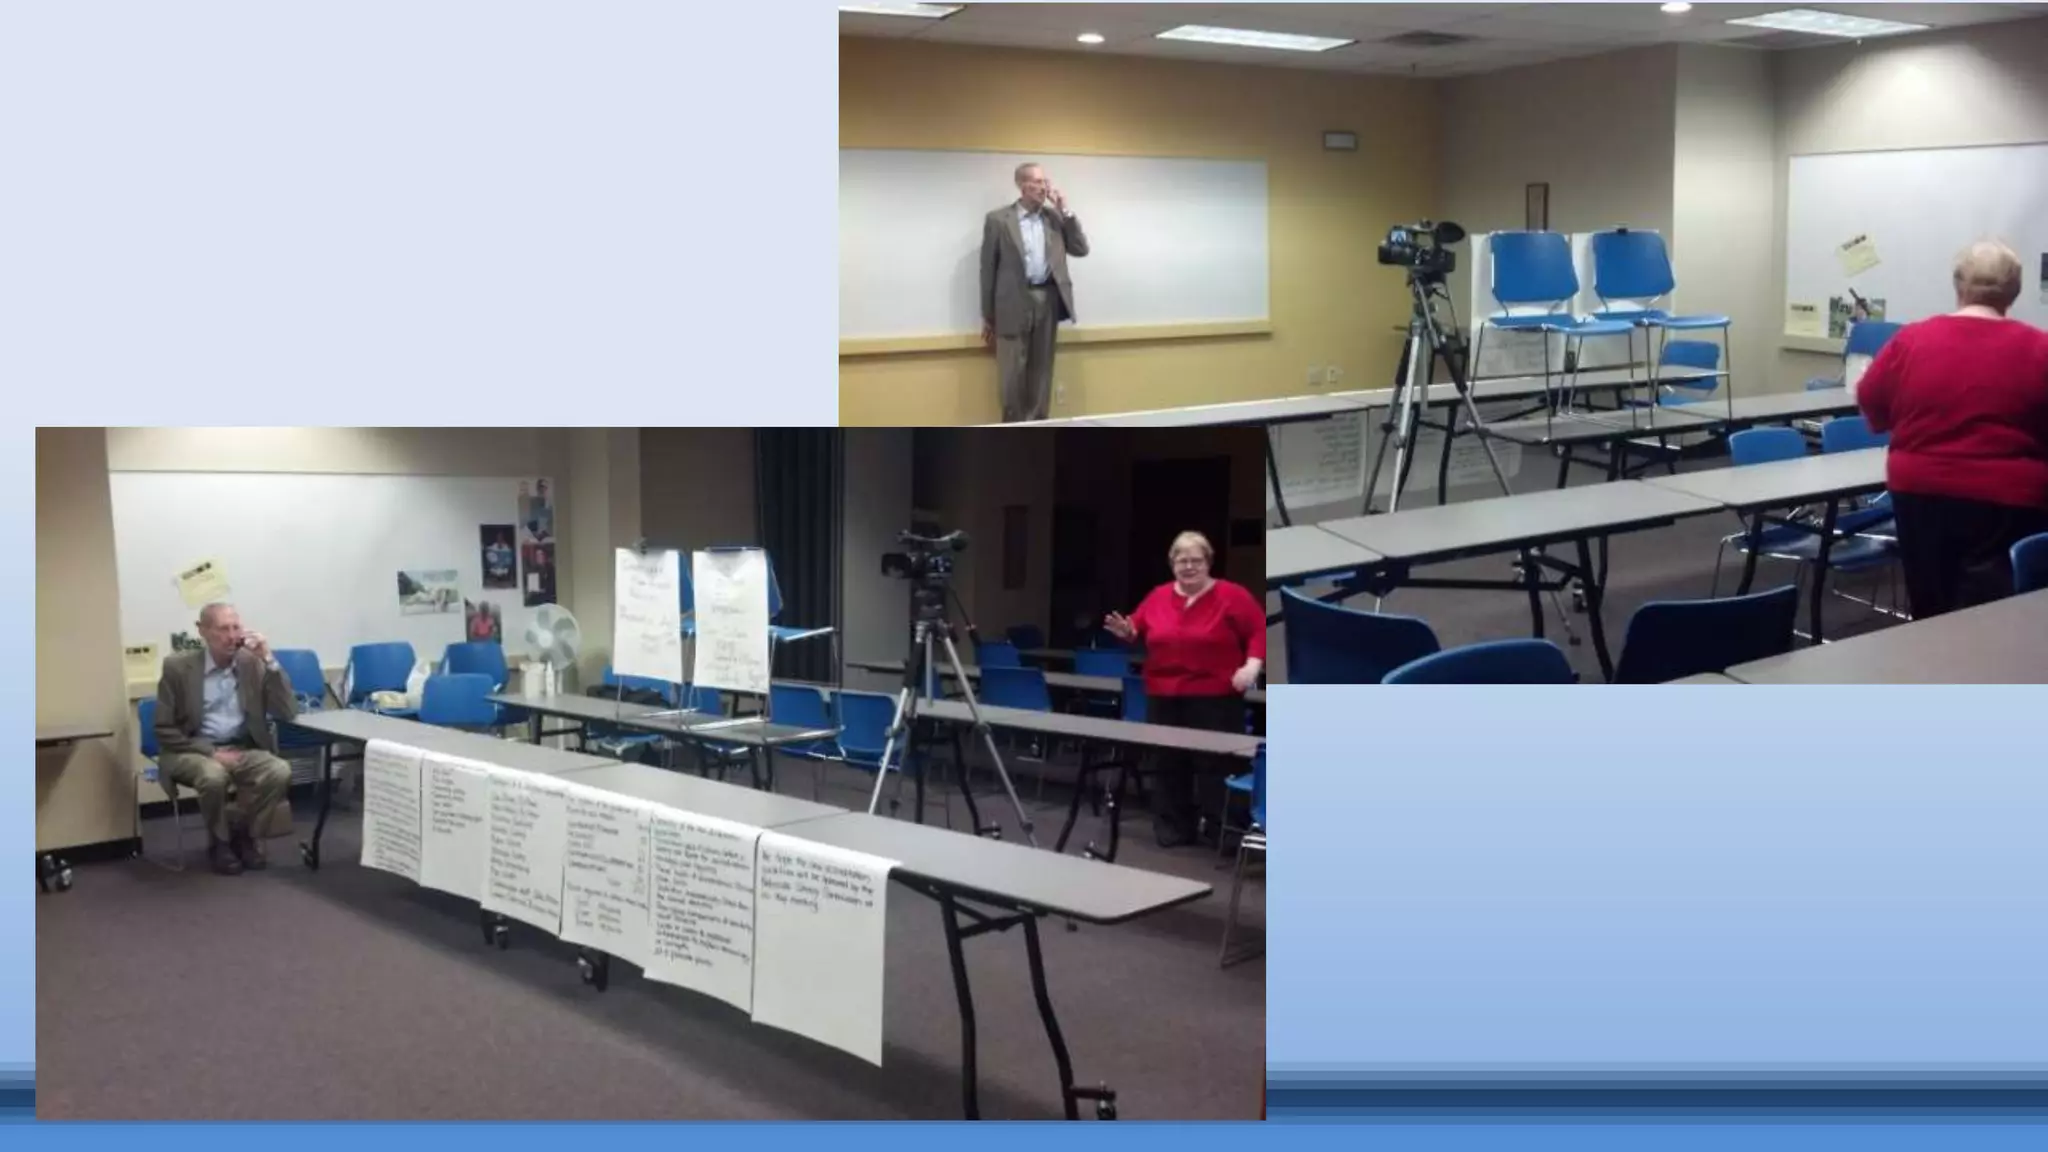
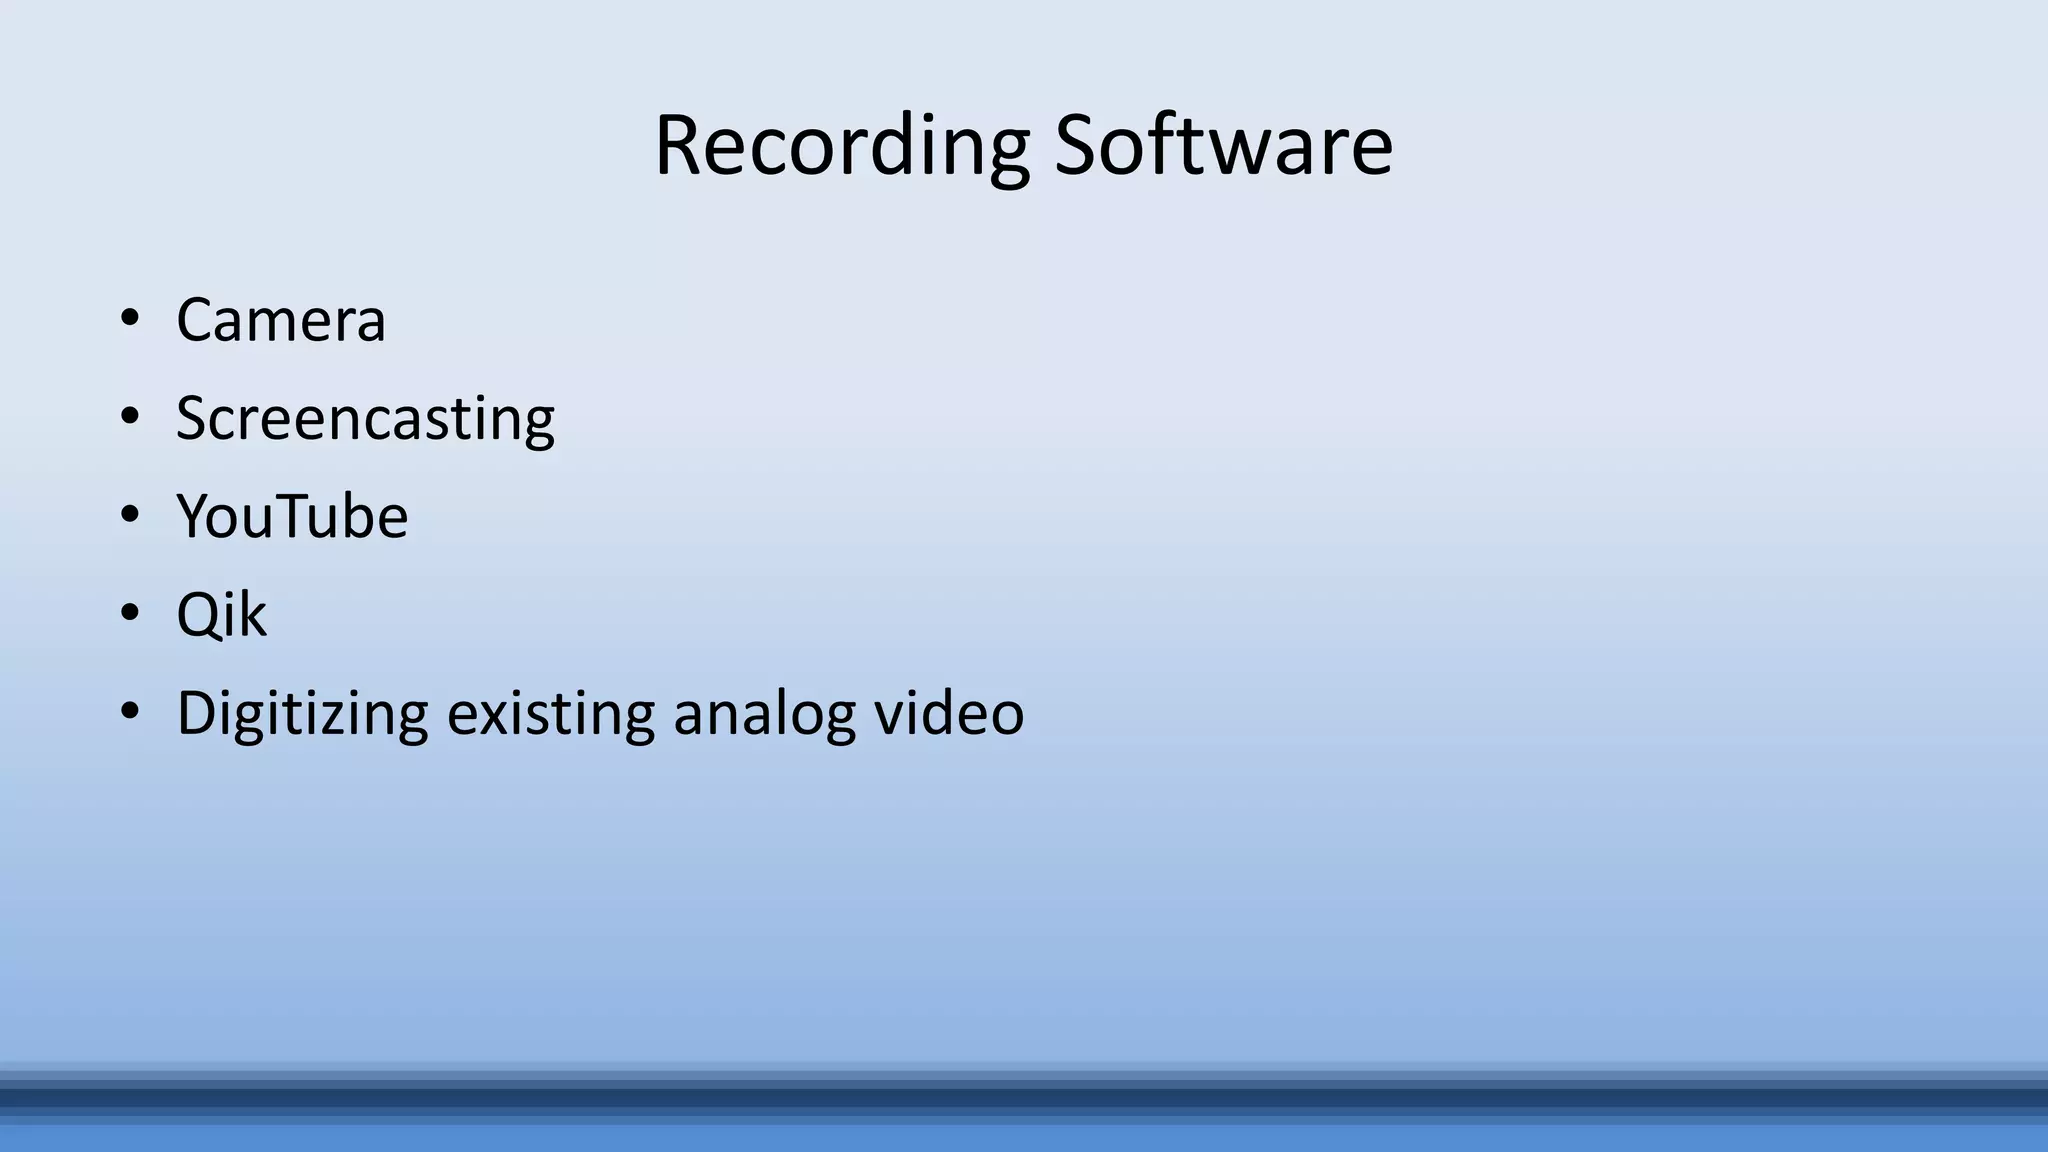
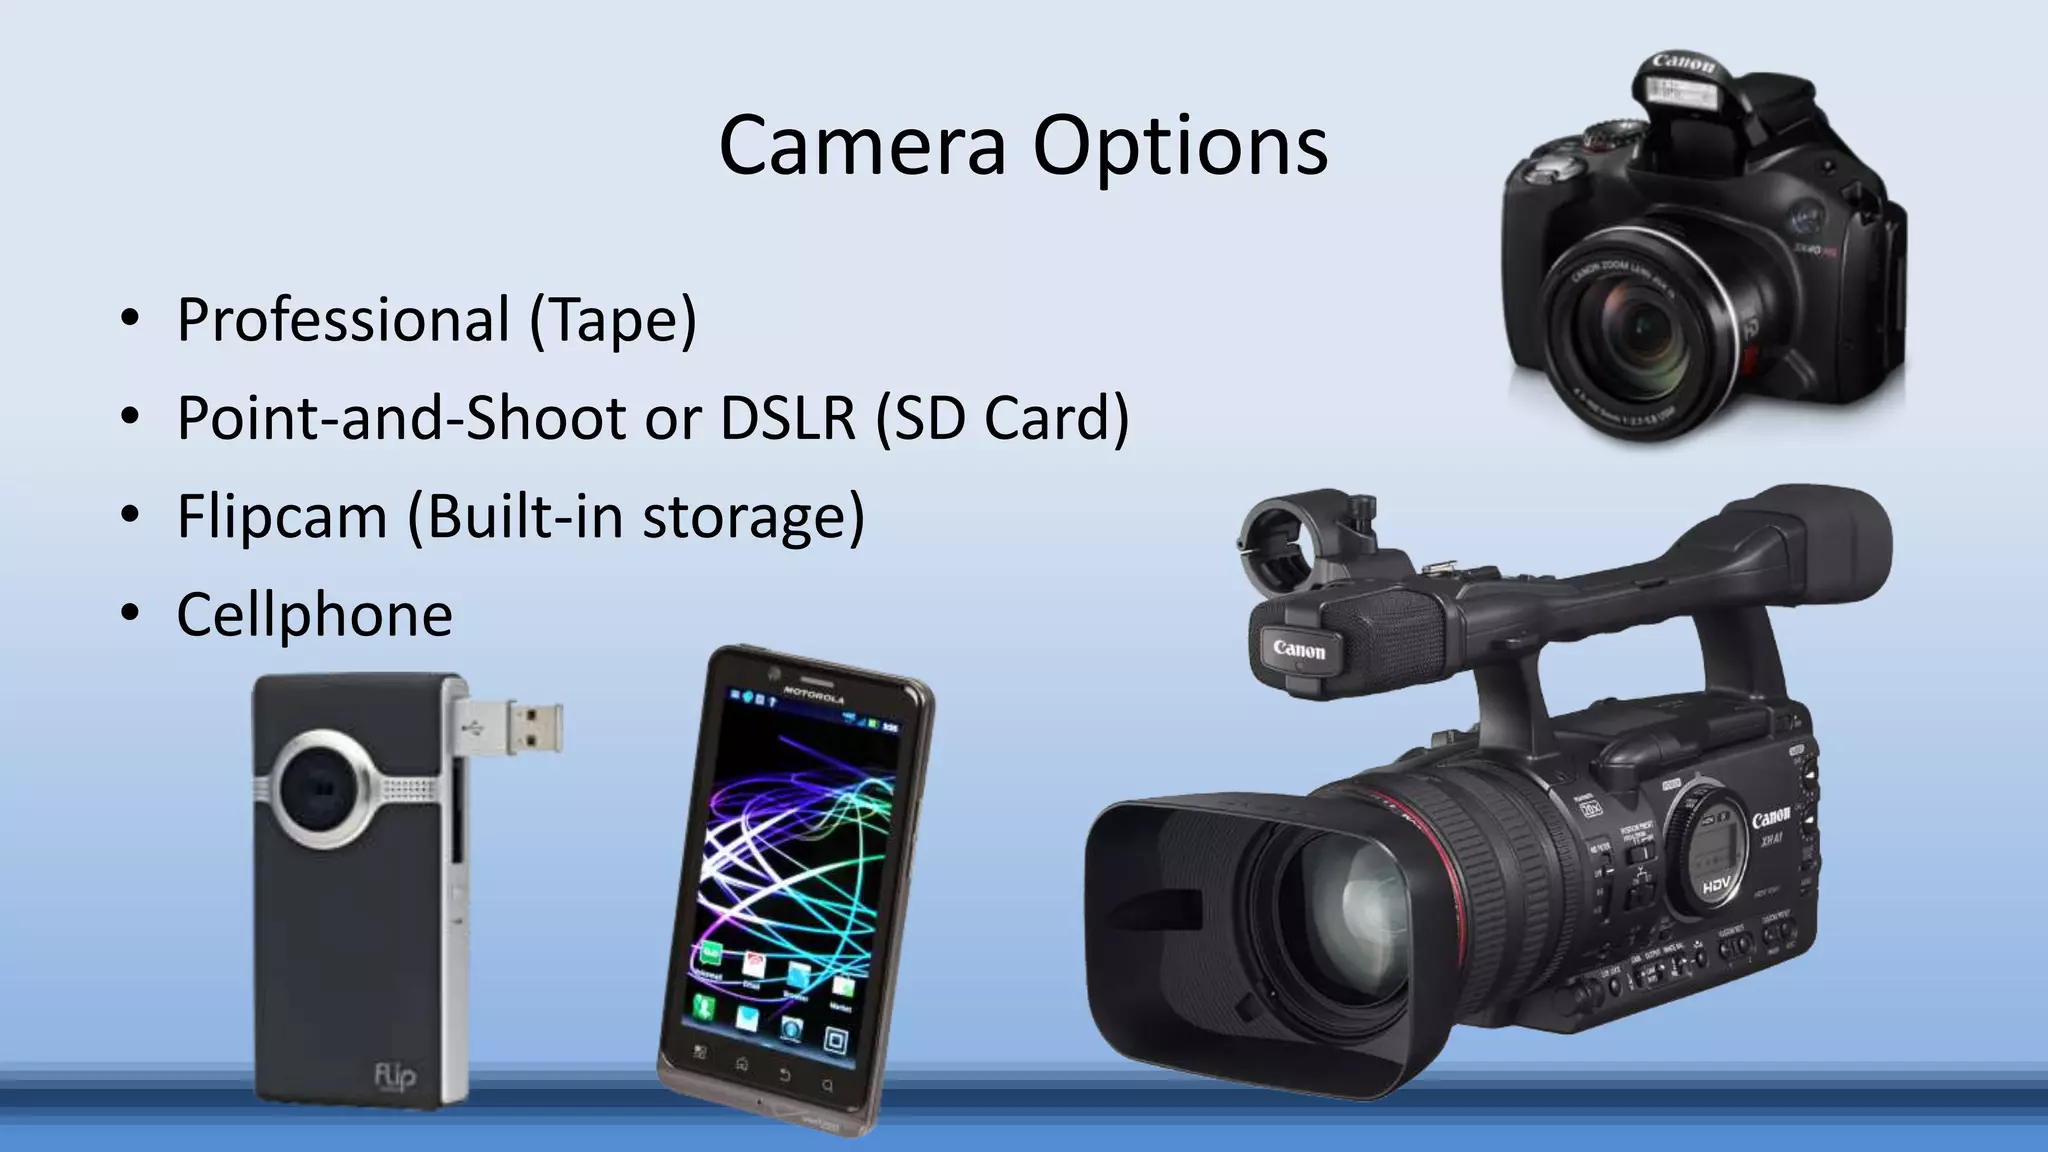
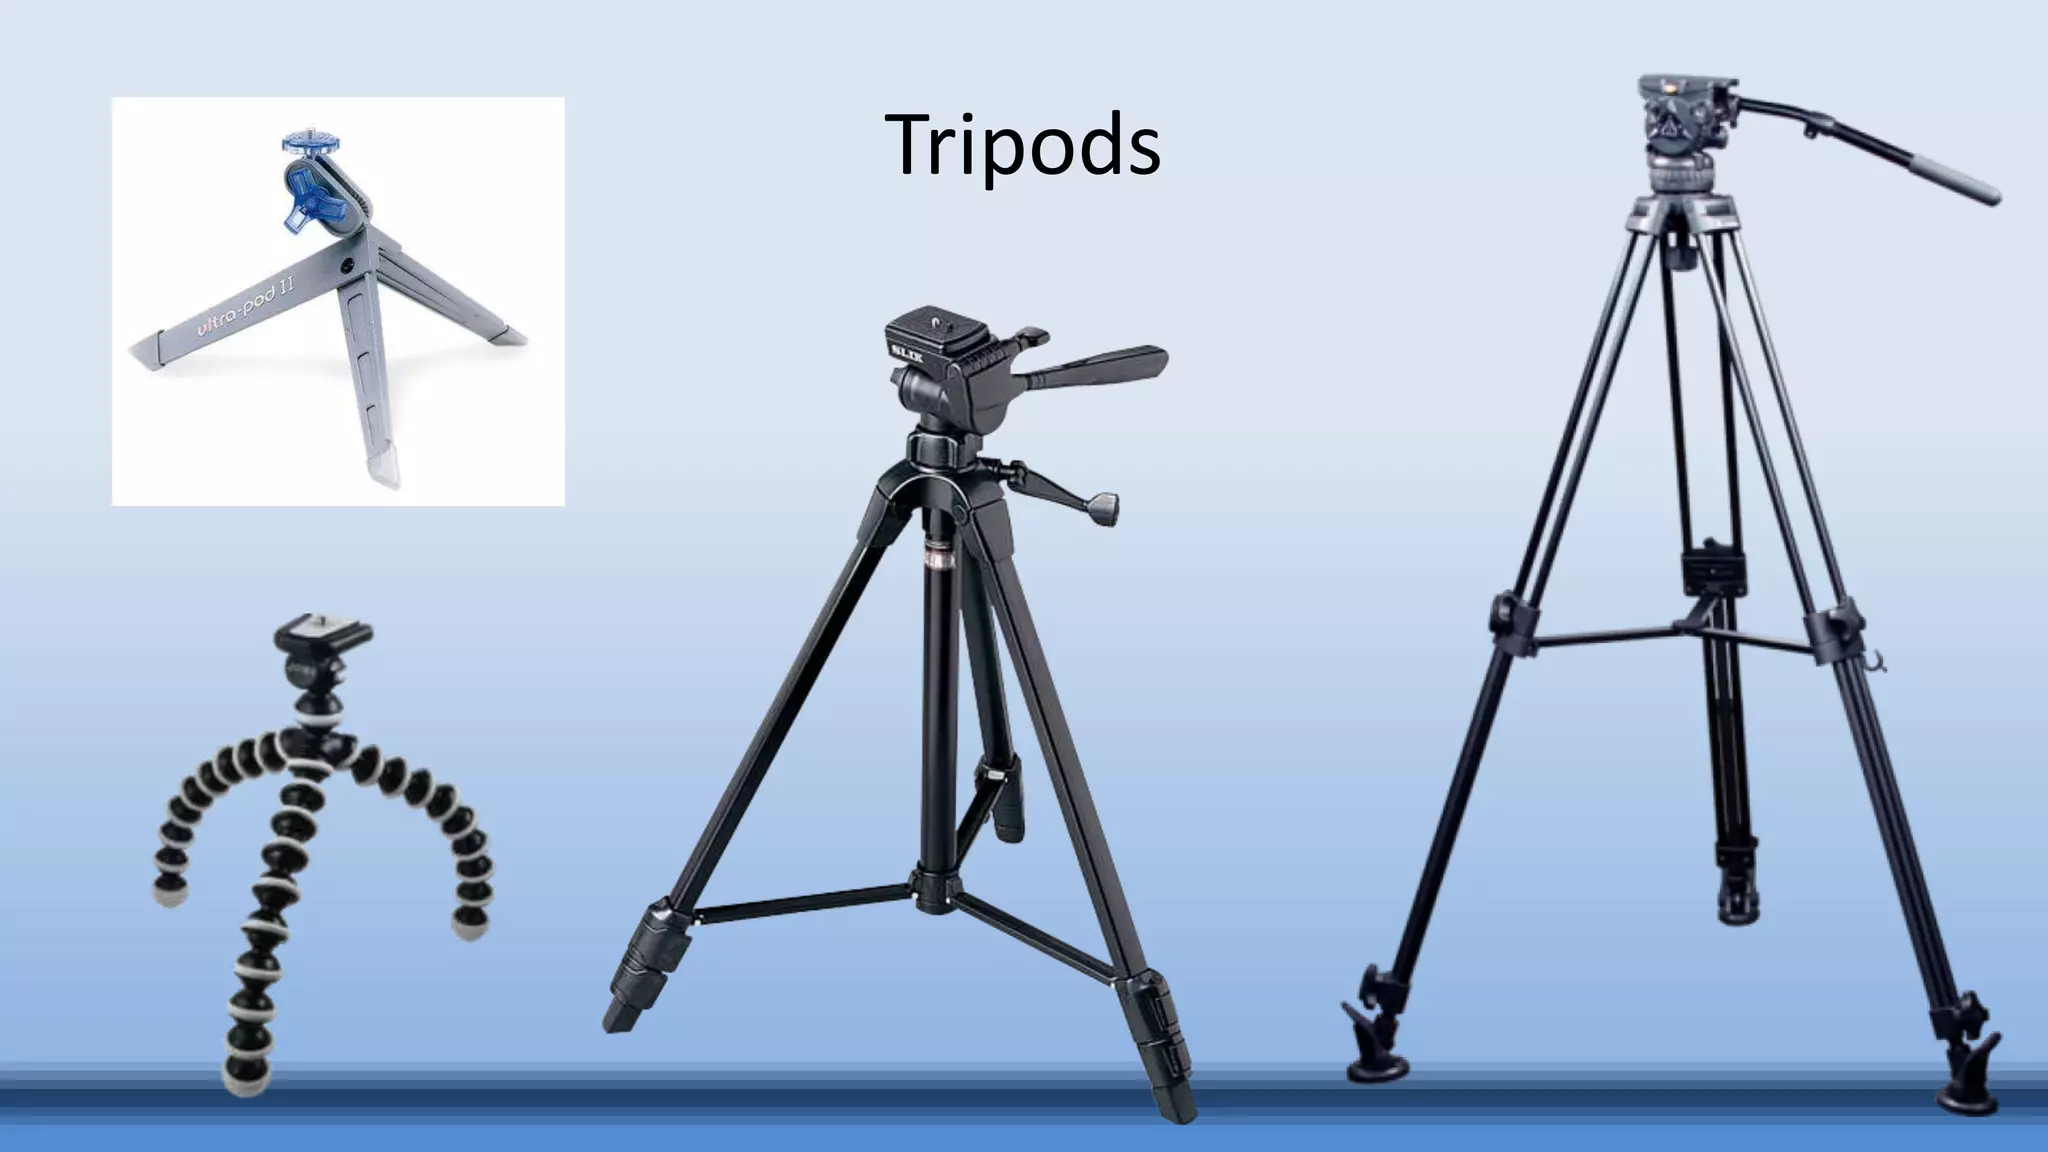
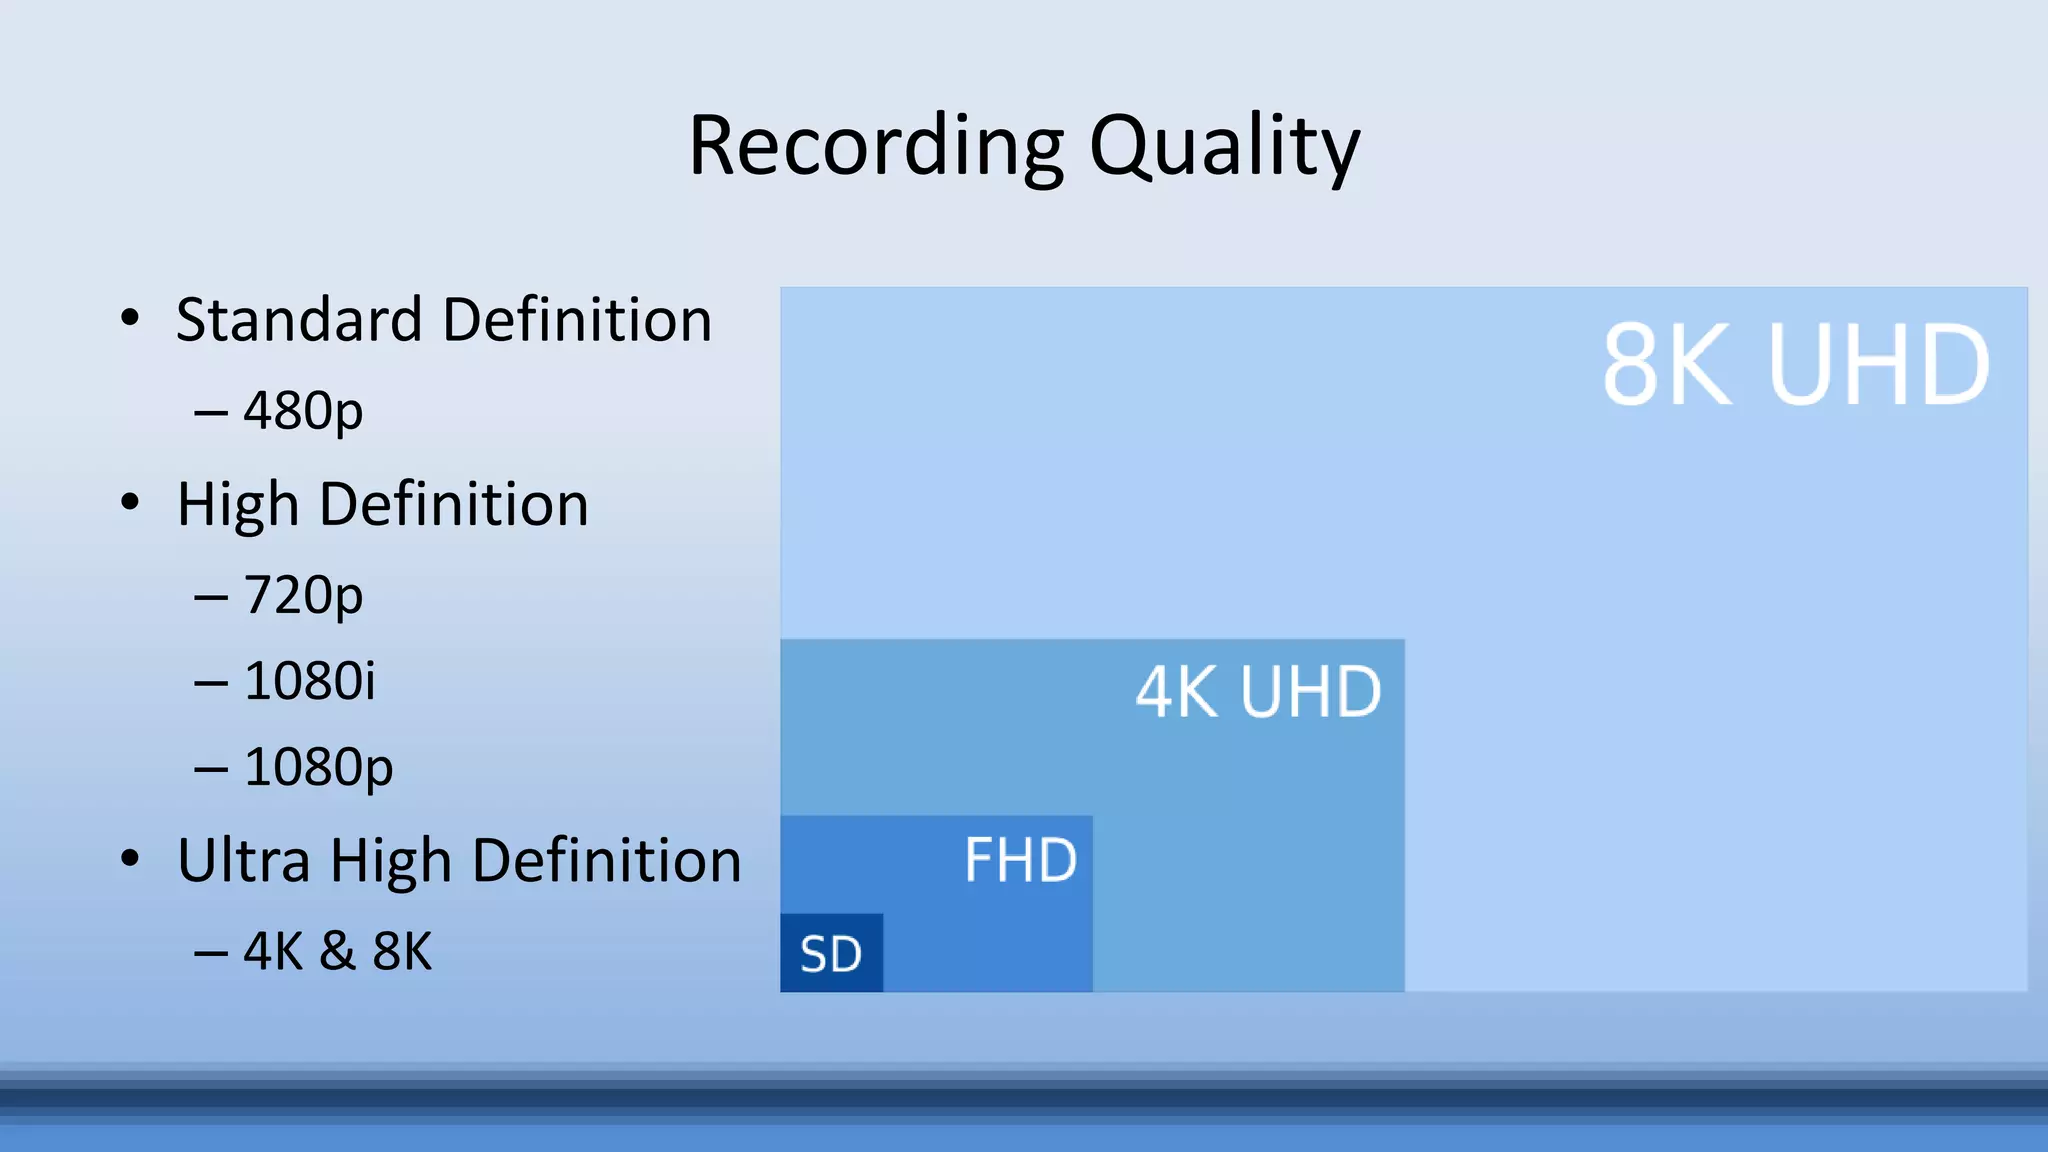
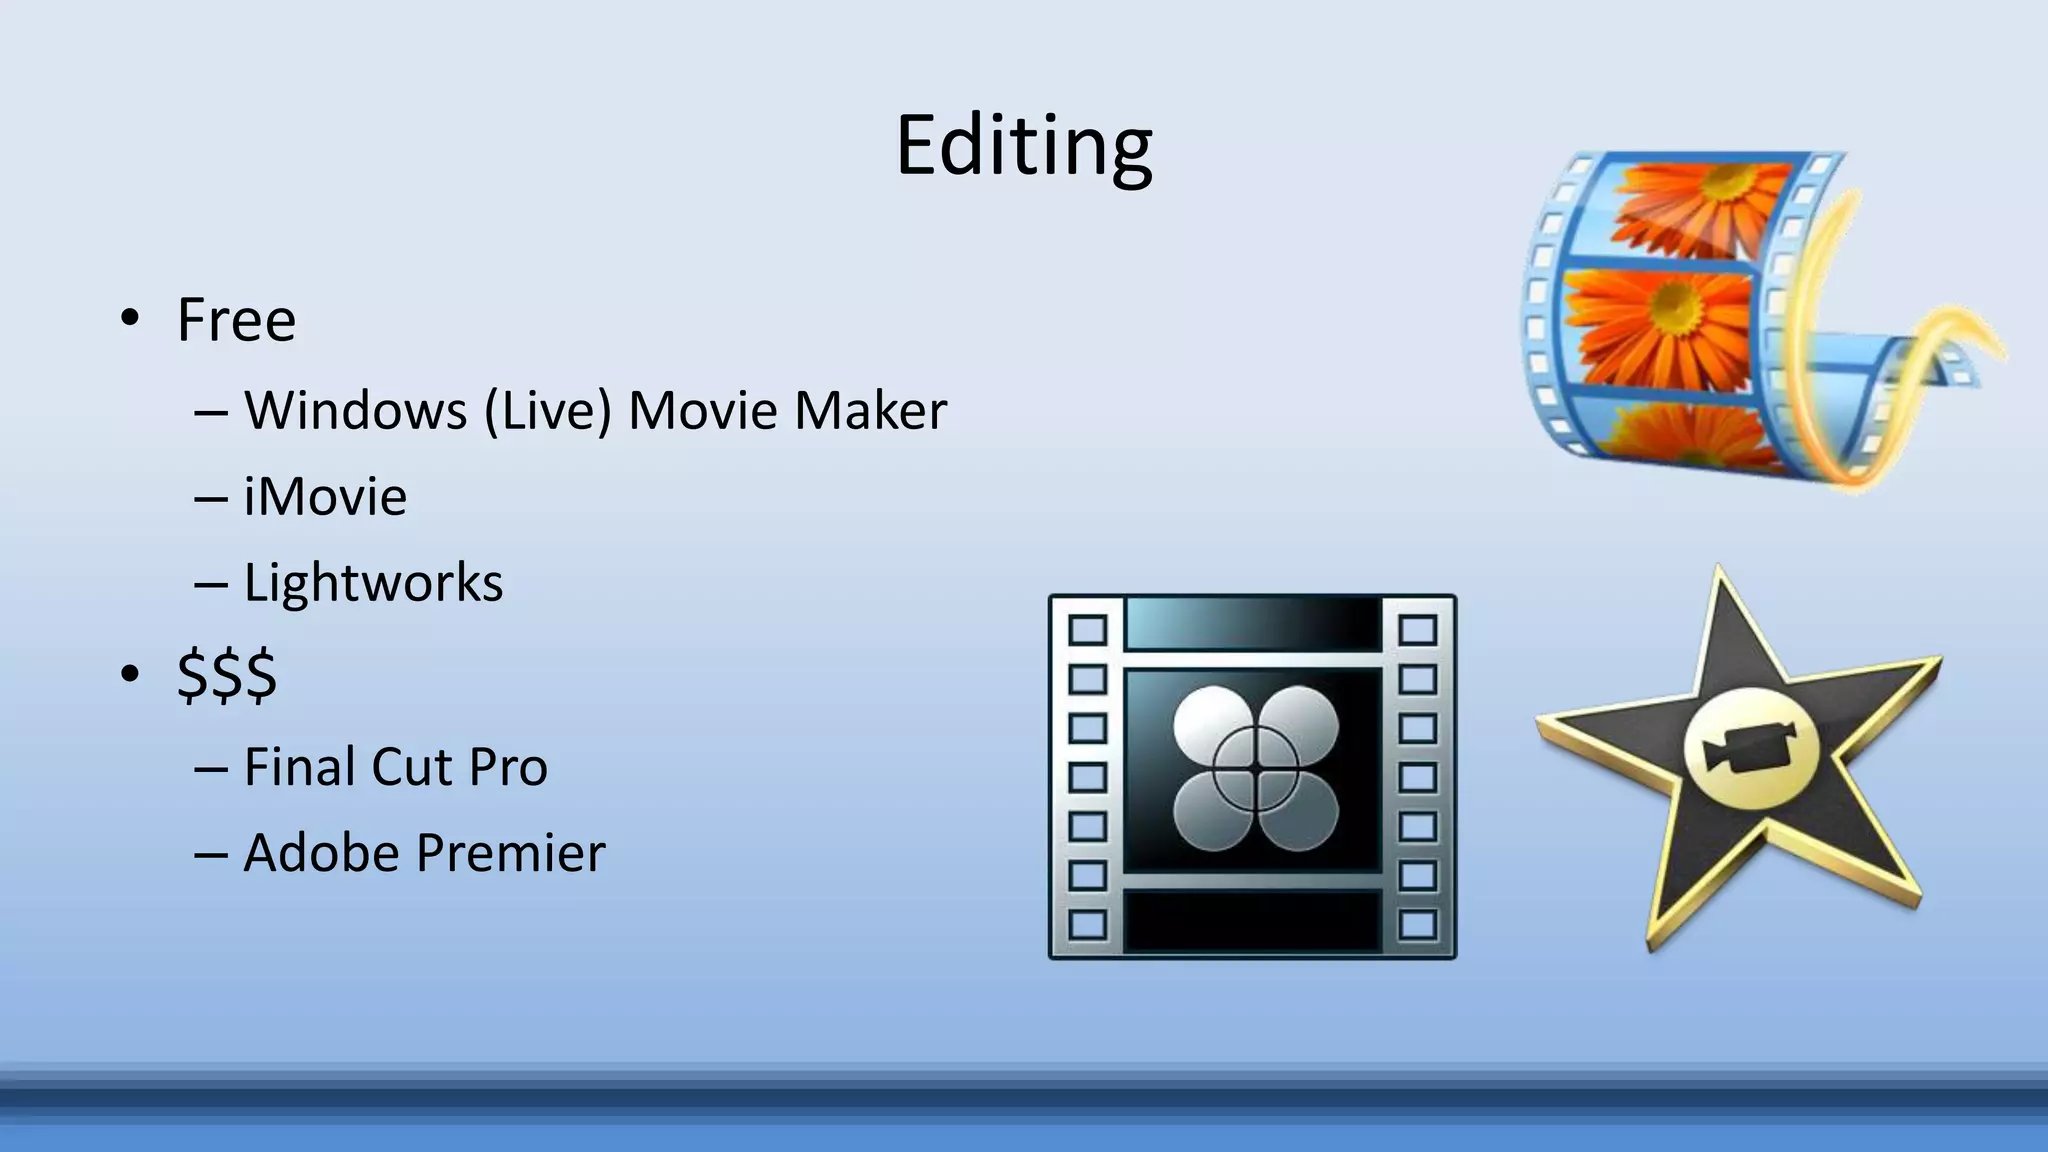
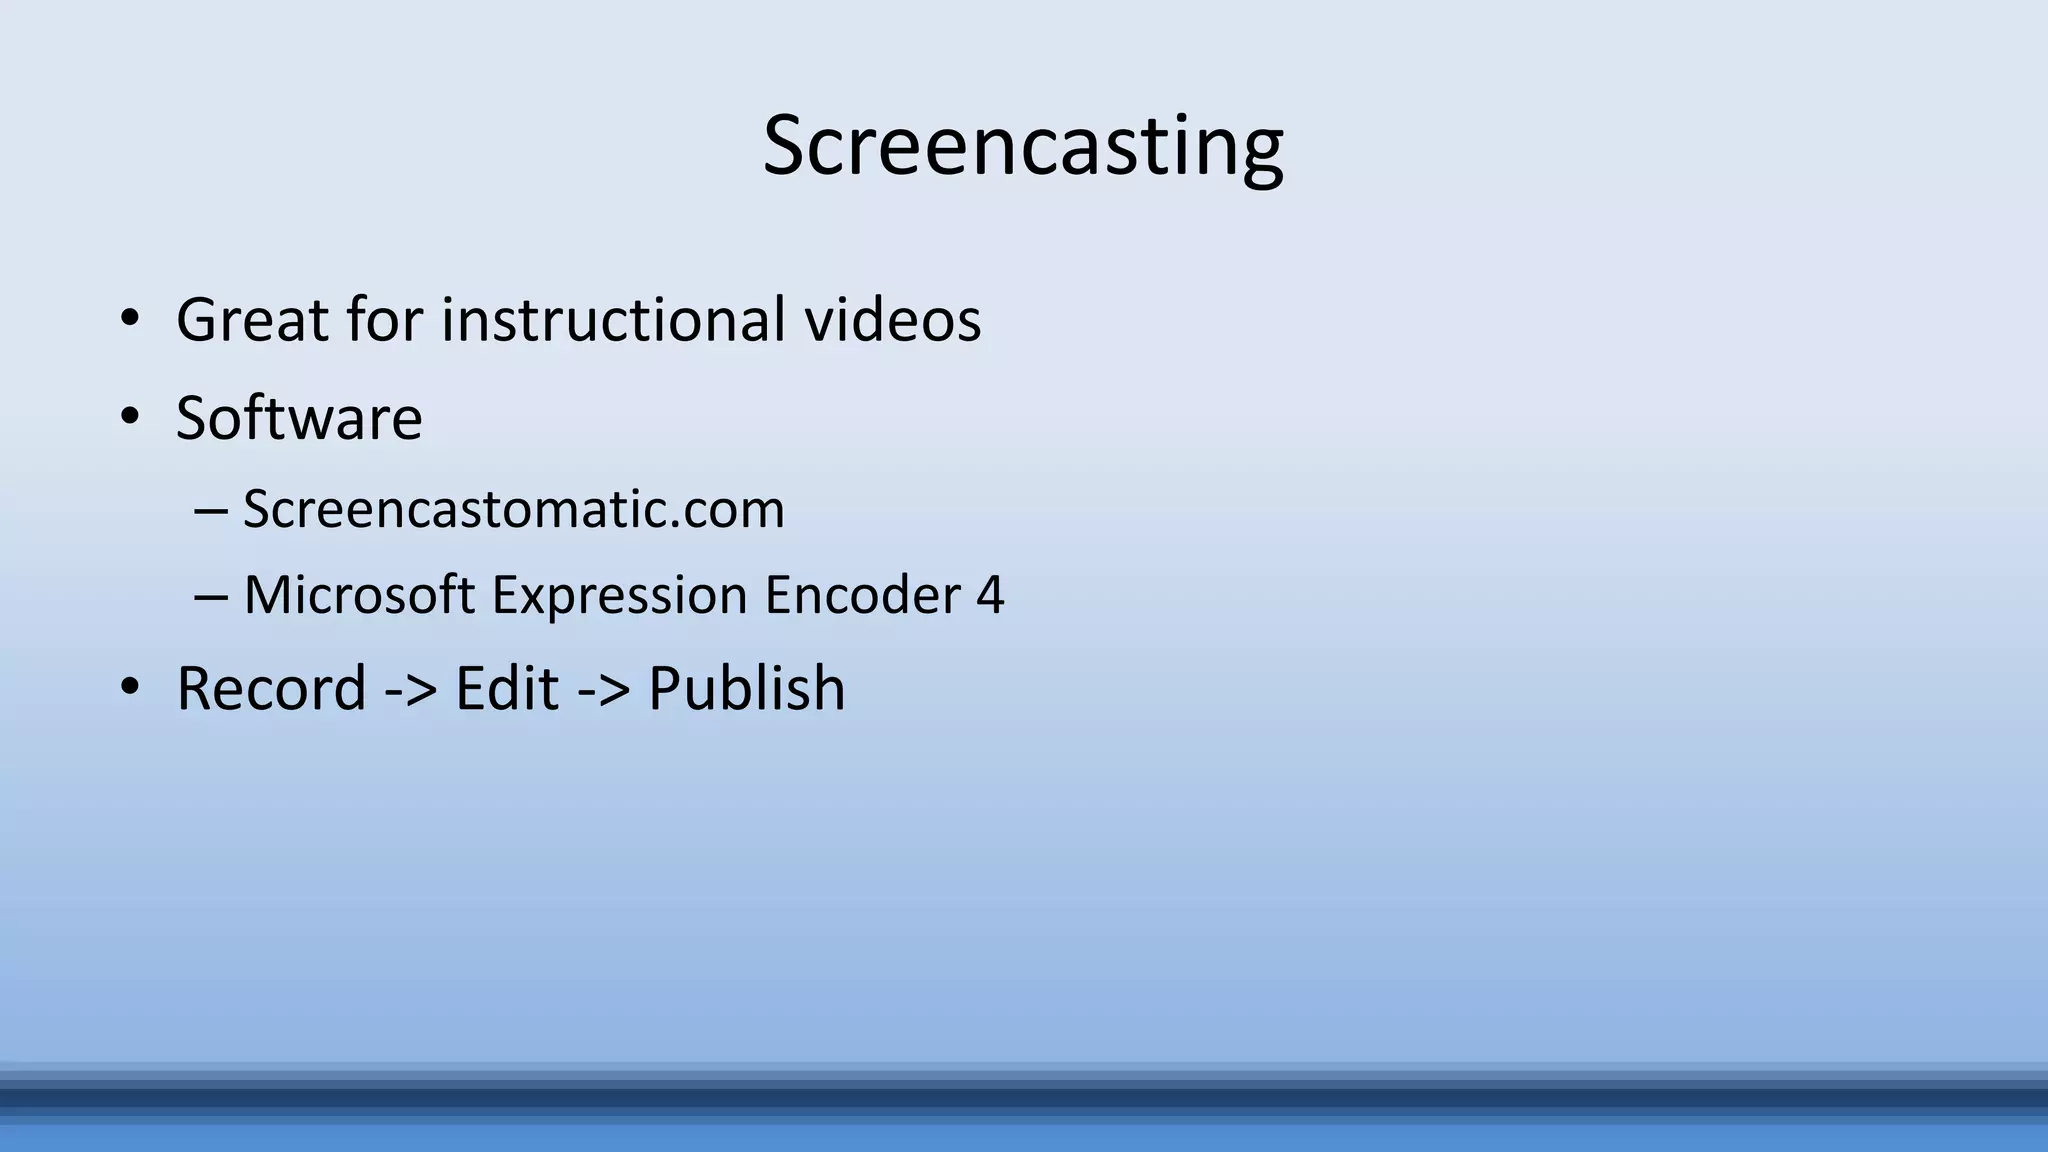
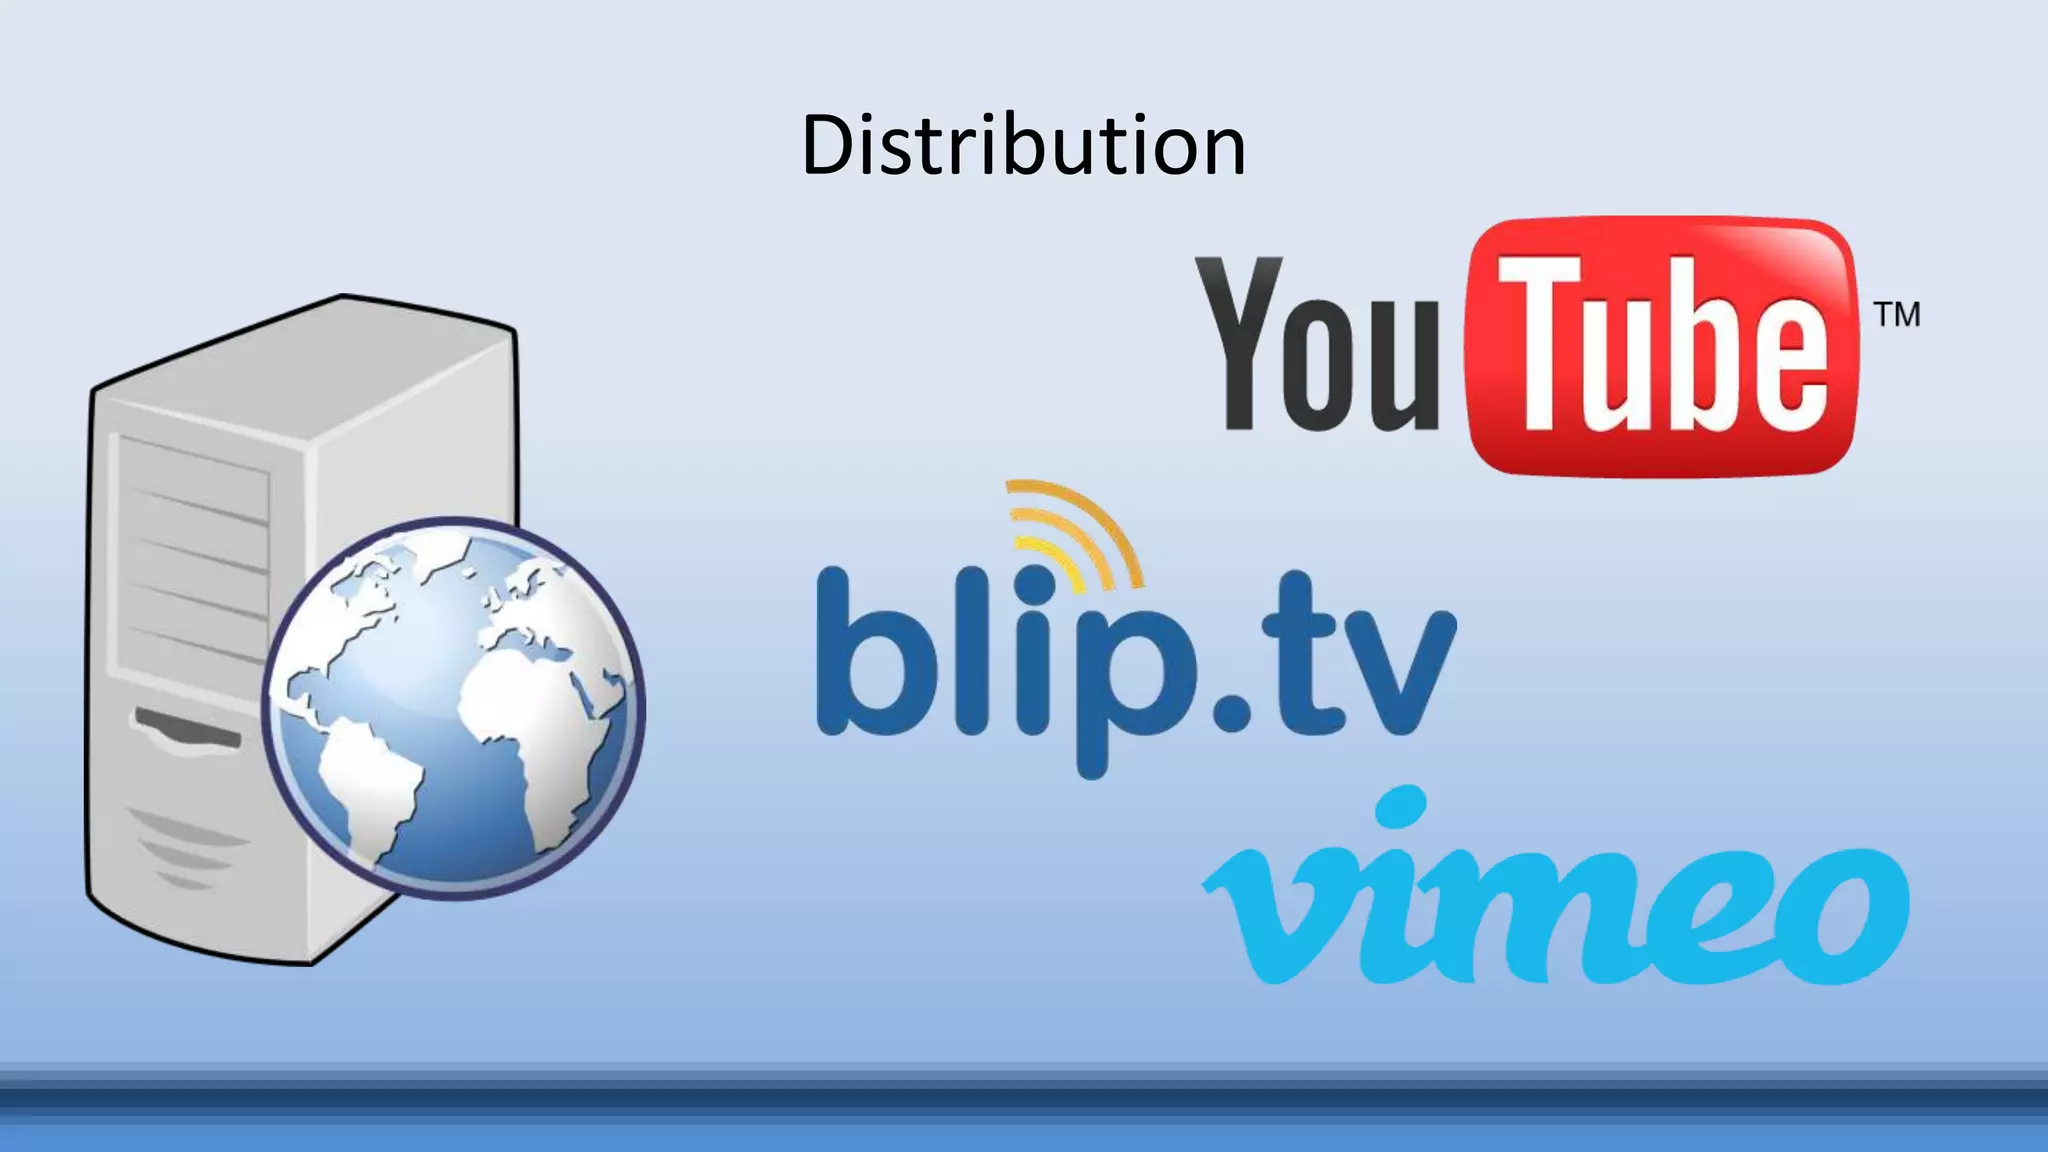
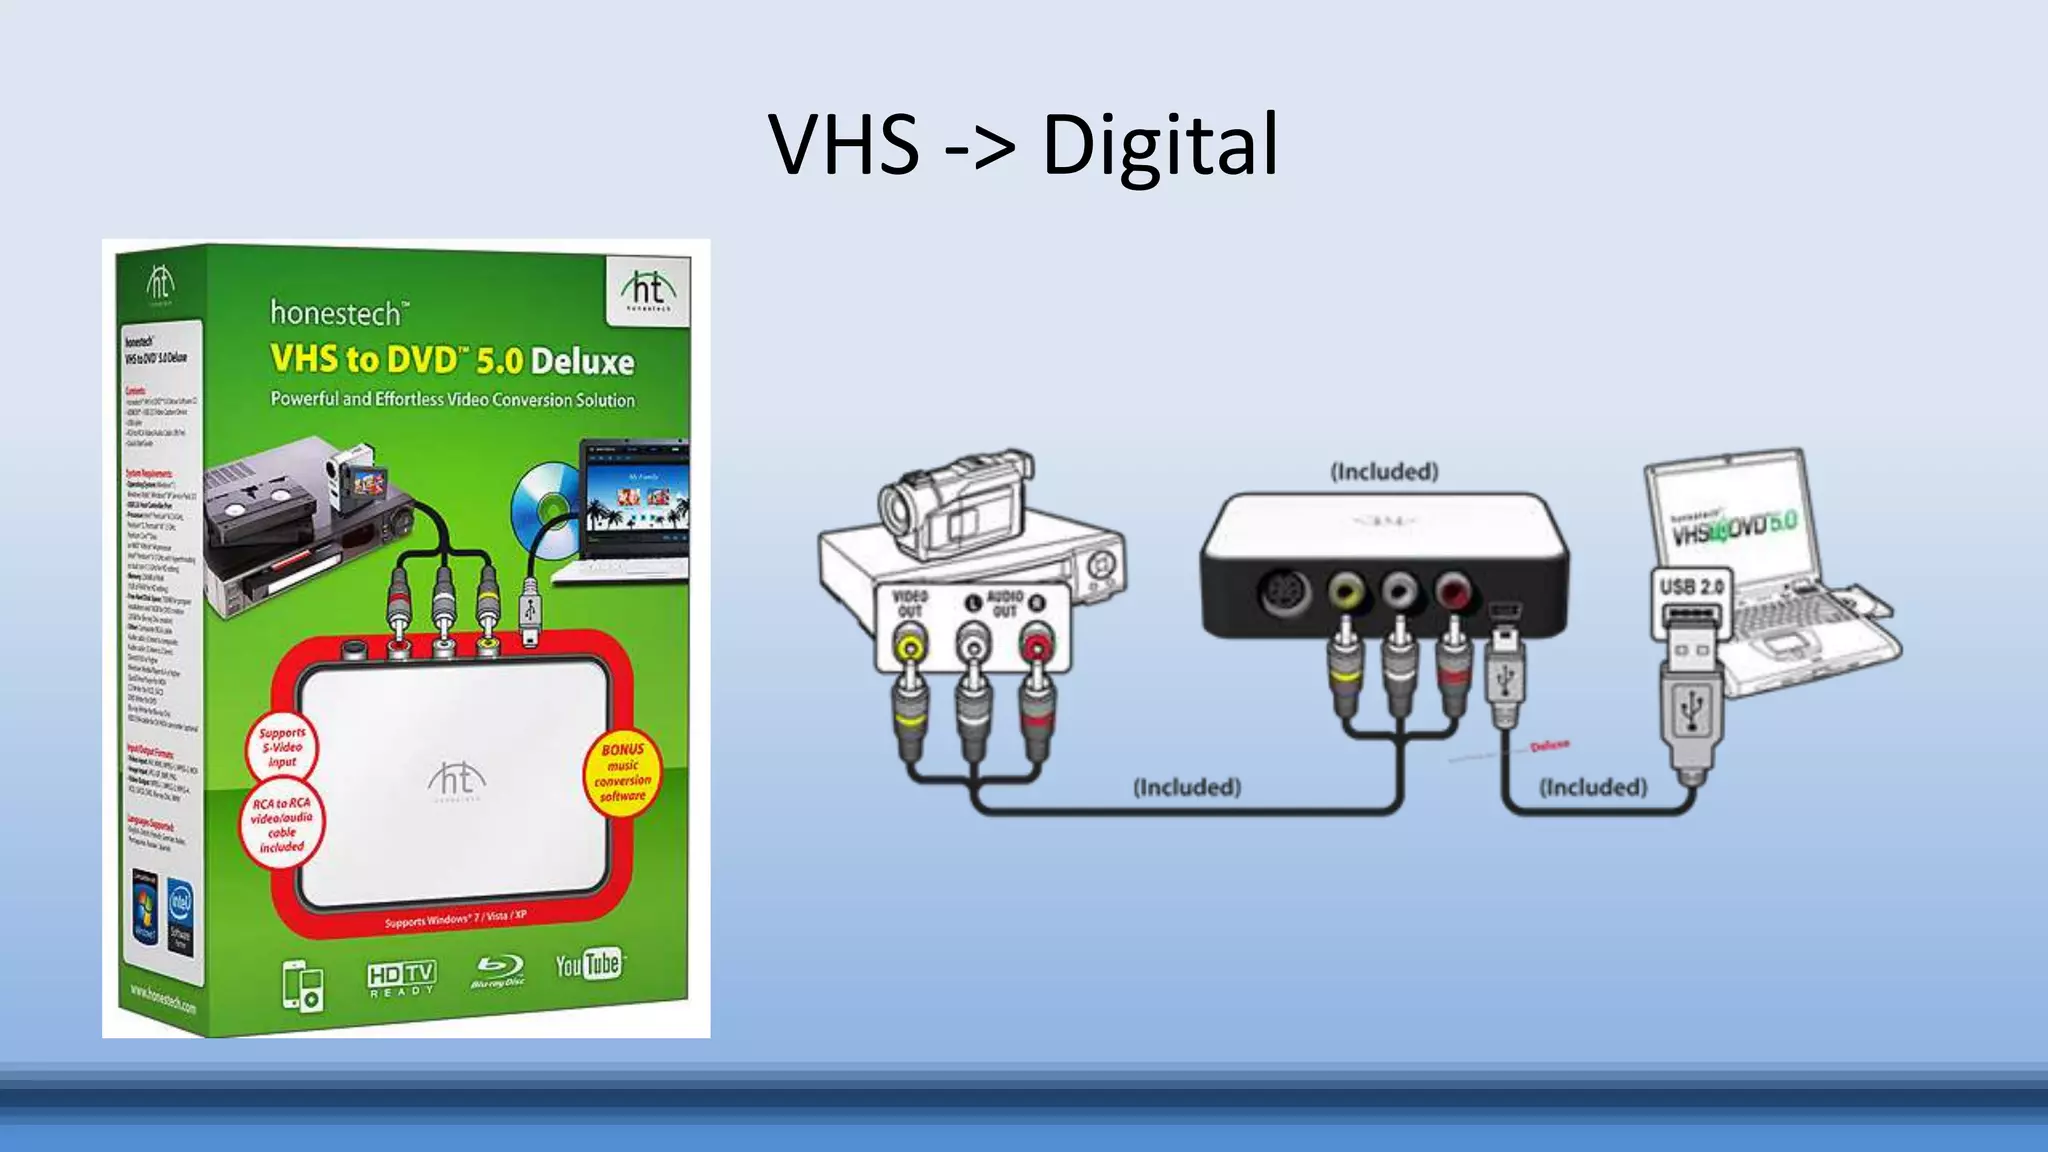


The document outlines various audio and video production techniques for libraries, including podcasting, recording methods, and editing software. It discusses equipment options, such as microphones and cameras, and highlights examples of successful video projects used in library programming. Additionally, it provides resources for editing and distributing content to enhance library services.


