8. I then rendered the project three times; each render was the different camera angles, exporting it to a WMV file and imported the rendered files in Adobe
Premiere.
9. Post Production
I dragged the first clip, camera one, onto the
video timeline. I then used the razor tool to cut
anything I didn’t want in the video but making
sure the video still flowed without sudden cuts.
With the second clip, camera two, I dragged it
into the video timeline where it would fit with
camera one, so that the video made sense. This
meant that the camera would change angles at
certain moments. I did the same with the third
camera and cut out the parts that weren’t
needed until the video was thirty seconds in
length, then faded the beginning and end of the
video using the crossfade tool.
Next I added the soundtrack which was thirty
second long and used the crossfade tool to fade
the beginning and end of the music. I also
decreased the volume by moving the volume bar
on the track down.
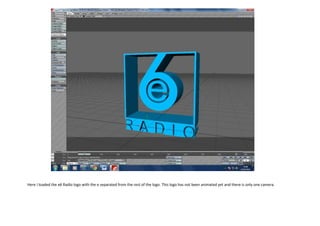
The three rendered projects
10. When I was happy with the results, I rendered the
final product into a MPEG2 format.