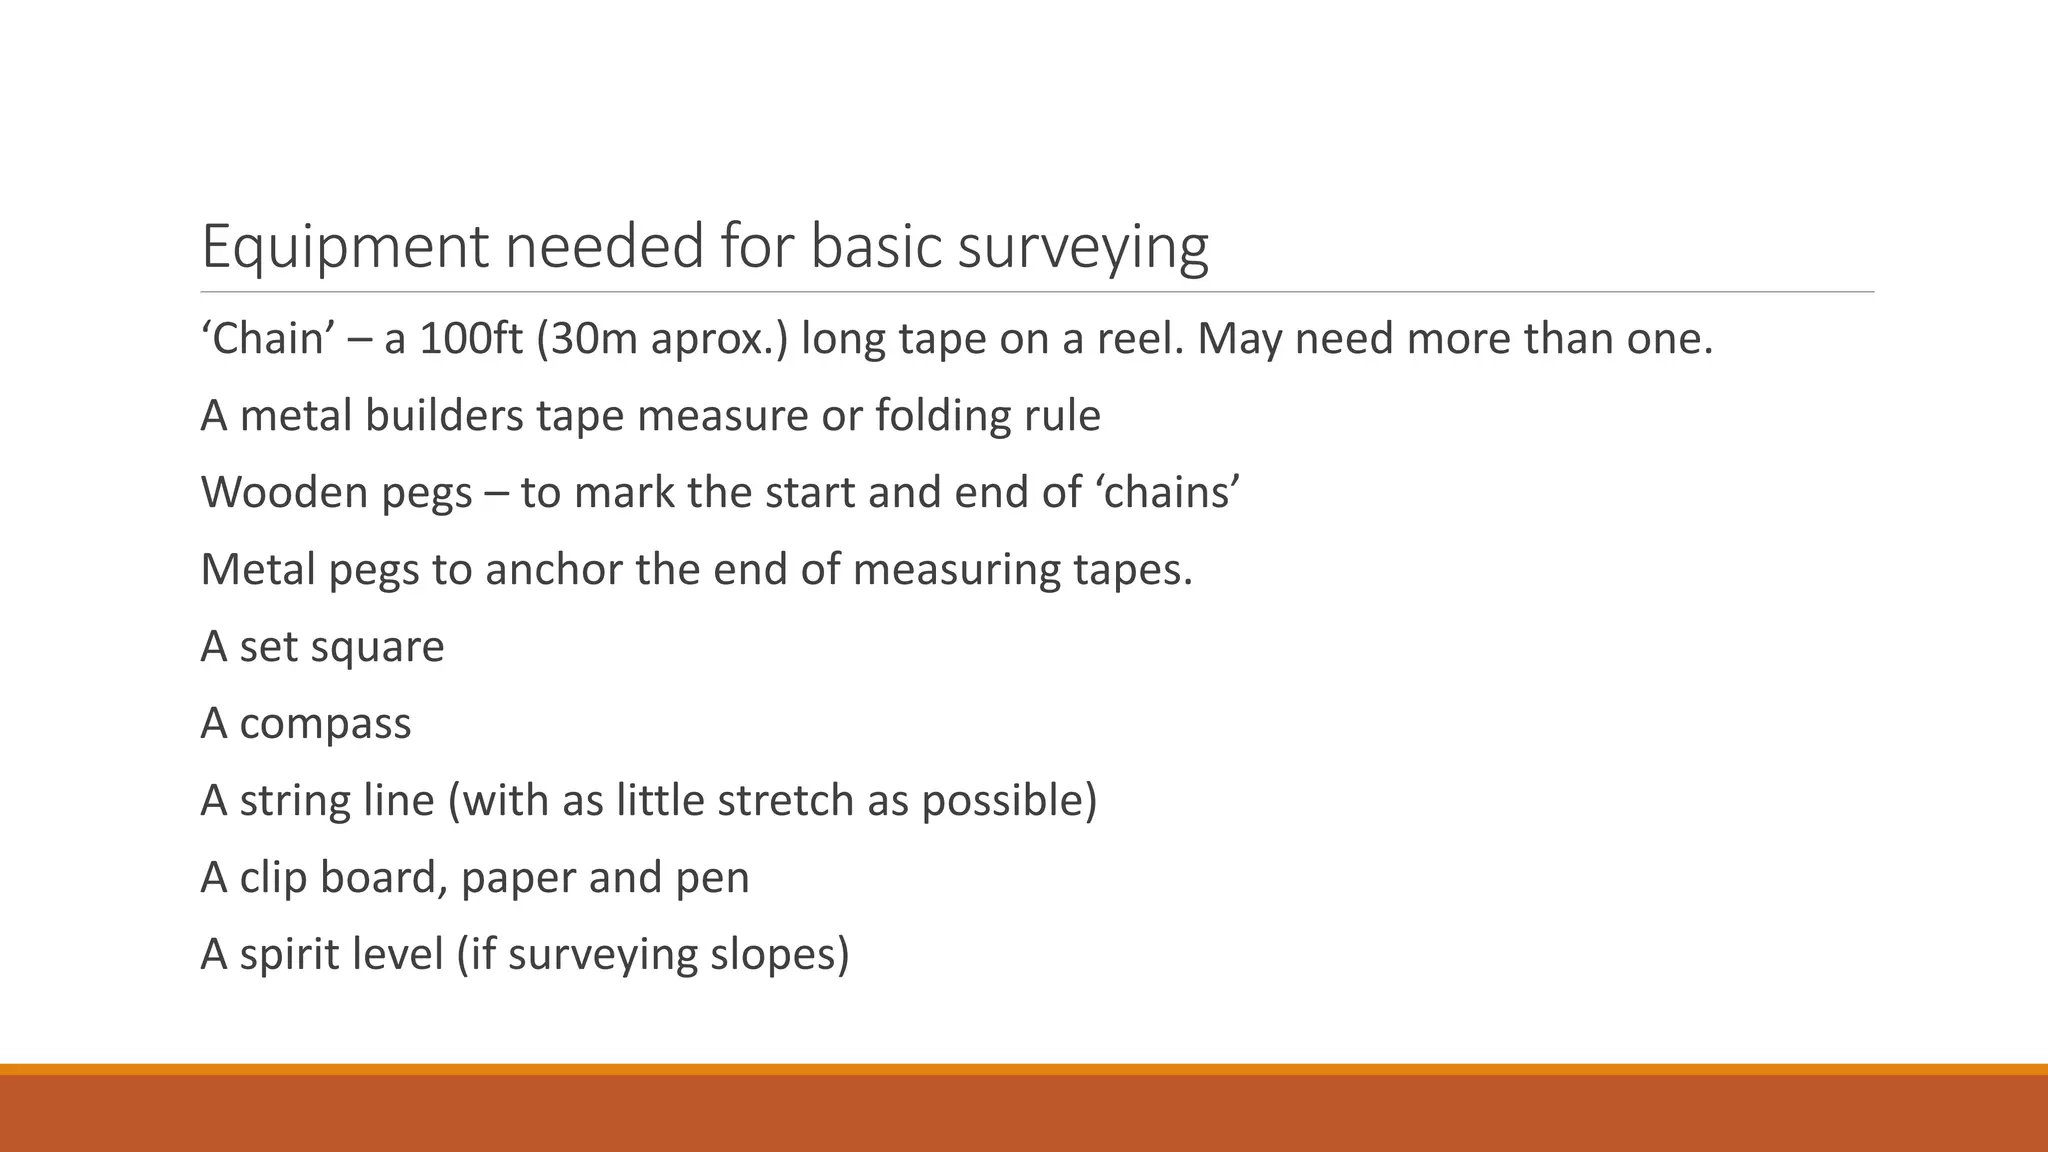
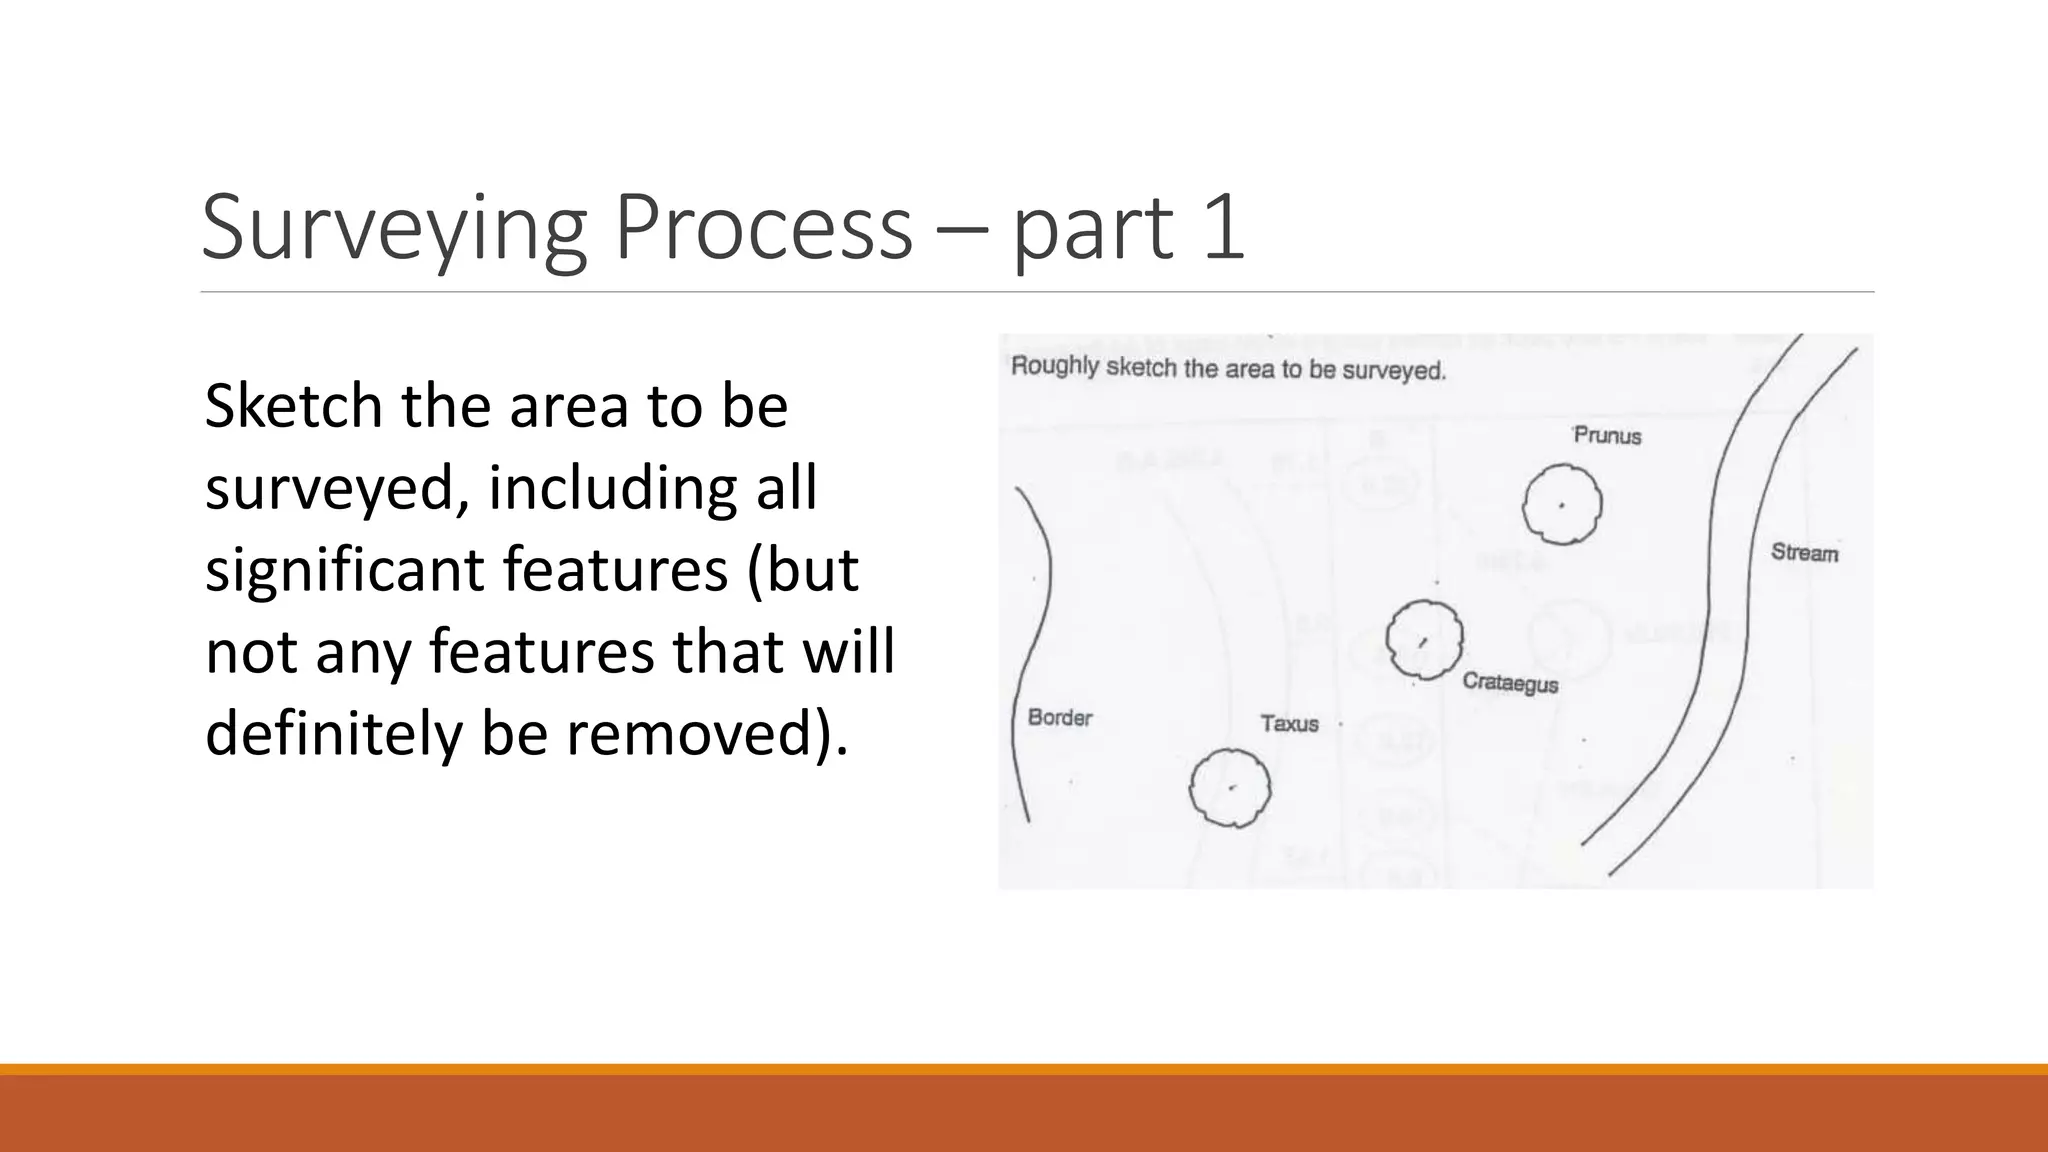
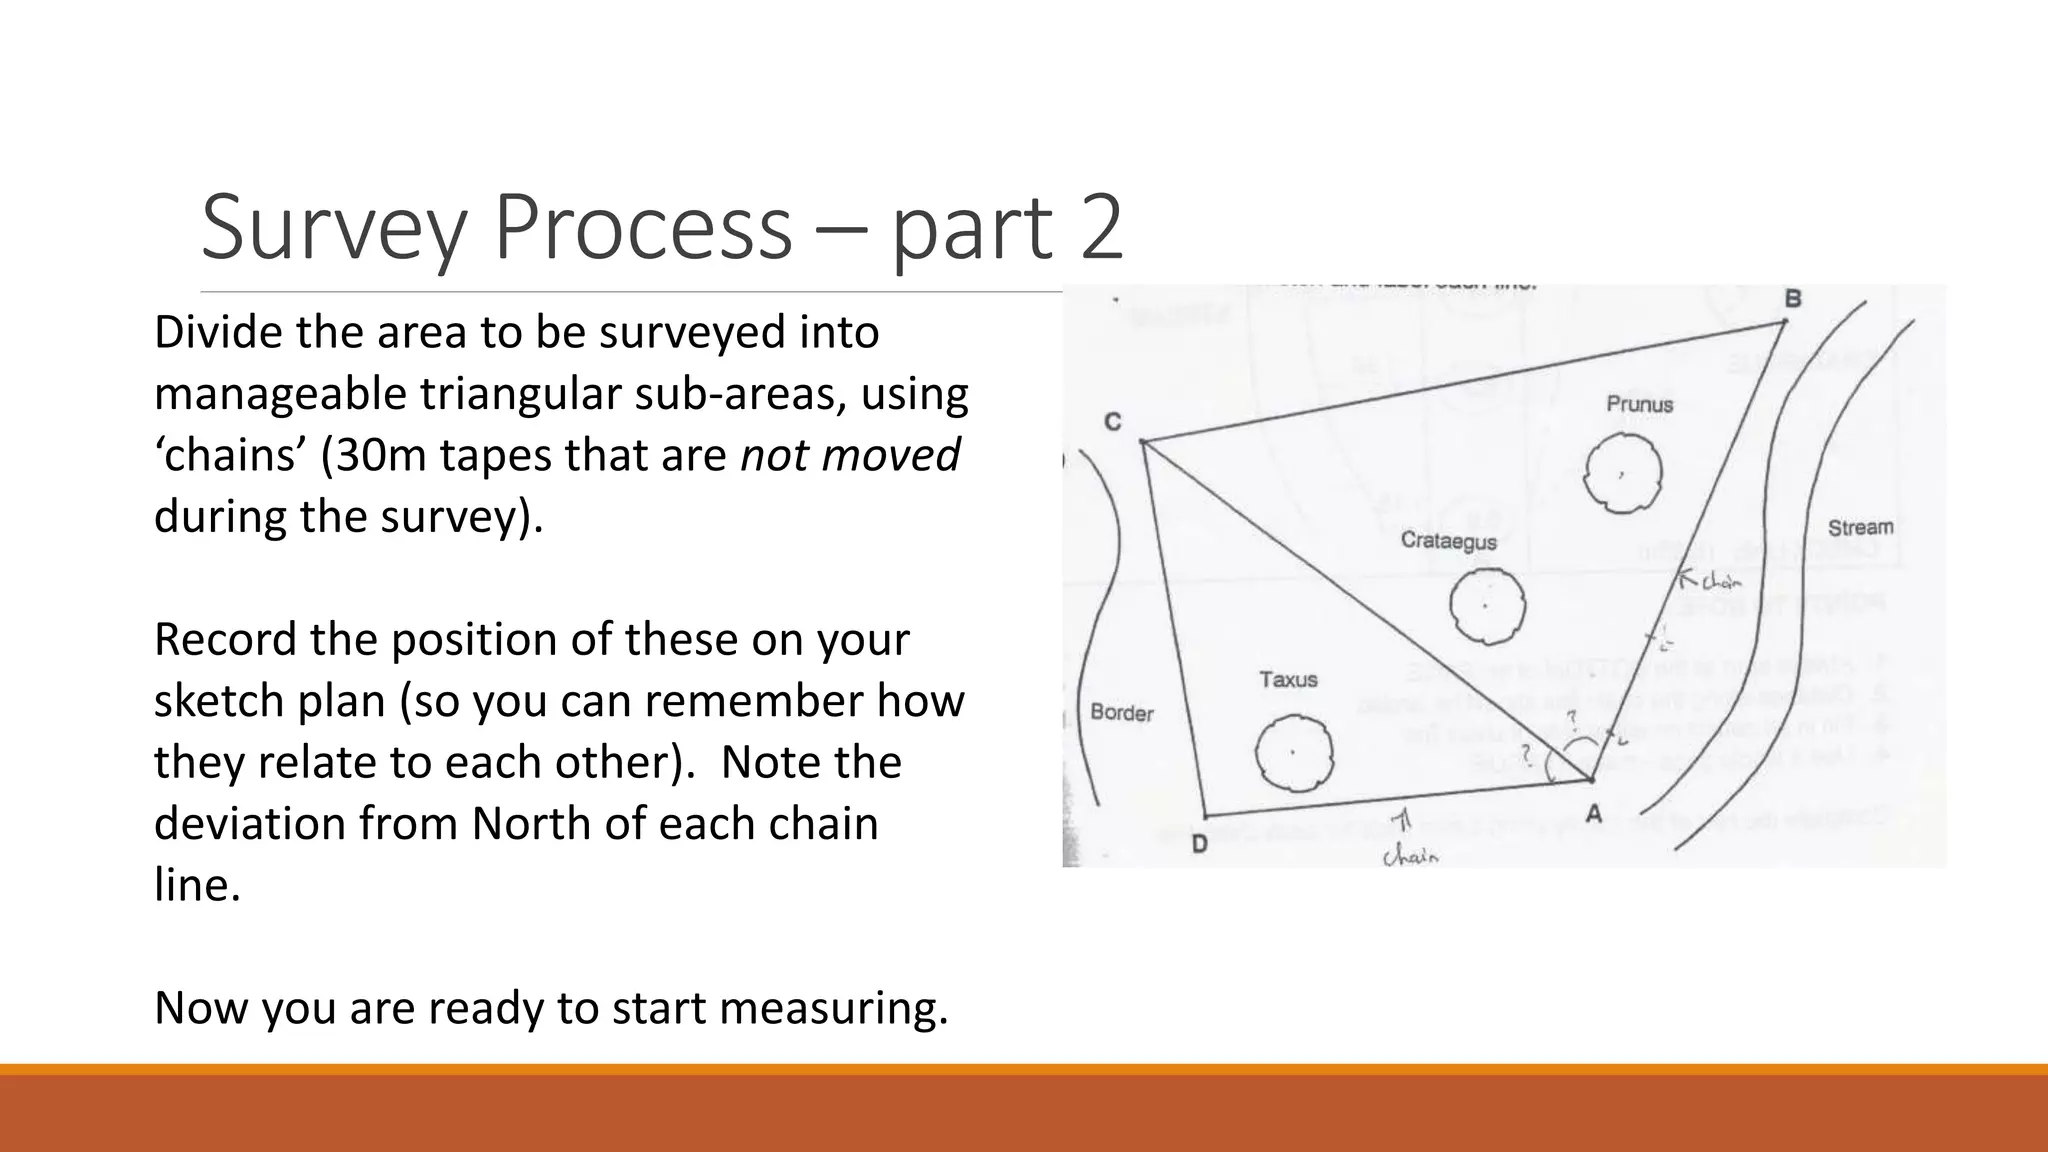
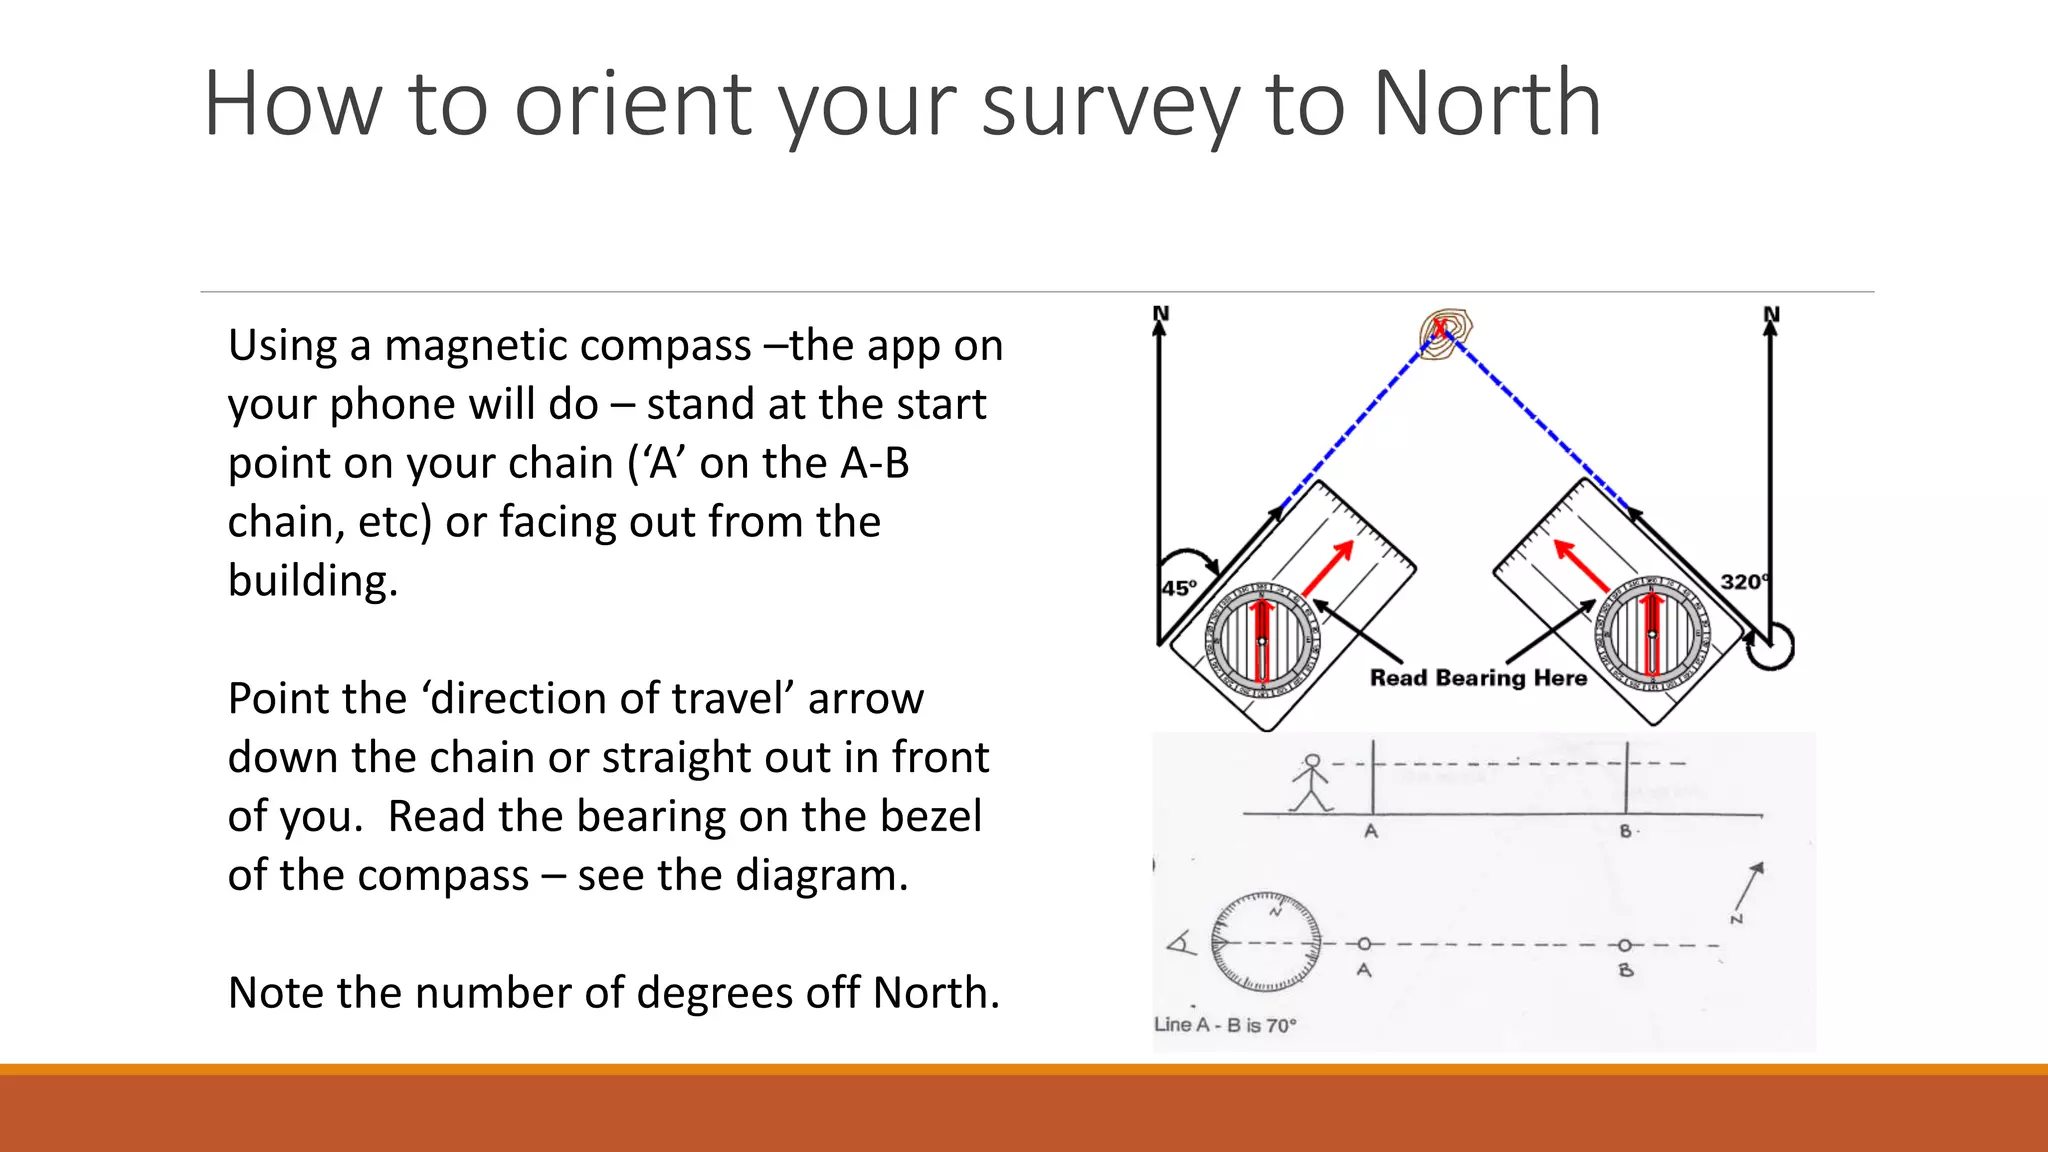
2. Learning objectives
By the end of this Part you should be able to:
1. Identify the equipment required for a basic linear
survey
2. Describe how to plan and organise a survey of an
area
3. Explain how to orient the survey to North.
3. Equipment needed for basic surveying
‘Chain’ – a 100ft (30m aprox.) long tape on a reel. May need more than one.
A metal builders tape measure or folding rule
Wooden pegs – to mark the start and end of ‘chains’
Metal pegs to anchor the end of measuring tapes.
A set square
A compass
A string line (with as little stretch as possible)
A clip board, paper and pen
A spirit level (if surveying slopes)
4. Surveying Basics
All measurements are taken from known fixed points – this could be
from points on a building, or from points along a tape (a chain line)
that is fixed in place and does not move throughout the process.
Tapes are kept taut and straight.
Data is recorded clearly.
Large areas are broken down into manageable sections; usually
triangular.
Plan how you will survey the area before starting.
5. Surveying Process – part 1
Sketch the area to be
surveyed, including all
significant features (but
not any features that will
definitely be removed).
6. Divide the area to be surveyed into
manageable triangular sub-areas, using
‘chains’ (30m tapes that are not moved
during the survey).
Record the position of these on your
sketch plan (so you can remember how
they relate to each other). Note the
deviation from North of each chain
line.
Now you are ready to start measuring.
Survey Process – part 2
7. How to orient your survey to North
Using a magnetic compass –the app on
your phone will do – stand at the start
point on your chain (‘A’ on the A-B
chain, etc) or facing out from the
building.
Point the ‘direction of travel’ arrow
down the chain or straight out in front
of you. Read the bearing on the bezel
of the compass – see the diagram.
Note the number of degrees off North.
8. End of Part 1
Now attempt the review questions and then move on to
Part 2 – Surveying Techniques.