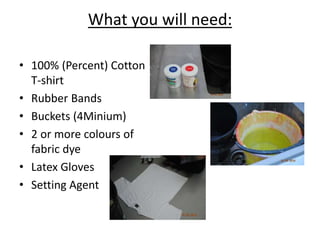
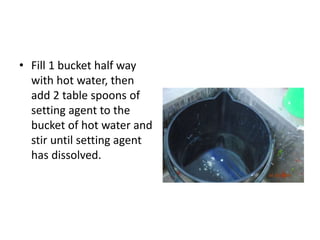
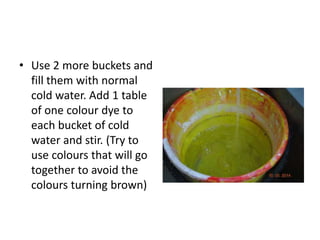
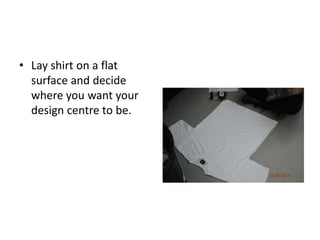
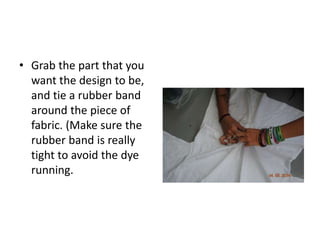
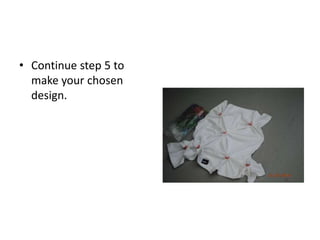
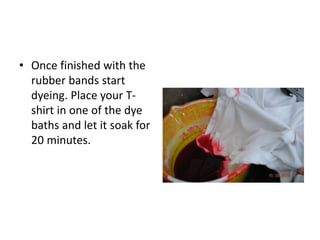
This document provides instructions for tie-dying a t-shirt at home using fabric dyes, rubber bands, buckets, and setting agent. The instructions involve laying the shirt flat and using rubber bands to create a design by binding parts of the fabric. The shirt is then submerged in dye baths of different colors and a setting agent is added to help set the dyes. Once complete, the rubber bands are removed and the shirt is rinsed and hung to dry. The process allows one to create vibrant, homemade tie-dyed t-shirts.
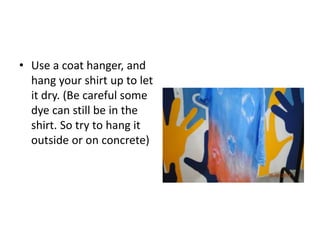


![How to make_tie_dye_shirts_decor_and_more_18_tie_dye_patterns[1]](https://cdn.slidesharecdn.com/ss_thumbnails/howtomaketiedyeshirtsdecorandmore18tiedyepatterns1-130316130529-phpapp01-thumbnail.jpg?width=640&height=640&fit=bounds)


