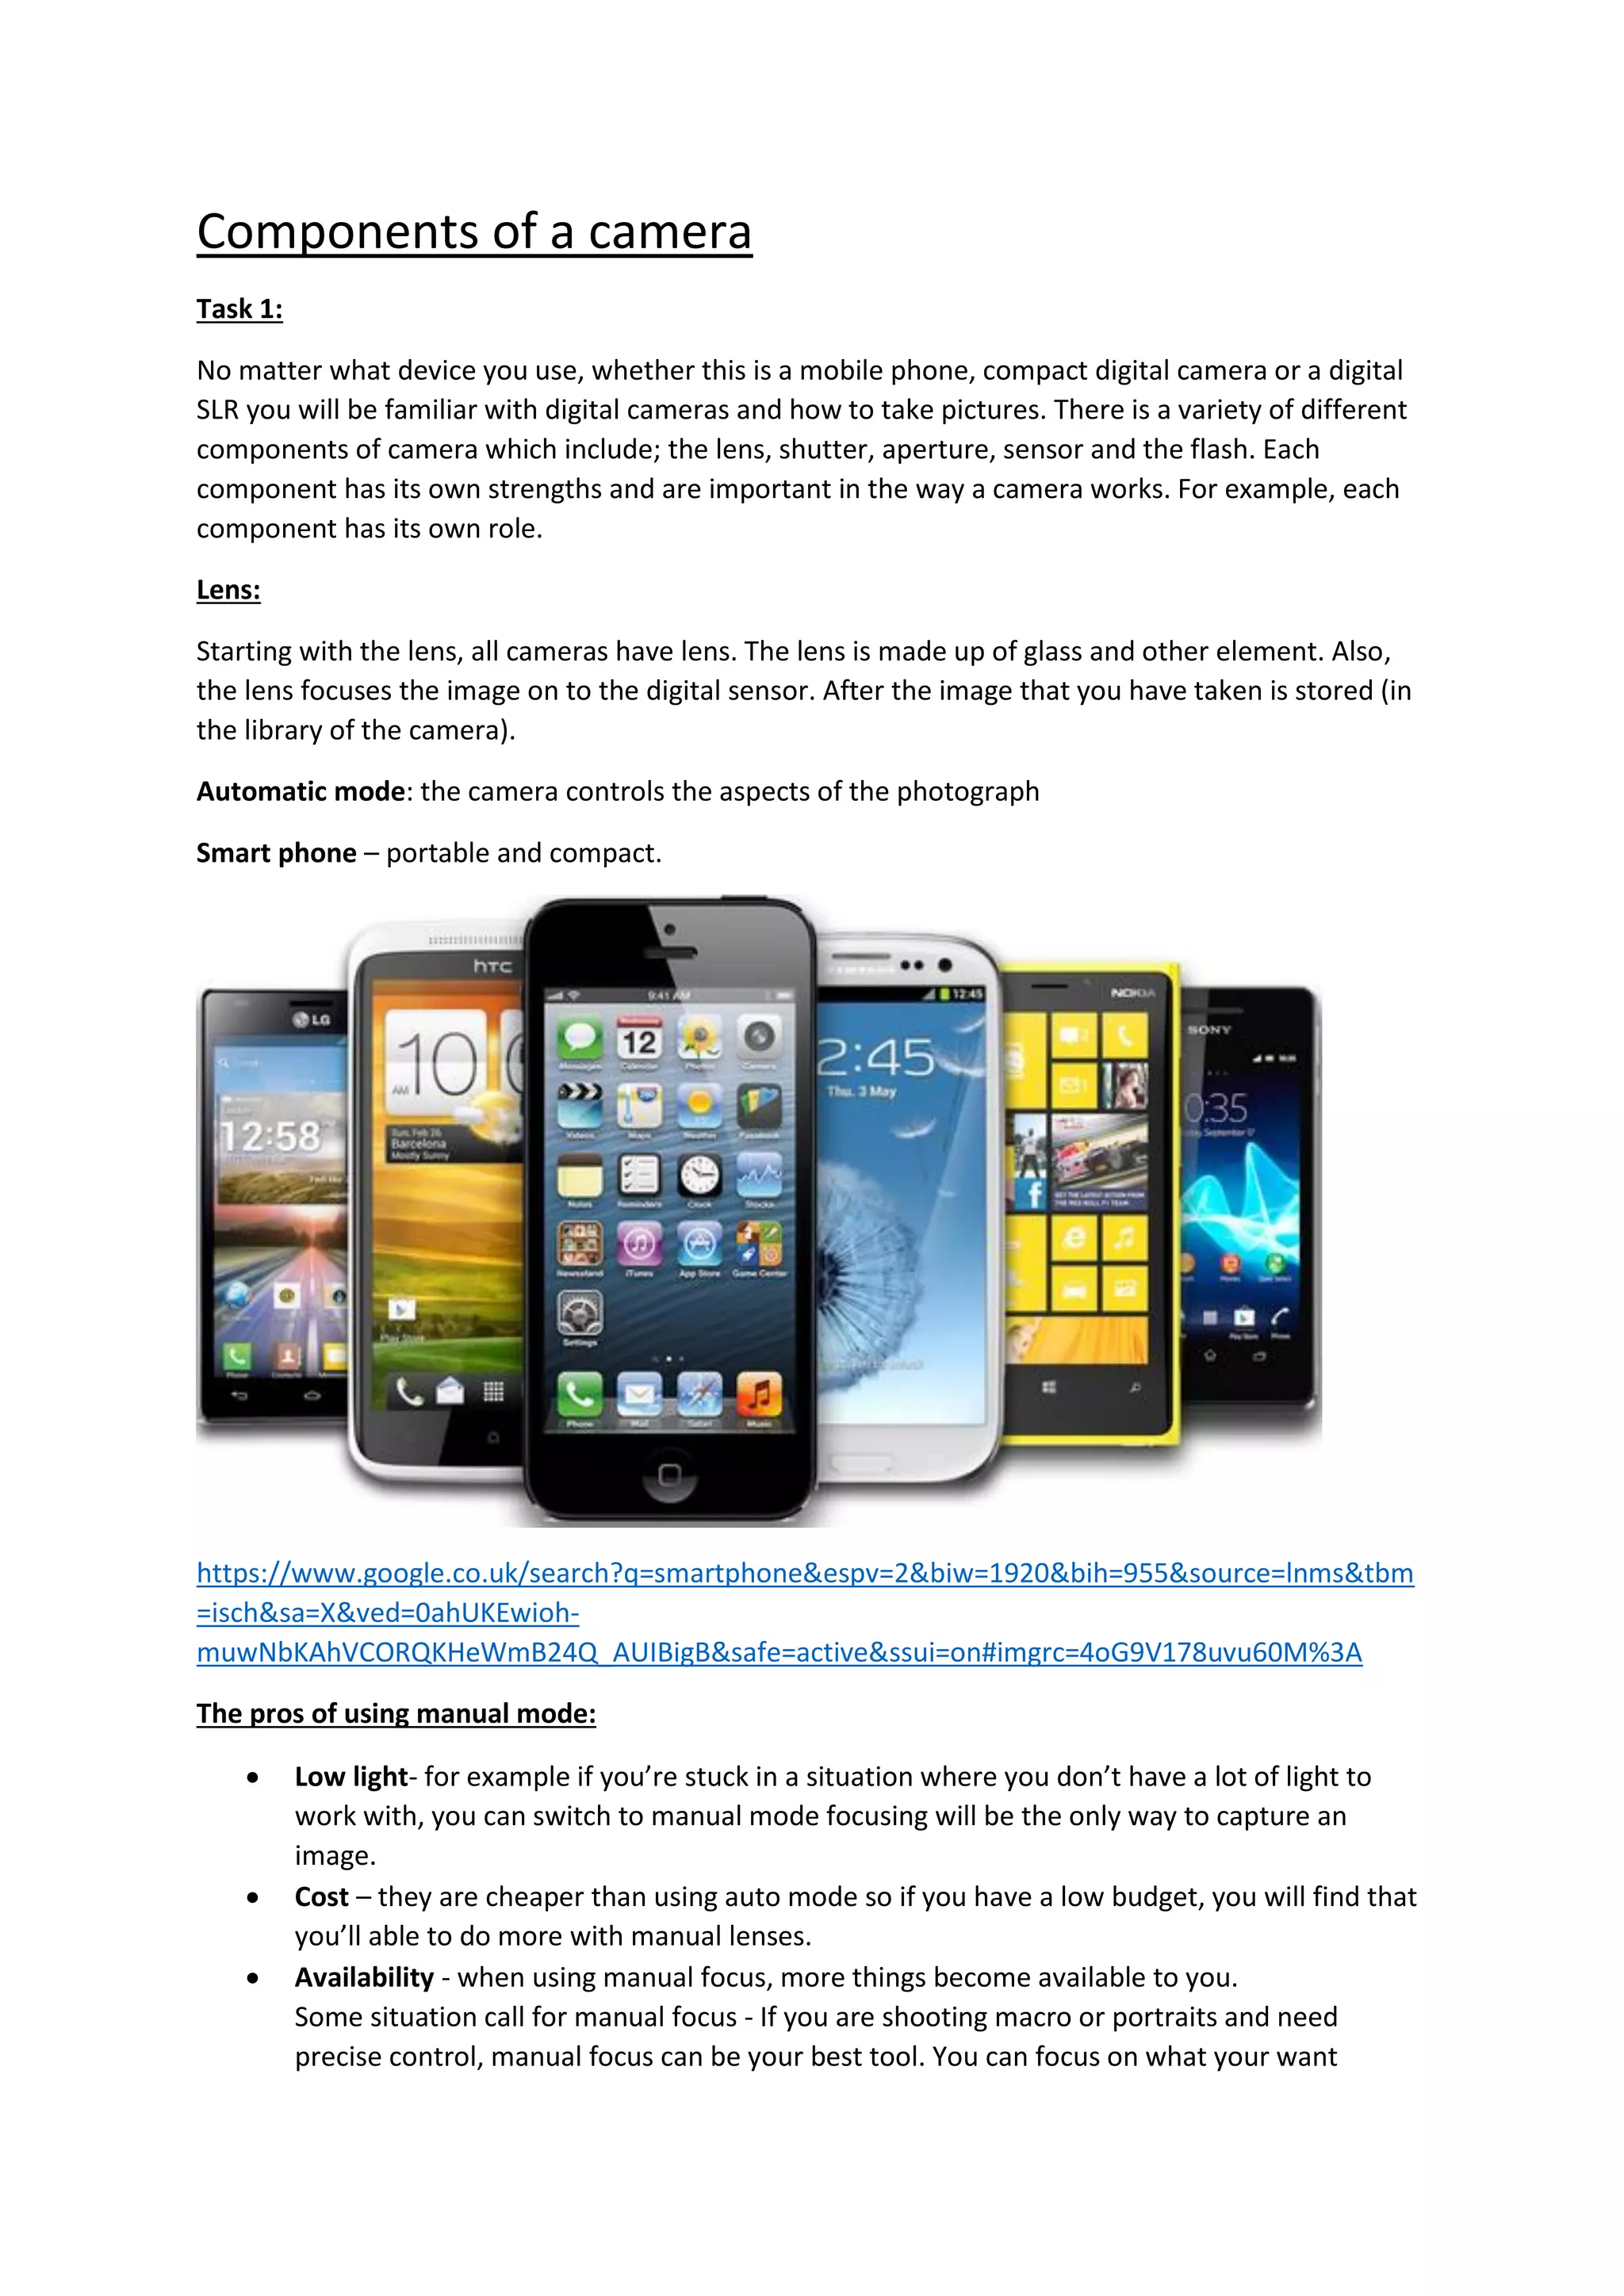
Components of a camera
Task 1:
No matter what device you use, whether this is a mobile phone, compact digital camera or a digital
SLR you will be familiar with digital cameras and how to take pictures. There is a variety of different
components of camera which include; the lens, shutter, aperture, sensor and the flash. Each
component has its own strengths and are important in the way a camera works. For example, each
component has its own role.
Lens:
Starting with the lens, all cameras have lens. The lens is made up of glass and other element. Also,
the lens focuses the image on to the digital sensor. After the image that you have taken is stored (in
the library of the camera).
Automatic mode: the camera controls the aspects of the photograph
Smart phone – portable and compact.
https://www.google.co.uk/search?q=smartphone&espv=2&biw=1920&bih=955&source=lnms&tbm
=isch&sa=X&ved=0ahUKEwioh-
muwNbKAhVCORQKHeWmB24Q_AUIBigB&safe=active&ssui=on#imgrc=4oG9V178uvu60M%3A
The pros of using manual mode:
 Low light- for example if you’re stuck in a situation where you don’t have a lot of light to
work with, you can switch to manual mode focusing will be the only way to capture an
image.
 Cost – they are cheaper than using auto mode so if you have a low budget, you will find that
you’ll able to do more with manual lenses.
 Availability - when using manual focus, more things become available to you.
Some situation call for manual focus - If you are shooting macro or portraits and need
precise control, manual focus can be your best tool. You can focus on what your want
instead of waiting for the camera to find it (and often miss it.) This approach will make you
photography more efficient. When focusing on something small, an autofocus system
cannot always see the intended subject. You have a better chance on focusing on the subject
manually. When working with a person, you can focus right on the eye and don’t have to
wait for the camera. It makes your workflow a little more productive.
The cons of using manual mode:
 Subjects and situations when you don’t have time to change settings.
 When the light on the subject is changing, or the subject is moving from lighter to darker
areas.
 When you only need to control either the shutter speed or aperture for the effect you want.
The pros of using automatic mode:
 Automatically sets up everything for you – you don’t really have to do anything apart
focusing the camera on what you want to capture – it is completely loaded.
 Automatically adjust to the environment you want.
The cons of using automatic mode:
 If you’re new to photography, it will take time to figure out the basics like the control and
the setting. For example, if you was use to using manual mode you would trouble by the
control panel. An auto mode camera is like a map to a tourist who is new to a place. – it
takes dedication to figure out.
Capturing images:
 Lens - Starting with the lens, all cameras have lens. The lens is made up of glass and other
element. Also, the lens focuses the image on to the digital sensor. After the image that you
have taken is stored (in the library of the camera).
 Memory – where information and saved data is stores
 Shutter – there are 2 types of shutter that fit into different parts of the camera.
 Aperture – a small hole where the lights go through.
 Viewfinder – allows you to shoot in bright light. However, they use less power than LCD
screens.
 Image sensor – detects and conveys the information that is on the image
 Lighting:
1. Exposure - how bright a scene is and how it effects our image. – Over
2. Quality - how focused or diffuse light is.
3. Colour - the colour of the light in an image.
4. Direction - where the light is coming from.
5. Highlight - the brightest part of the image.
6. Shadow - the darkest part of the image. - Under
7. Contrast - The difference between the bright part of an image and the dark part of an image.
8. White balance – allows you to change the colour balance in your pictures.
Support:
Tripod – is used to stabilize the camera and put it into place. A tripod consist of 3 three legs and a
head on top where the camera is placed.
https://www.google.co.uk/search?q=tripod&rls=com.microsoft:en-GB:IE-
Address&source=lnms&tbm=isch&sa=X&ved=0ahUKEwiPvfaa88TKAhWBkBQKHTMwBrcQ_AUICCgC
&biw=1184&bih=582#imgrc=wcgS2P2lF3A4xM%3A
Hand held – is a filmmaking and video production technique that involves the camera being held in
camera operator’s hand.
https://www.google.co.uk/search?q=hand+held+camera&rls=com.microsoft:en-GB:IE-
Address&source=lnms&tbm=isch&sa=X&ved=0ahUKEwjb1KHV88TKAhWKXBQKHfMdBFAQ_AUICCgC
&biw=1184&bih=582#imgrc=QxyFsy9NRseuJM%3A
File storage:
File storage in a camera keeps all the files in a safe and secure place. The size of a camera usually
depends on its data size. For example, every camera has a LCD screen, so you view your picture right
away.
https://www.google.co.uk/search?q=lense+of+camera&espv=2&biw=1920&bih=955&source=lnms&
tbm=isch&sa=X&ved=0ahUKEwioye2TqLPKAhVDthQKHR6HAgUQ_AUIBigB&safe=active&ssui=on#im
grc=U4y8py0ywMED2M%3A

Task 1: Components of a camera

  • 1.
    Components of acamera Task 1: No matter what device you use, whether this is a mobile phone, compact digital camera or a digital SLR you will be familiar with digital cameras and how to take pictures. There is a variety of different components of camera which include; the lens, shutter, aperture, sensor and the flash. Each component has its own strengths and are important in the way a camera works. For example, each component has its own role. Lens: Starting with the lens, all cameras have lens. The lens is made up of glass and other element. Also, the lens focuses the image on to the digital sensor. After the image that you have taken is stored (in the library of the camera). Automatic mode: the camera controls the aspects of the photograph Smart phone – portable and compact. https://www.google.co.uk/search?q=smartphone&espv=2&biw=1920&bih=955&source=lnms&tbm =isch&sa=X&ved=0ahUKEwioh- muwNbKAhVCORQKHeWmB24Q_AUIBigB&safe=active&ssui=on#imgrc=4oG9V178uvu60M%3A The pros of using manual mode:  Low light- for example if you’re stuck in a situation where you don’t have a lot of light to work with, you can switch to manual mode focusing will be the only way to capture an image.  Cost – they are cheaper than using auto mode so if you have a low budget, you will find that you’ll able to do more with manual lenses.  Availability - when using manual focus, more things become available to you. Some situation call for manual focus - If you are shooting macro or portraits and need precise control, manual focus can be your best tool. You can focus on what your want
  • 2.
    instead of waitingfor the camera to find it (and often miss it.) This approach will make you photography more efficient. When focusing on something small, an autofocus system cannot always see the intended subject. You have a better chance on focusing on the subject manually. When working with a person, you can focus right on the eye and don’t have to wait for the camera. It makes your workflow a little more productive. The cons of using manual mode:  Subjects and situations when you don’t have time to change settings.  When the light on the subject is changing, or the subject is moving from lighter to darker areas.  When you only need to control either the shutter speed or aperture for the effect you want. The pros of using automatic mode:  Automatically sets up everything for you – you don’t really have to do anything apart focusing the camera on what you want to capture – it is completely loaded.  Automatically adjust to the environment you want. The cons of using automatic mode:  If you’re new to photography, it will take time to figure out the basics like the control and the setting. For example, if you was use to using manual mode you would trouble by the control panel. An auto mode camera is like a map to a tourist who is new to a place. – it takes dedication to figure out. Capturing images:  Lens - Starting with the lens, all cameras have lens. The lens is made up of glass and other element. Also, the lens focuses the image on to the digital sensor. After the image that you have taken is stored (in the library of the camera).  Memory – where information and saved data is stores  Shutter – there are 2 types of shutter that fit into different parts of the camera.  Aperture – a small hole where the lights go through.  Viewfinder – allows you to shoot in bright light. However, they use less power than LCD screens.  Image sensor – detects and conveys the information that is on the image  Lighting: 1. Exposure - how bright a scene is and how it effects our image. – Over 2. Quality - how focused or diffuse light is. 3. Colour - the colour of the light in an image. 4. Direction - where the light is coming from. 5. Highlight - the brightest part of the image. 6. Shadow - the darkest part of the image. - Under 7. Contrast - The difference between the bright part of an image and the dark part of an image. 8. White balance – allows you to change the colour balance in your pictures.
  • 3.
    Support: Tripod – isused to stabilize the camera and put it into place. A tripod consist of 3 three legs and a head on top where the camera is placed. https://www.google.co.uk/search?q=tripod&rls=com.microsoft:en-GB:IE- Address&source=lnms&tbm=isch&sa=X&ved=0ahUKEwiPvfaa88TKAhWBkBQKHTMwBrcQ_AUICCgC &biw=1184&bih=582#imgrc=wcgS2P2lF3A4xM%3A Hand held – is a filmmaking and video production technique that involves the camera being held in camera operator’s hand. https://www.google.co.uk/search?q=hand+held+camera&rls=com.microsoft:en-GB:IE- Address&source=lnms&tbm=isch&sa=X&ved=0ahUKEwjb1KHV88TKAhWKXBQKHfMdBFAQ_AUICCgC &biw=1184&bih=582#imgrc=QxyFsy9NRseuJM%3A File storage:
  • 4.
    File storage ina camera keeps all the files in a safe and secure place. The size of a camera usually depends on its data size. For example, every camera has a LCD screen, so you view your picture right away. https://www.google.co.uk/search?q=lense+of+camera&espv=2&biw=1920&bih=955&source=lnms& tbm=isch&sa=X&ved=0ahUKEwioye2TqLPKAhVDthQKHR6HAgUQ_AUIBigB&safe=active&ssui=on#im grc=U4y8py0ywMED2M%3A