Download to read offline


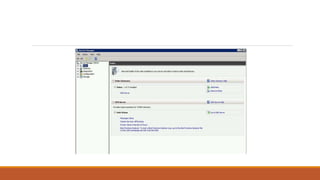
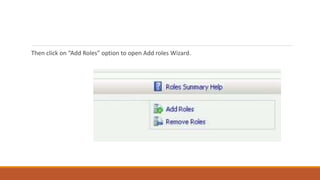
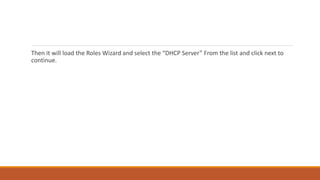

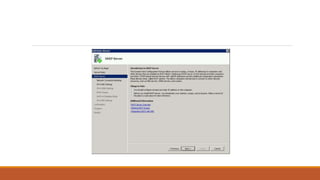
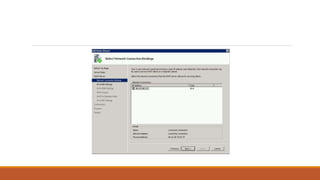
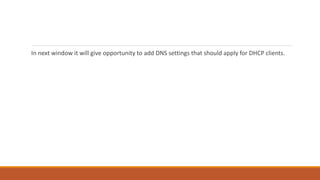
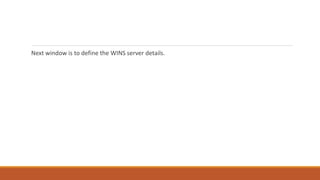
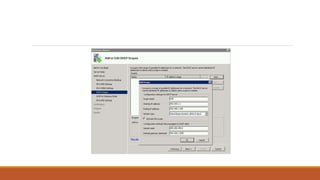
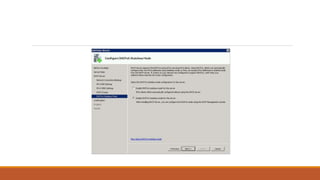
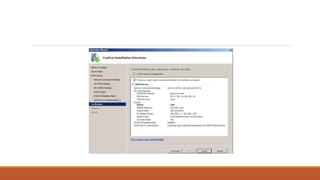
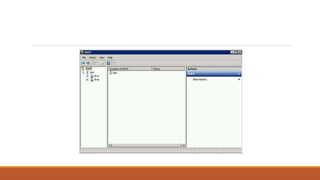

To configure a DHCP server role in Windows Server, an administrator must first log into the server, open the Server Manager, add the DHCP Server role via the Add Roles Wizard, configure the network interfaces, DNS and WINS settings, and add DHCP scopes defining the IP range, subnet mask, default gateway and lease time; once installed, the DHCP server interface can be accessed from the Administrative Tools menu.