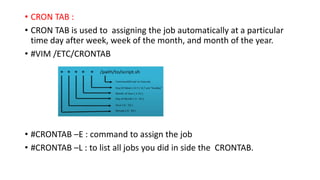
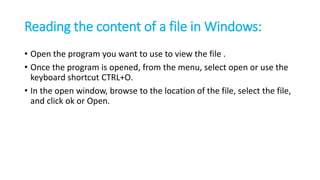
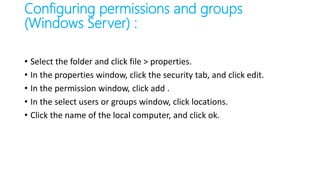
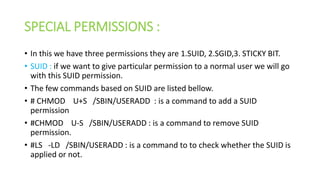
The document discusses similarities between Linux and Windows administration. It provides examples of commands to perform common system administration tasks like creating and managing files, directories, users and groups. Some key points include:
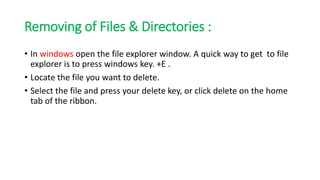
- Creating and reading files can be done through commands in Linux or the file explorer in Windows. Directories are created using the mkdir command in Linux and through the file explorer in Windows.
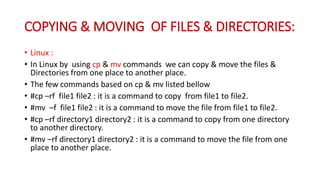
- Files can be copied, moved, and deleted using cp, mv, and rm commands in Linux or by dragging and dropping in file explorer for Windows.
- Users and groups are managed through /etc/passwd and commands like useradd, passwd in Linux. In Windows it is done through computer management.
- Per
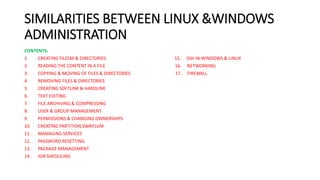

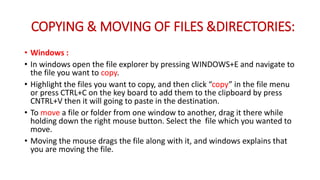

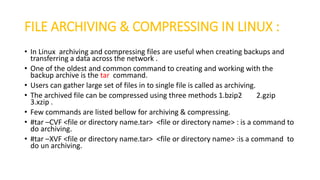
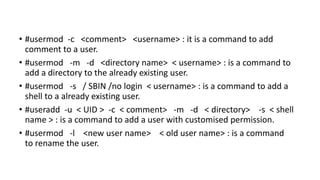

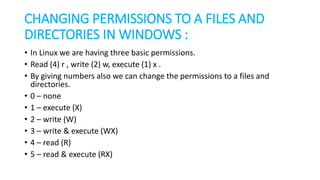


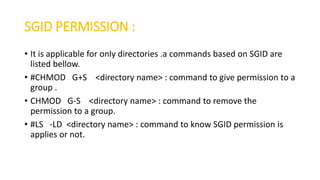
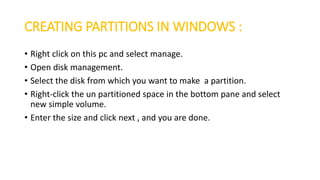
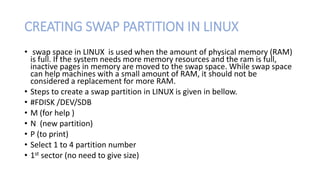
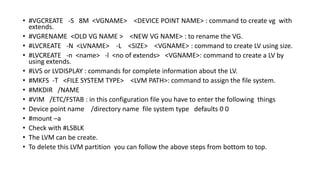

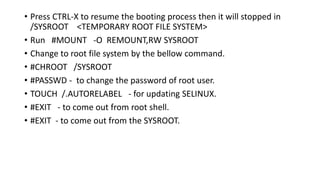
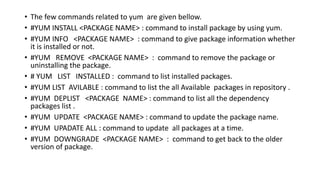
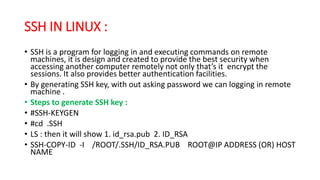
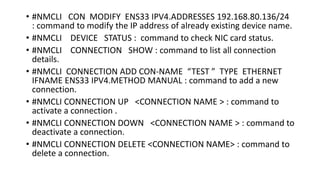
![• #YUM CLEAN ALL : command to remove all the files.
• #YUM REPOLIST ALL : command to give all repository files list.
• STEPS TO CREATE A REPOSITORY :
• #CD /ETC/YUM.REPOS.D
• VIM PRASAD.REPO : you can give any name for the repo with .extension.
[90909]
name = app stream
enabled = 1
GPG check = 0
base URL = file : /// root /App Stream](https://image.slidesharecdn.com/similaritiesbetweenlinuxwindowsadministration-220308053641/85/Similarities-between-linux-windows-administration-51-320.jpg)
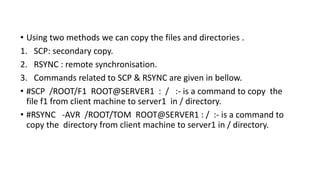
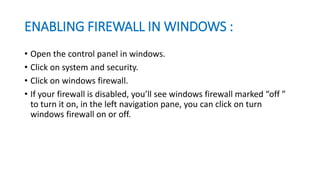
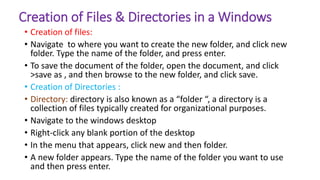
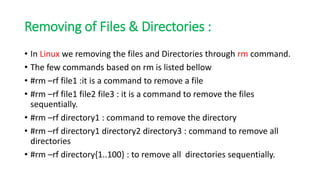
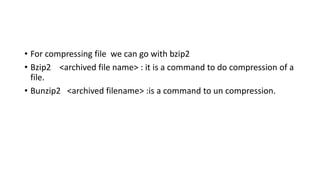
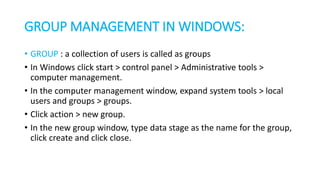
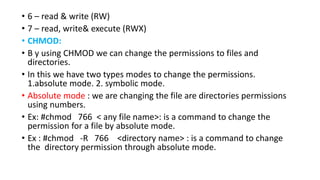
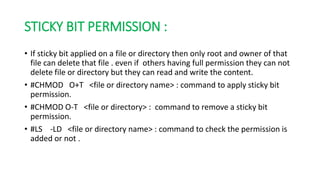
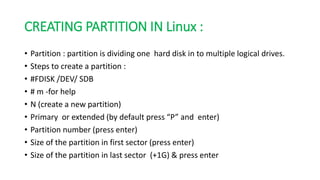
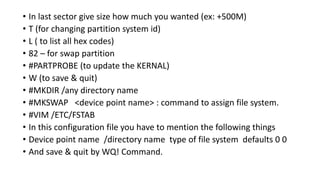
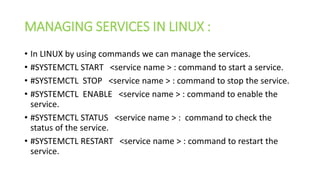
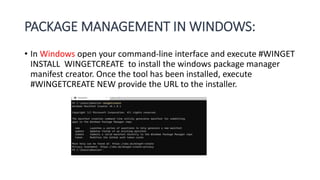
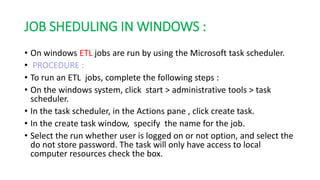
![[78080]
name = Base OS
enabled = 1
GPG check = 0
base URL = file : ///root/Base OS
• In this way we can create repositories and manage packages using
YUM.](https://image.slidesharecdn.com/similaritiesbetweenlinuxwindowsadministration-220308053641/85/Similarities-between-linux-windows-administration-52-320.jpg)
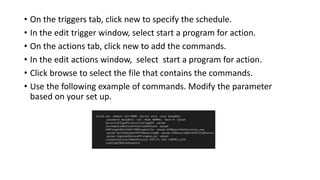
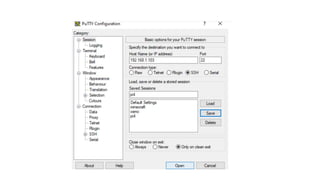
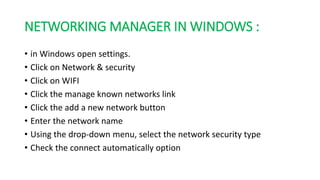
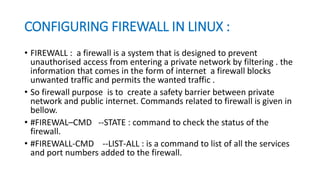
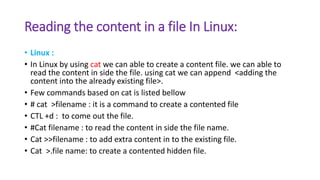
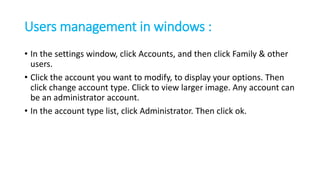
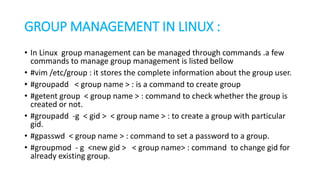
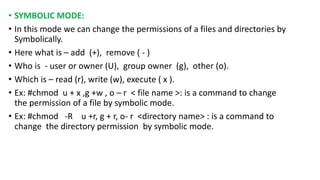
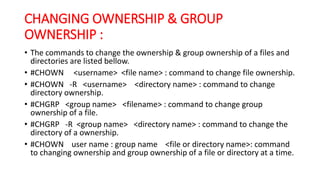
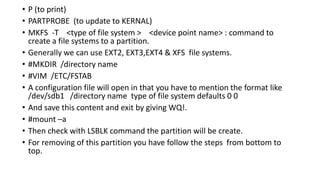
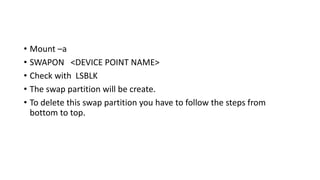
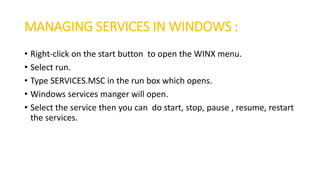
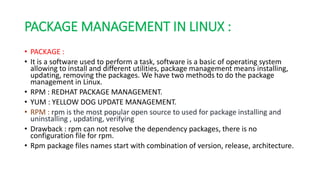
![JOB SCHEDULING IN LINUX :
• In Linux we are scheduling the jobs by using two methods 1. at job ,2.
CRONTAB job.
• AT JOB : at jobs are executes only once, editing the existing job is not
possible, repetition of the jobs also not possible ,there is no
configuration file for AT job.
• #at now
• >touch f1
• >MKDIR d1
• Come out from this [CTRL+D].](https://image.slidesharecdn.com/similaritiesbetweenlinuxwindowsadministration-220308053641/85/Similarities-between-linux-windows-administration-55-320.jpg)