Downloaded 110 times

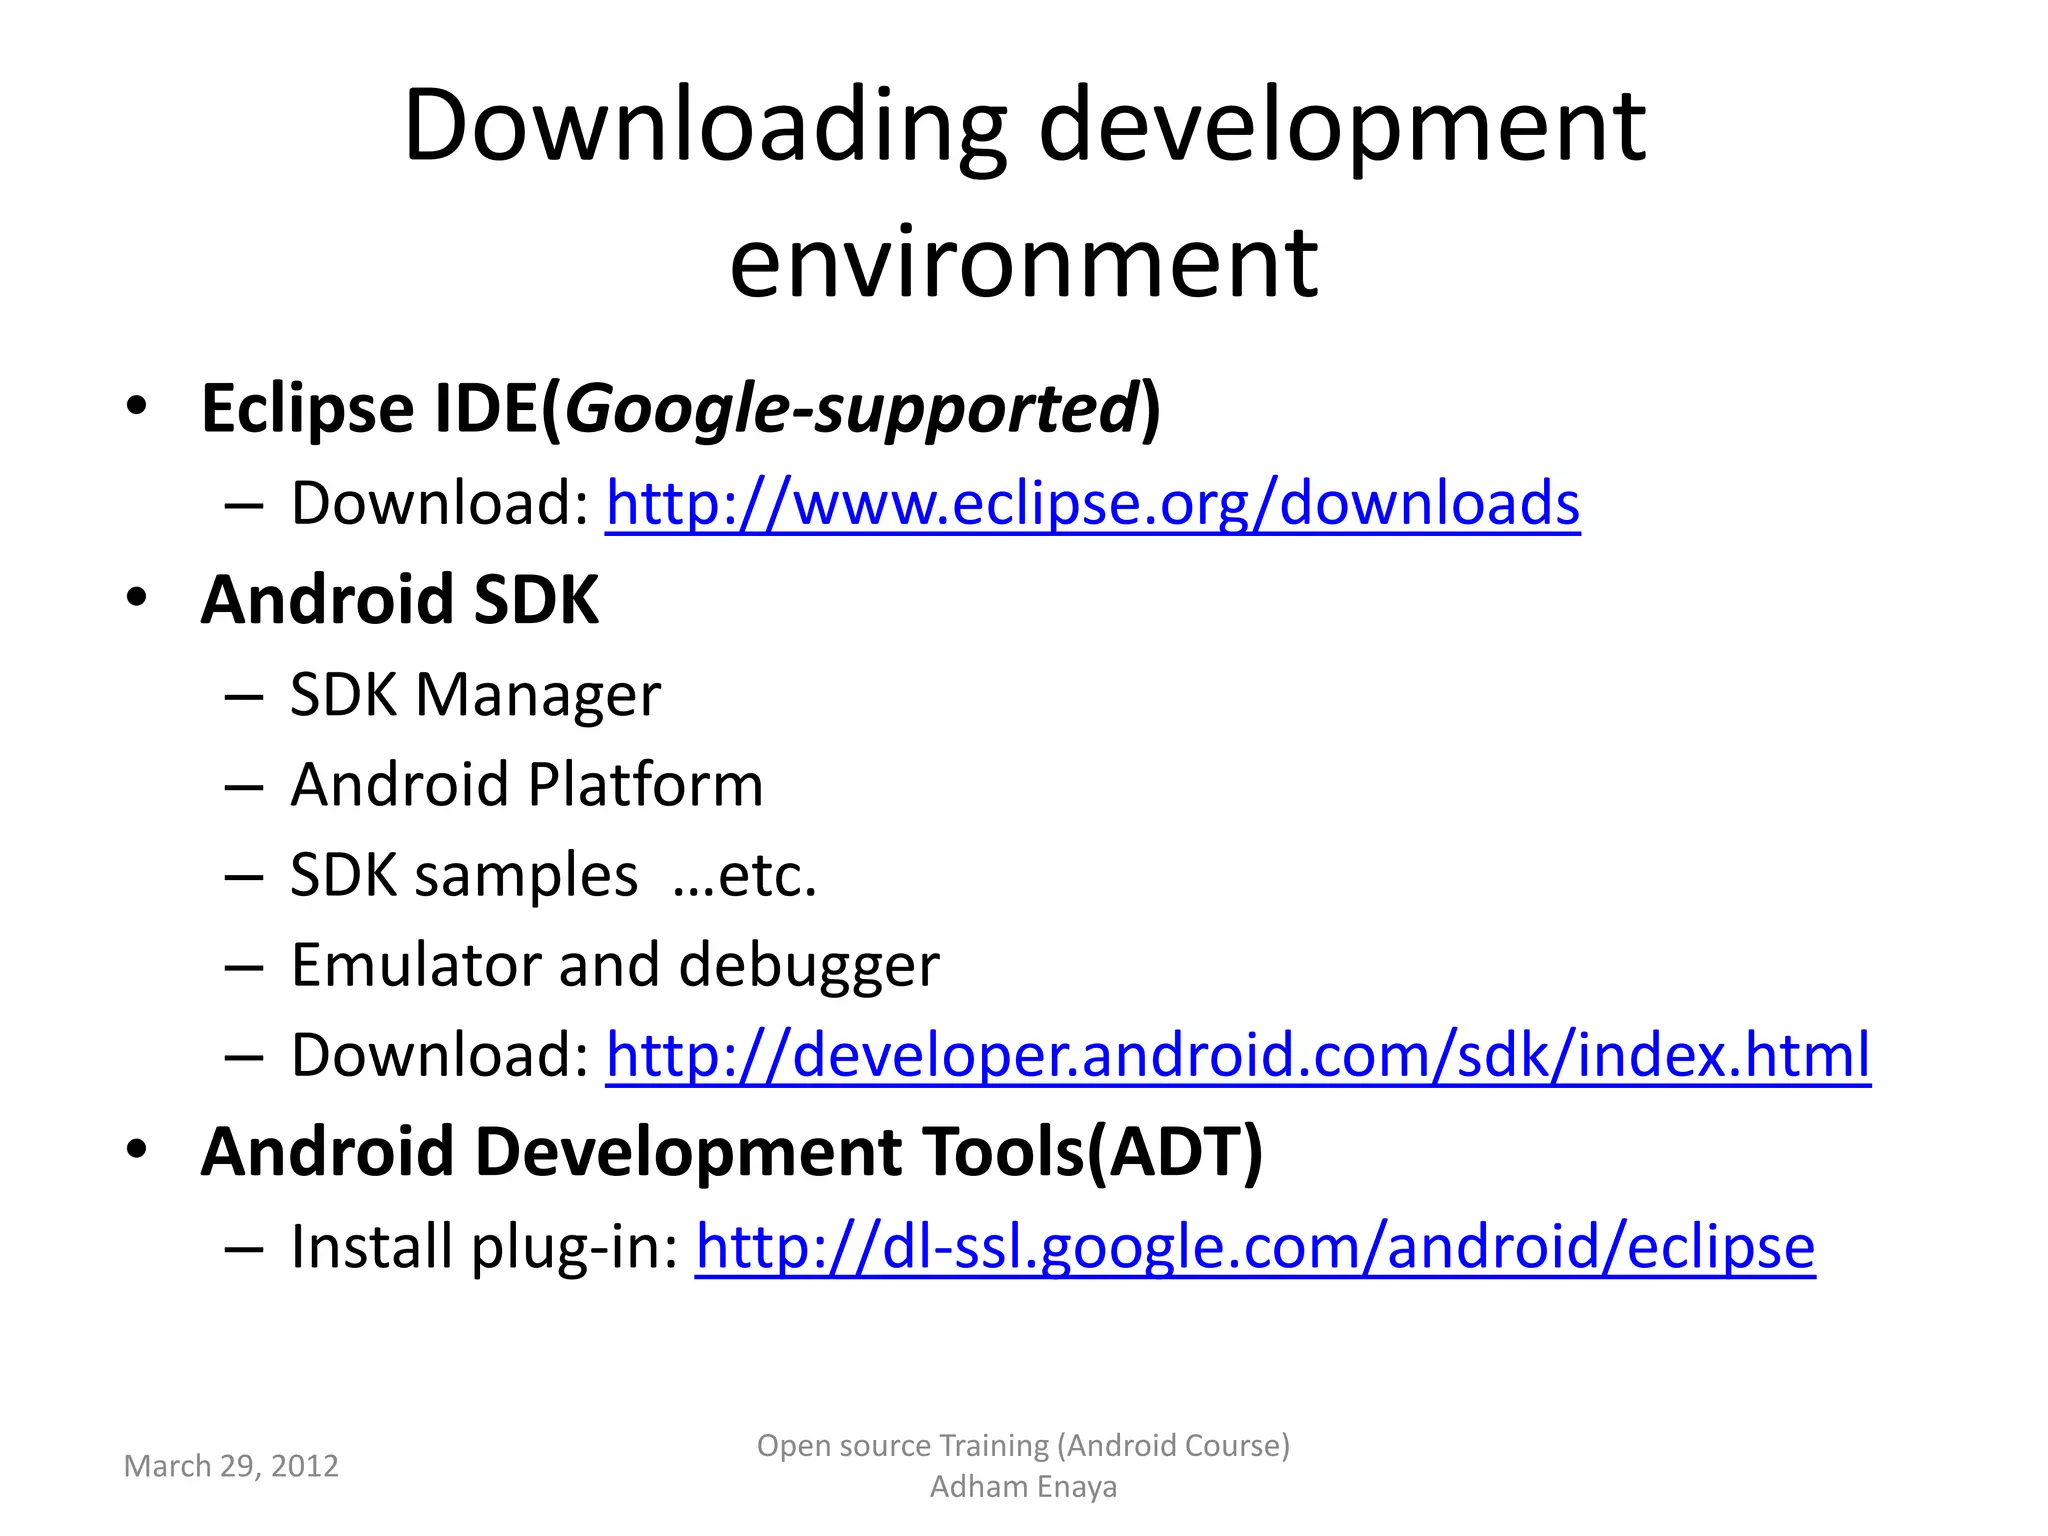
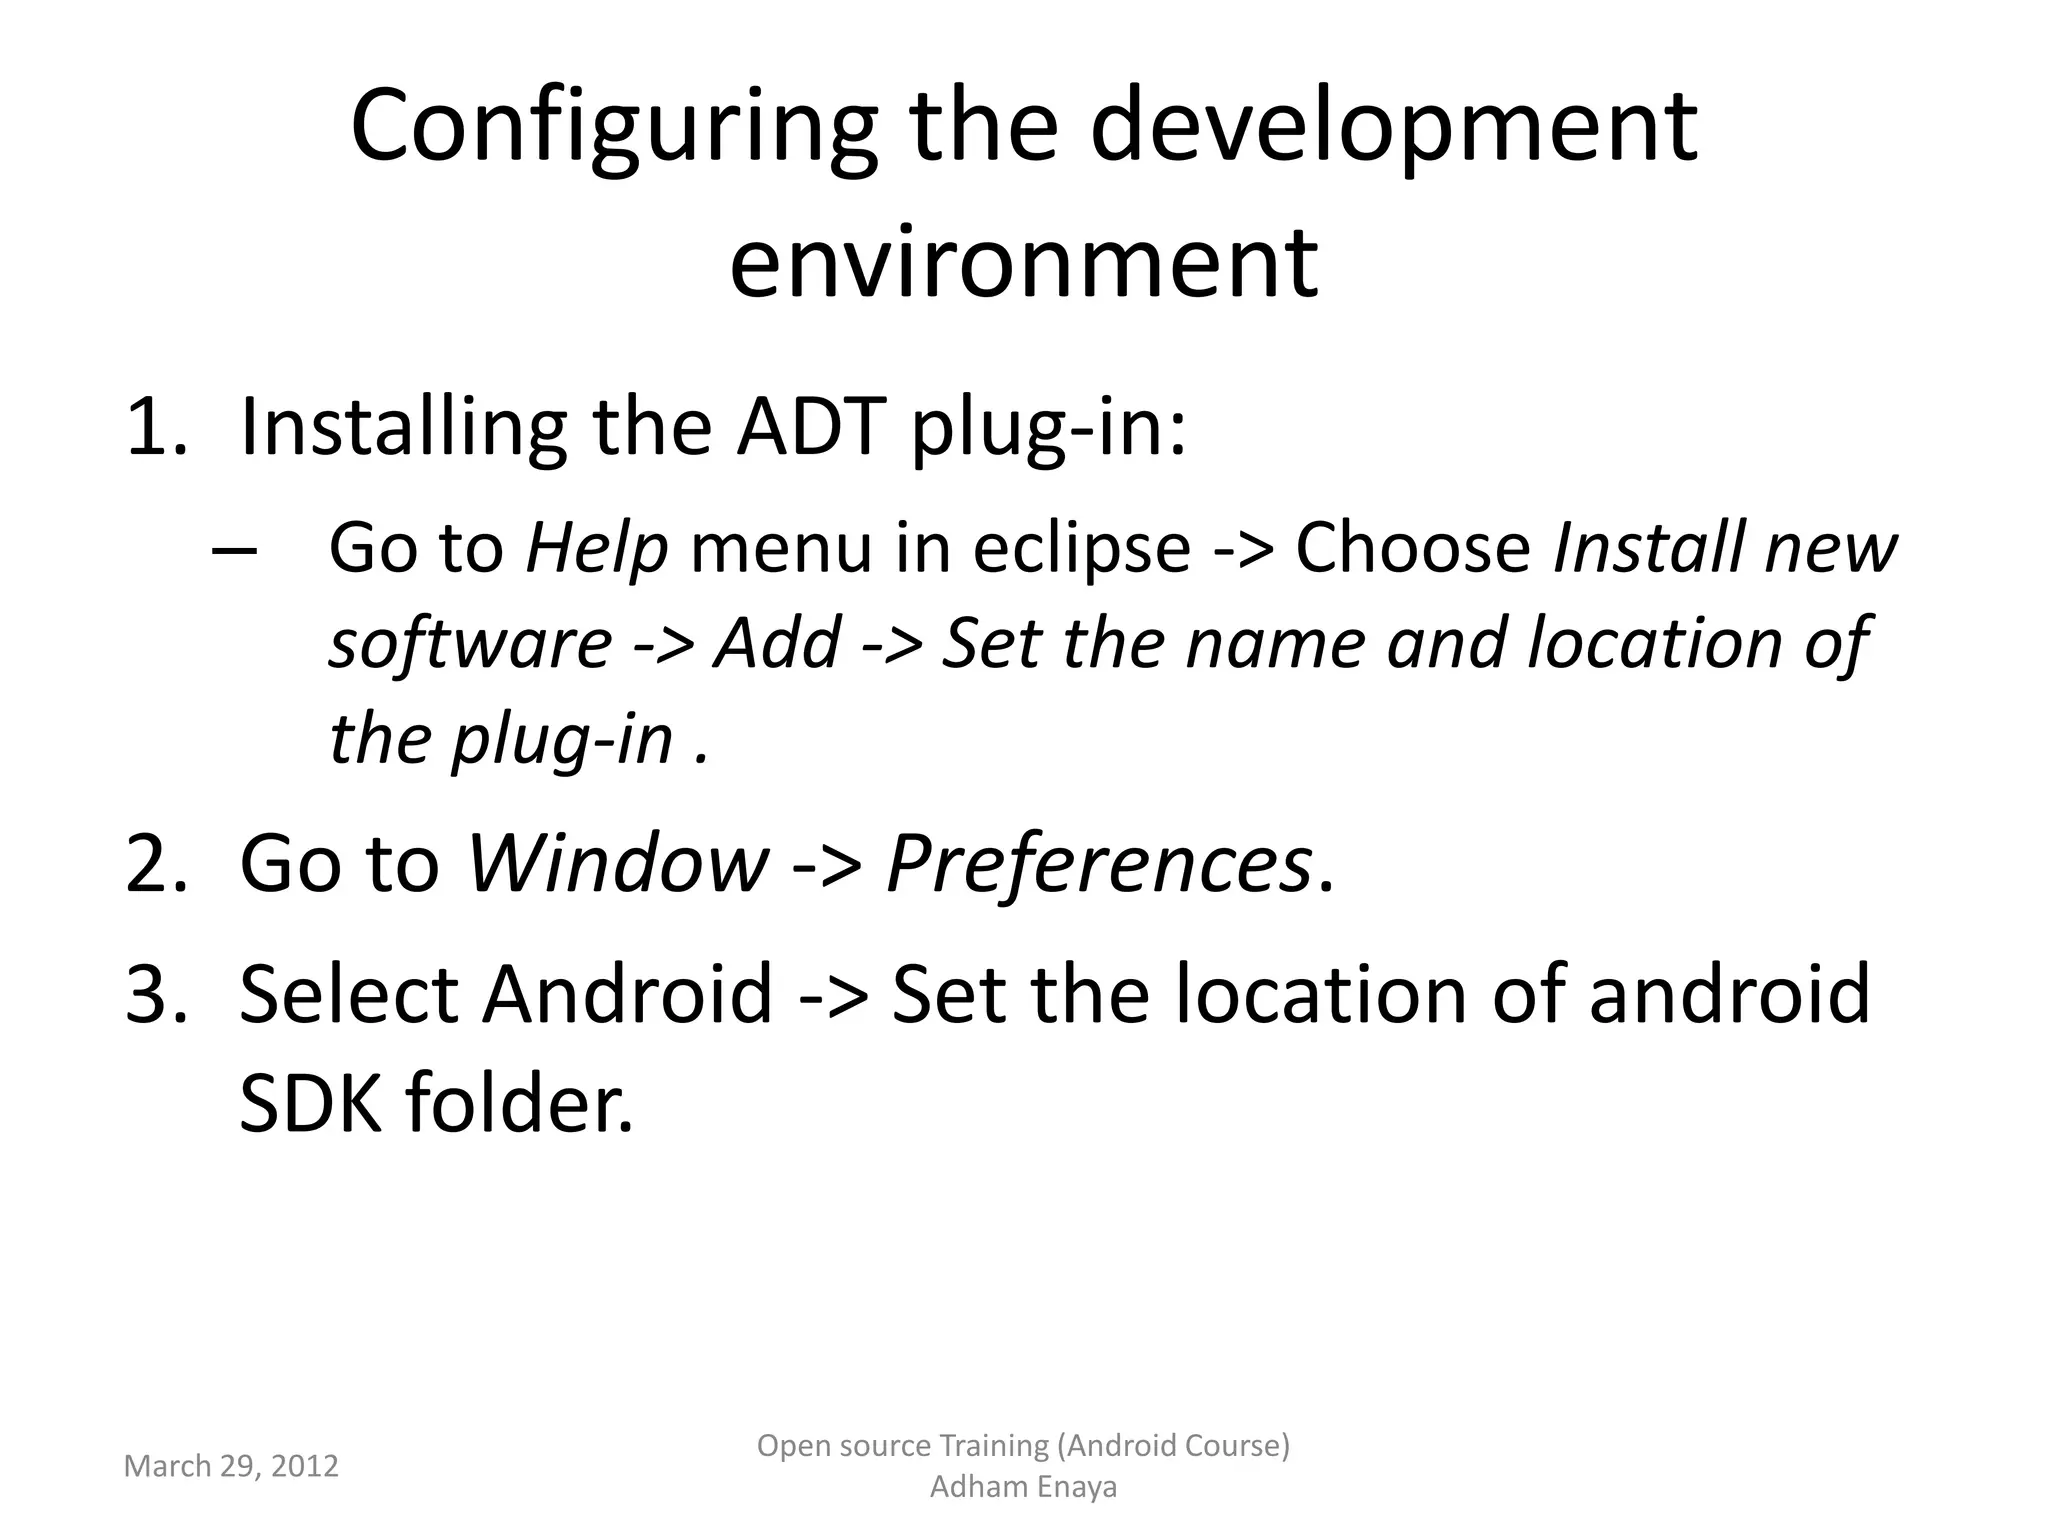
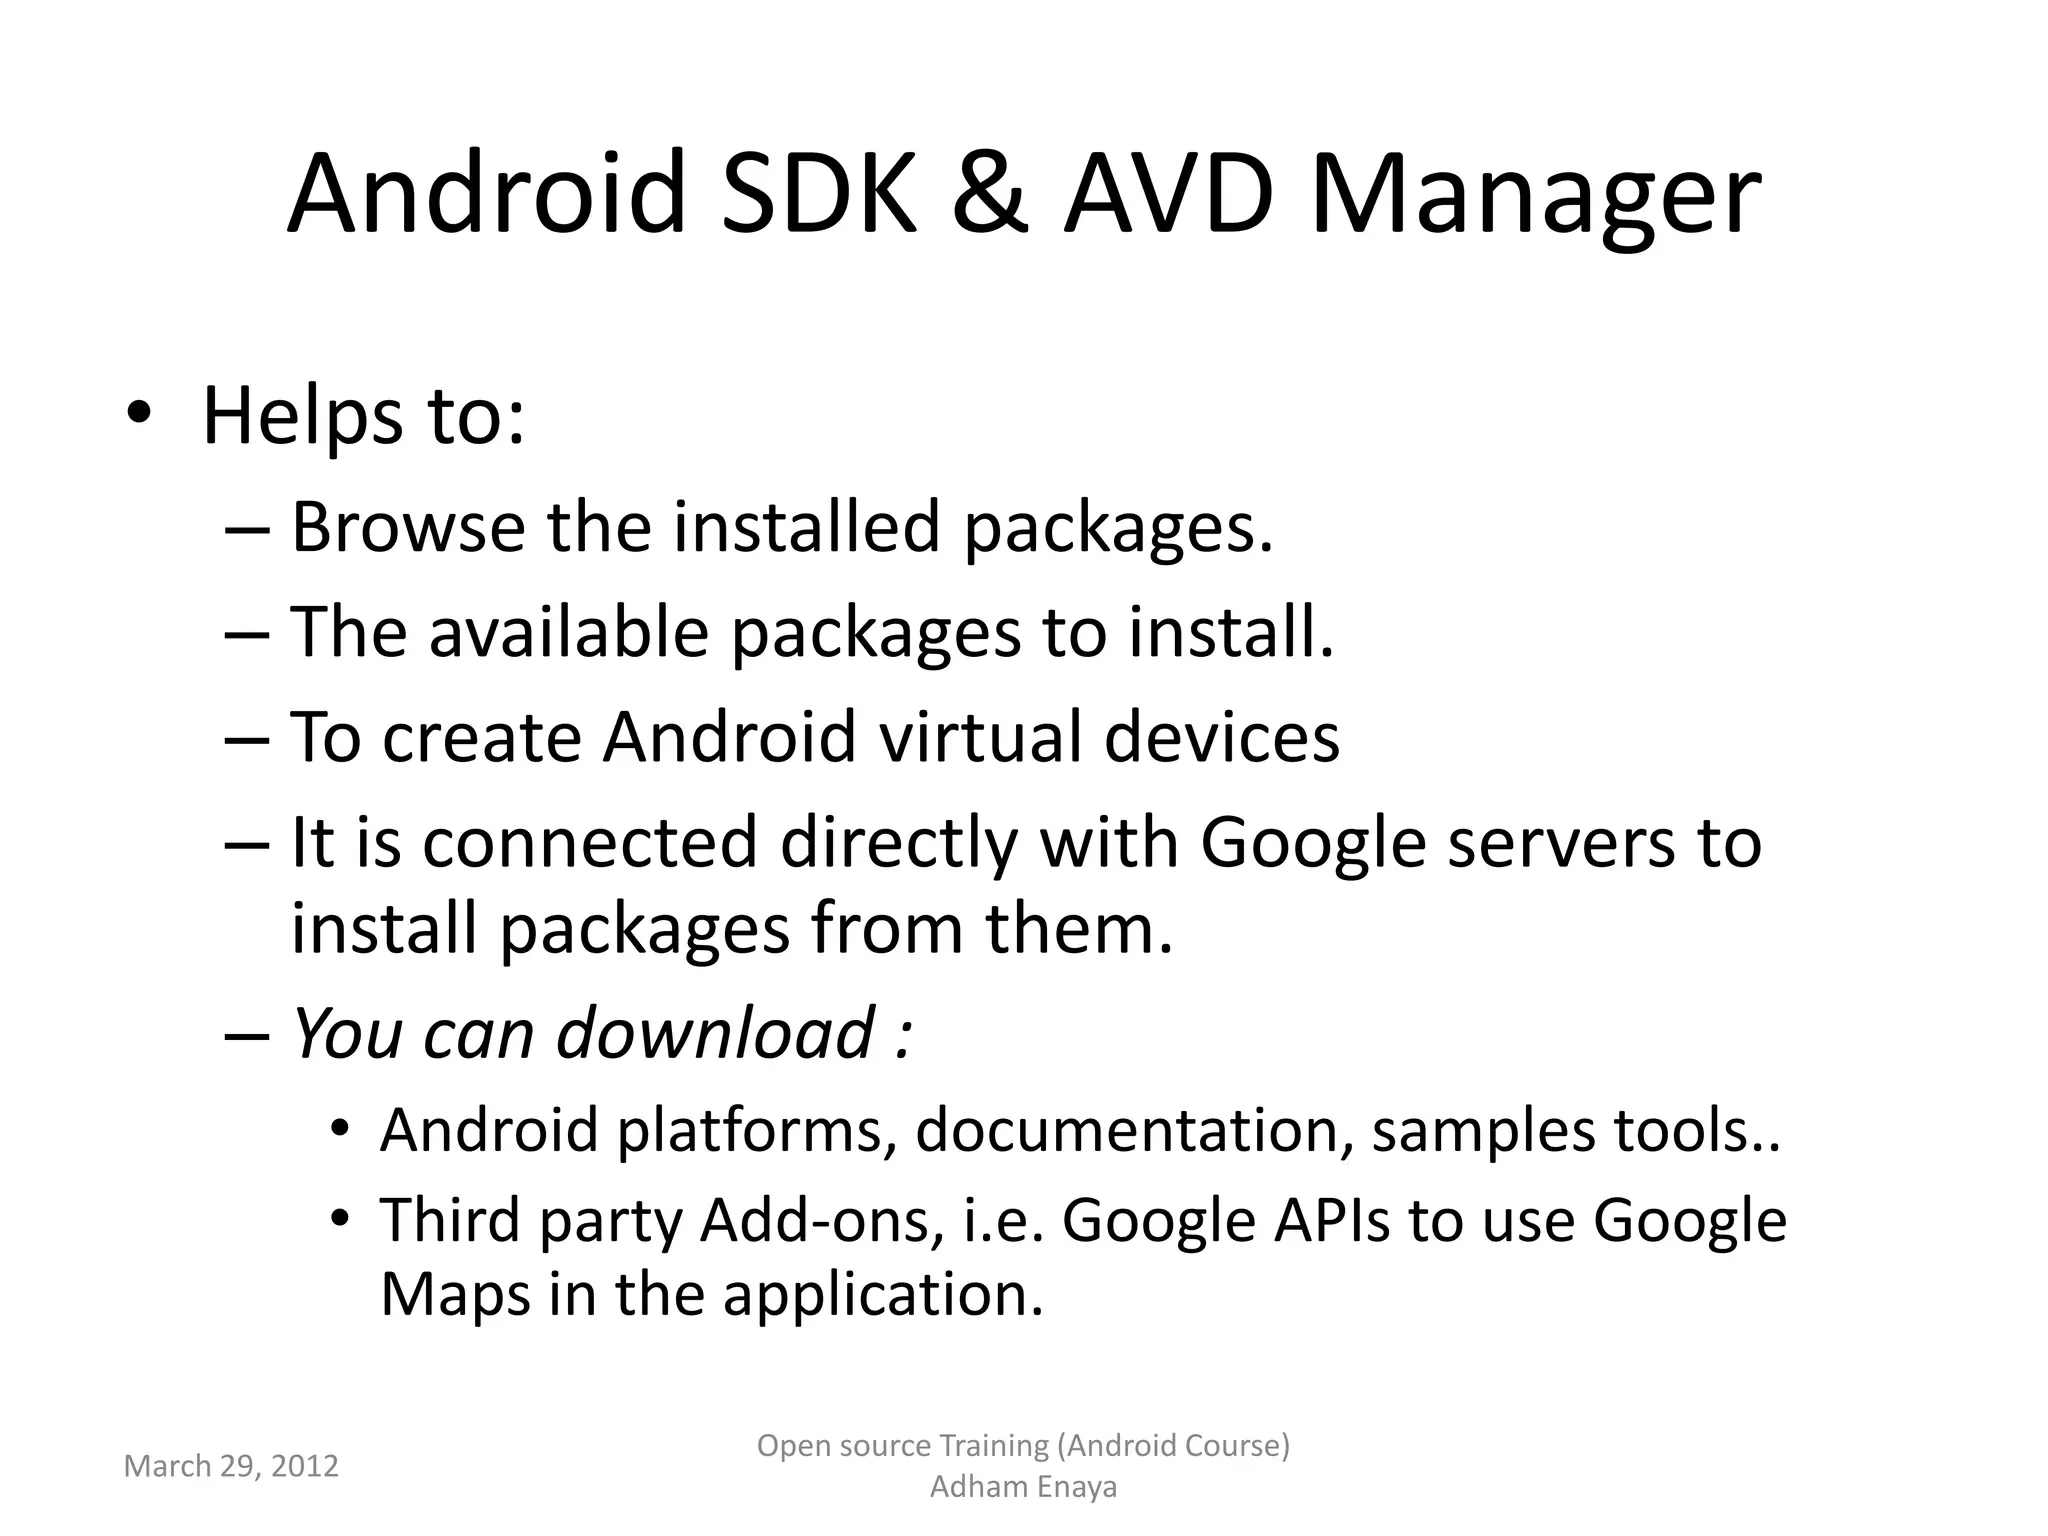
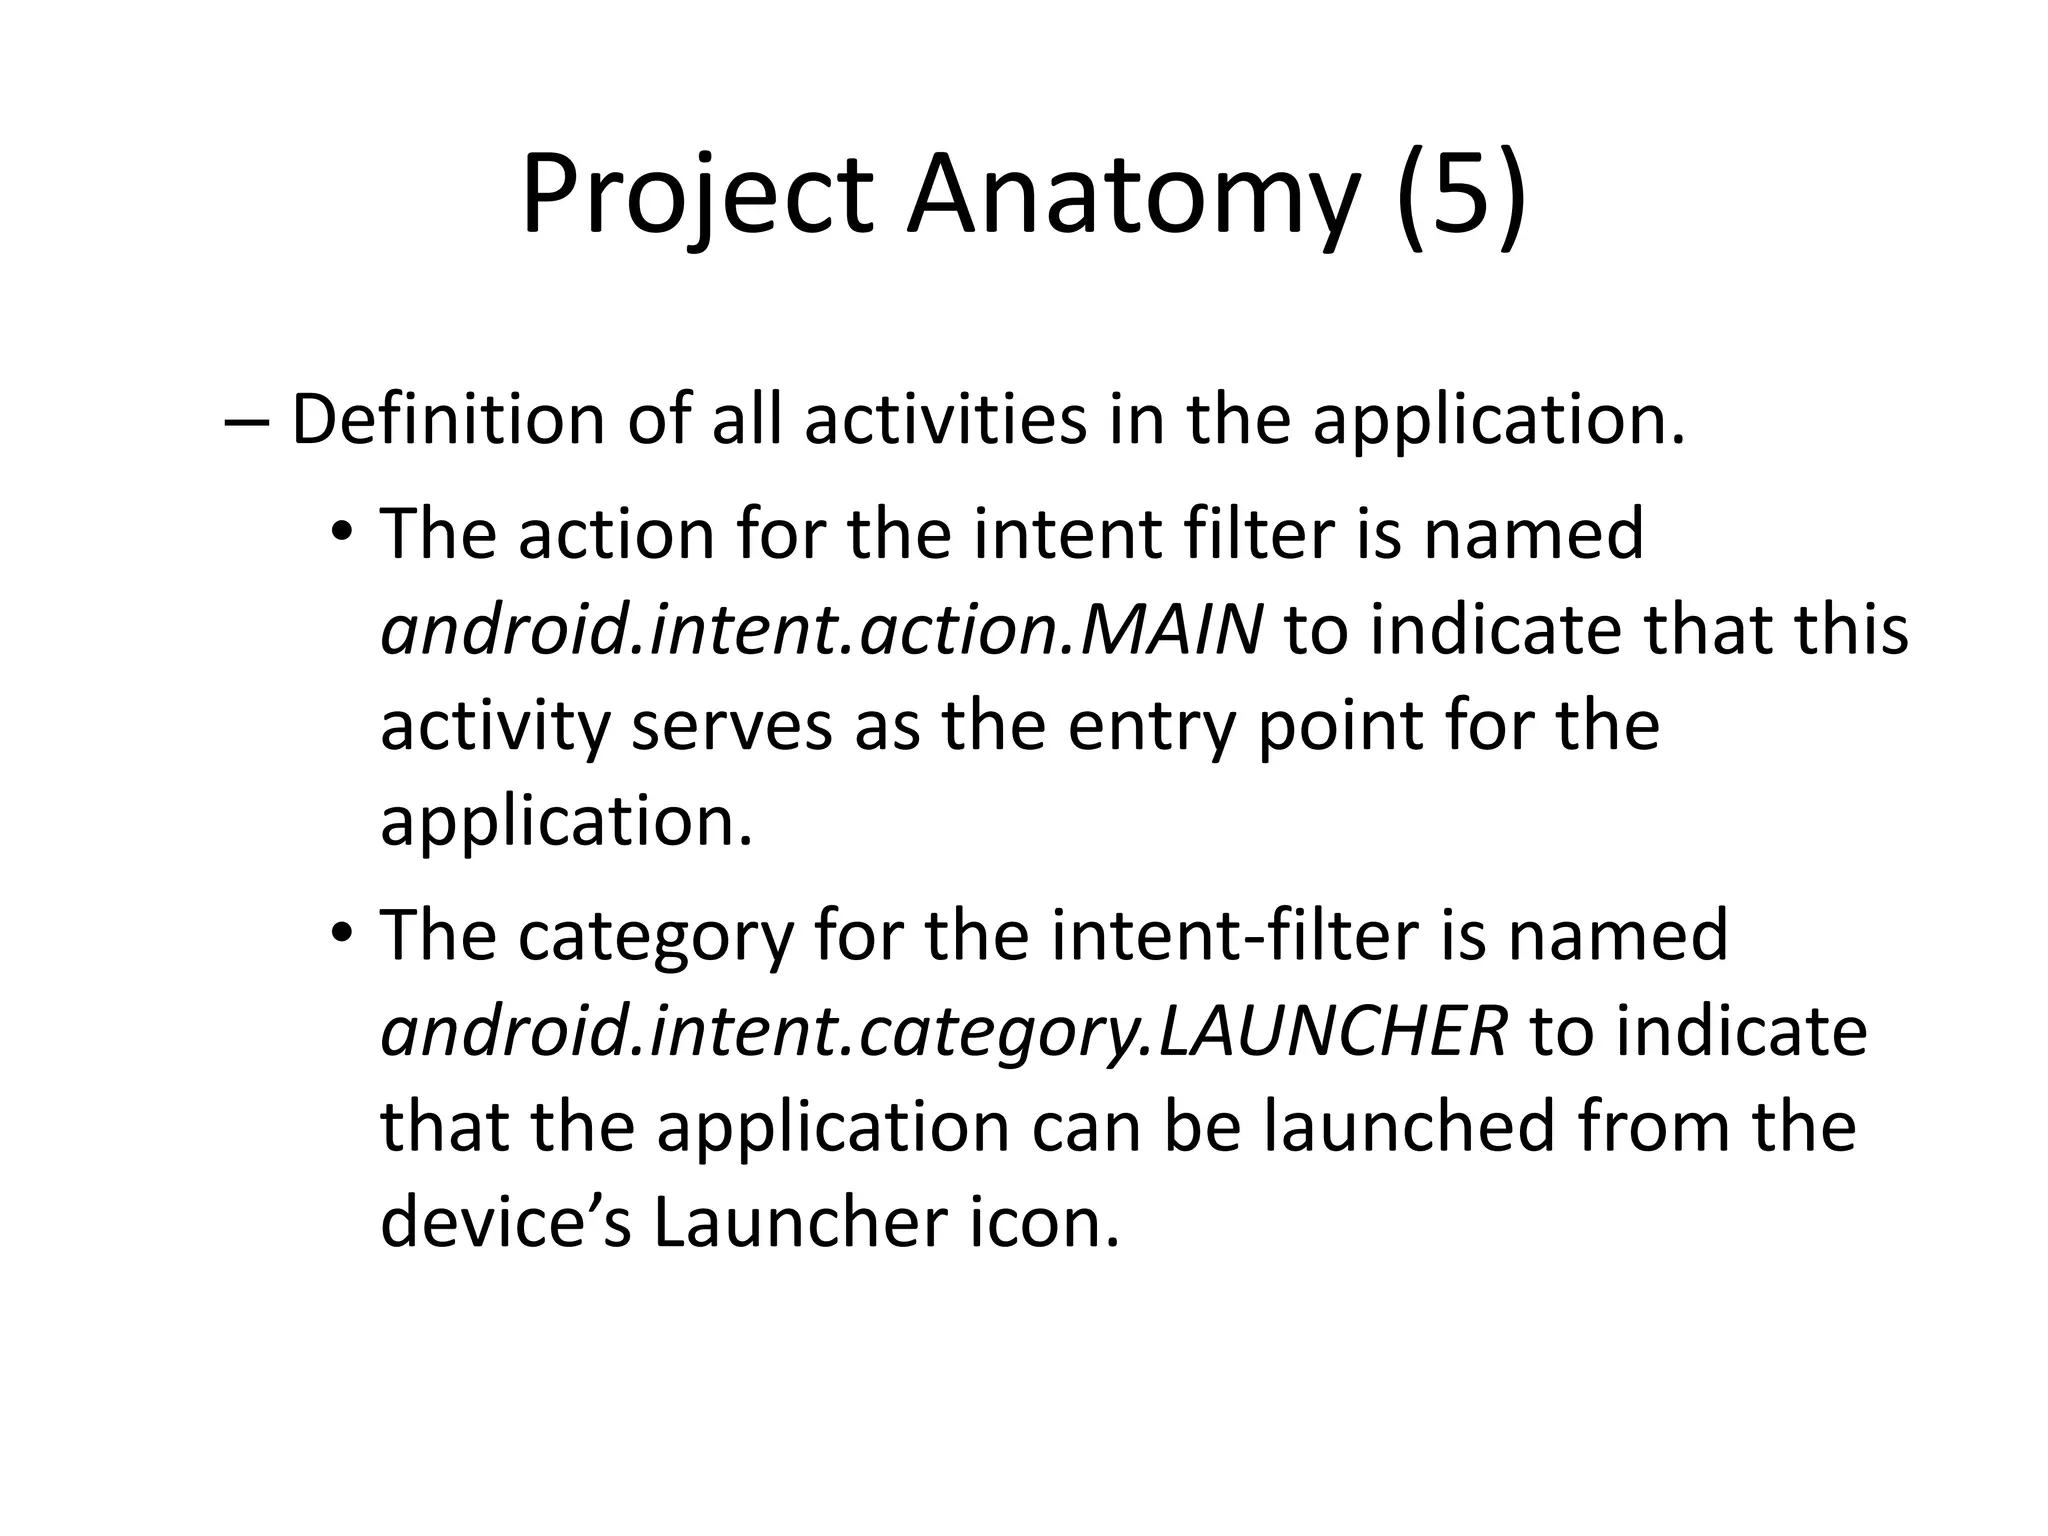

This document provides an overview of setting up an Android development environment and creating a basic "Hello World" application. It discusses downloading the Android SDK and Eclipse IDE, installing required plugins, configuring the development environment, using the Android Virtual Device Manager to create emulators, and walking through the steps to generate a new Android project and basic activity. The project anatomy is also outlined, including key files and folders for resources, code, and manifest configuration.


![Vibe Coding vs. Spec-Driven Development [Free Meetup]](https://cdn.slidesharecdn.com/ss_thumbnails/vibecodingvsspecdrivendevelopment-251209105622-43f455e7-thumbnail.jpg?width=640&height=640&fit=bounds)


