Download to read offline

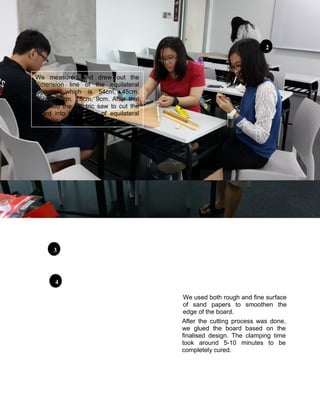


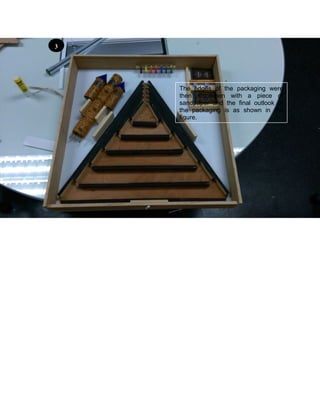
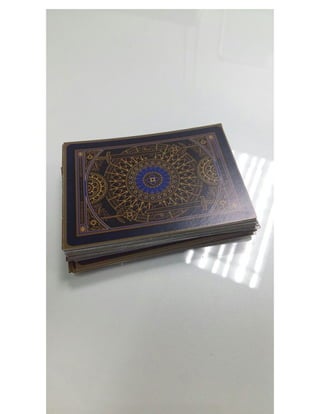


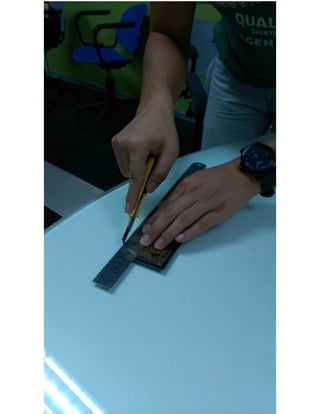

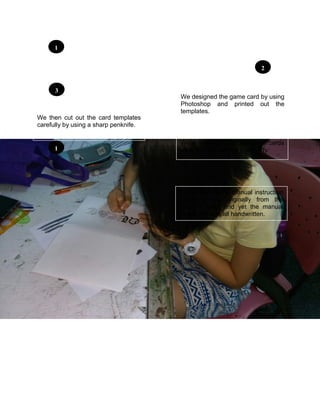
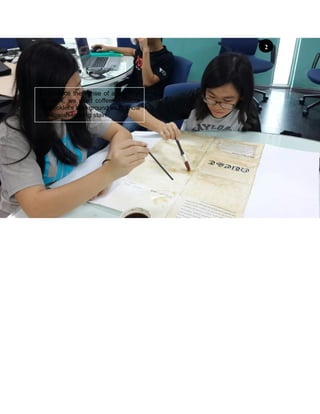
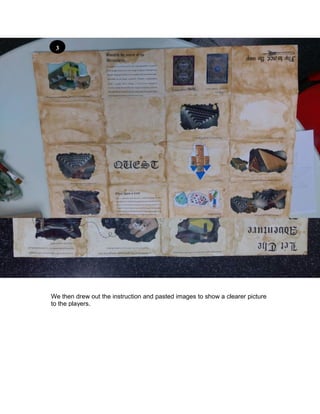
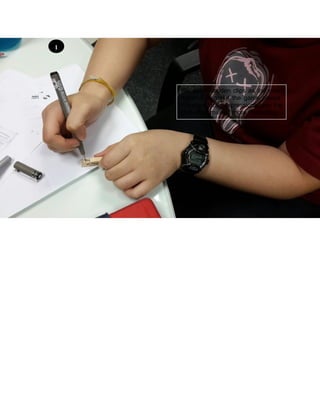

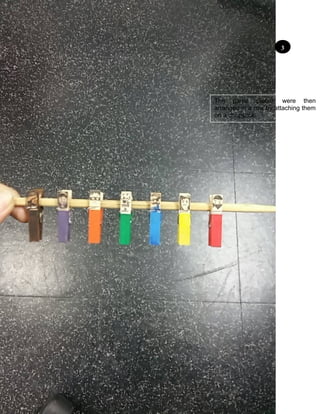

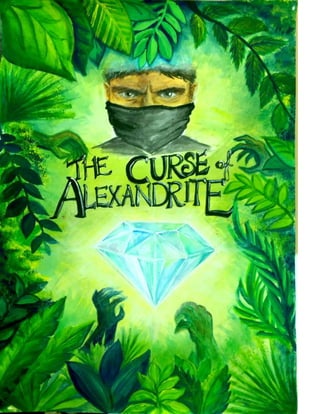
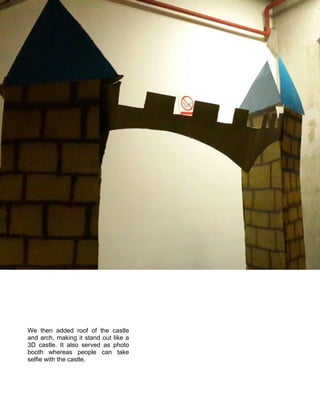
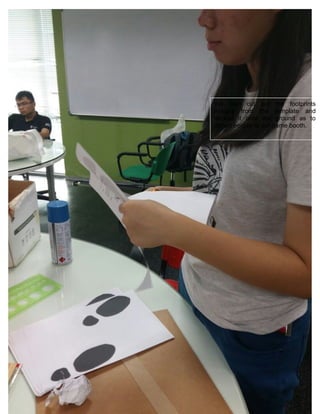


1) The document describes the process of making a game board, packaging, game cards, instruction manual, game pieces, poster, and video shooting for a board game called "Curse of Alexandrite". 2) Key steps included measuring and cutting wood pieces for the game board, sanding edges, gluing pieces together, and coloring it. Packaging was made by cutting and assembling wood pieces. 3) Game cards were designed in Photoshop and cut out. The instruction manual was handwritten to look old, and coffee was used to stain the paper. Game pieces were drawn on wooden clips with colors indicating characteristics.


![ARENA - Dynamic Run-time Map Generation for Multiplayer Shooters [Full Text]](https://cdn.slidesharecdn.com/ss_thumbnails/arena-2014-150224031308-conversion-gate02-thumbnail.jpg?width=640&height=640&fit=bounds)