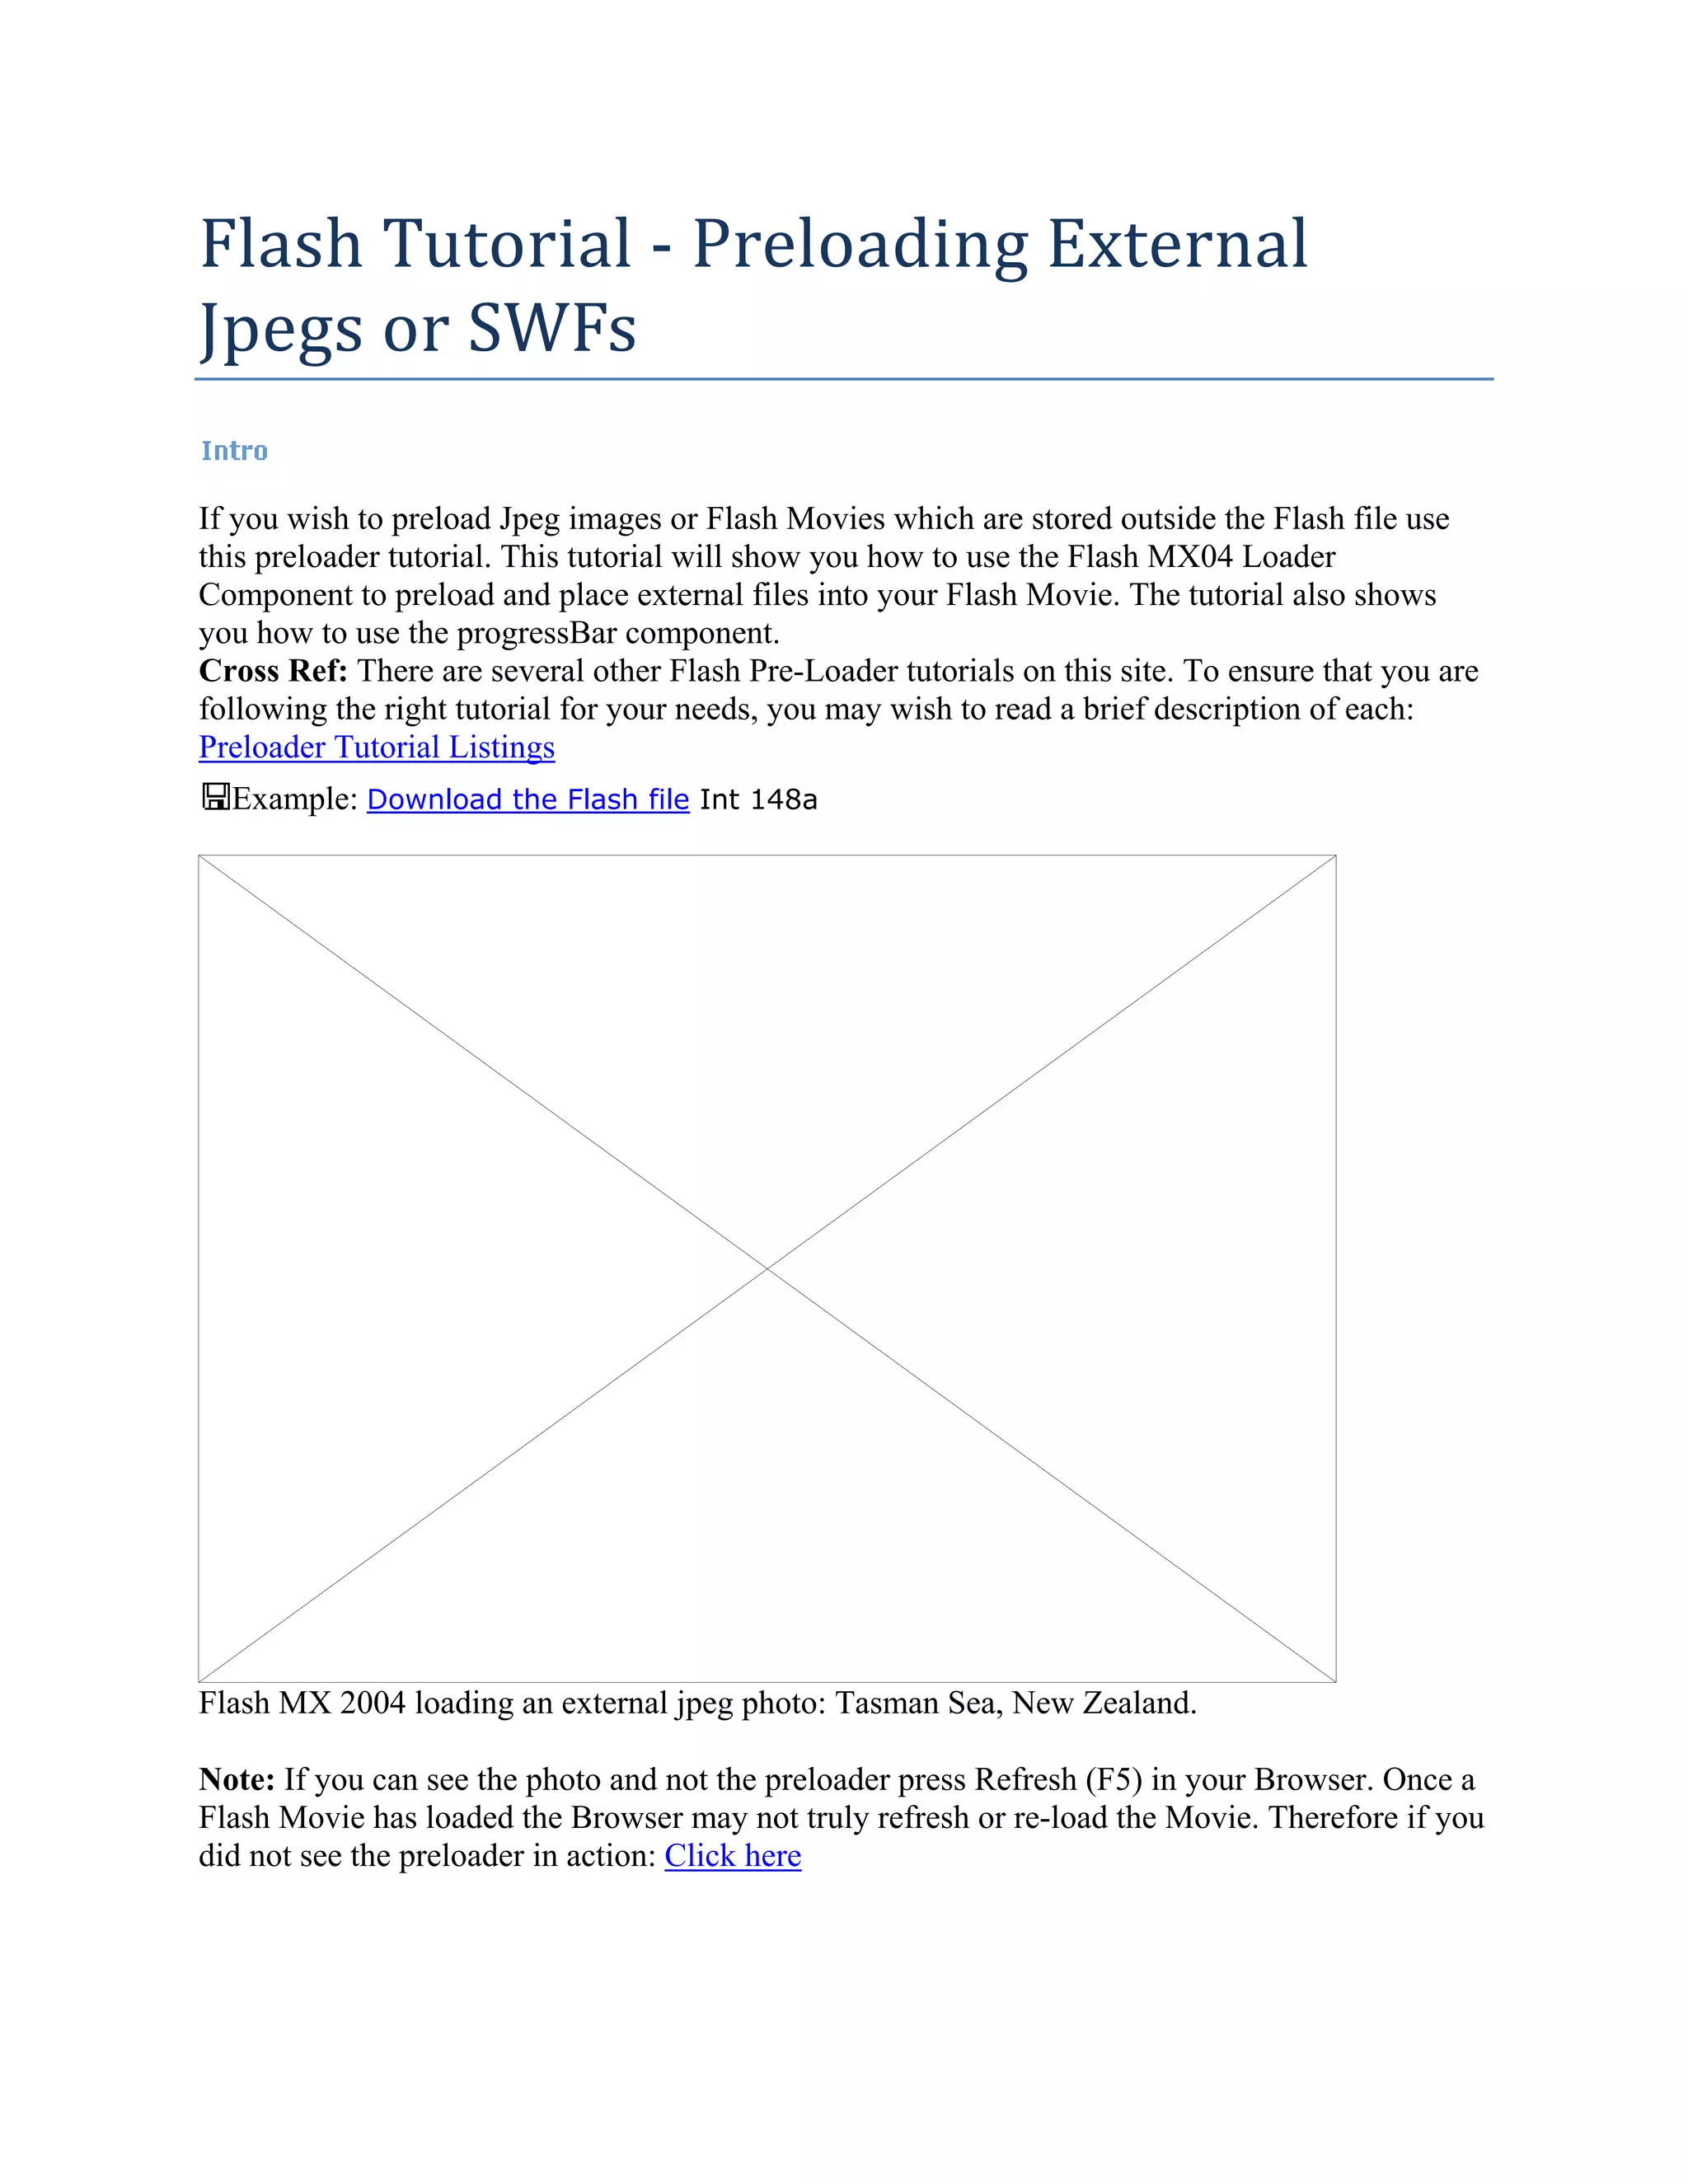
Flash Tutorial ‐ Preloading External 
Jpegs or SWFs  

If you wish to preload Jpeg images or Flash Movies which are stored outside the Flash file use
this preloader tutorial. This tutorial will show you how to use the Flash MX04 Loader
Component to preload and place external files into your Flash Movie. The tutorial also shows
you how to use the progressBar component.
Cross Ref: There are several other Flash Pre-Loader tutorials on this site. To ensure that you are
following the right tutorial for your needs, you may wish to read a brief description of each:
Preloader Tutorial Listings
  Example: Download the Flash file Int 148a


Flash MX 2004 loading an external jpeg photo: Tasman Sea, New Zealand.

Note: If you can see the photo and not the preloader press Refresh (F5) in your Browser. Once a
Flash Movie has loaded the Browser may not truly refresh or re-load the Movie. Therefore if you
did not see the preloader in action: Click here
Step One: Setting up the document

We need a new Flash file that matches the size of the Jpeg photo.

   1.   Go to: File > New > General Tab > Flash Document > OK
   2.   Go to Modify > Document
   3.   Set the width to: 550 pixels
   4.   Set the height to: 400 pixels
   5.   Click: OK


Step Two: Setting up the Publish Settings

   1. Go to: File > Publish Setting
   2. Under the Formats Tab for Type Select: Flash


   3. Click the: Flash Tab
   4. Select: Flash Player 6 (or higher)
   5. Select: ActionScript Version 2


        Selecting Player 6 and ActionScript 2.


        If you are using external Jpegs it is likely that your Flash Movie is small. All the same I
        would suggest that you also select Compress Movie. This can make a dramatic difference
        to the size of the final Movie. I have often seen up to 40% reduction in the file size,
        depending on the Movie's content. In my experience compressing a Movie makes no
        difference to the performance.

   6. Select:

   7. Click: OK
Step Three: Adding the Preloader Progress Bar

   1. In the TimeLine rename Layer 1 to: Preloader
   2. Go to: Window > Development Panels > Components (Ctrl F7)
   3. Click on the Expand Button next to the UI Components:

              Note: You should now be able to see a long list of UI Components.

   4. Drag onto Stage a copy of the Progress Bar:


       The Progress Bar on Stage.

   5. In the Property Inspector give the Progress Bar the Instance Name: myProgressBar


Step Four: Adding the Loader Component

   1. In the Timeline click on the Insert Layer Button:
   2. Rename this new Layer: Loader
   3. If the Components are closed, open them: Window > Development Panels >
      Components (Ctrl F7)
   4. Drag onto Stage a copy of the Loader:


       The Loader on Stage.

   5. In the Property Inspector give the Progress Bar the Instance Name: myLoader

       Notes on the Size: If we leave the Loader Component the default size the image will load
       at that small size even though original is much bigger. Like this:


       Default image size.

       Proportions: You may note that the proportions of the Jpeg image are different to the
Loader Component. When the image is loaded it is resized but it retains it's original
     proportions. The image is simply centred inside the loader:


     The image is not stretched.

     Note Reversal: You will see in the ActionScript below that it is possible to reverse this
     situation, so that instead of the image scaling to the Loader you can get the Loader to
     scale to the image.

     We now need to resize the Loader so that it matches the original image.

6. In the Property Inspector set the following attributes:

       Width:    550
       Height:   400
           X:    0
           Y:    0

7.


     Settings in the Property Inspector.
The Loader Component now fits the Stage exactly.


Step Five: Adding the ActionScript

   1. In the Timeline click on the Insert Layer Button:
   2. Rename this new Layer: ActionScript
   3. On frame 1 of this new Layer add the following ActionScript (if you wish you may leave
      out the gray code hints):

// Create a listener object event function. The progress bar is an object so it needs an object
function to work
myProgressBarListener = new Object();

// When the progress bar is complete and has preloaded the loader component content, the
listener will call and run this code below:
myProgressBarListener = function (eventObject) {

// Hide the progress bar now as we don’t need it any more
myProgressBar._visible = false;

// Closes the above function
};
// Sets whether the content being loading into the loader component scales to fit the loader (true),
or the loader scales to fit the content (false)
myLoader.scaleContent = true;

// Set the location of the content to be loaded. Examples are:
// myLoader.contentPath = "http://www.YourWebSite.com/images/myImage.jpg";
// myLoader.contentPath = "http://www.YourWebSite.com/myFlashMovie.swf";
myLoader.contentPath = "http://www.webwasp.co.uk/images/Sea.jpg";

// Declares a listener that detects when the progress bar component has loaded the loader
component content and is complete. Then calls the function myProgressBarListener
myProgressBar.addEventListener("complete", myProgressBarListener);

// Set up the progress bar component variable to polled mode which determines the maths behind
the % counter.
myProgressBar.mode = "polled";

// The location of the Loader Component
myProgressBar.source = "myLoader";

// Sets the conversion to 1. This basically means the component divides the current and total
values loaded and to be loaded. Then it floors them (works out the difference between them) and
displays the converted value in the label property
myProgressBar.conversion = "1";

// Set the label to display the word 'loading' followed by the percentage value loaded so far
myProgressBar.label = "LOADING %3%%";

// The direction the progress bar moves when loading
myProgressBar.direction = "right";

// The location of the label that displays the percentage loaded so far
myProgressBar.labelPlacement = "bottom";

// Stops the Playhead in the current frame until the Movie has been preloaded
stop();


Important Note: Do not save your Jpeg images as Progressive. Progressive Images do not load
into Flash Movies. You can find the Progressive Image setting in the save dialog box of your
image editor such as PhotoShop (or similar).


That's it!! 

Flash, actionscript 2 : preloader for loader component.pdf

  • 1.
    Flash Tutorial ‐ Preloading External  Jpegs or SWFs   If you wishto preload Jpeg images or Flash Movies which are stored outside the Flash file use this preloader tutorial. This tutorial will show you how to use the Flash MX04 Loader Component to preload and place external files into your Flash Movie. The tutorial also shows you how to use the progressBar component. Cross Ref: There are several other Flash Pre-Loader tutorials on this site. To ensure that you are following the right tutorial for your needs, you may wish to read a brief description of each: Preloader Tutorial Listings Example: Download the Flash file Int 148a Flash MX 2004 loading an external jpeg photo: Tasman Sea, New Zealand. Note: If you can see the photo and not the preloader press Refresh (F5) in your Browser. Once a Flash Movie has loaded the Browser may not truly refresh or re-load the Movie. Therefore if you did not see the preloader in action: Click here
  • 2.
    Step One: Settingup the document We need a new Flash file that matches the size of the Jpeg photo. 1. Go to: File > New > General Tab > Flash Document > OK 2. Go to Modify > Document 3. Set the width to: 550 pixels 4. Set the height to: 400 pixels 5. Click: OK Step Two: Setting up the Publish Settings 1. Go to: File > Publish Setting 2. Under the Formats Tab for Type Select: Flash 3. Click the: Flash Tab 4. Select: Flash Player 6 (or higher) 5. Select: ActionScript Version 2 Selecting Player 6 and ActionScript 2. If you are using external Jpegs it is likely that your Flash Movie is small. All the same I would suggest that you also select Compress Movie. This can make a dramatic difference to the size of the final Movie. I have often seen up to 40% reduction in the file size, depending on the Movie's content. In my experience compressing a Movie makes no difference to the performance. 6. Select: 7. Click: OK
  • 3.
    Step Three: Addingthe Preloader Progress Bar 1. In the TimeLine rename Layer 1 to: Preloader 2. Go to: Window > Development Panels > Components (Ctrl F7) 3. Click on the Expand Button next to the UI Components: Note: You should now be able to see a long list of UI Components. 4. Drag onto Stage a copy of the Progress Bar: The Progress Bar on Stage. 5. In the Property Inspector give the Progress Bar the Instance Name: myProgressBar Step Four: Adding the Loader Component 1. In the Timeline click on the Insert Layer Button: 2. Rename this new Layer: Loader 3. If the Components are closed, open them: Window > Development Panels > Components (Ctrl F7) 4. Drag onto Stage a copy of the Loader: The Loader on Stage. 5. In the Property Inspector give the Progress Bar the Instance Name: myLoader Notes on the Size: If we leave the Loader Component the default size the image will load at that small size even though original is much bigger. Like this: Default image size. Proportions: You may note that the proportions of the Jpeg image are different to the
  • 4.
    Loader Component. Whenthe image is loaded it is resized but it retains it's original proportions. The image is simply centred inside the loader: The image is not stretched. Note Reversal: You will see in the ActionScript below that it is possible to reverse this situation, so that instead of the image scaling to the Loader you can get the Loader to scale to the image. We now need to resize the Loader so that it matches the original image. 6. In the Property Inspector set the following attributes: Width: 550 Height: 400 X: 0 Y: 0 7. Settings in the Property Inspector.
  • 5.
    The Loader Componentnow fits the Stage exactly. Step Five: Adding the ActionScript 1. In the Timeline click on the Insert Layer Button: 2. Rename this new Layer: ActionScript 3. On frame 1 of this new Layer add the following ActionScript (if you wish you may leave out the gray code hints): // Create a listener object event function. The progress bar is an object so it needs an object function to work myProgressBarListener = new Object(); // When the progress bar is complete and has preloaded the loader component content, the listener will call and run this code below: myProgressBarListener = function (eventObject) { // Hide the progress bar now as we don’t need it any more myProgressBar._visible = false; // Closes the above function };
  • 6.
    // Sets whetherthe content being loading into the loader component scales to fit the loader (true), or the loader scales to fit the content (false) myLoader.scaleContent = true; // Set the location of the content to be loaded. Examples are: // myLoader.contentPath = "http://www.YourWebSite.com/images/myImage.jpg"; // myLoader.contentPath = "http://www.YourWebSite.com/myFlashMovie.swf"; myLoader.contentPath = "http://www.webwasp.co.uk/images/Sea.jpg"; // Declares a listener that detects when the progress bar component has loaded the loader component content and is complete. Then calls the function myProgressBarListener myProgressBar.addEventListener("complete", myProgressBarListener); // Set up the progress bar component variable to polled mode which determines the maths behind the % counter. myProgressBar.mode = "polled"; // The location of the Loader Component myProgressBar.source = "myLoader"; // Sets the conversion to 1. This basically means the component divides the current and total values loaded and to be loaded. Then it floors them (works out the difference between them) and displays the converted value in the label property myProgressBar.conversion = "1"; // Set the label to display the word 'loading' followed by the percentage value loaded so far myProgressBar.label = "LOADING %3%%"; // The direction the progress bar moves when loading myProgressBar.direction = "right"; // The location of the label that displays the percentage loaded so far myProgressBar.labelPlacement = "bottom"; // Stops the Playhead in the current frame until the Movie has been preloaded stop(); Important Note: Do not save your Jpeg images as Progressive. Progressive Images do not load into Flash Movies. You can find the Progressive Image setting in the save dialog box of your image editor such as PhotoShop (or similar). That's it!!