Download to read offline
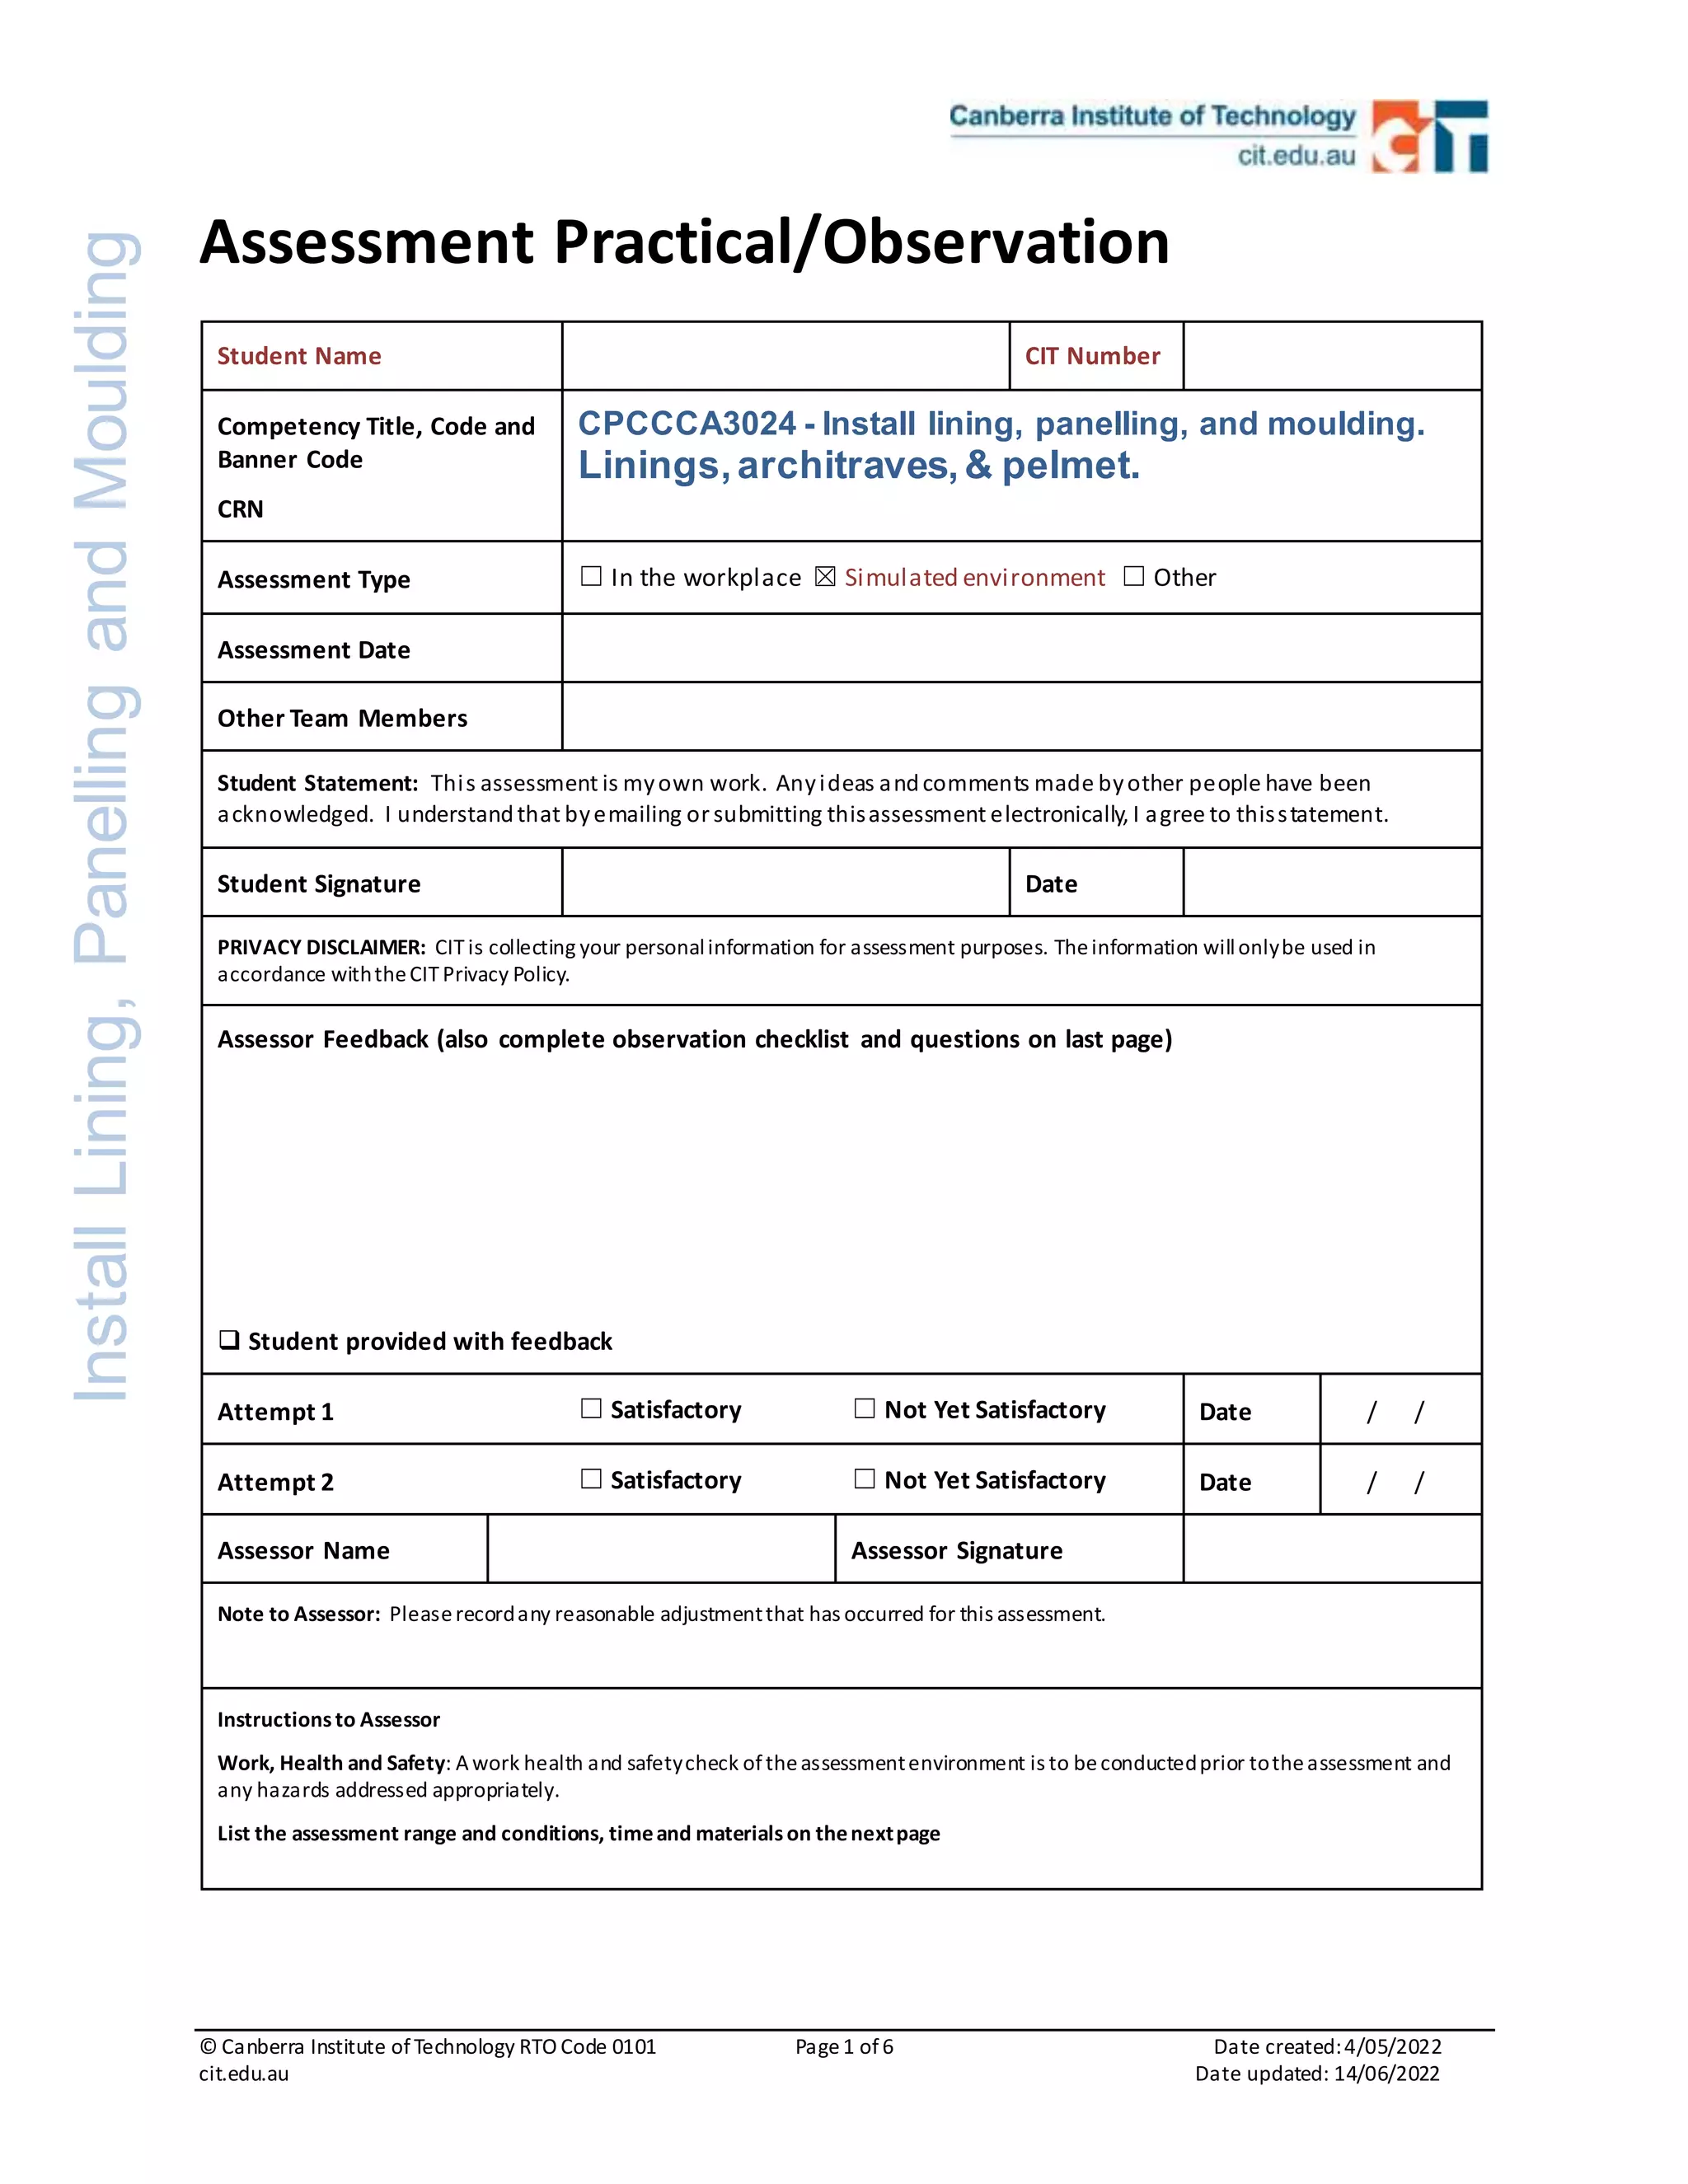

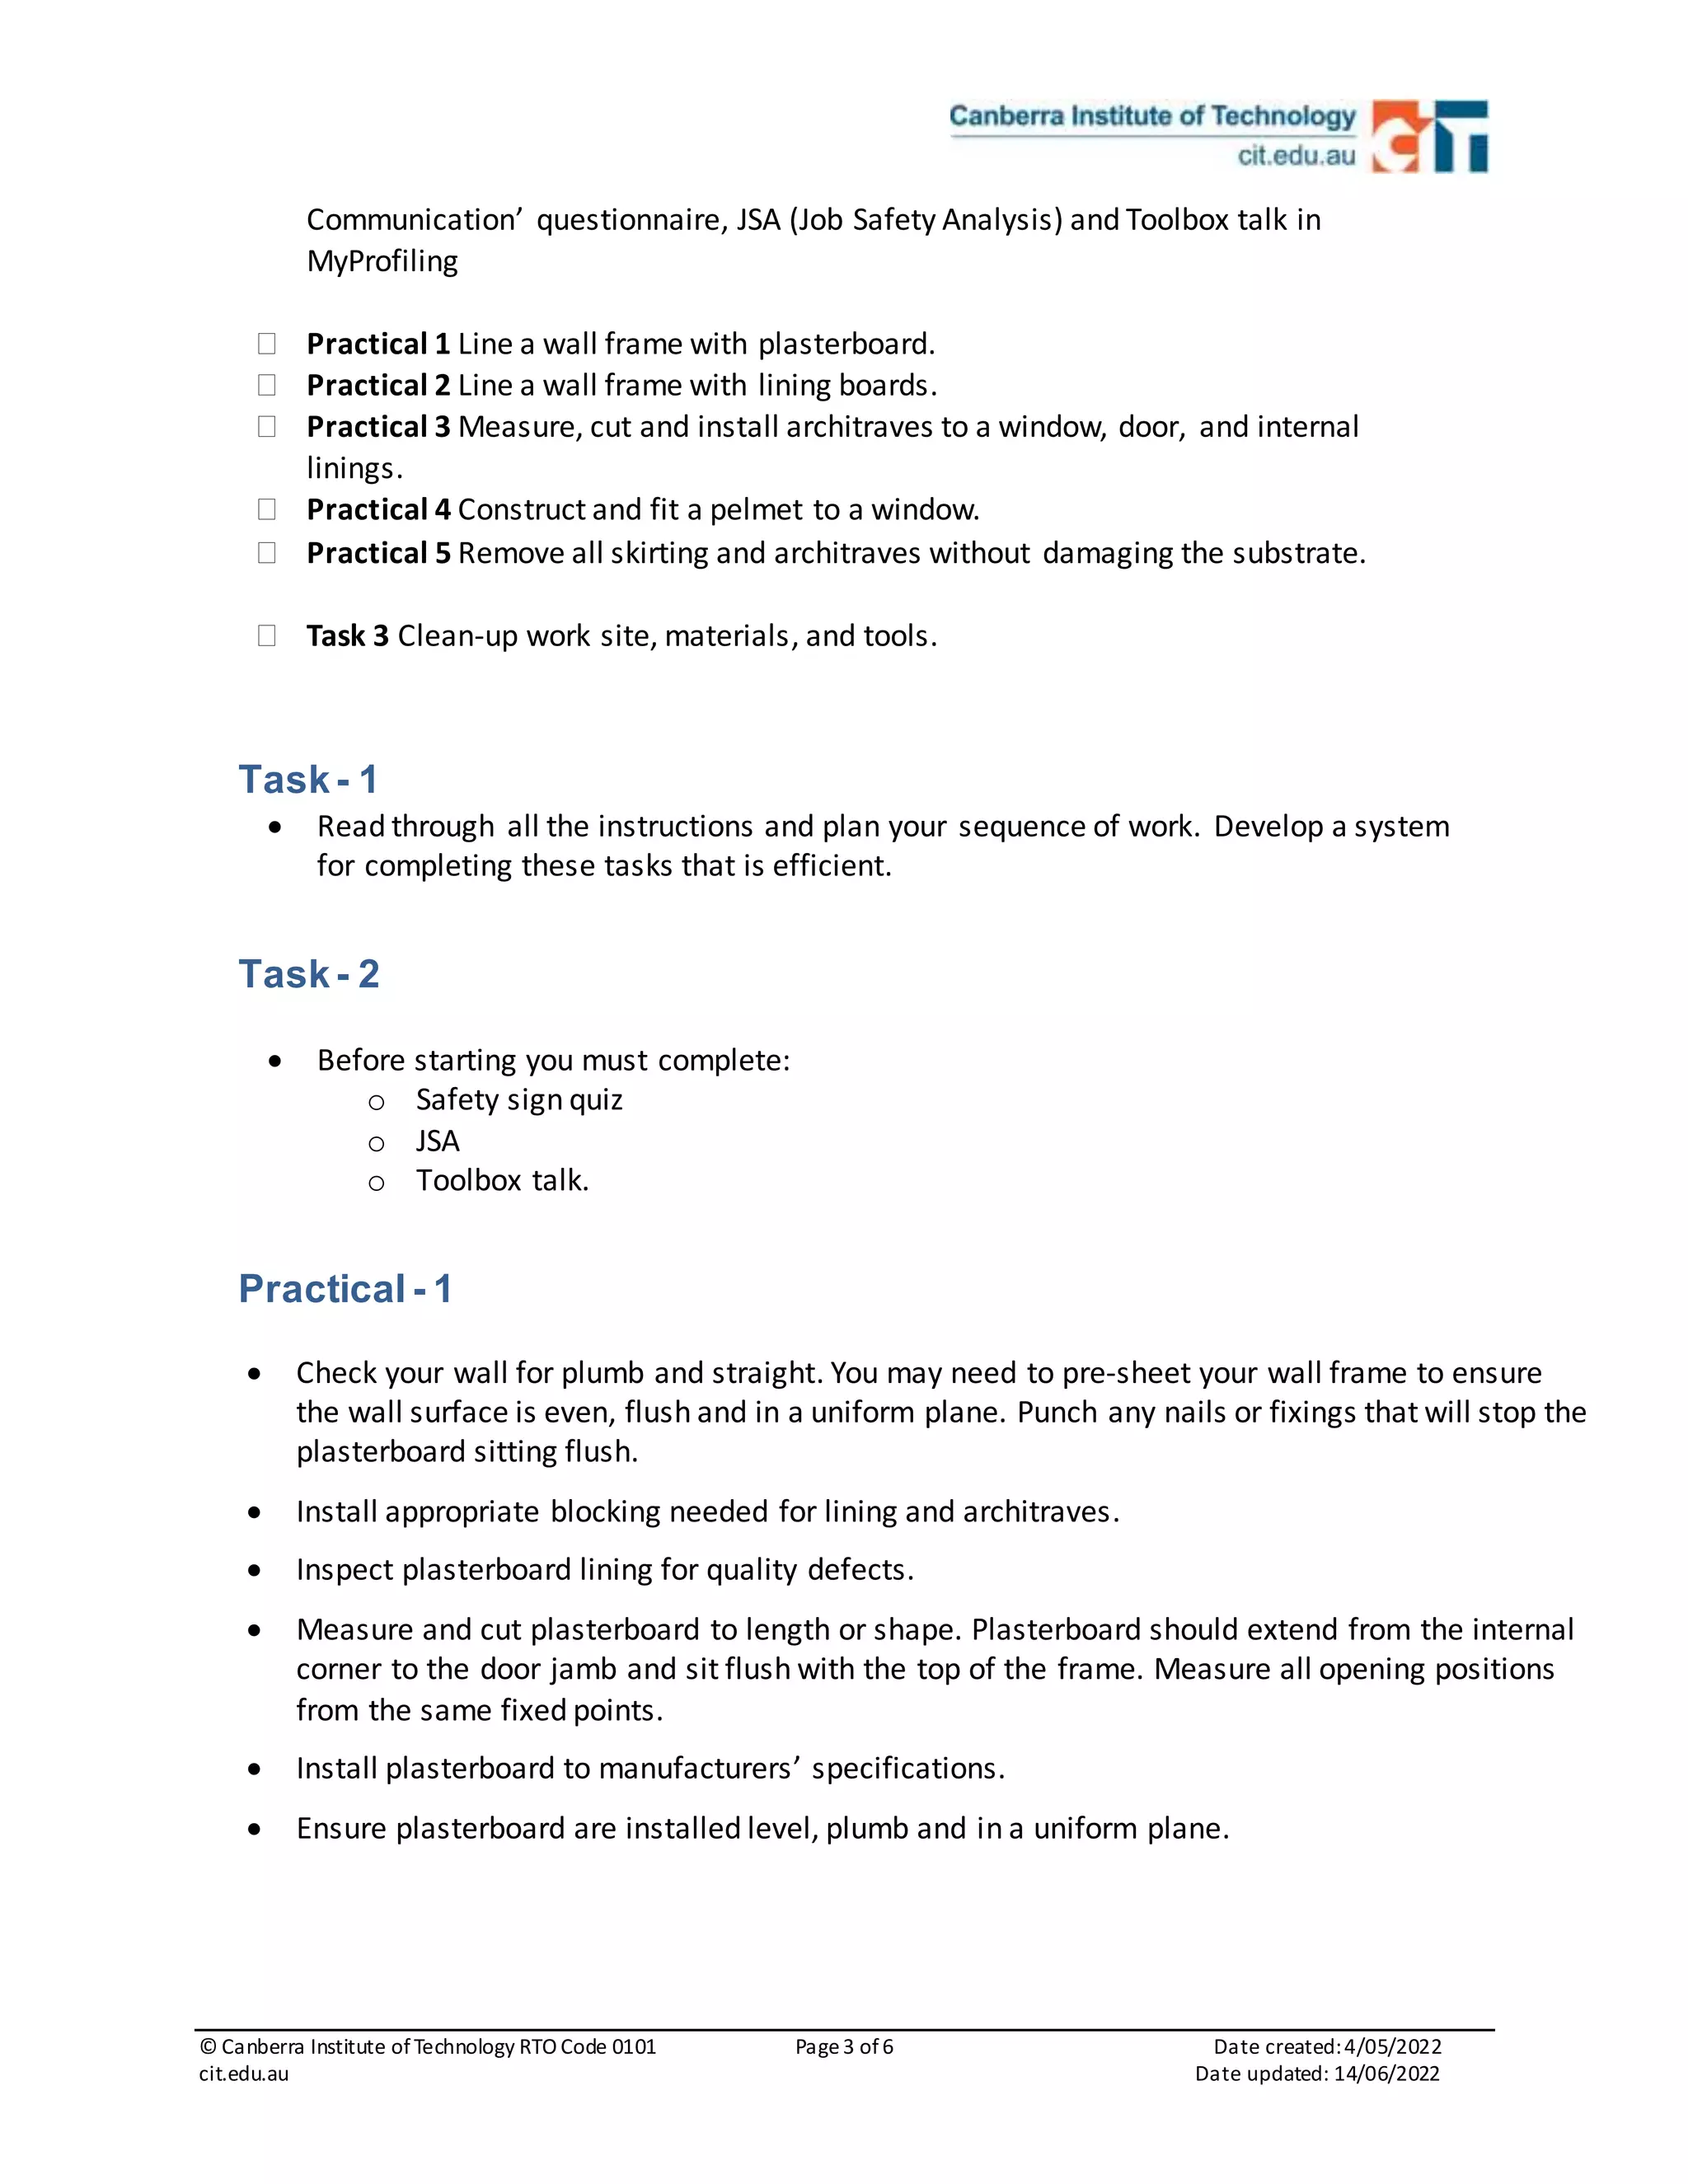
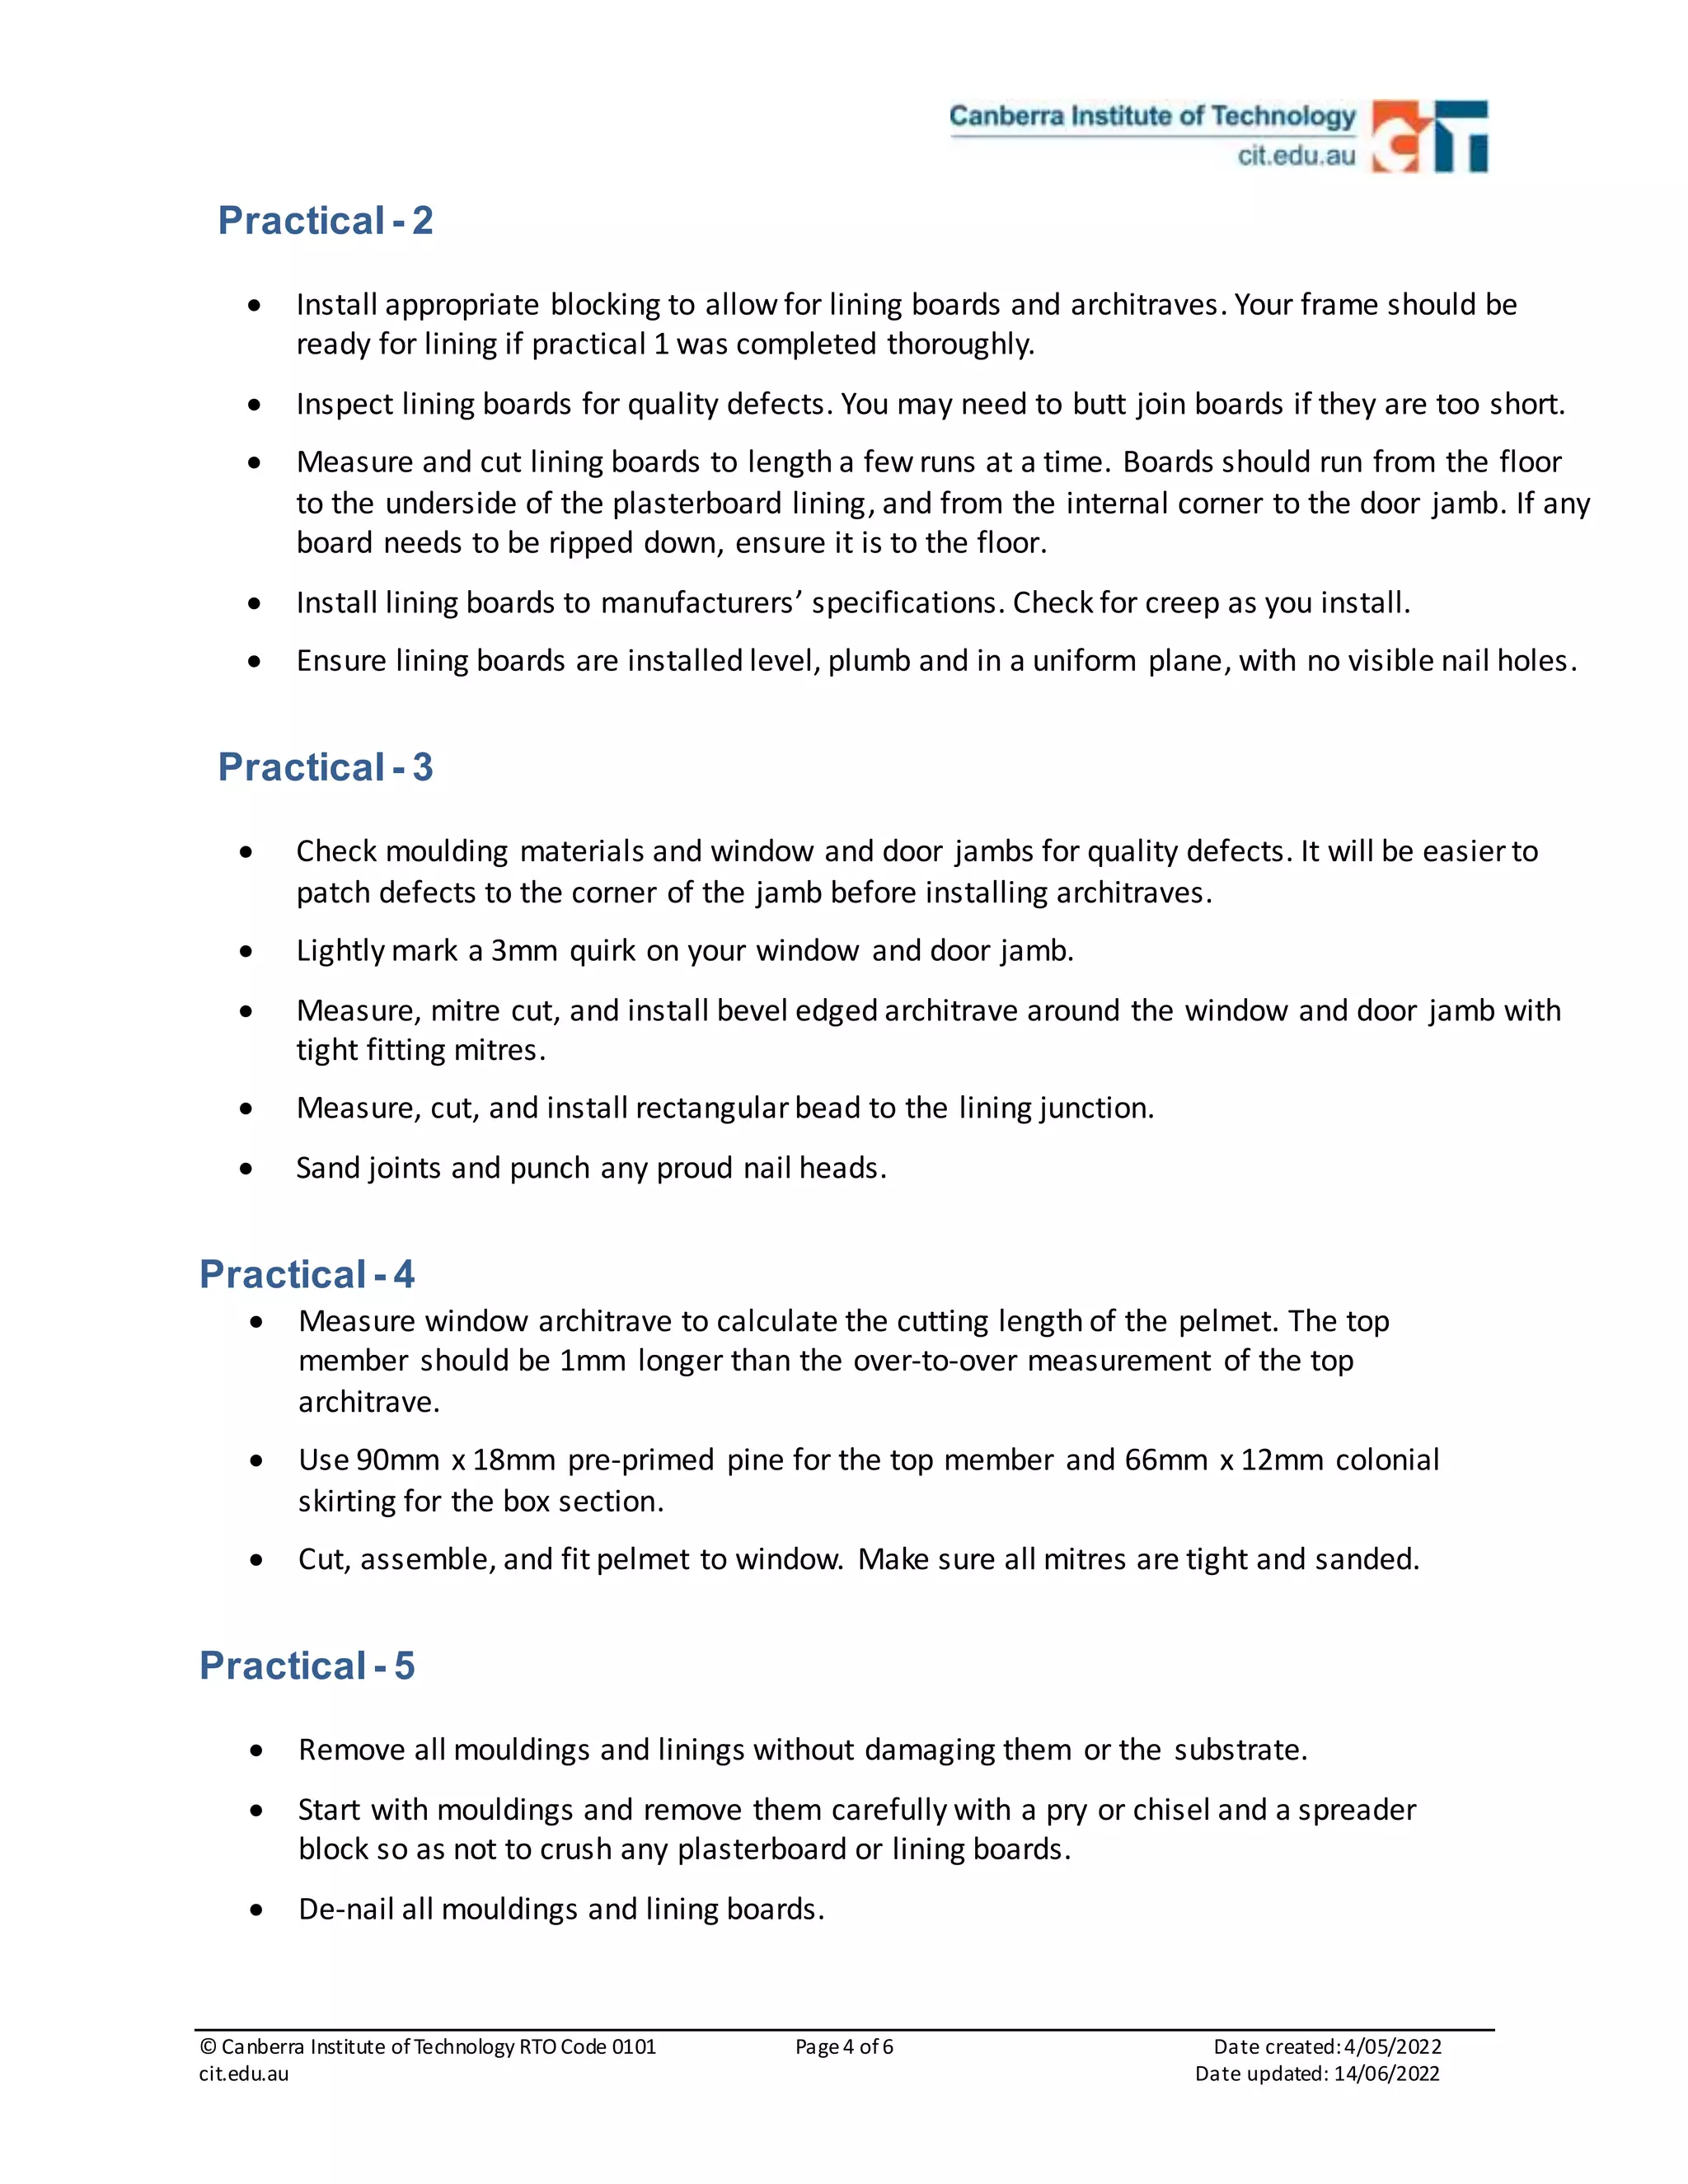

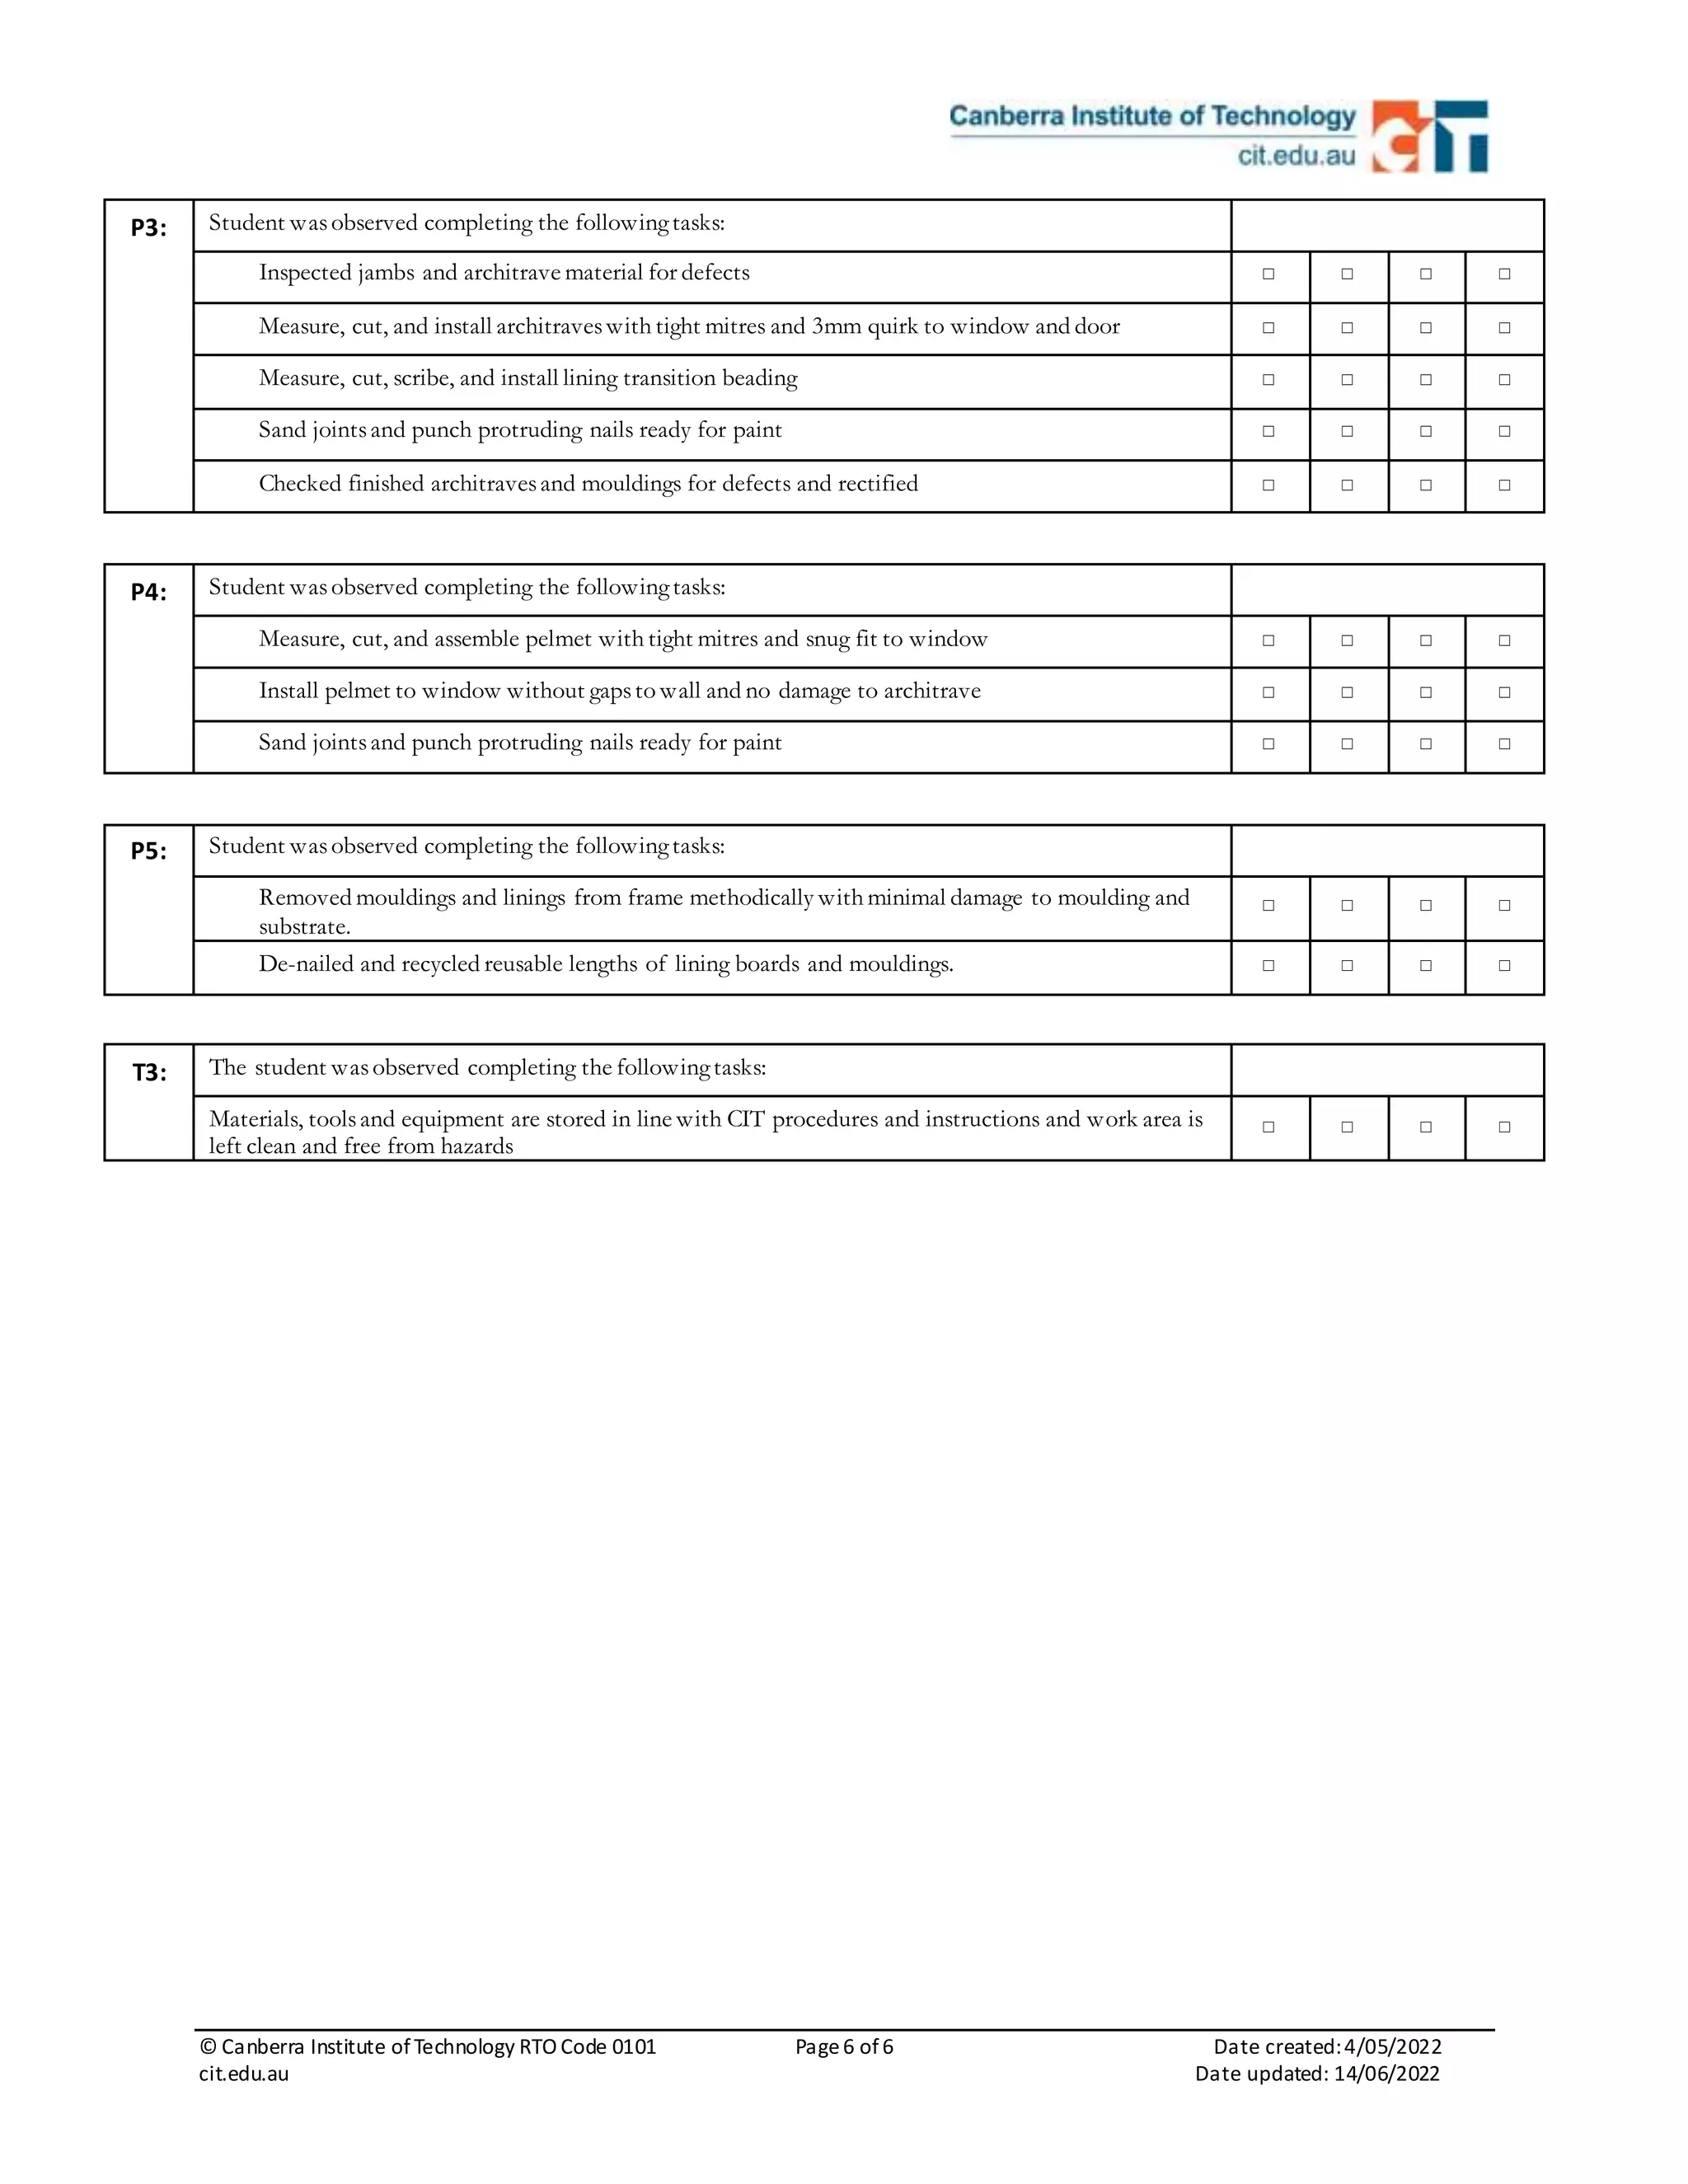

This document outlines a practical assessment for students at the Canberra Institute of Technology focused on the installation of lining, panelling, and moulding. It details assessment criteria, tasks to be completed, safety requirements, and the materials provided, outlining that students have two attempts to succeed in the assessment. Successful completion requires adherence to industry standards and demonstration of key skills in a simulated work environment under supervision.


