Download to read offline
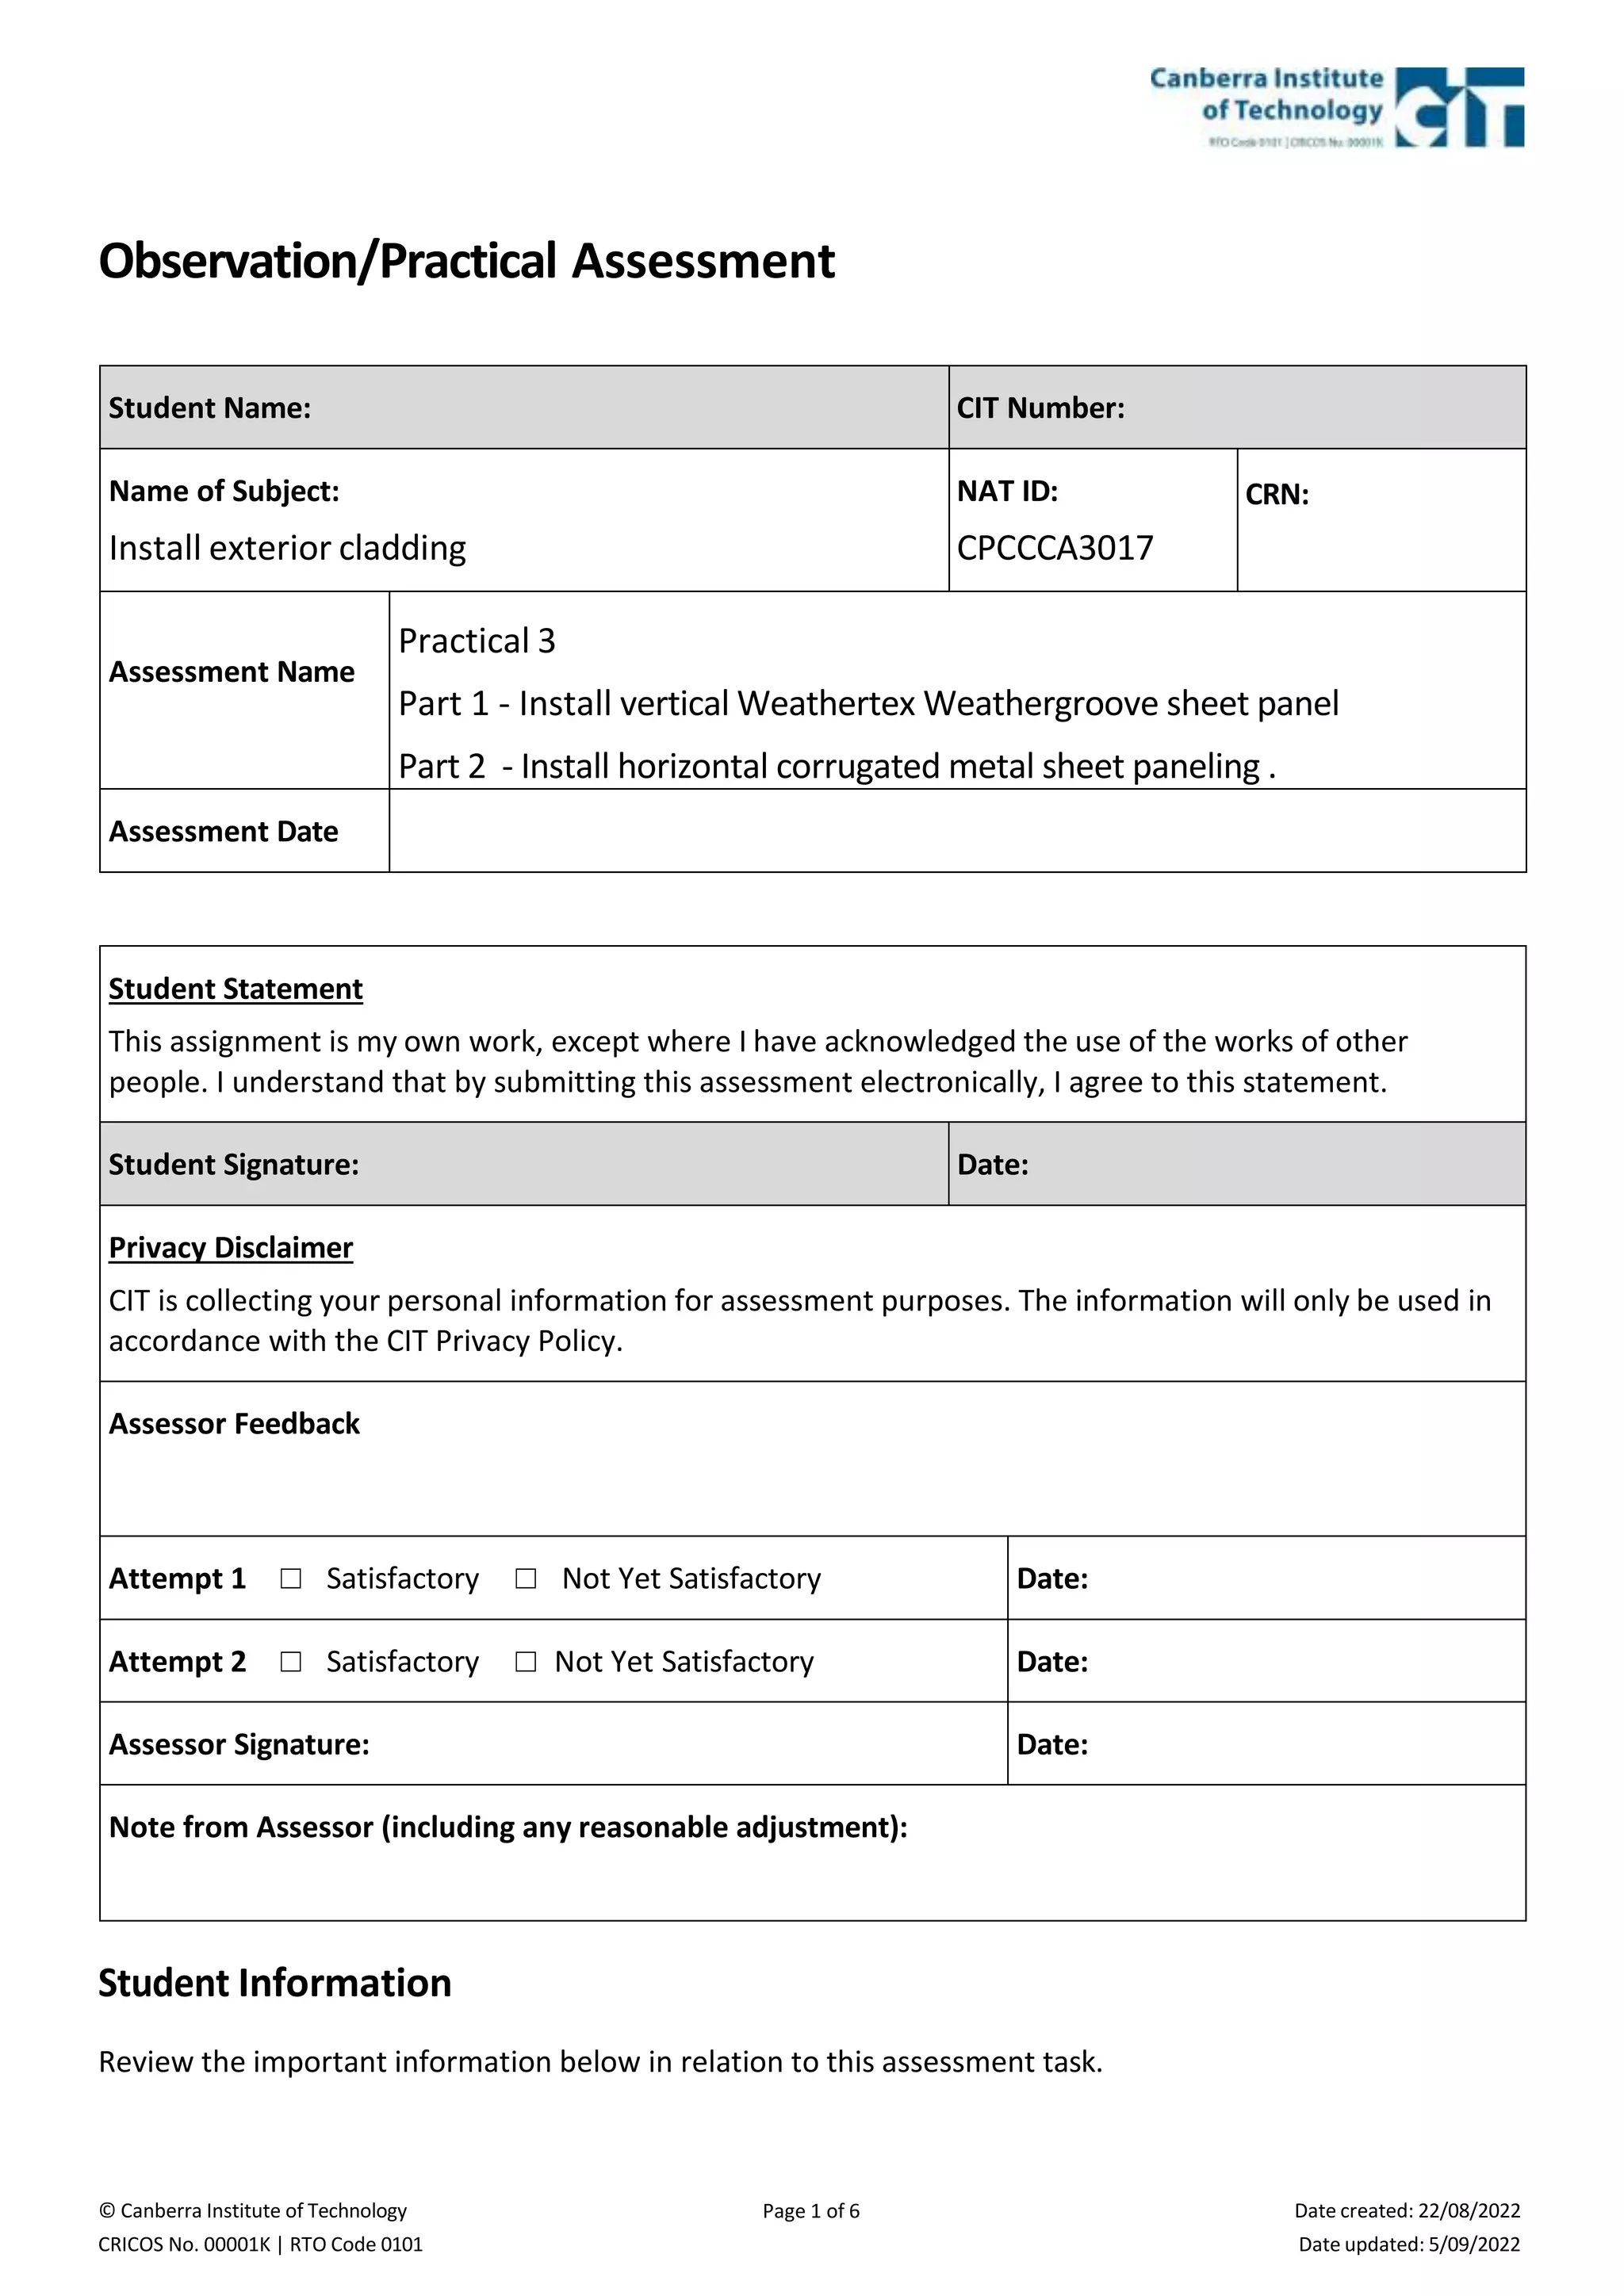
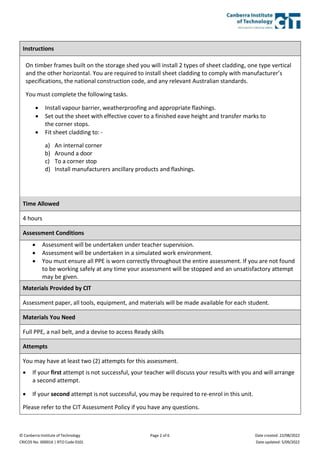
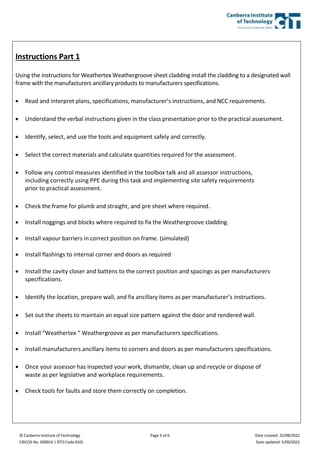

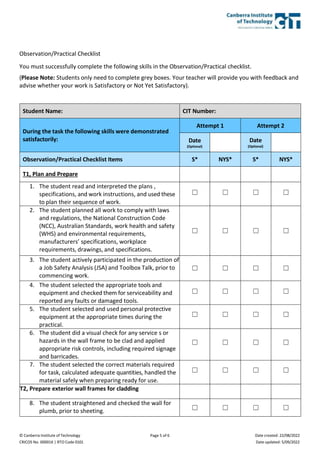

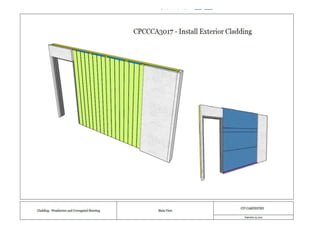
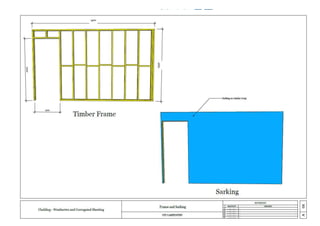
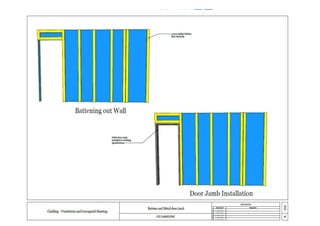

This document outlines the practical assessment for students at the Canberra Institute of Technology in installing two types of exterior cladding: Weathertex weathergroove sheet panels and Colorbond corrugated metal sheet panels. Students are required to demonstrate various skills including reading plans, interpreting specifications, safety measures, and ensuring compliance with codes and standards during a supervised assessment. Successful completion of tasks is monitored through a checklist, with opportunities for feedback and re-assessment if necessary.