Missile Radar System: A Comprehensive Overview
Introduction
Missile radar systems are among the most critical components of modern military defense technology. They serve as the "eyes" of missile defense systems, enabling detection, tracking, guidance, and interception of airborne threats, such as enemy aircraft, missiles, and drones. Radar (Radio Detection and Ranging) uses electromagnetic waves to detect objects and determine their range, speed, and direction. When integrated with missile systems, radar becomes a pivotal element in both offensive and defensive operations.
This essay explores the design, function, and strategic role of missile radar systems, highlighting their components, types, technological principles, applications in real-world scenarios, and the challenges and future directions of radar integration in missile defense.
---
1. Fundamentals of Radar Technology
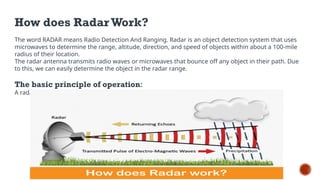
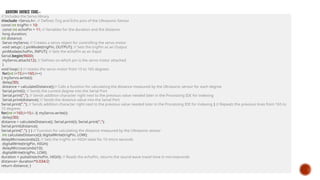
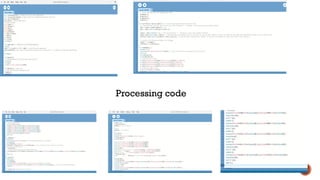
Radar technology works on the principle of transmitting a radio wave and receiving its reflection from a target object. The time delay between transmission and reception provides information about the target’s distance. Doppler shifts in the returned signal indicate relative velocity, while the angle of the signal's return helps determine the target’s direction.
The key components of a basic radar system include:
Transmitter: Generates and sends radio-frequency signals.
Antenna: Directs the transmitted signal and collects echoes from targets.
Receiver: Detects and amplifies the returned signals.
Signal Processor: Interprets the data, identifying range, speed, and trajectory.
Display/Controller Interface: Presents processed data to human operators or connected systems.
In missile systems, this data is crucial for accurate targeting, real-time tracking, and mid-course or terminal guidance.
---
2. Role of Radar in Missile Systems
Radar serves multiple critical functions in missile systems, typically falling into one or more of the following categories:
Early Warning: Detects incoming threats from long distances, allowing sufficient time for interception.
Target Acquisition: Pinpoints the position and identity of potential threats