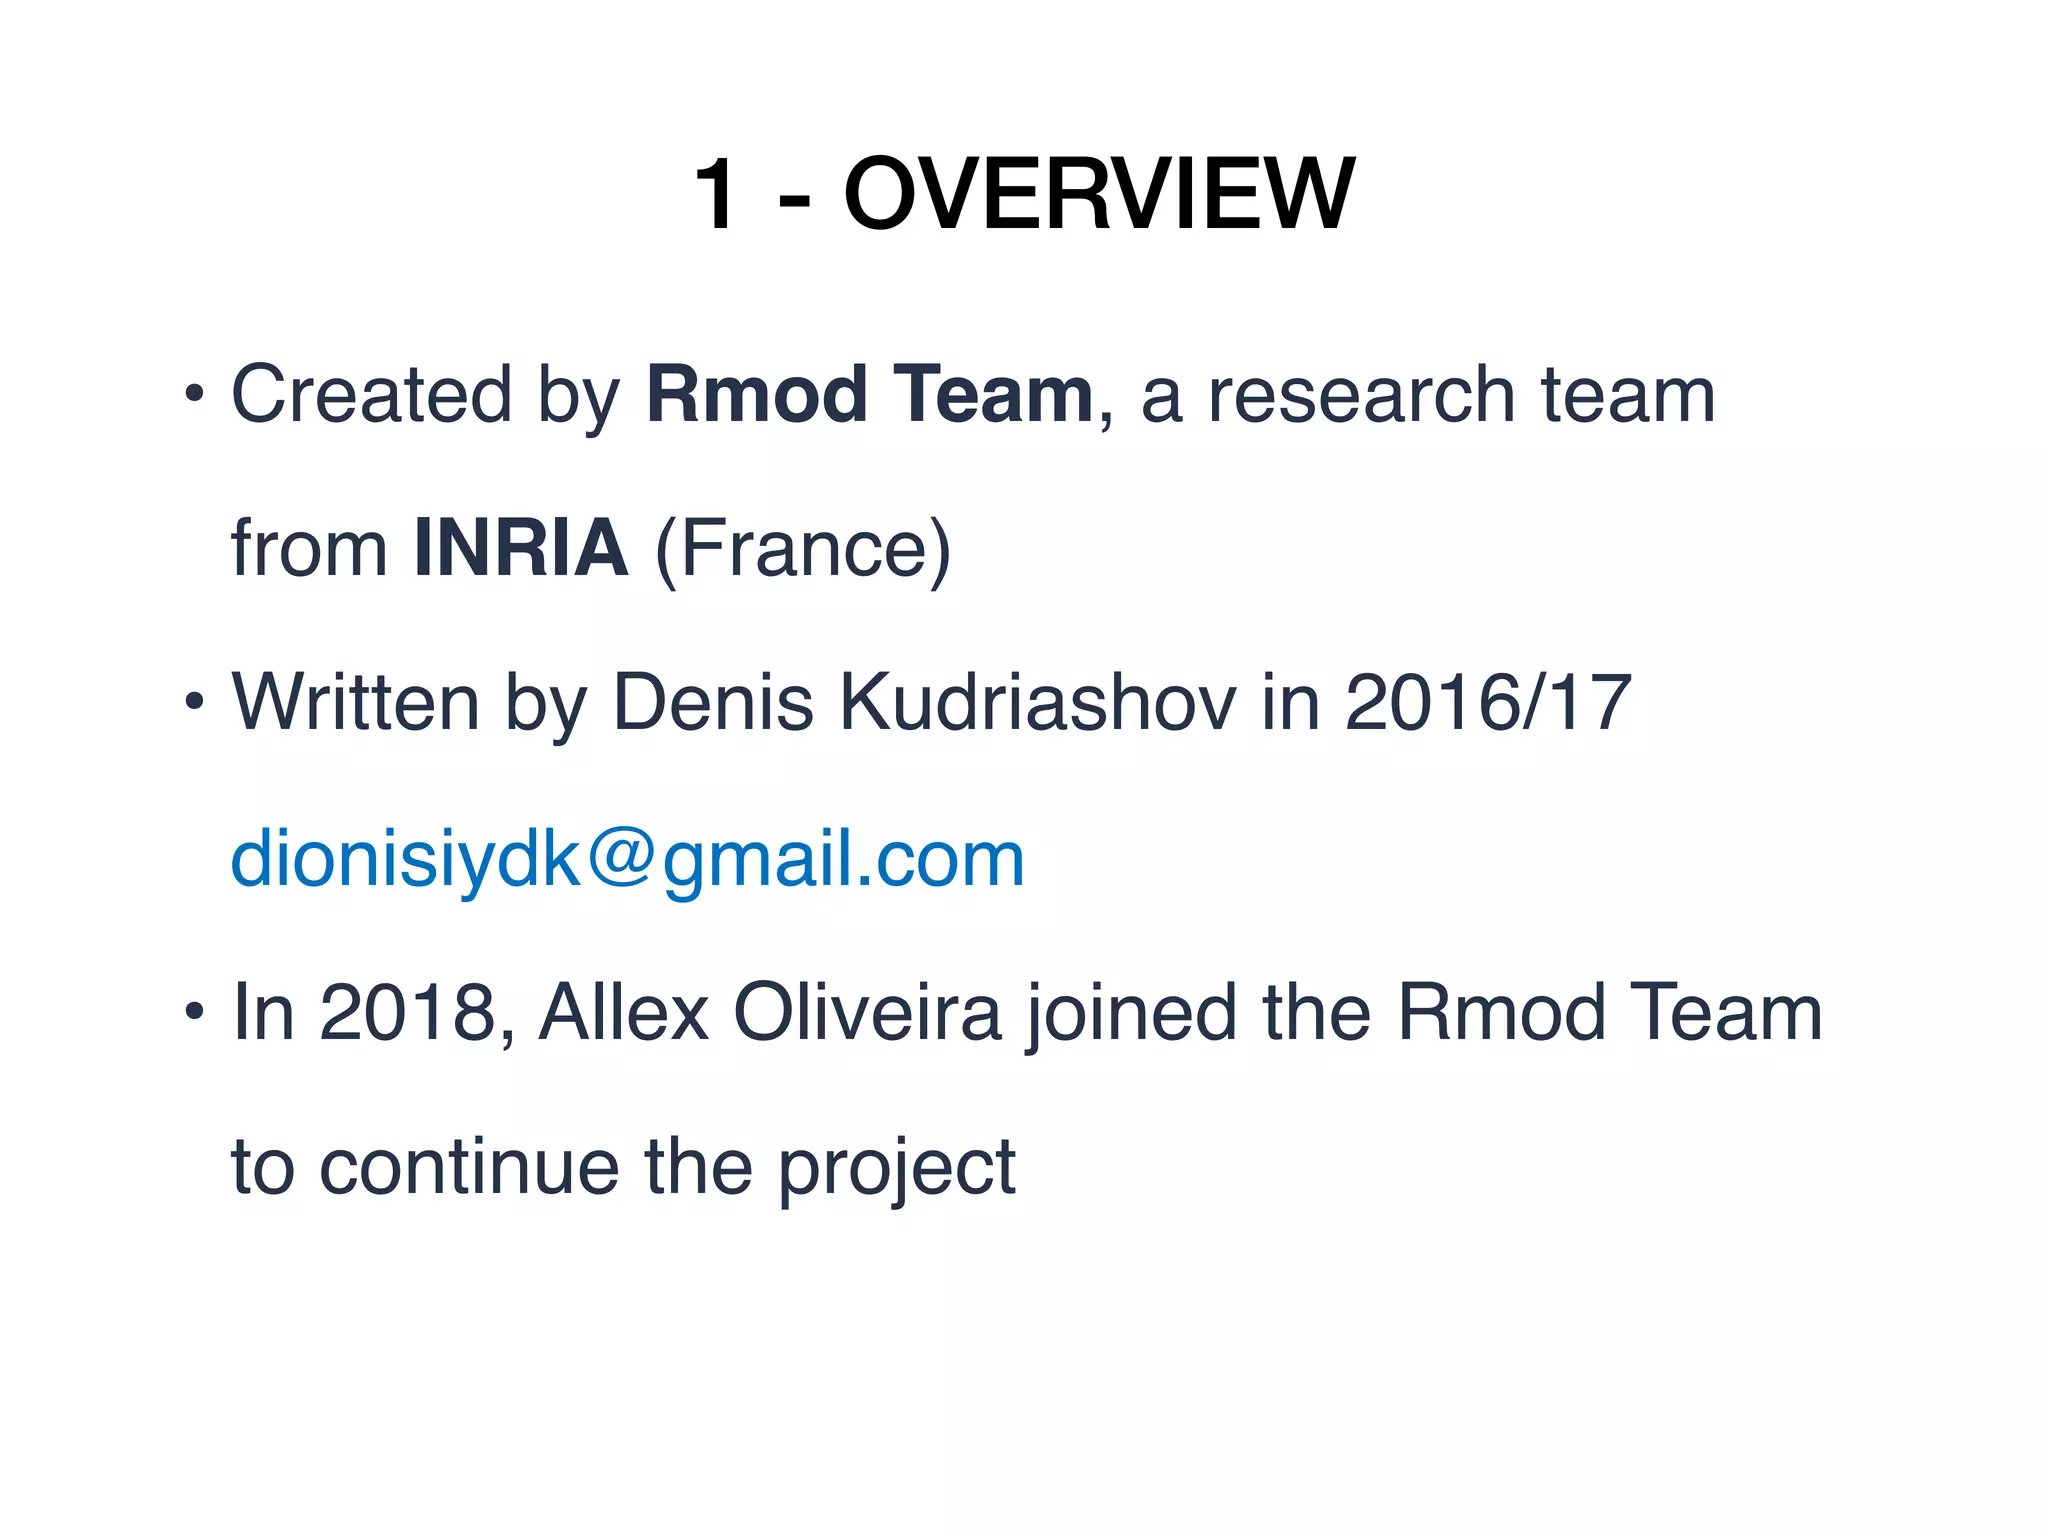
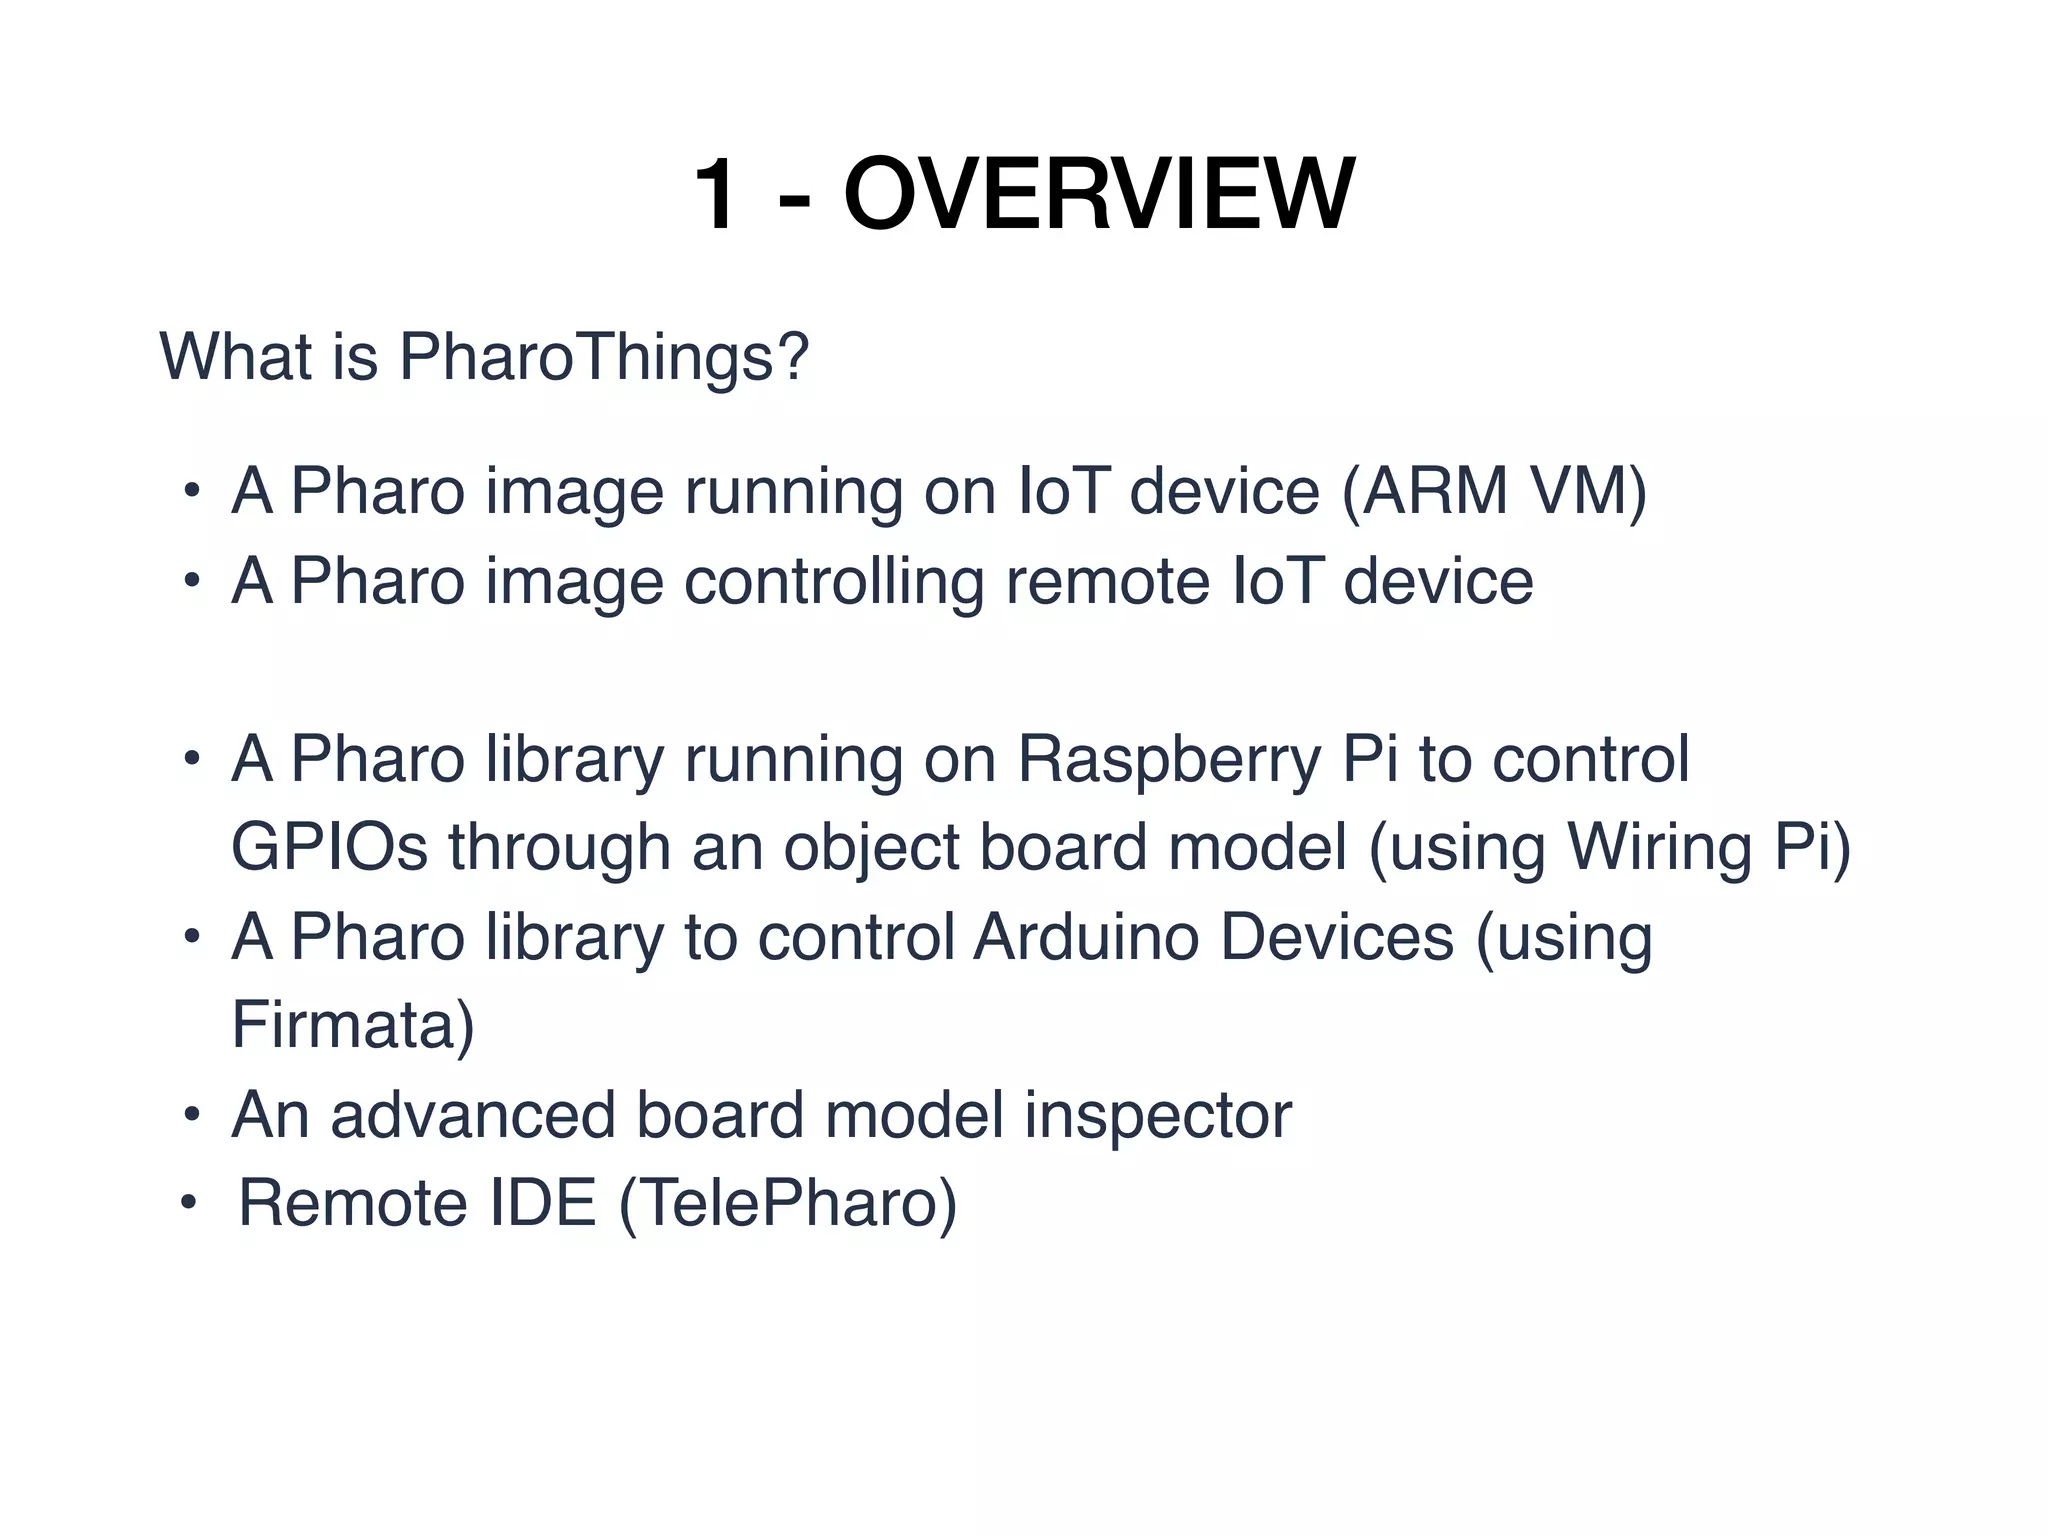
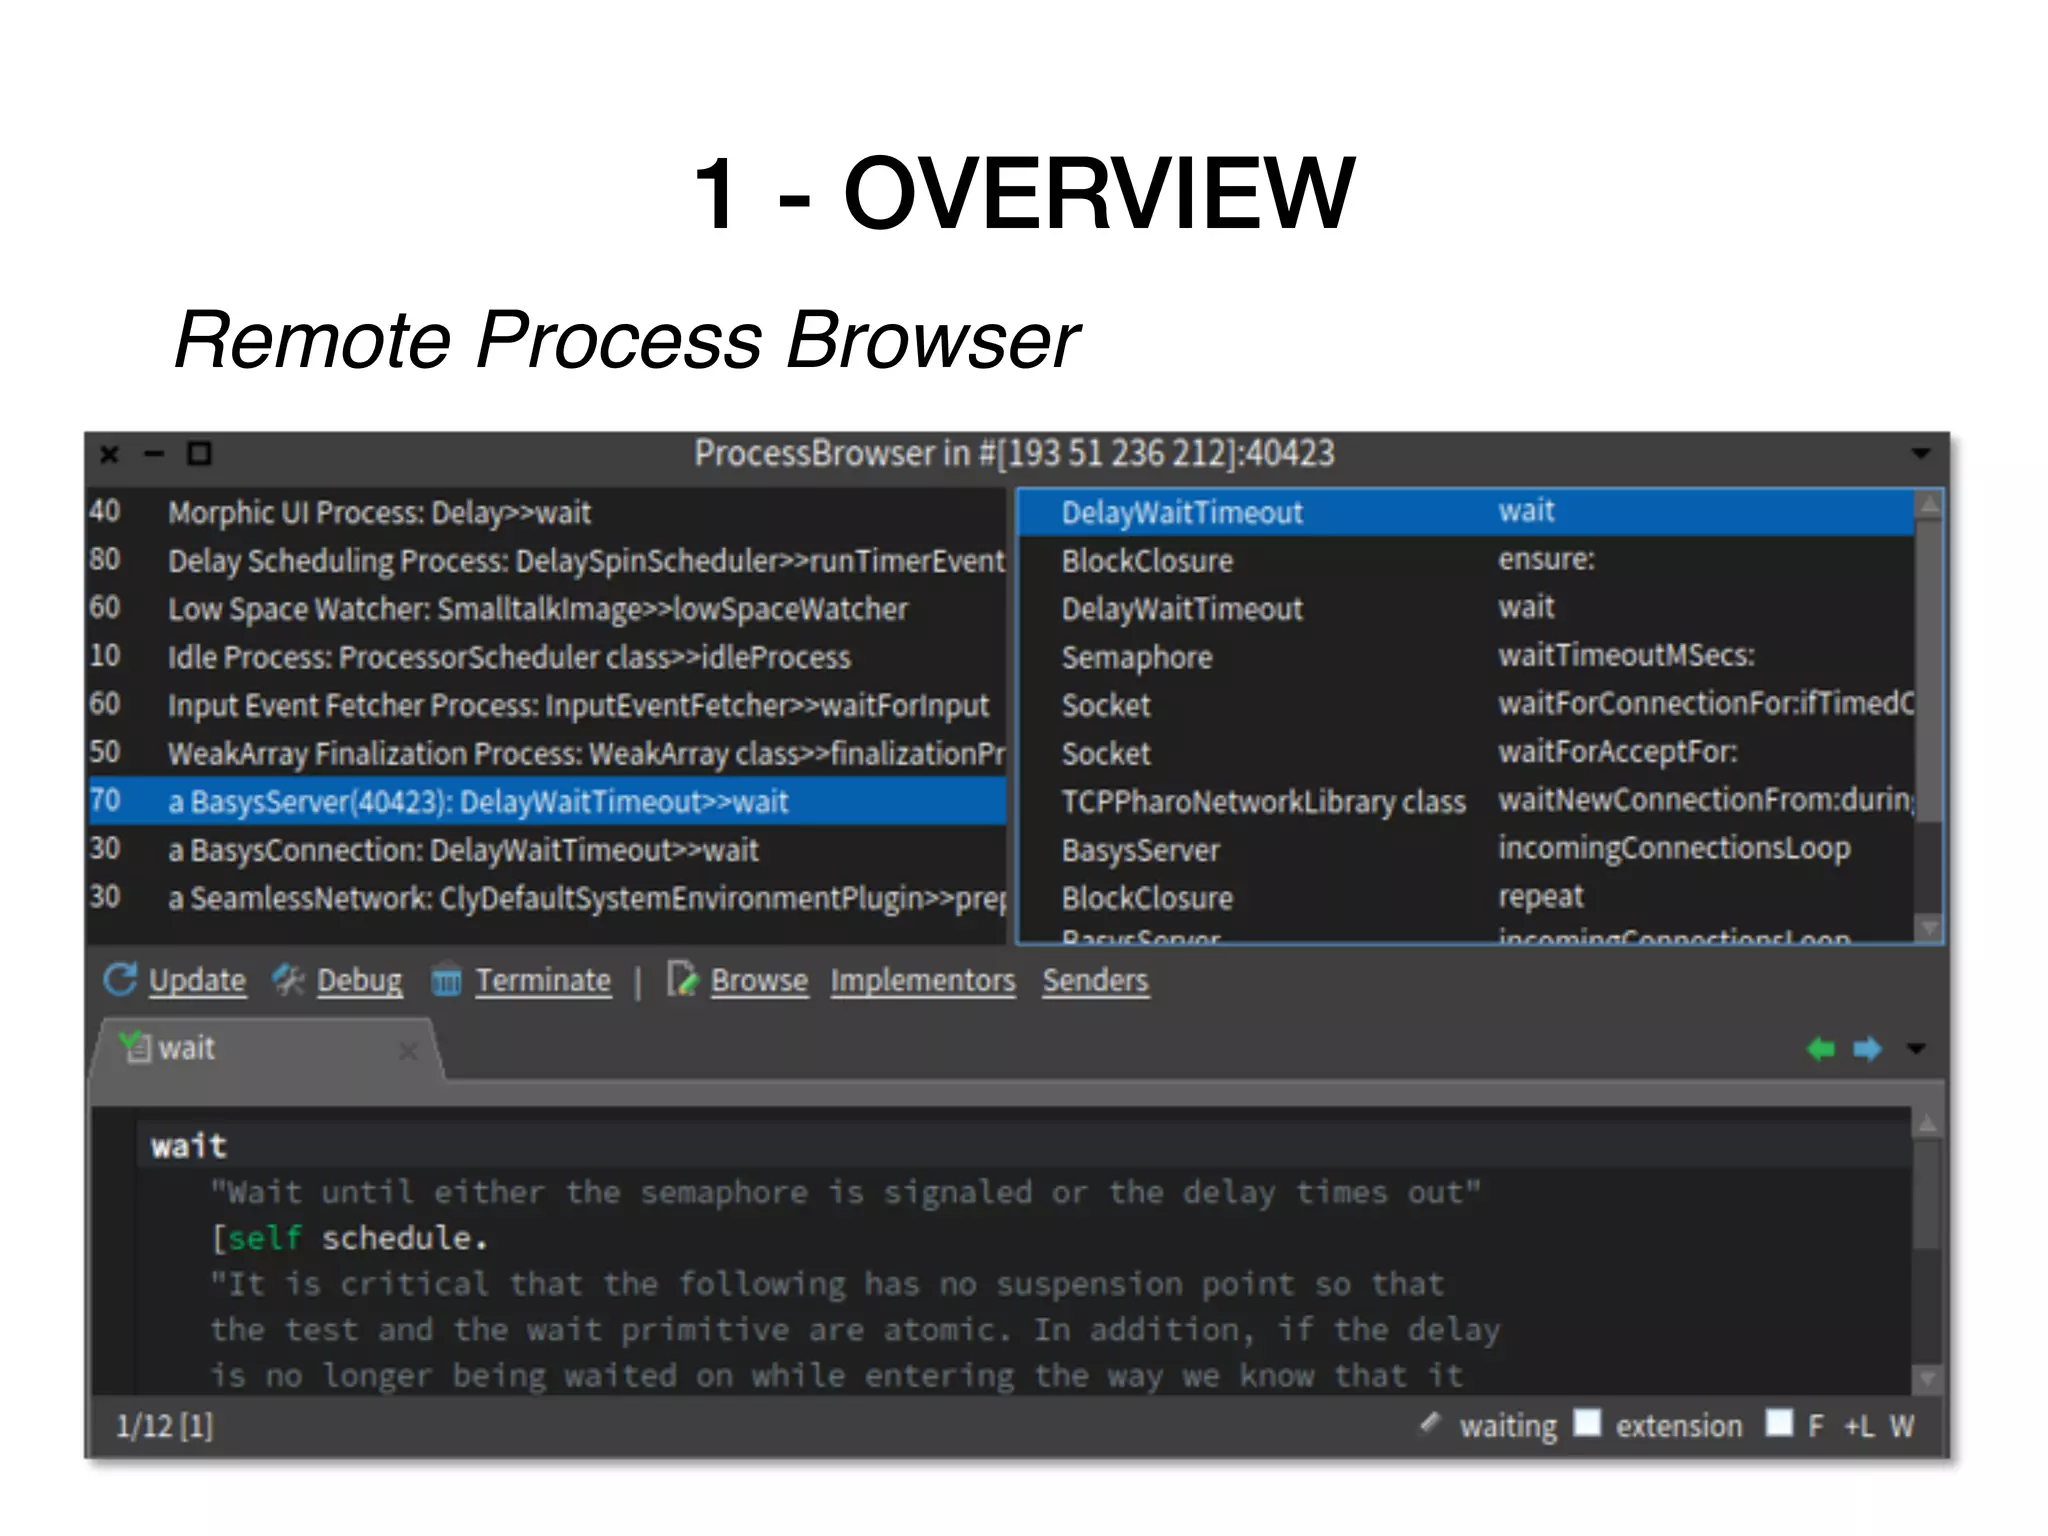
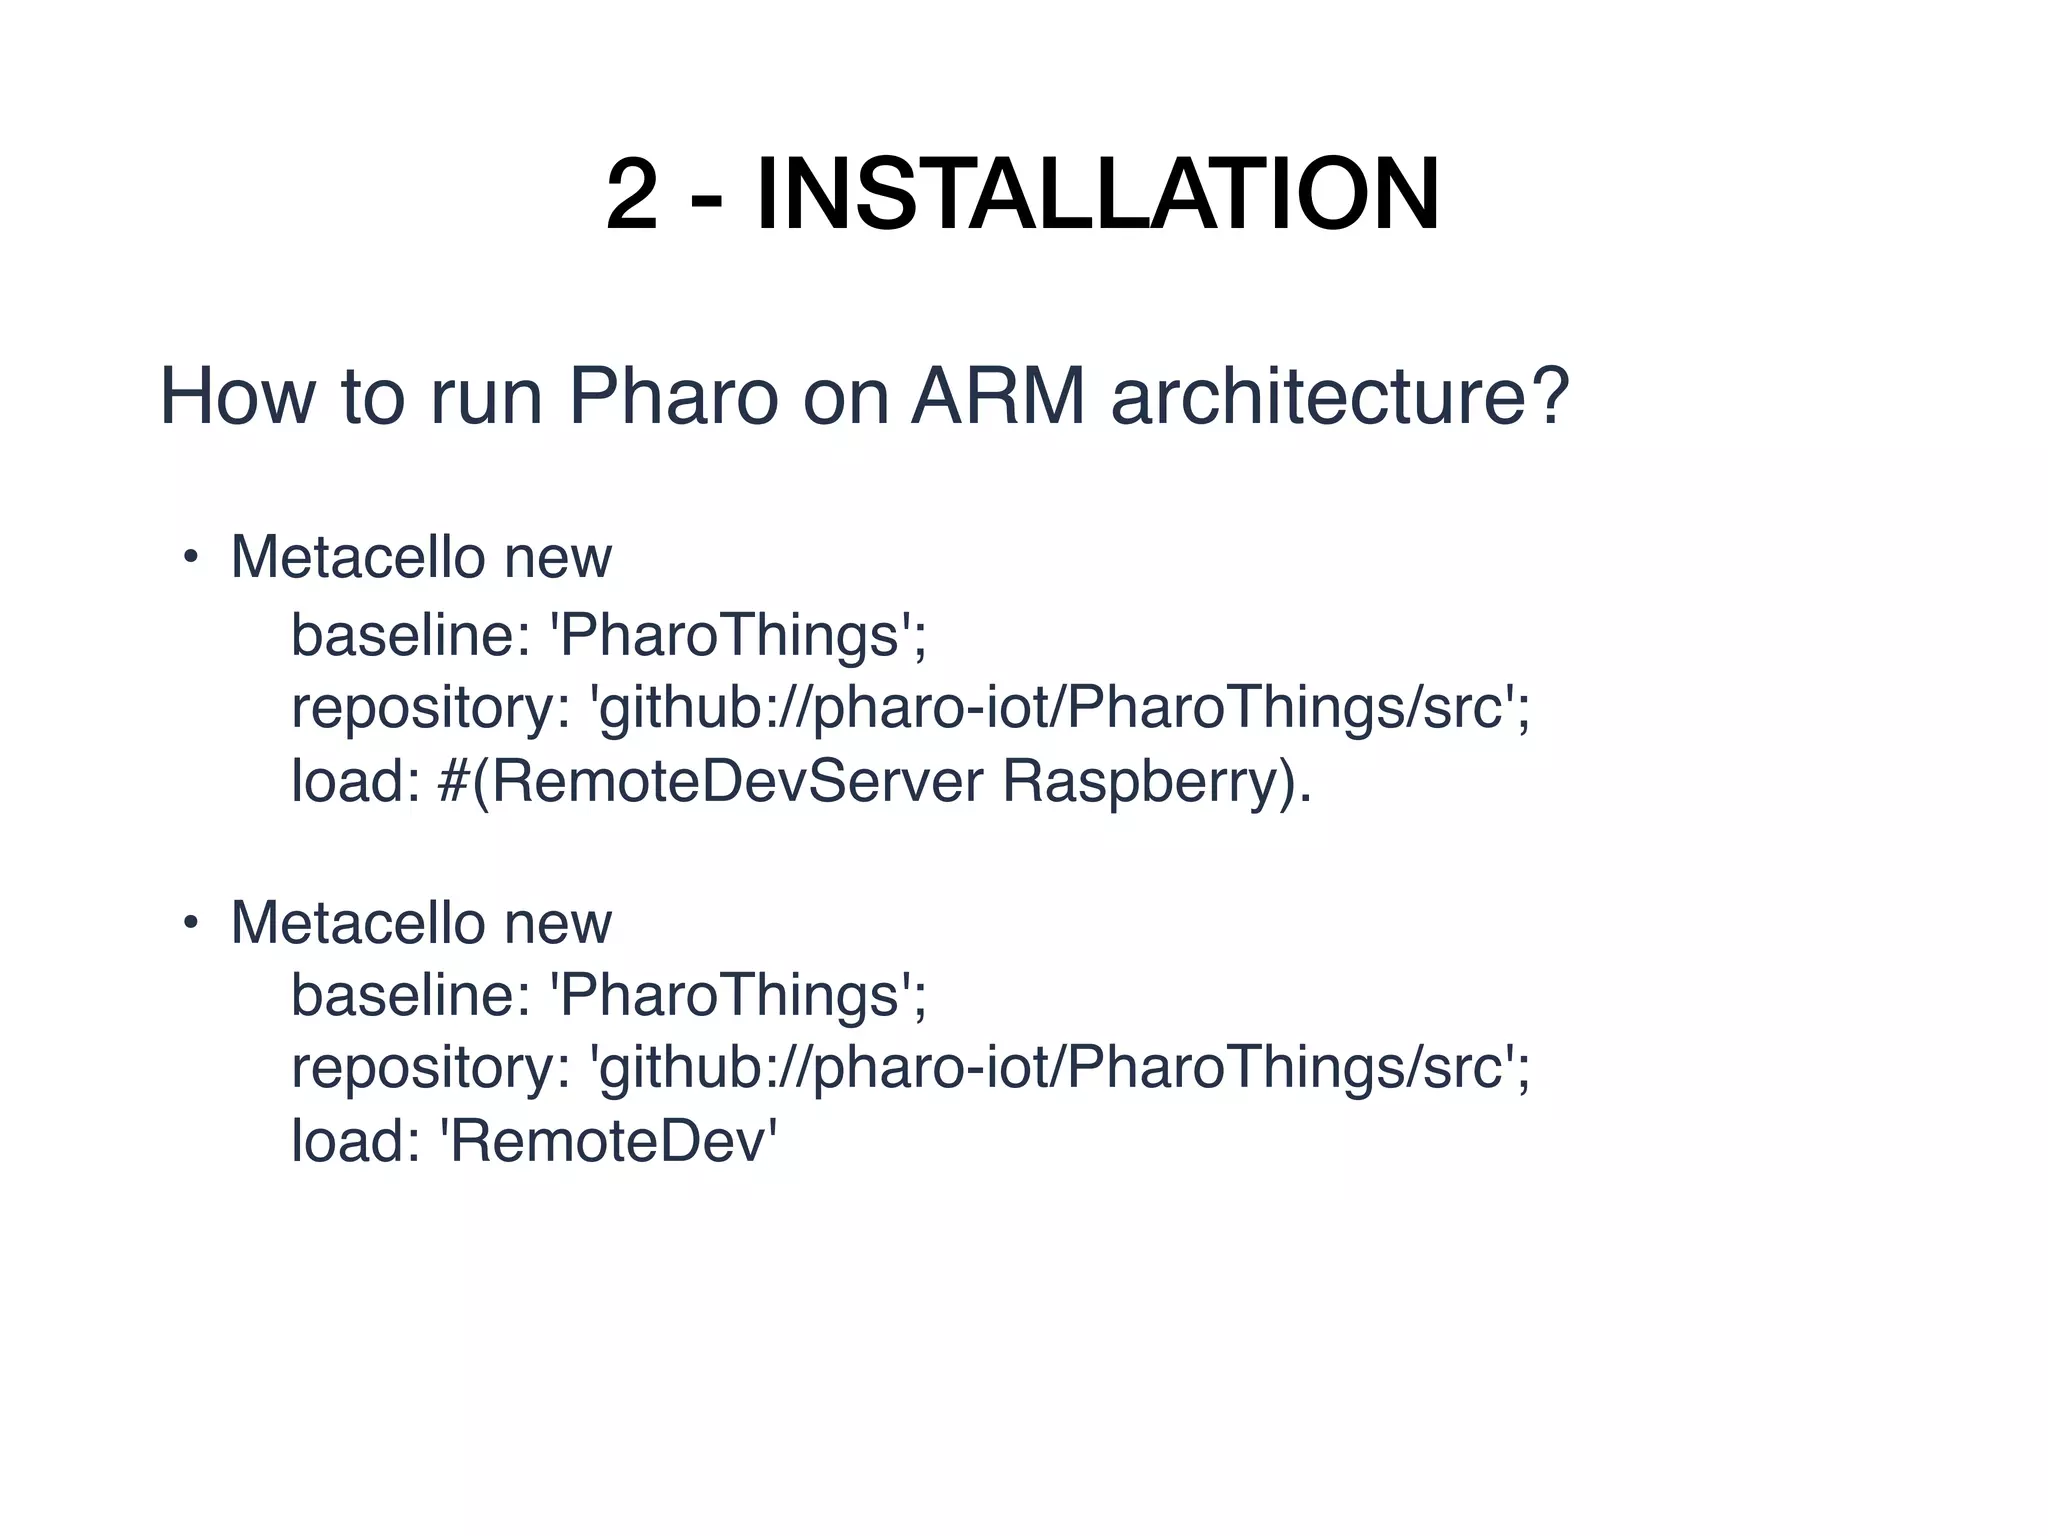
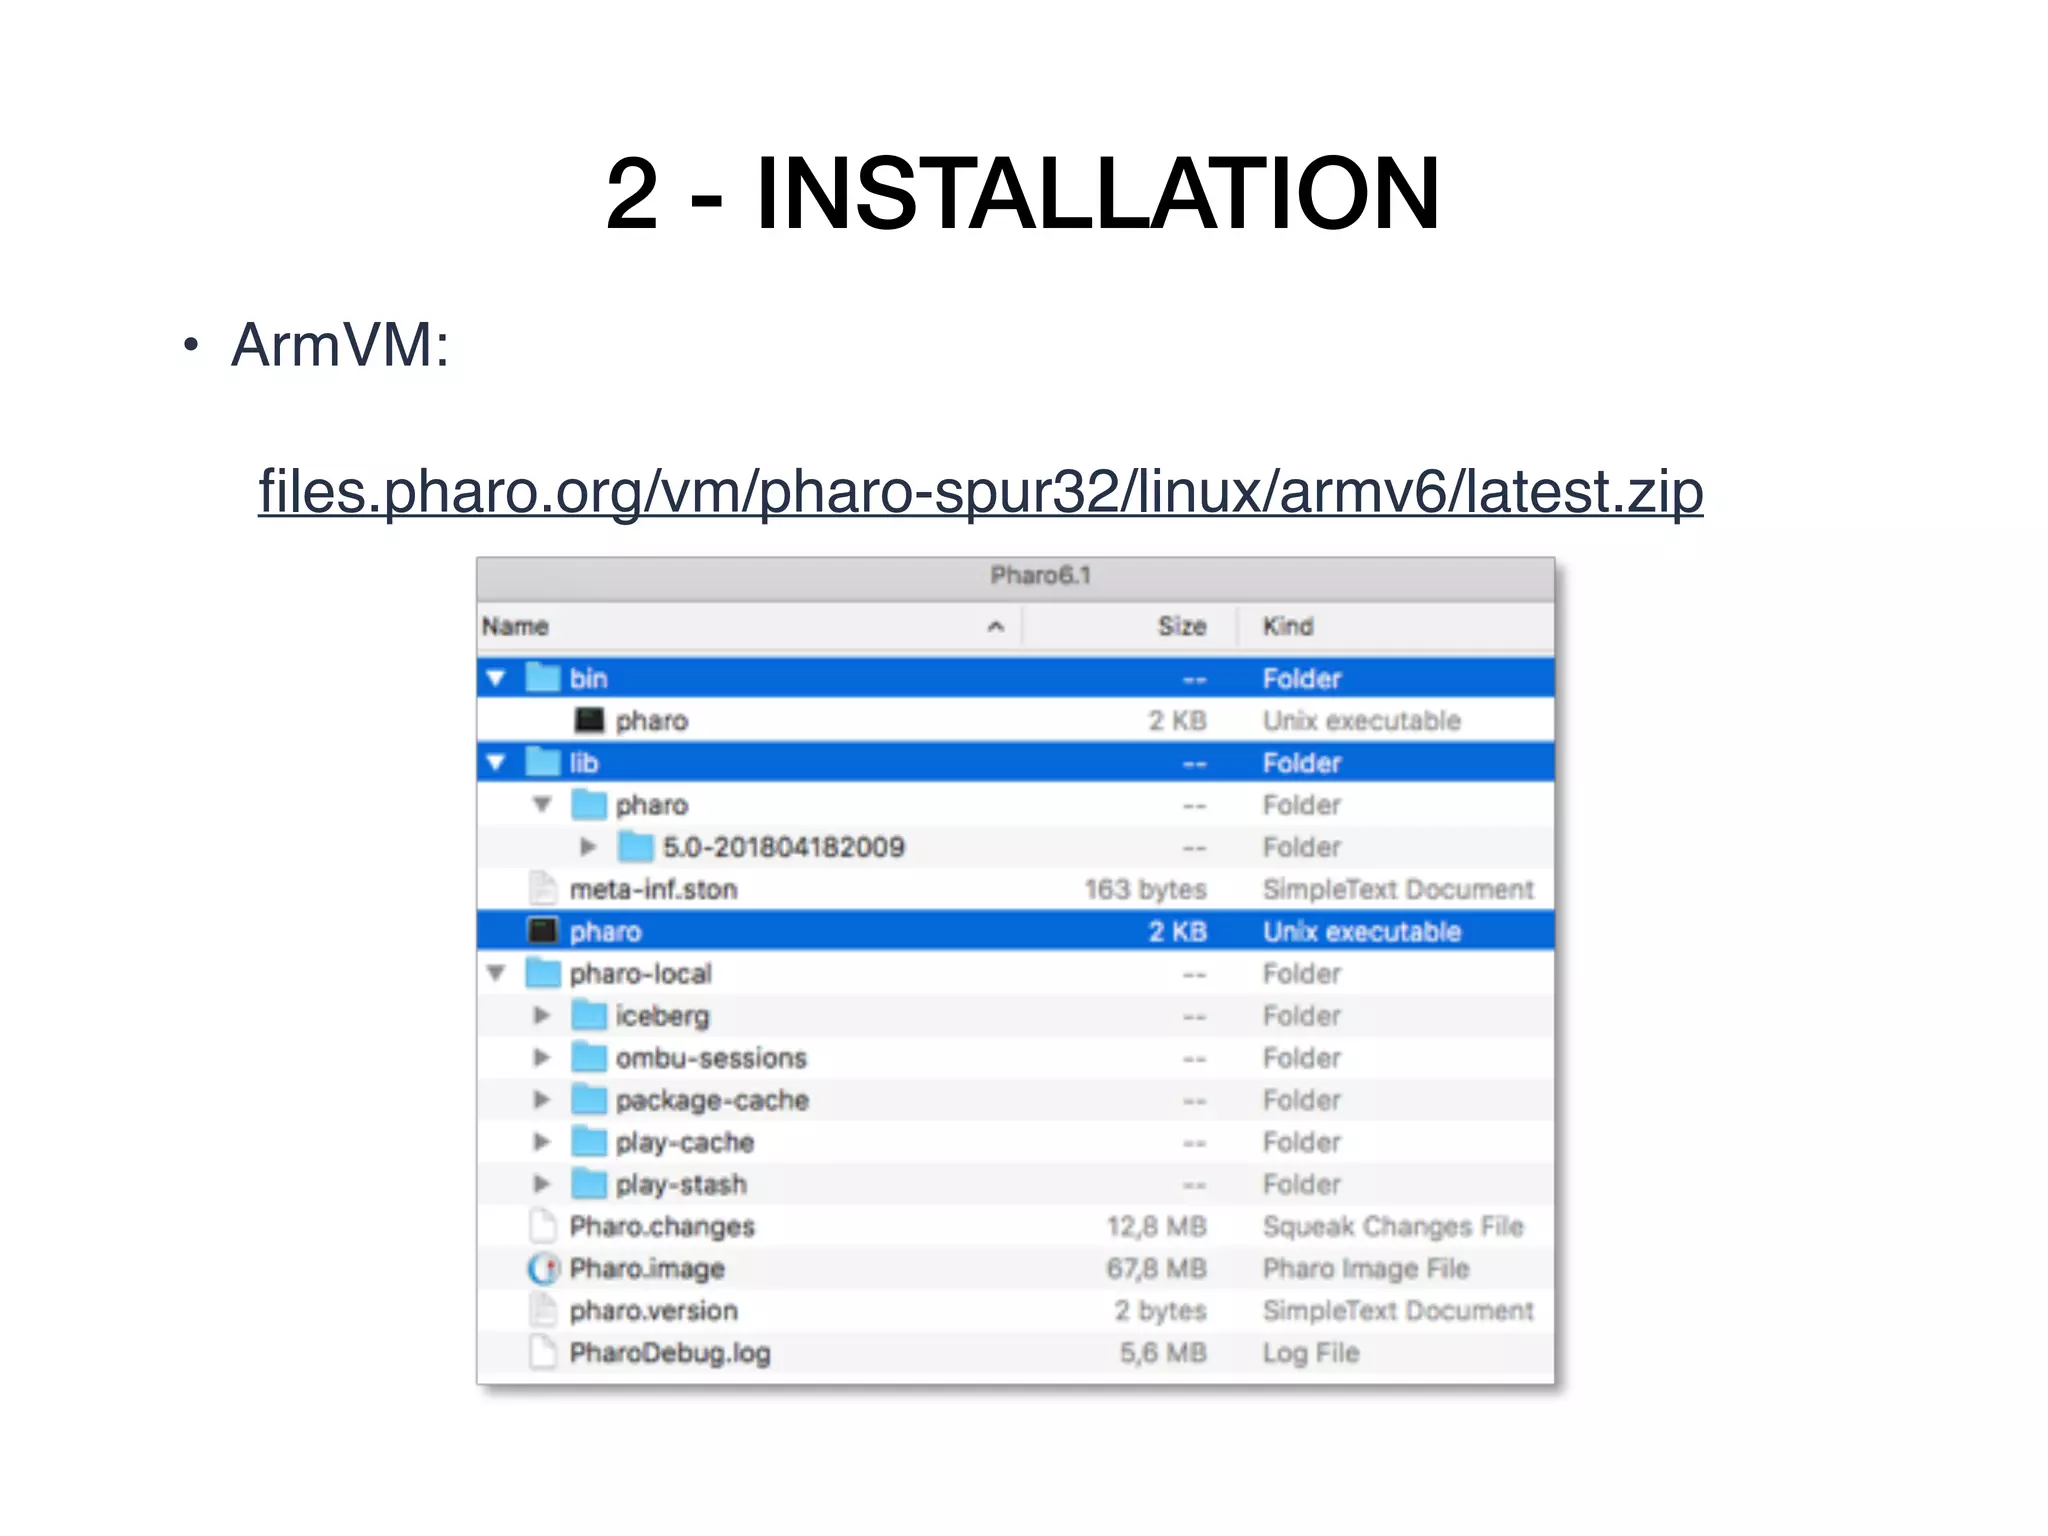
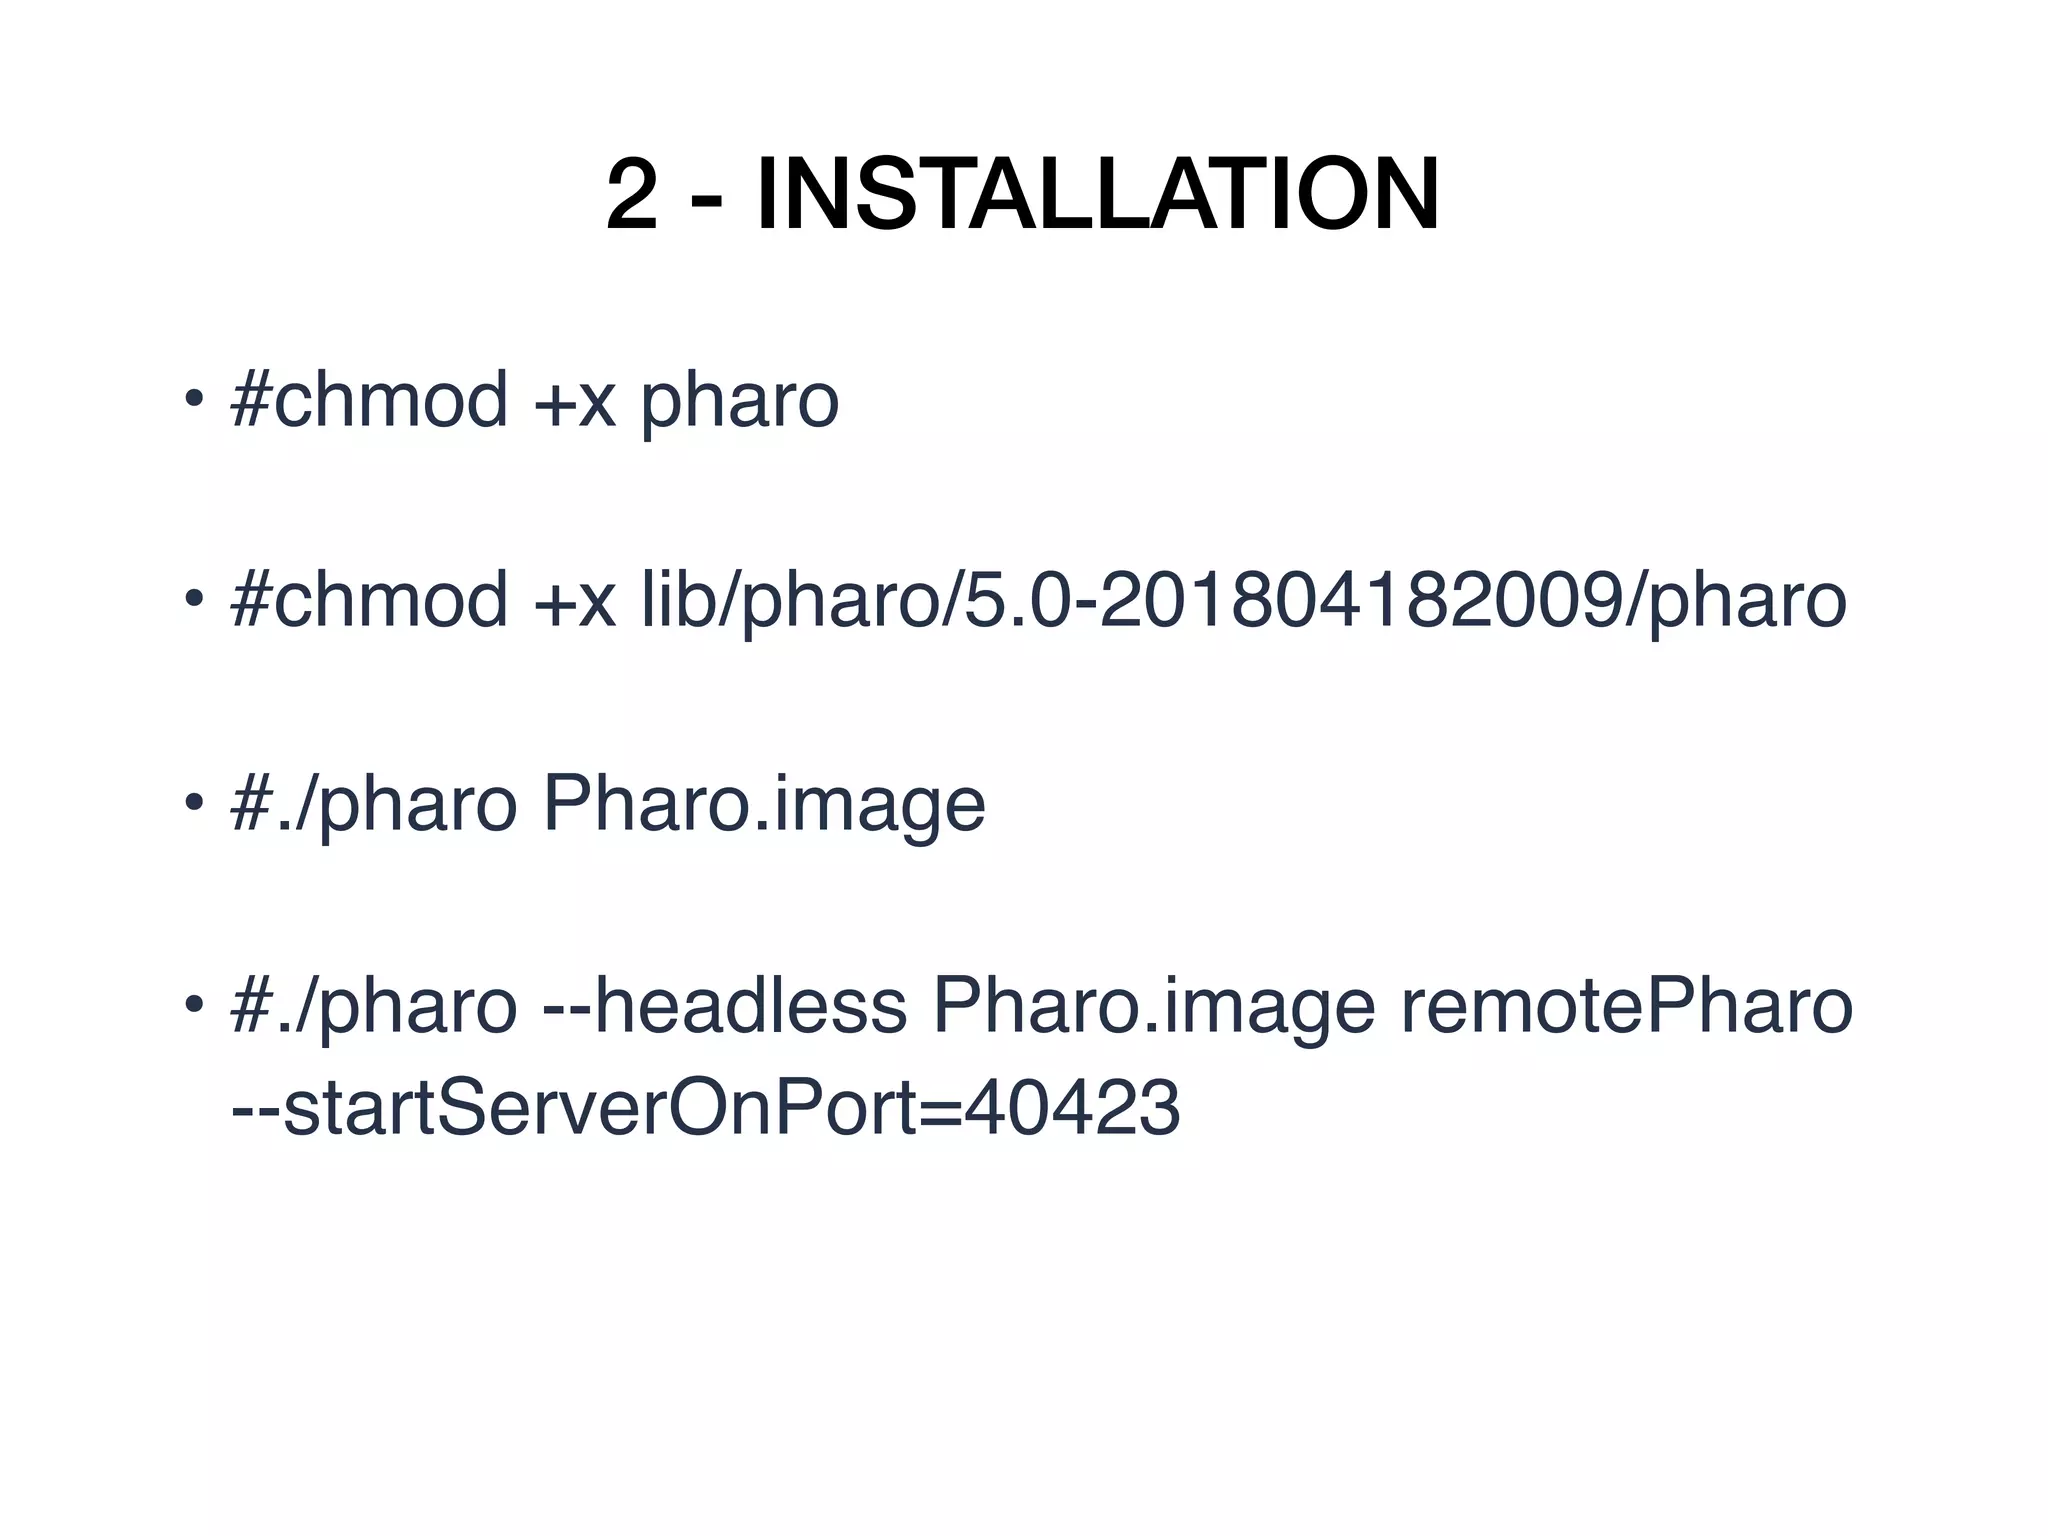
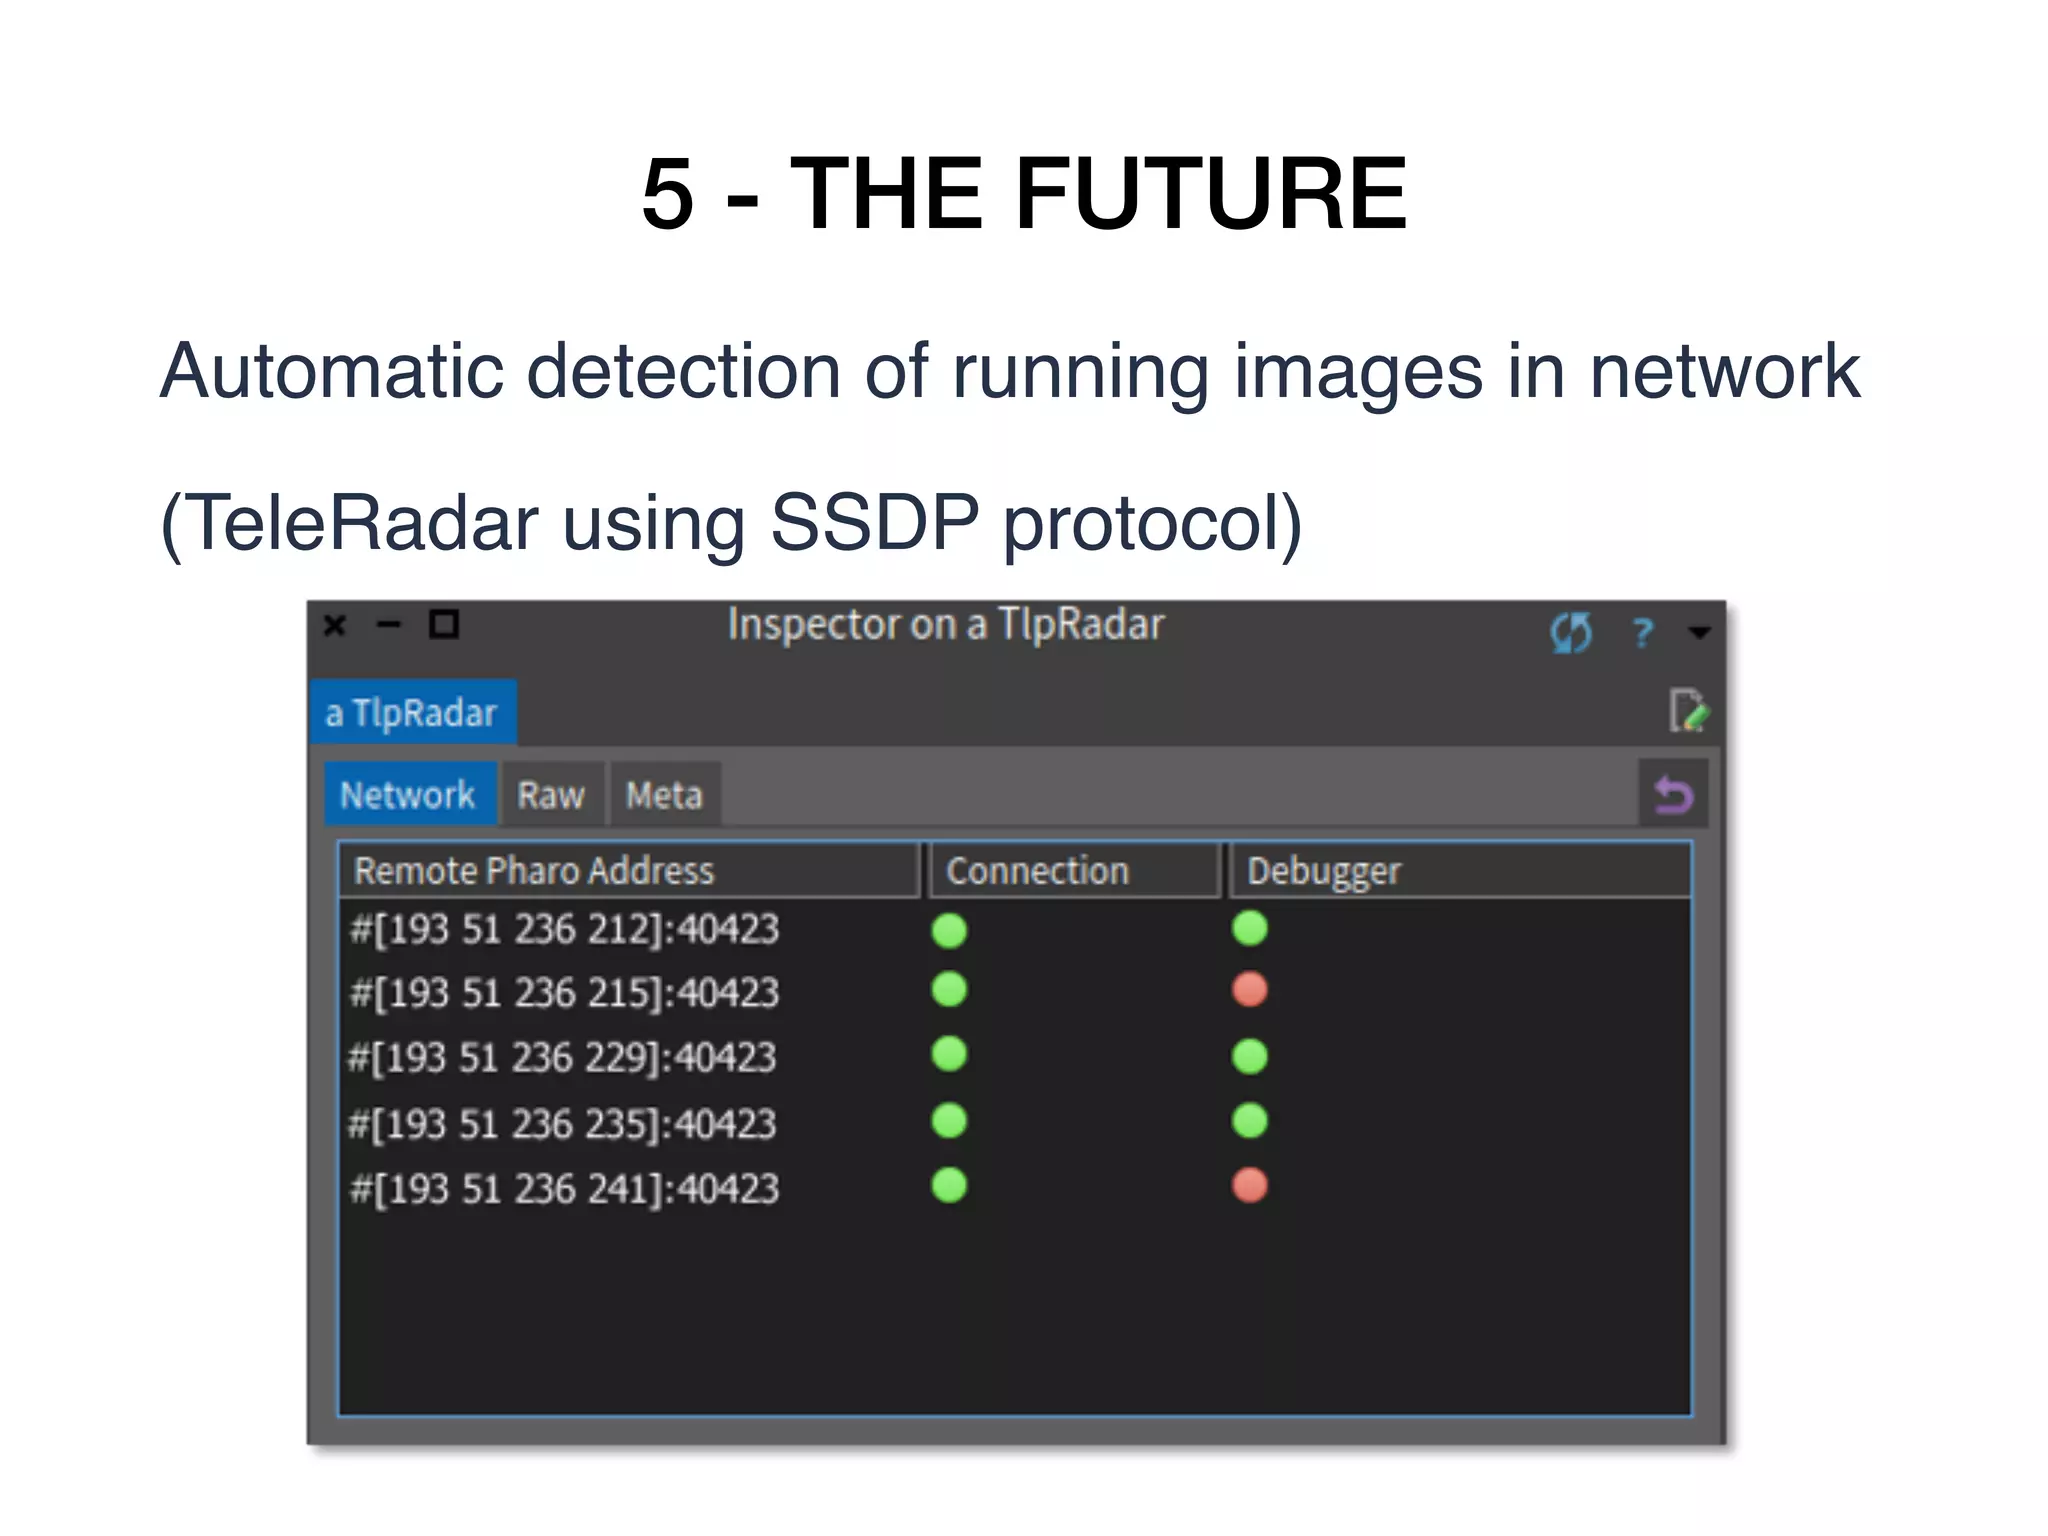
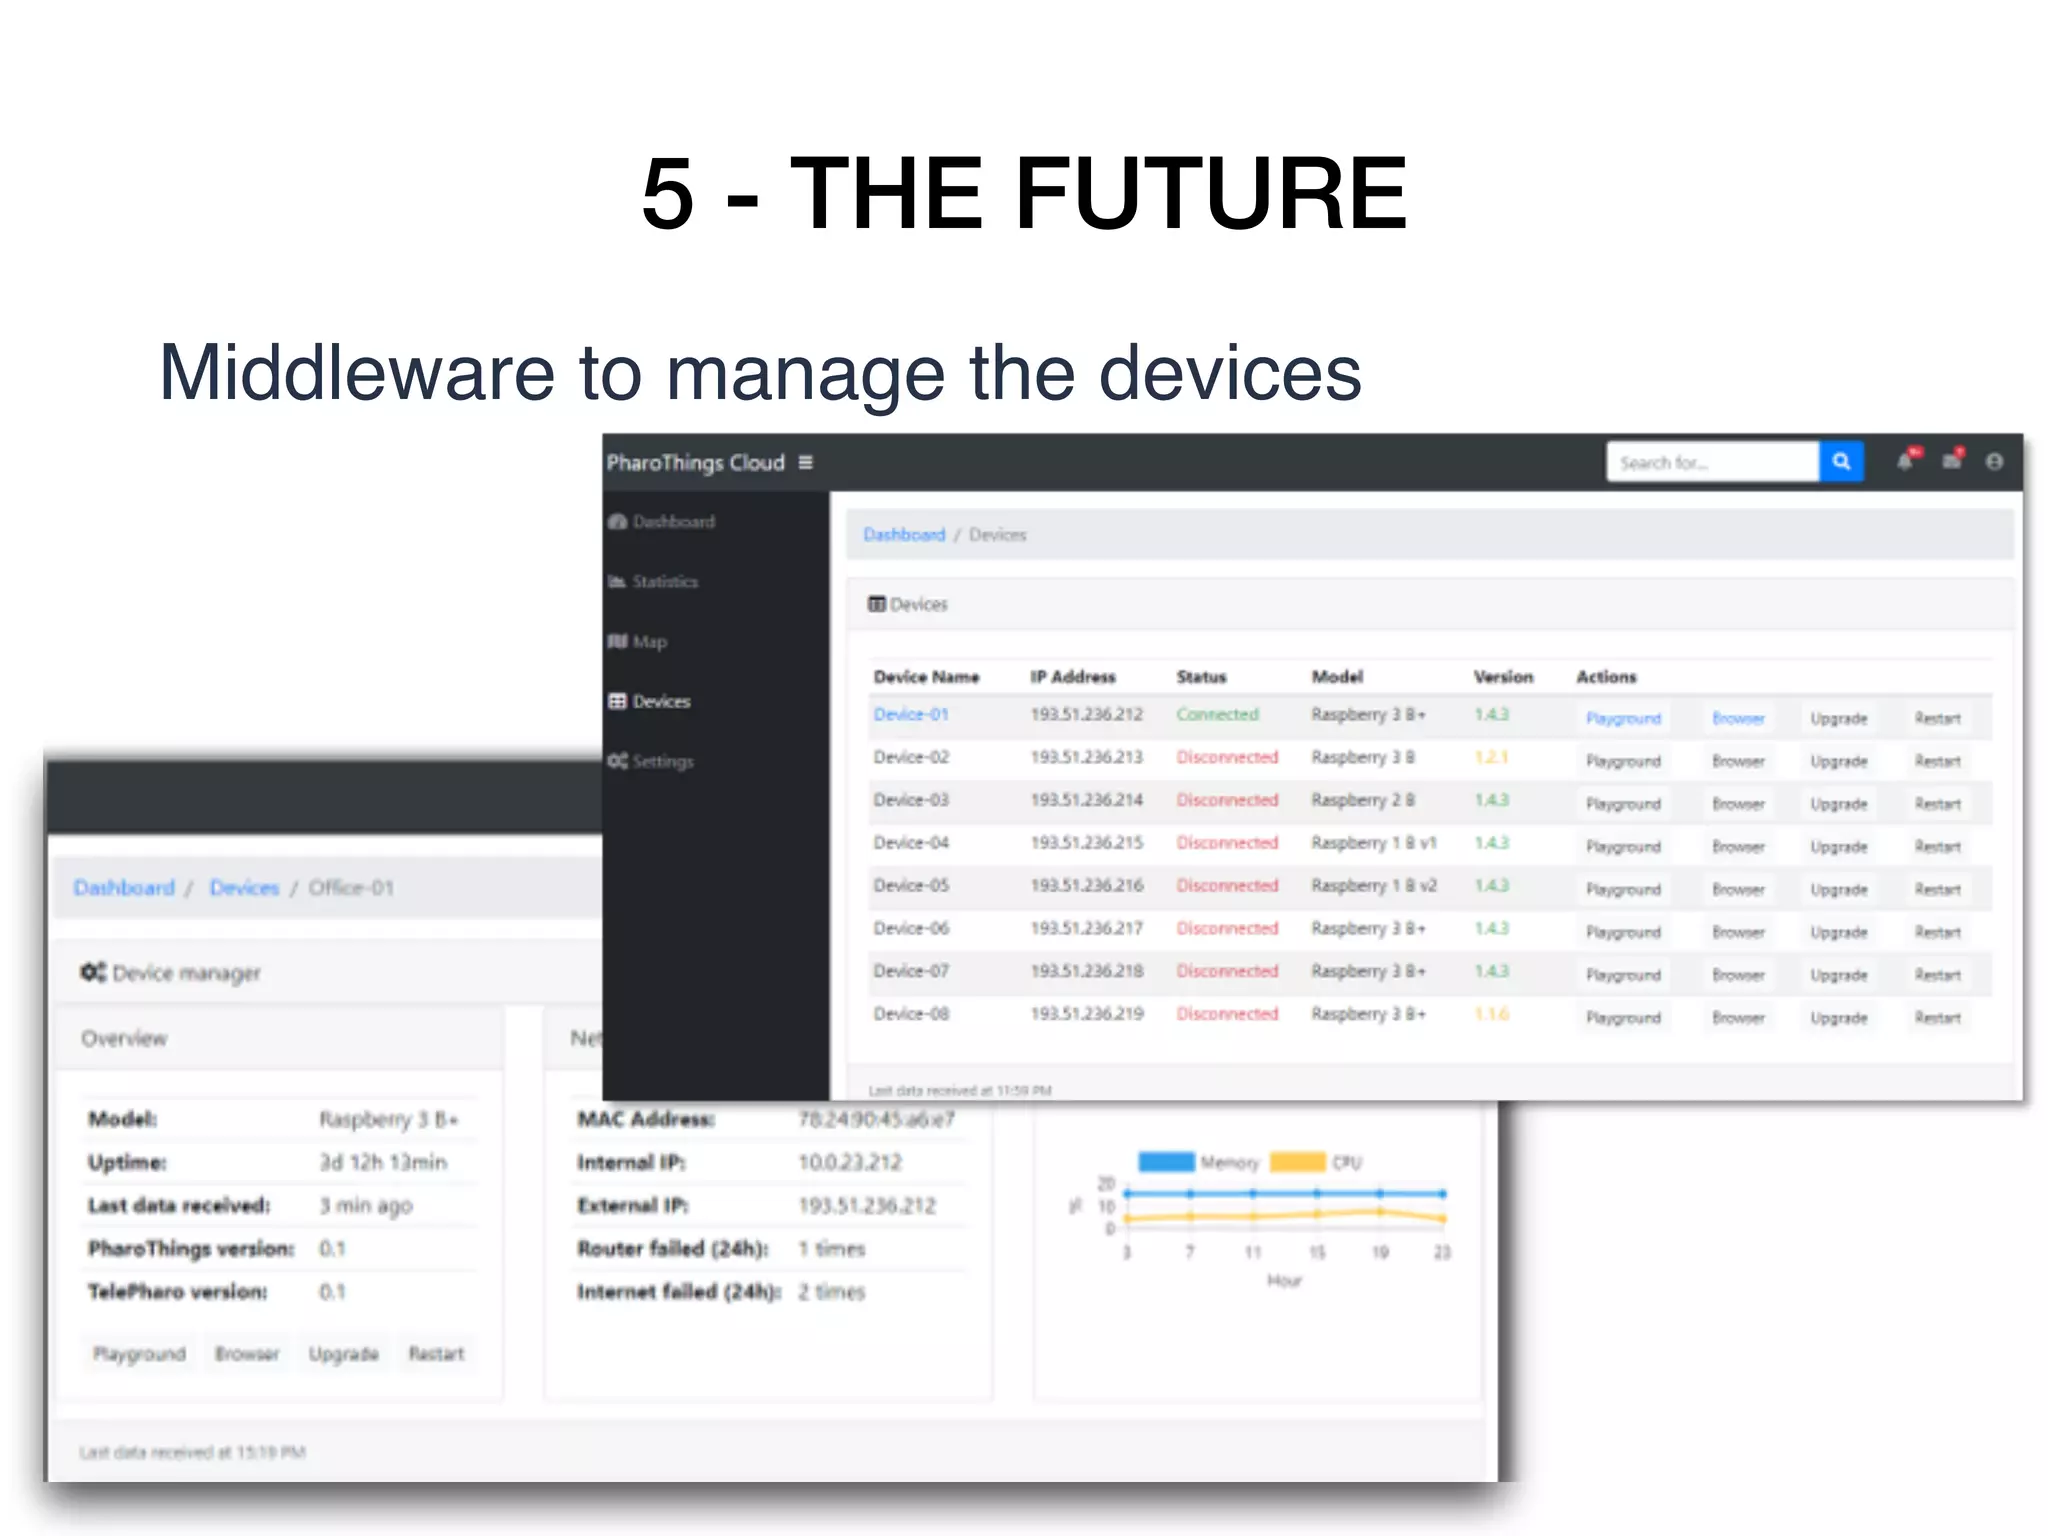
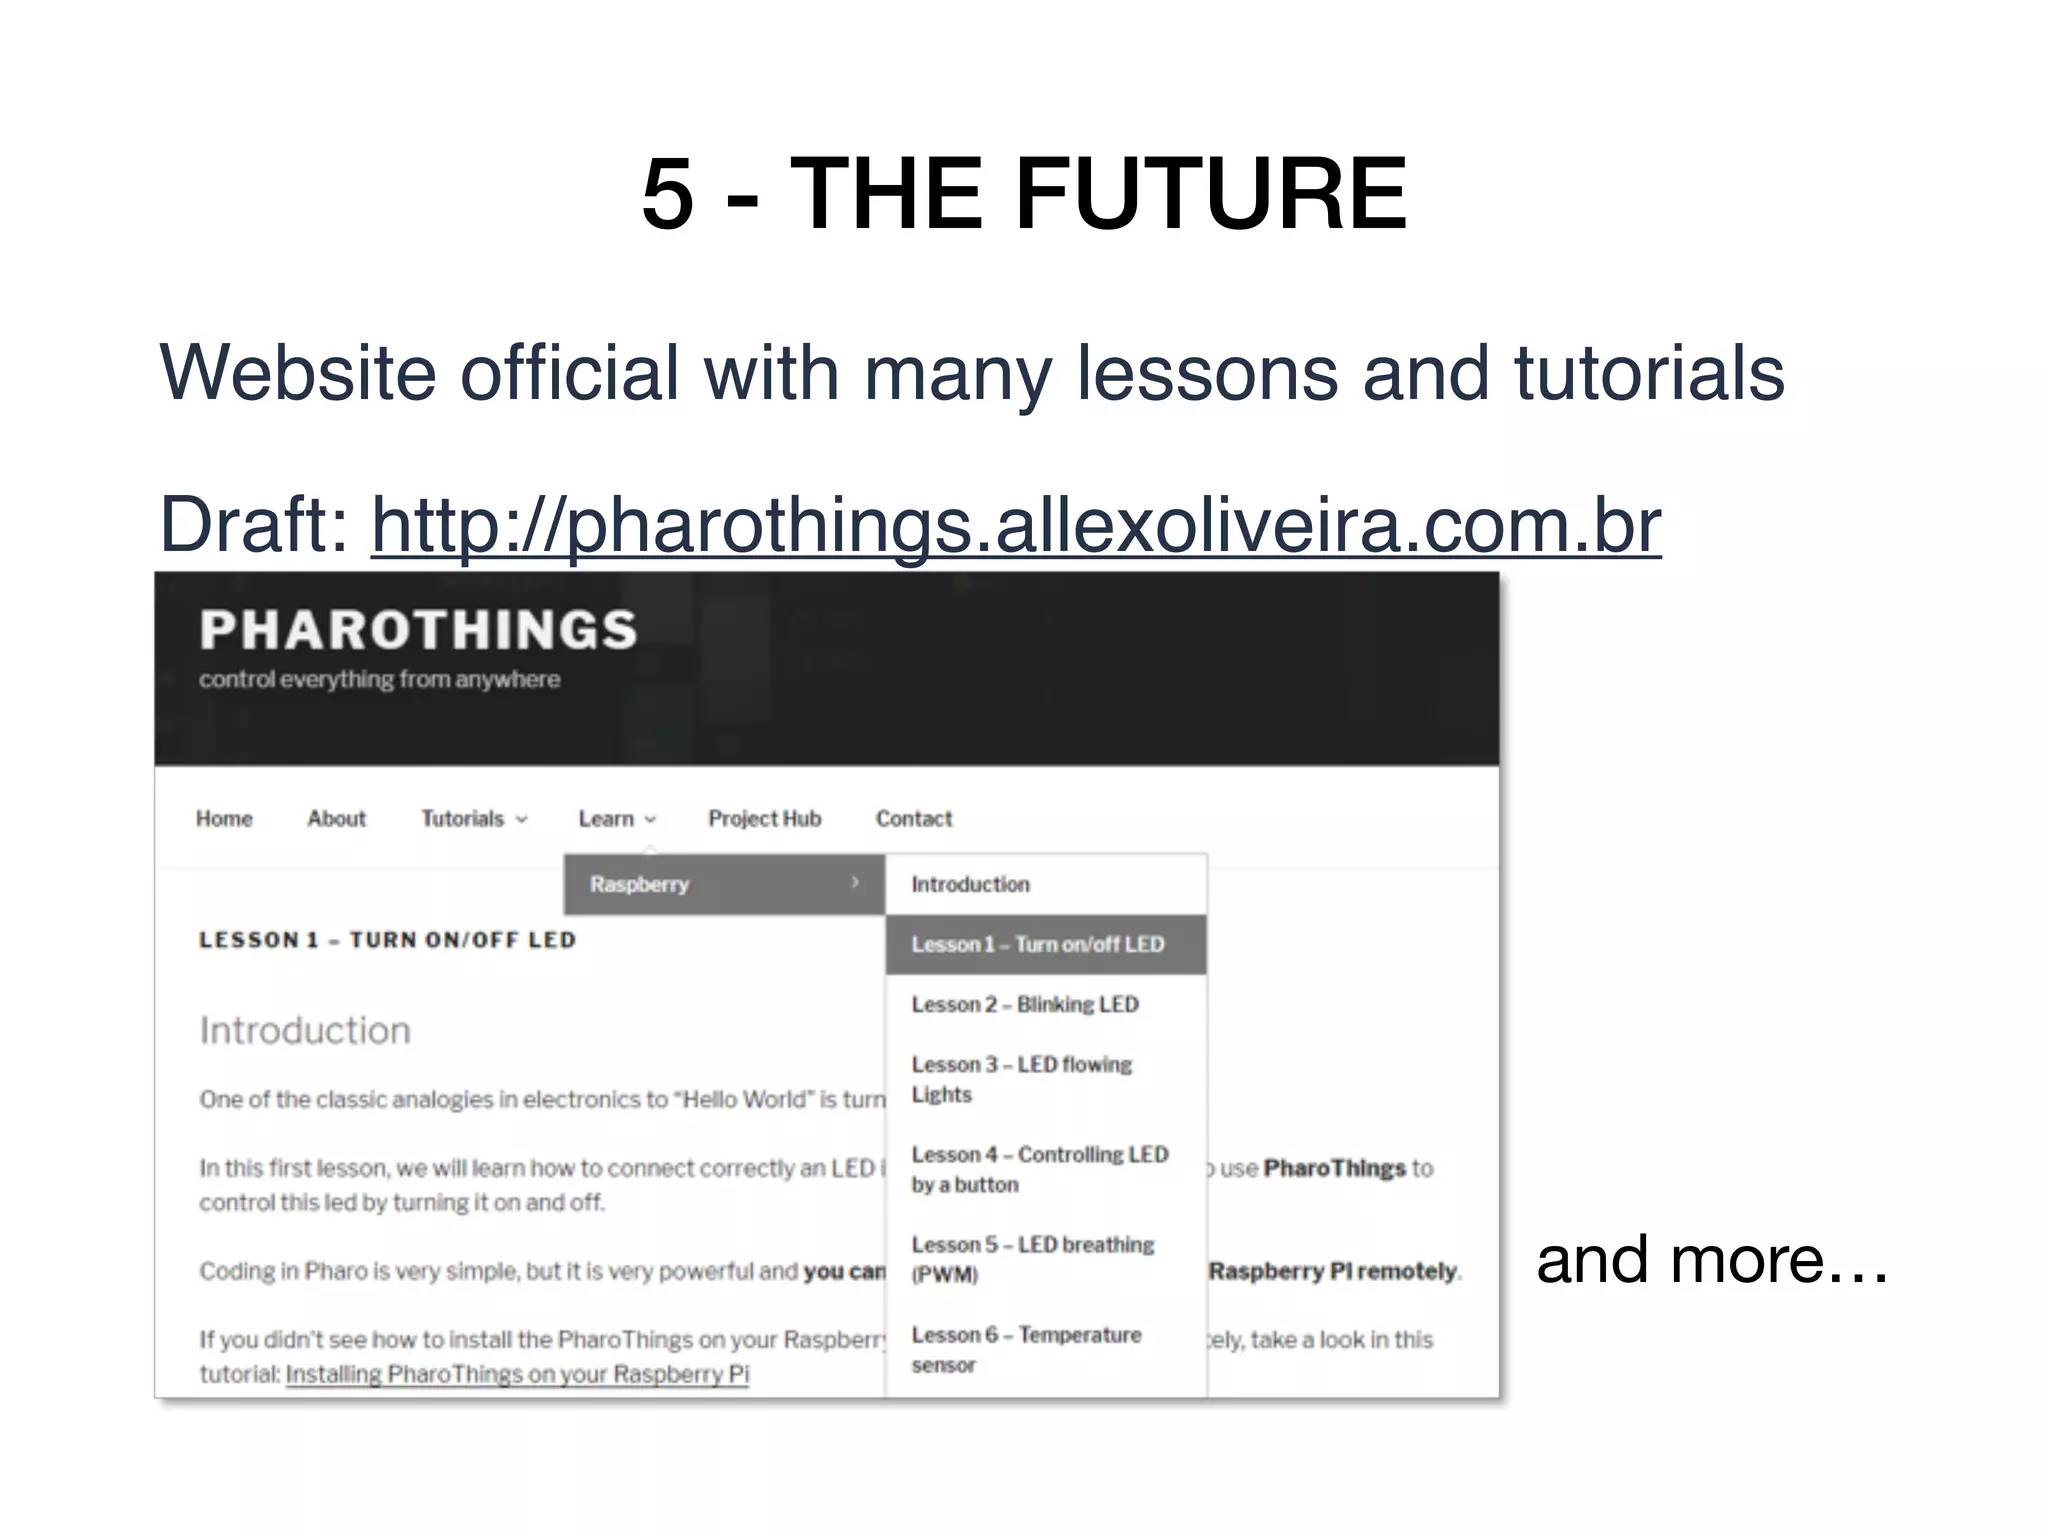
The document details the 'PharoThings' project, which allows control of IoT devices using Pharo on Raspberry Pi through GPIOs and sensors. It covers installation instructions, remote programming capabilities, and provides examples of applications such as a personal weather station. Future developments include enhanced support for devices and user tutorials.
![3 - PLAYING
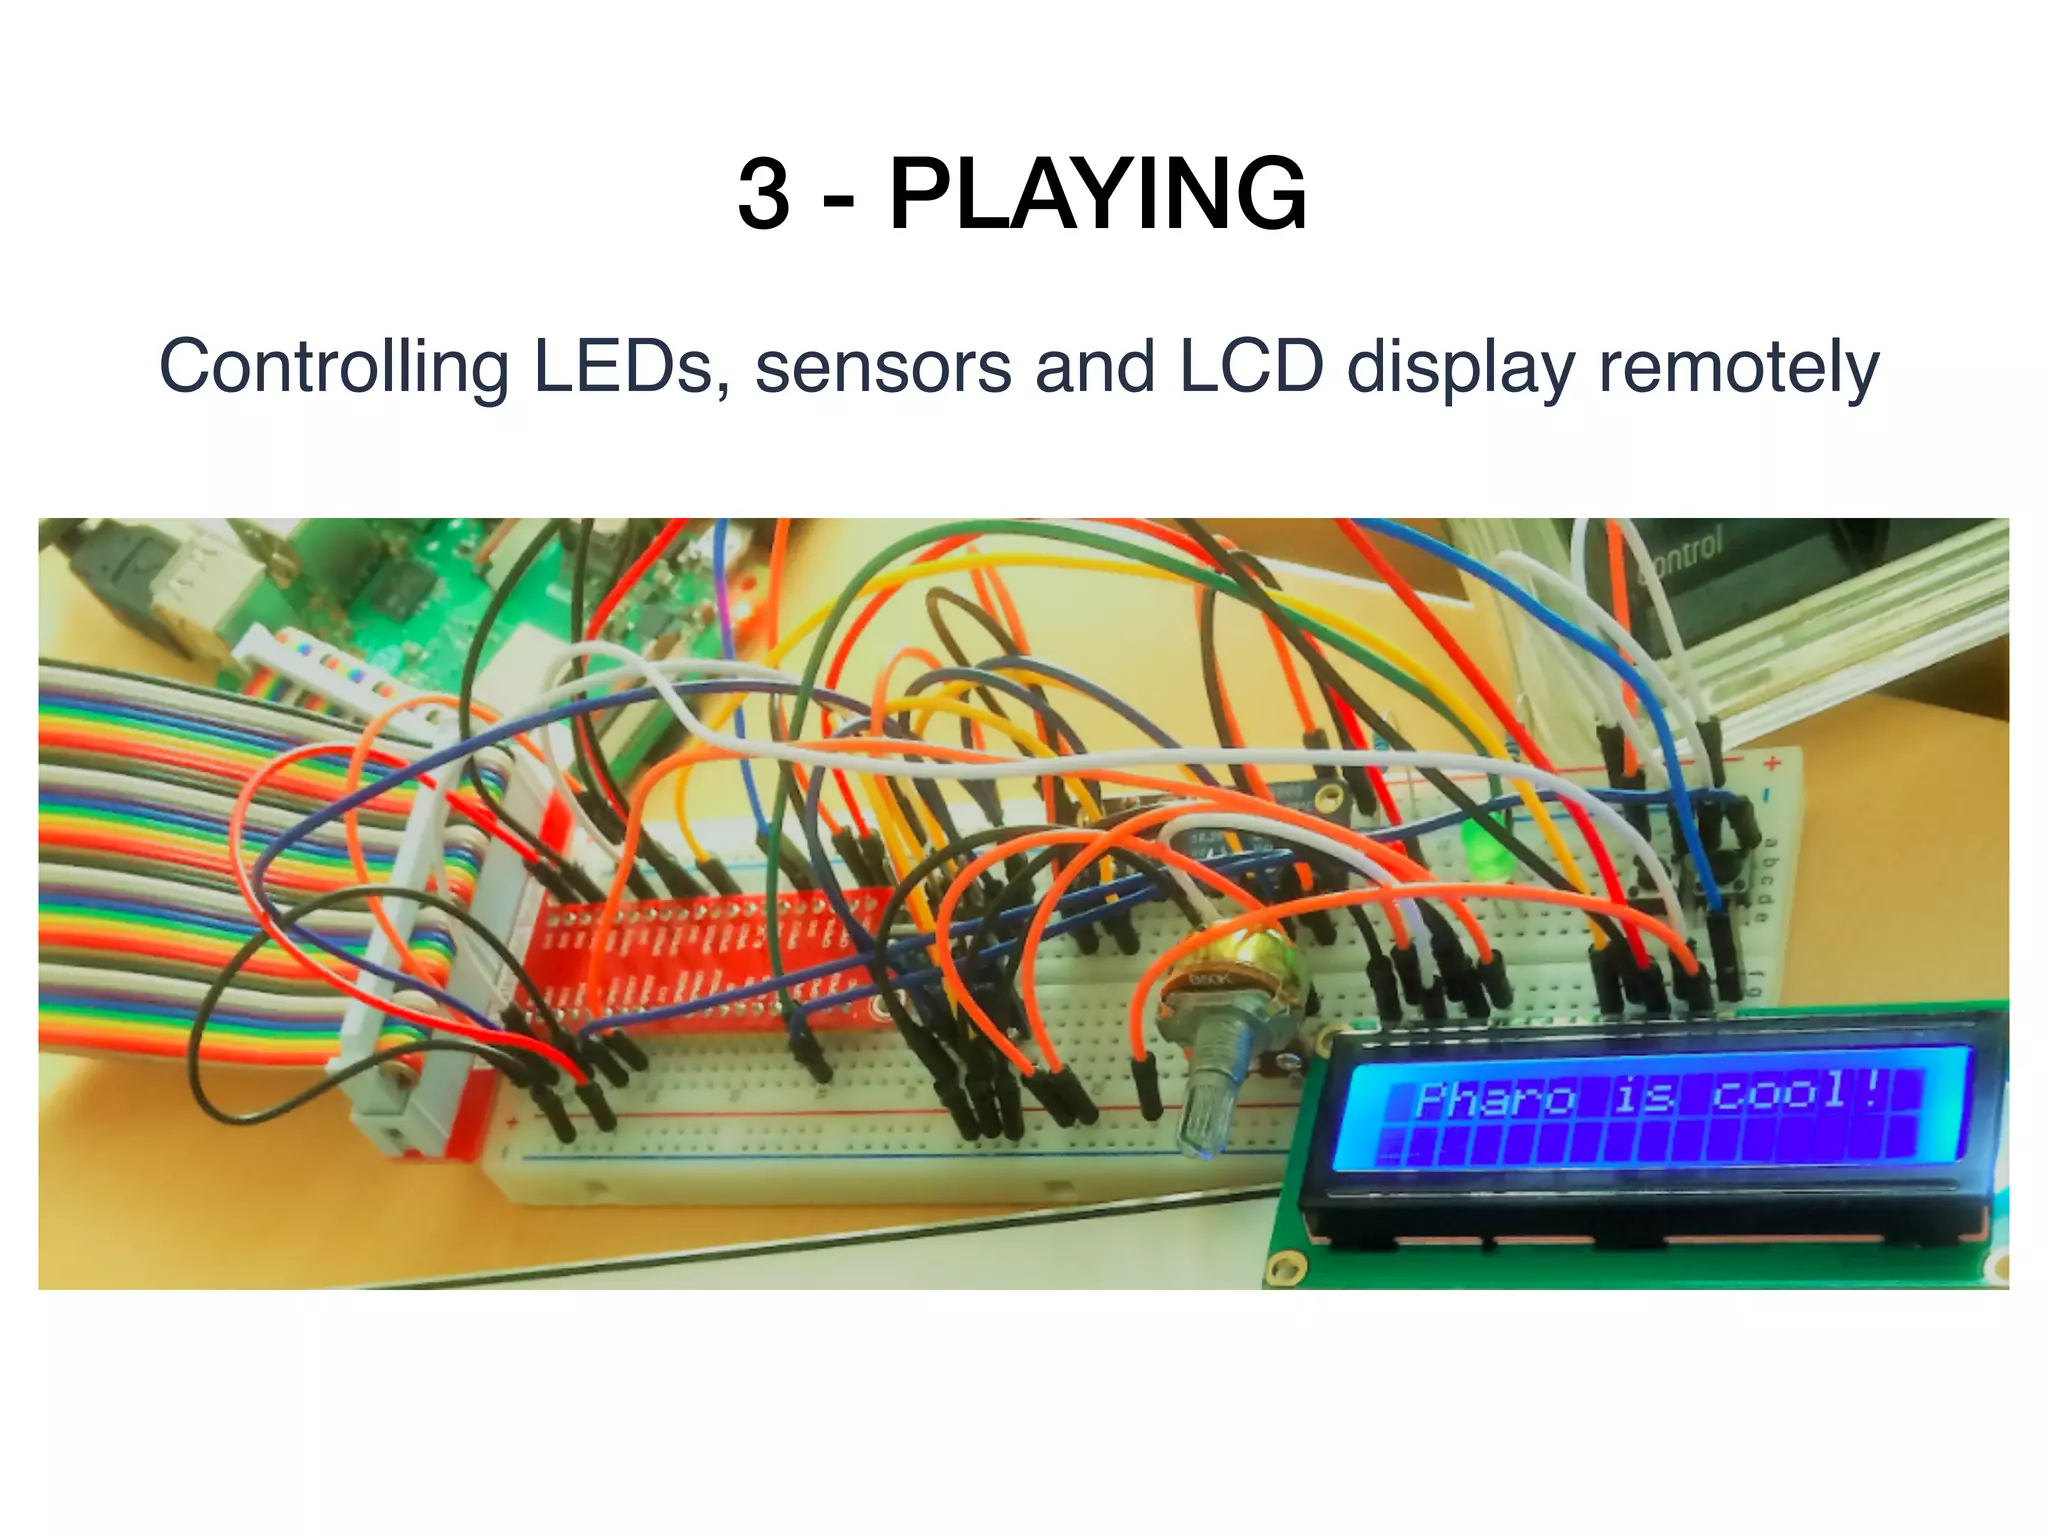
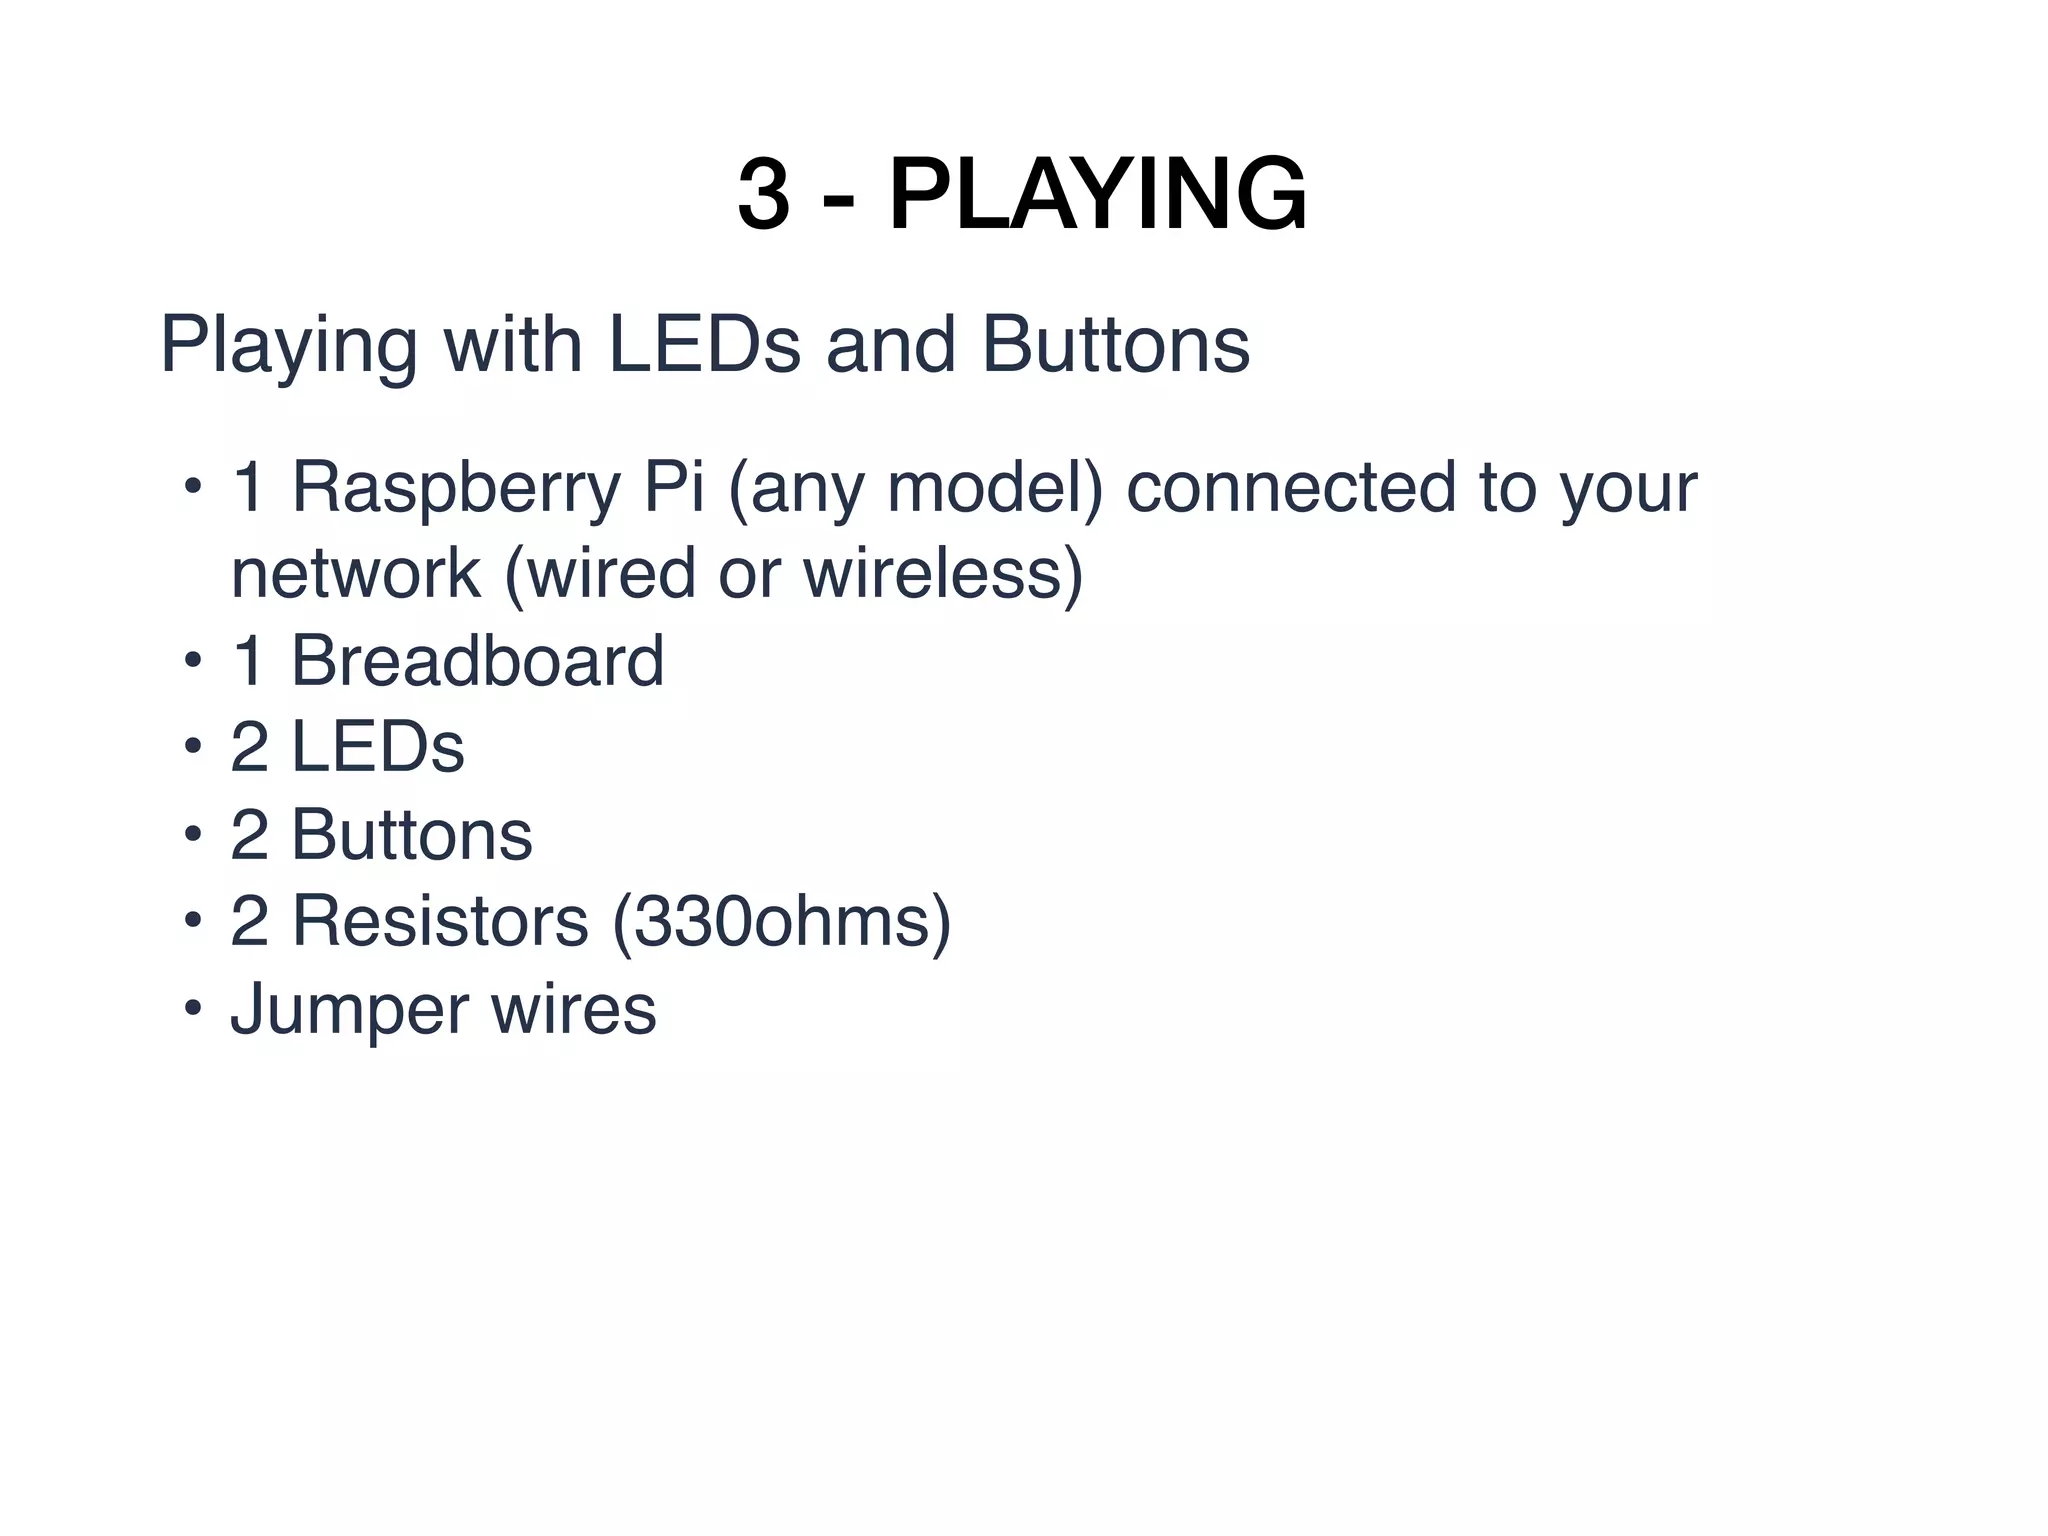
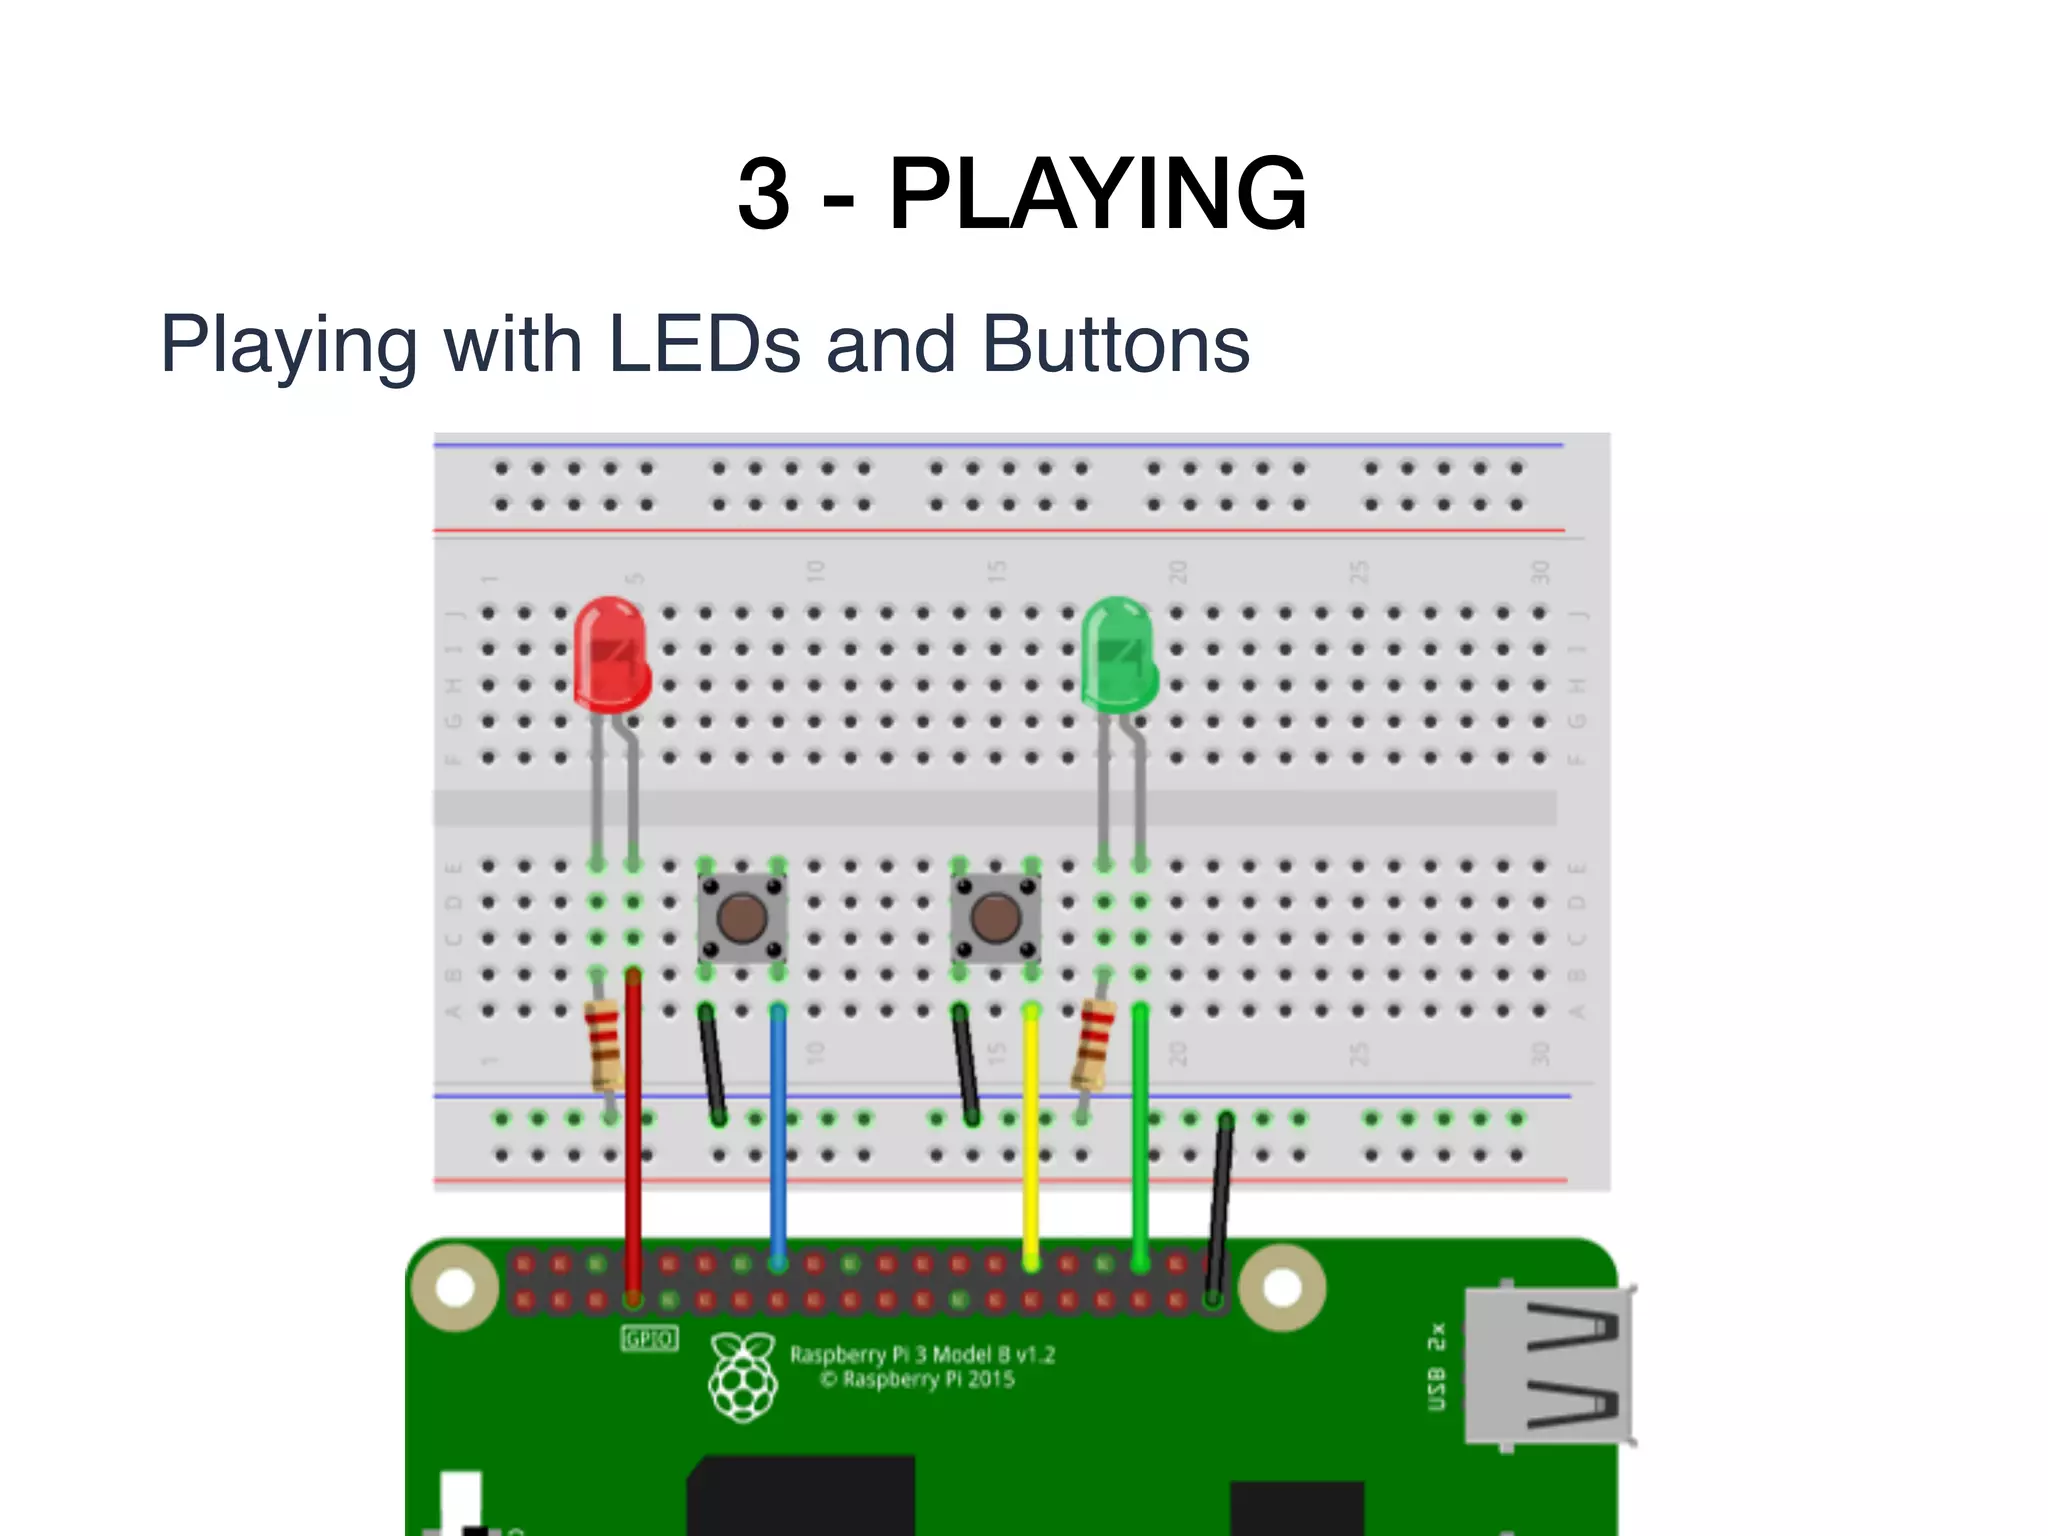
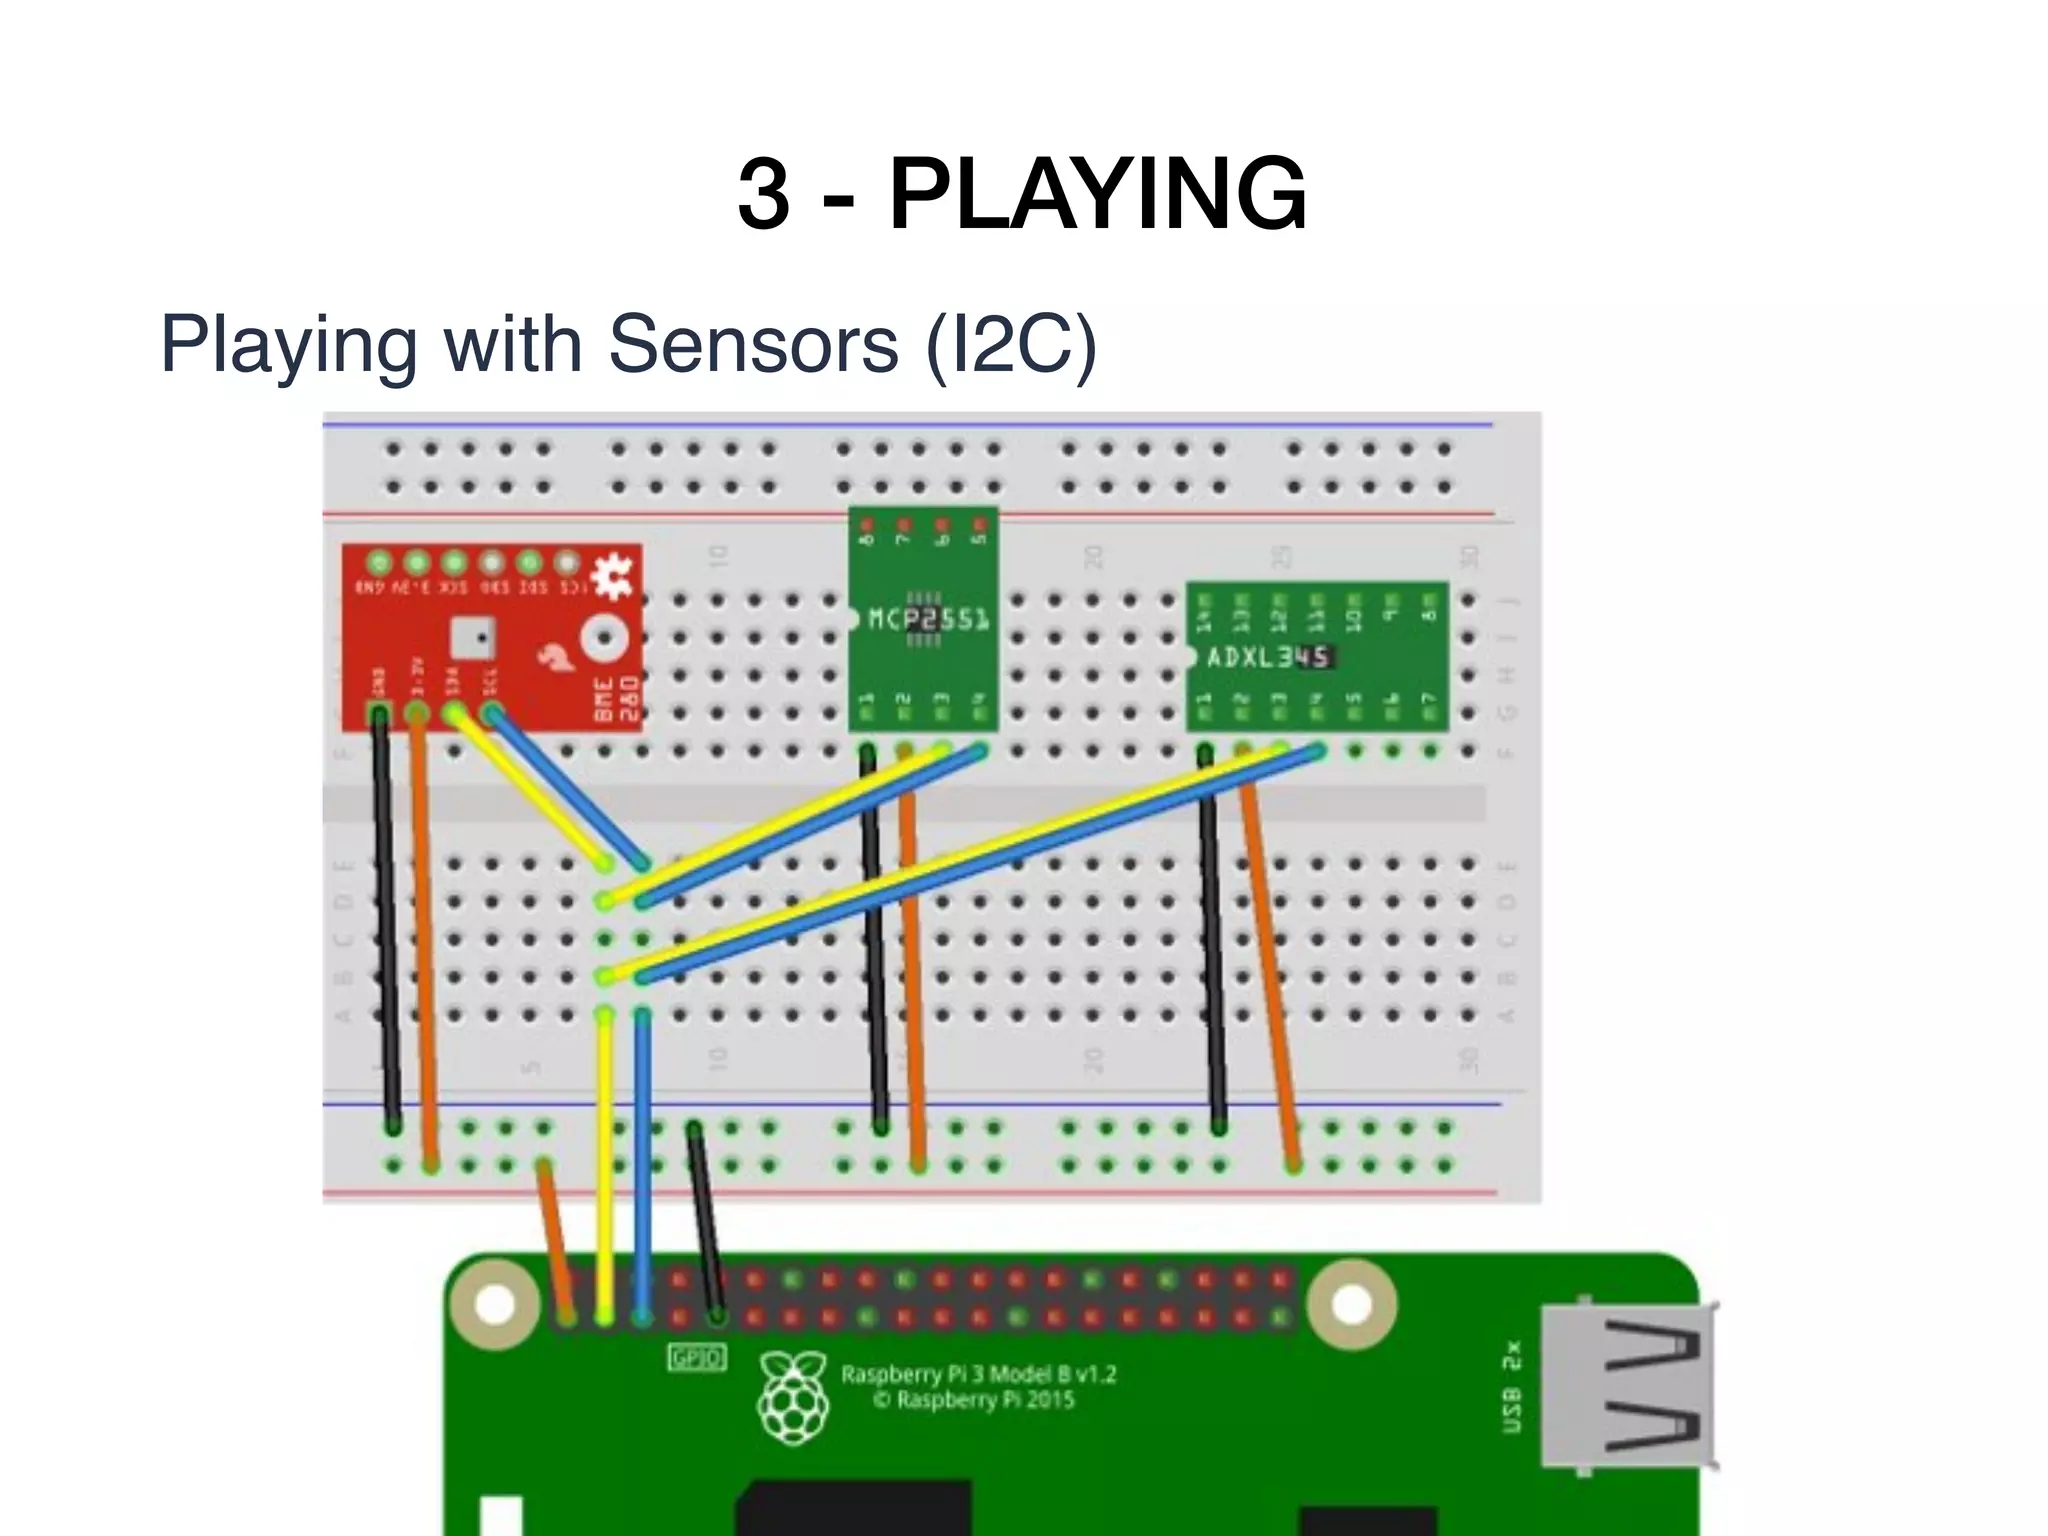
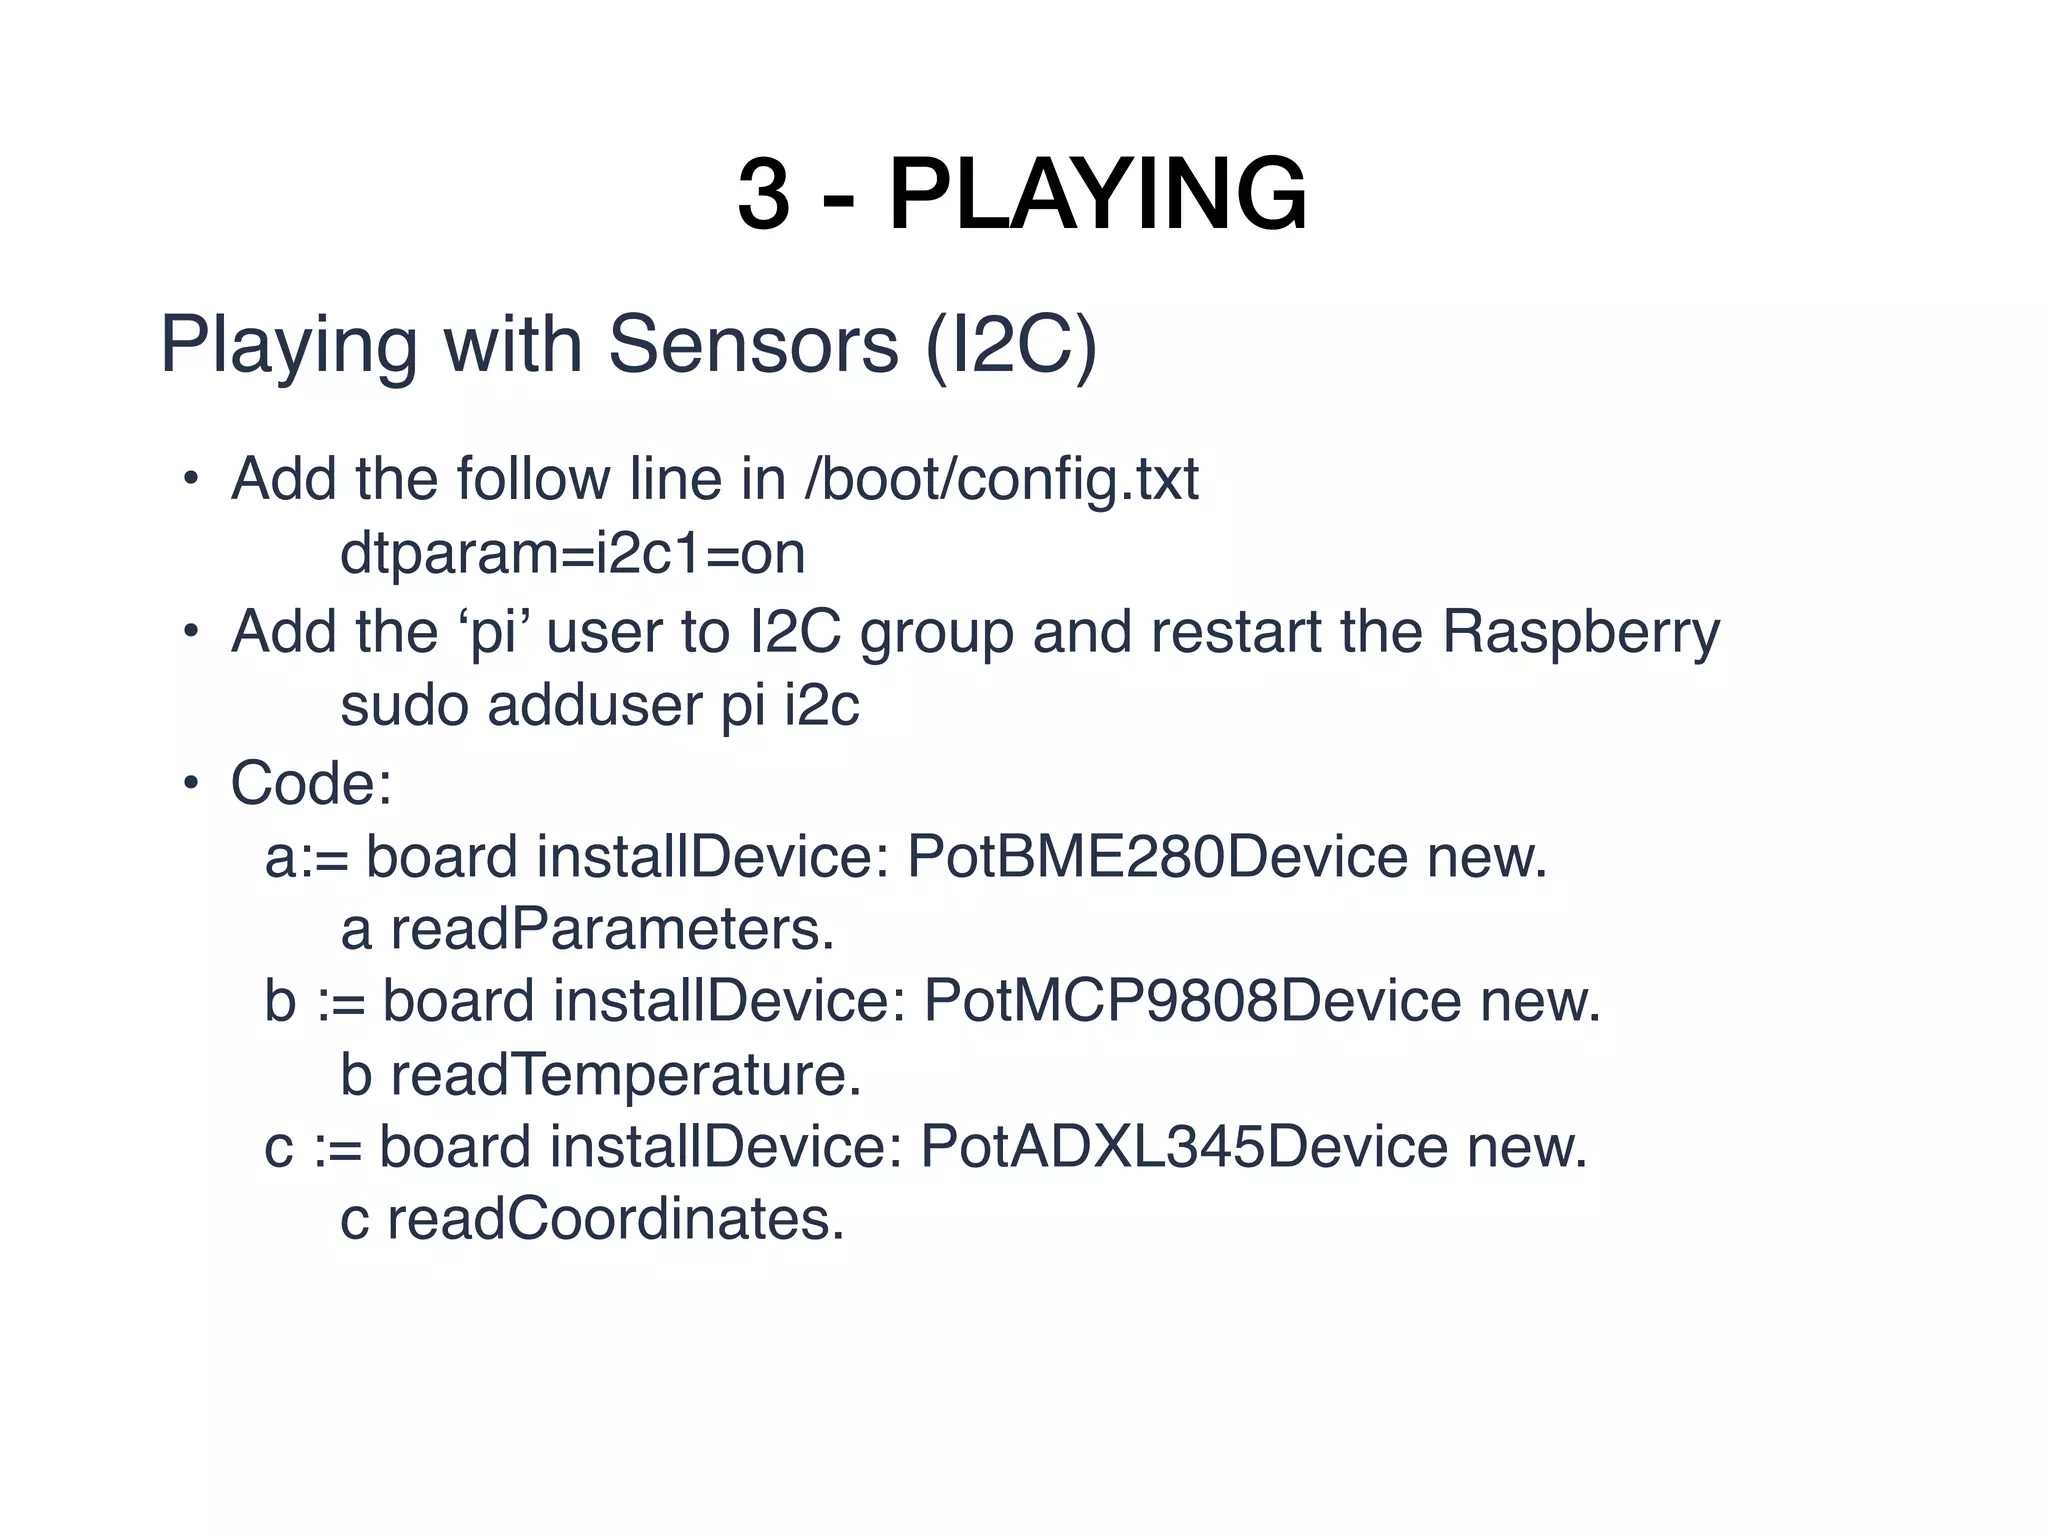
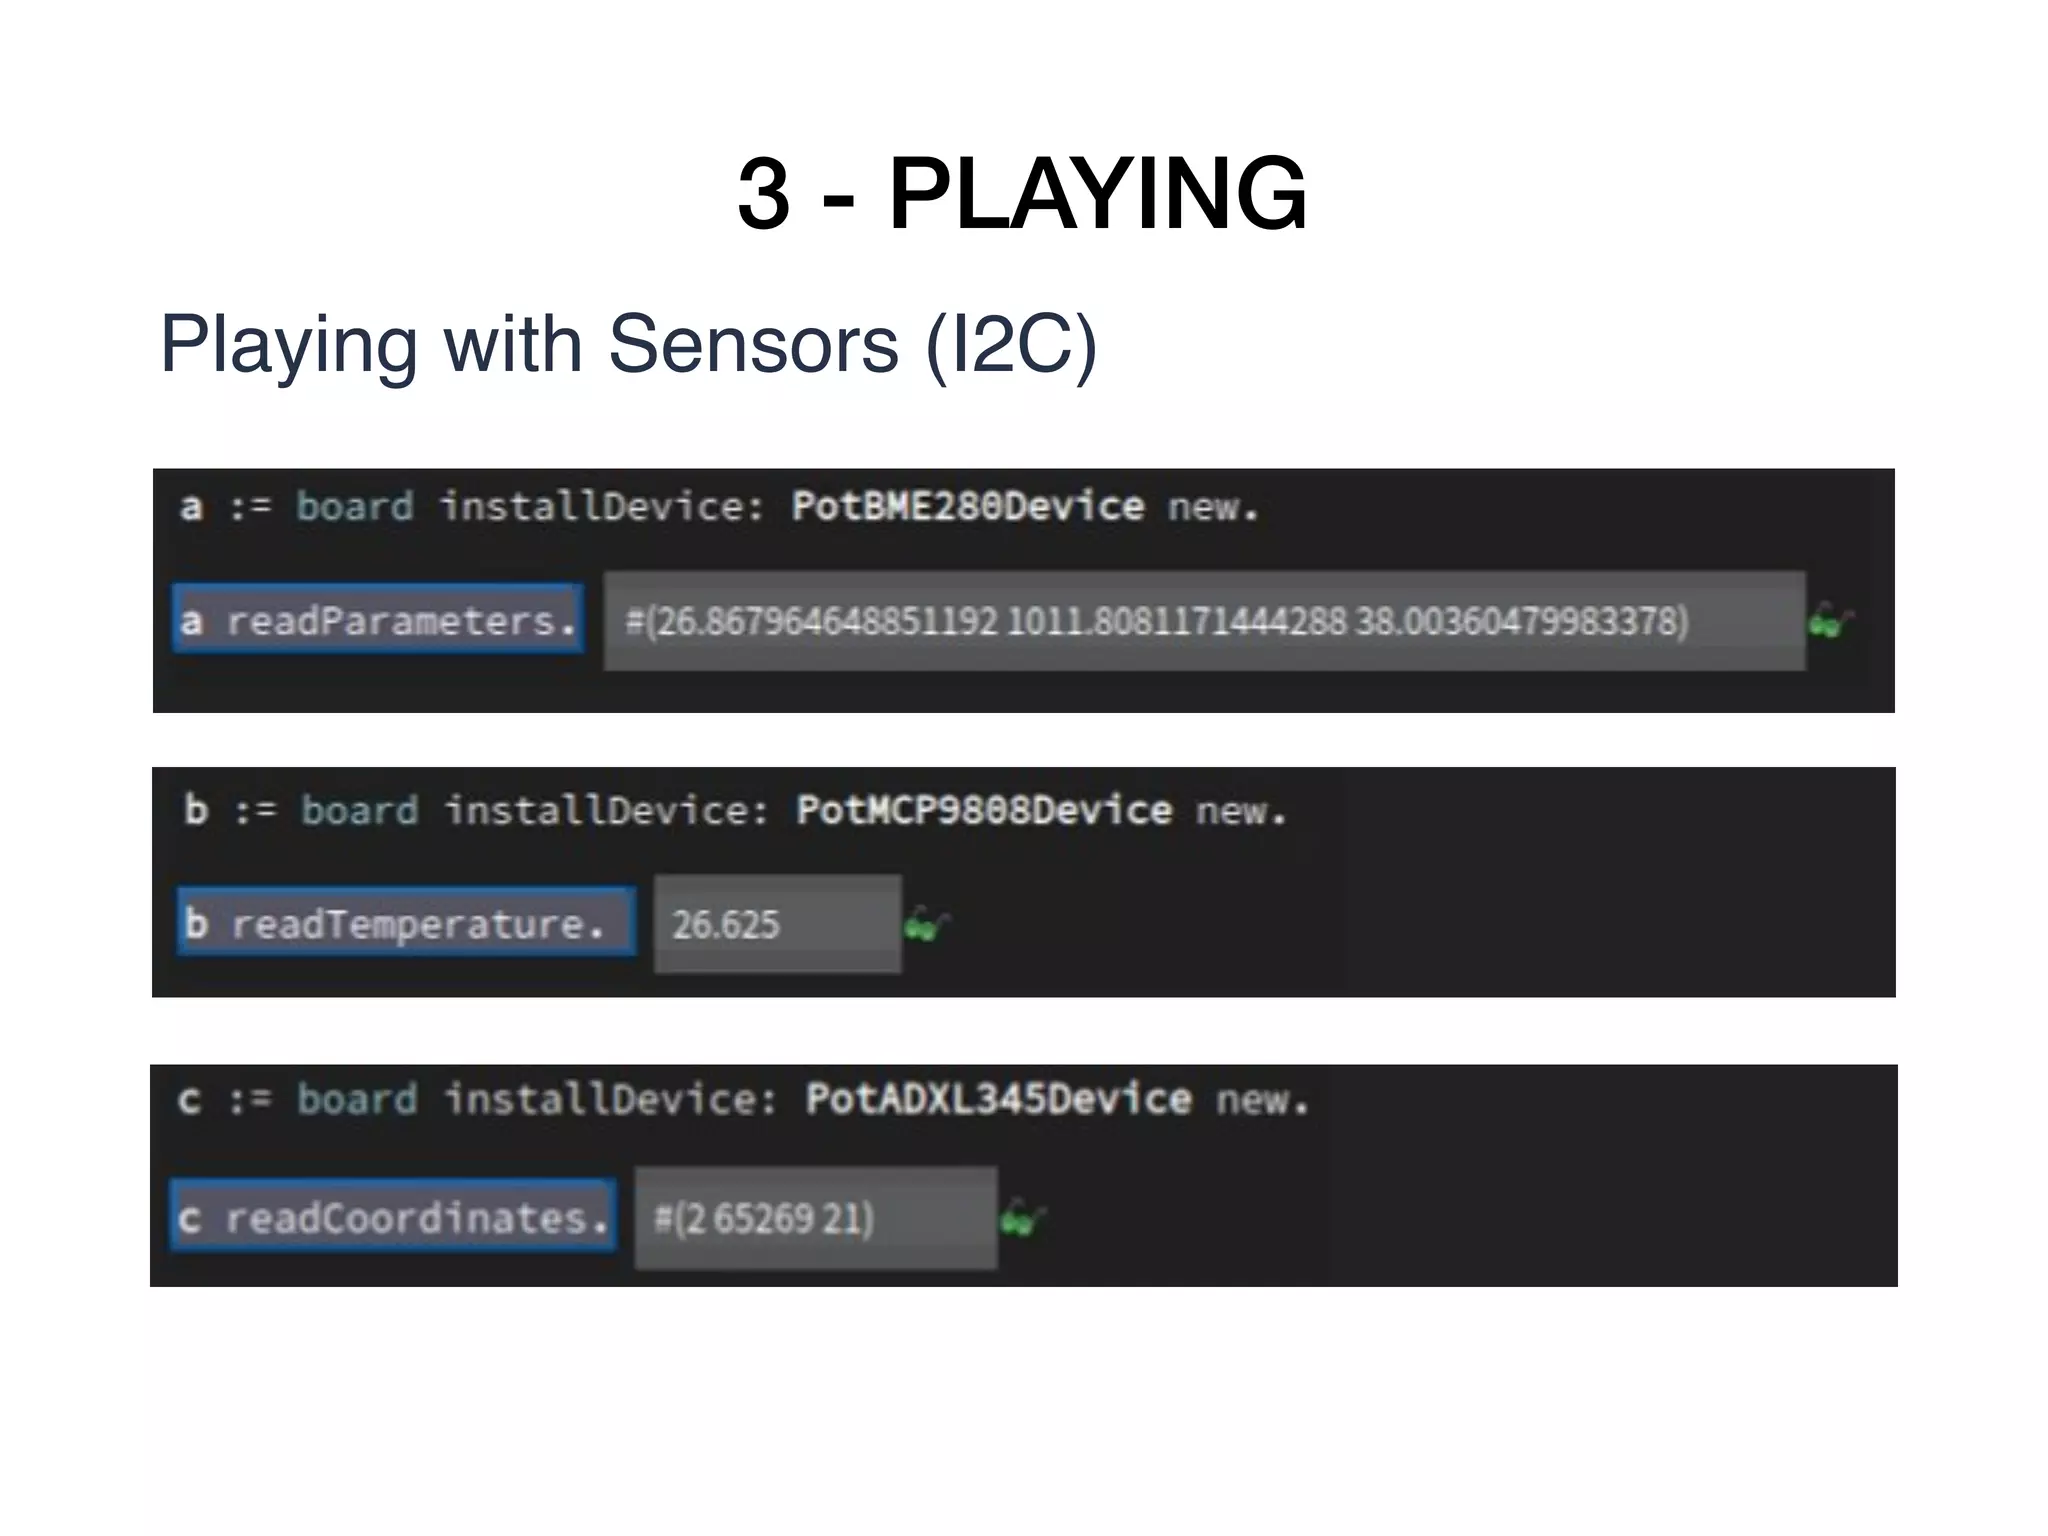
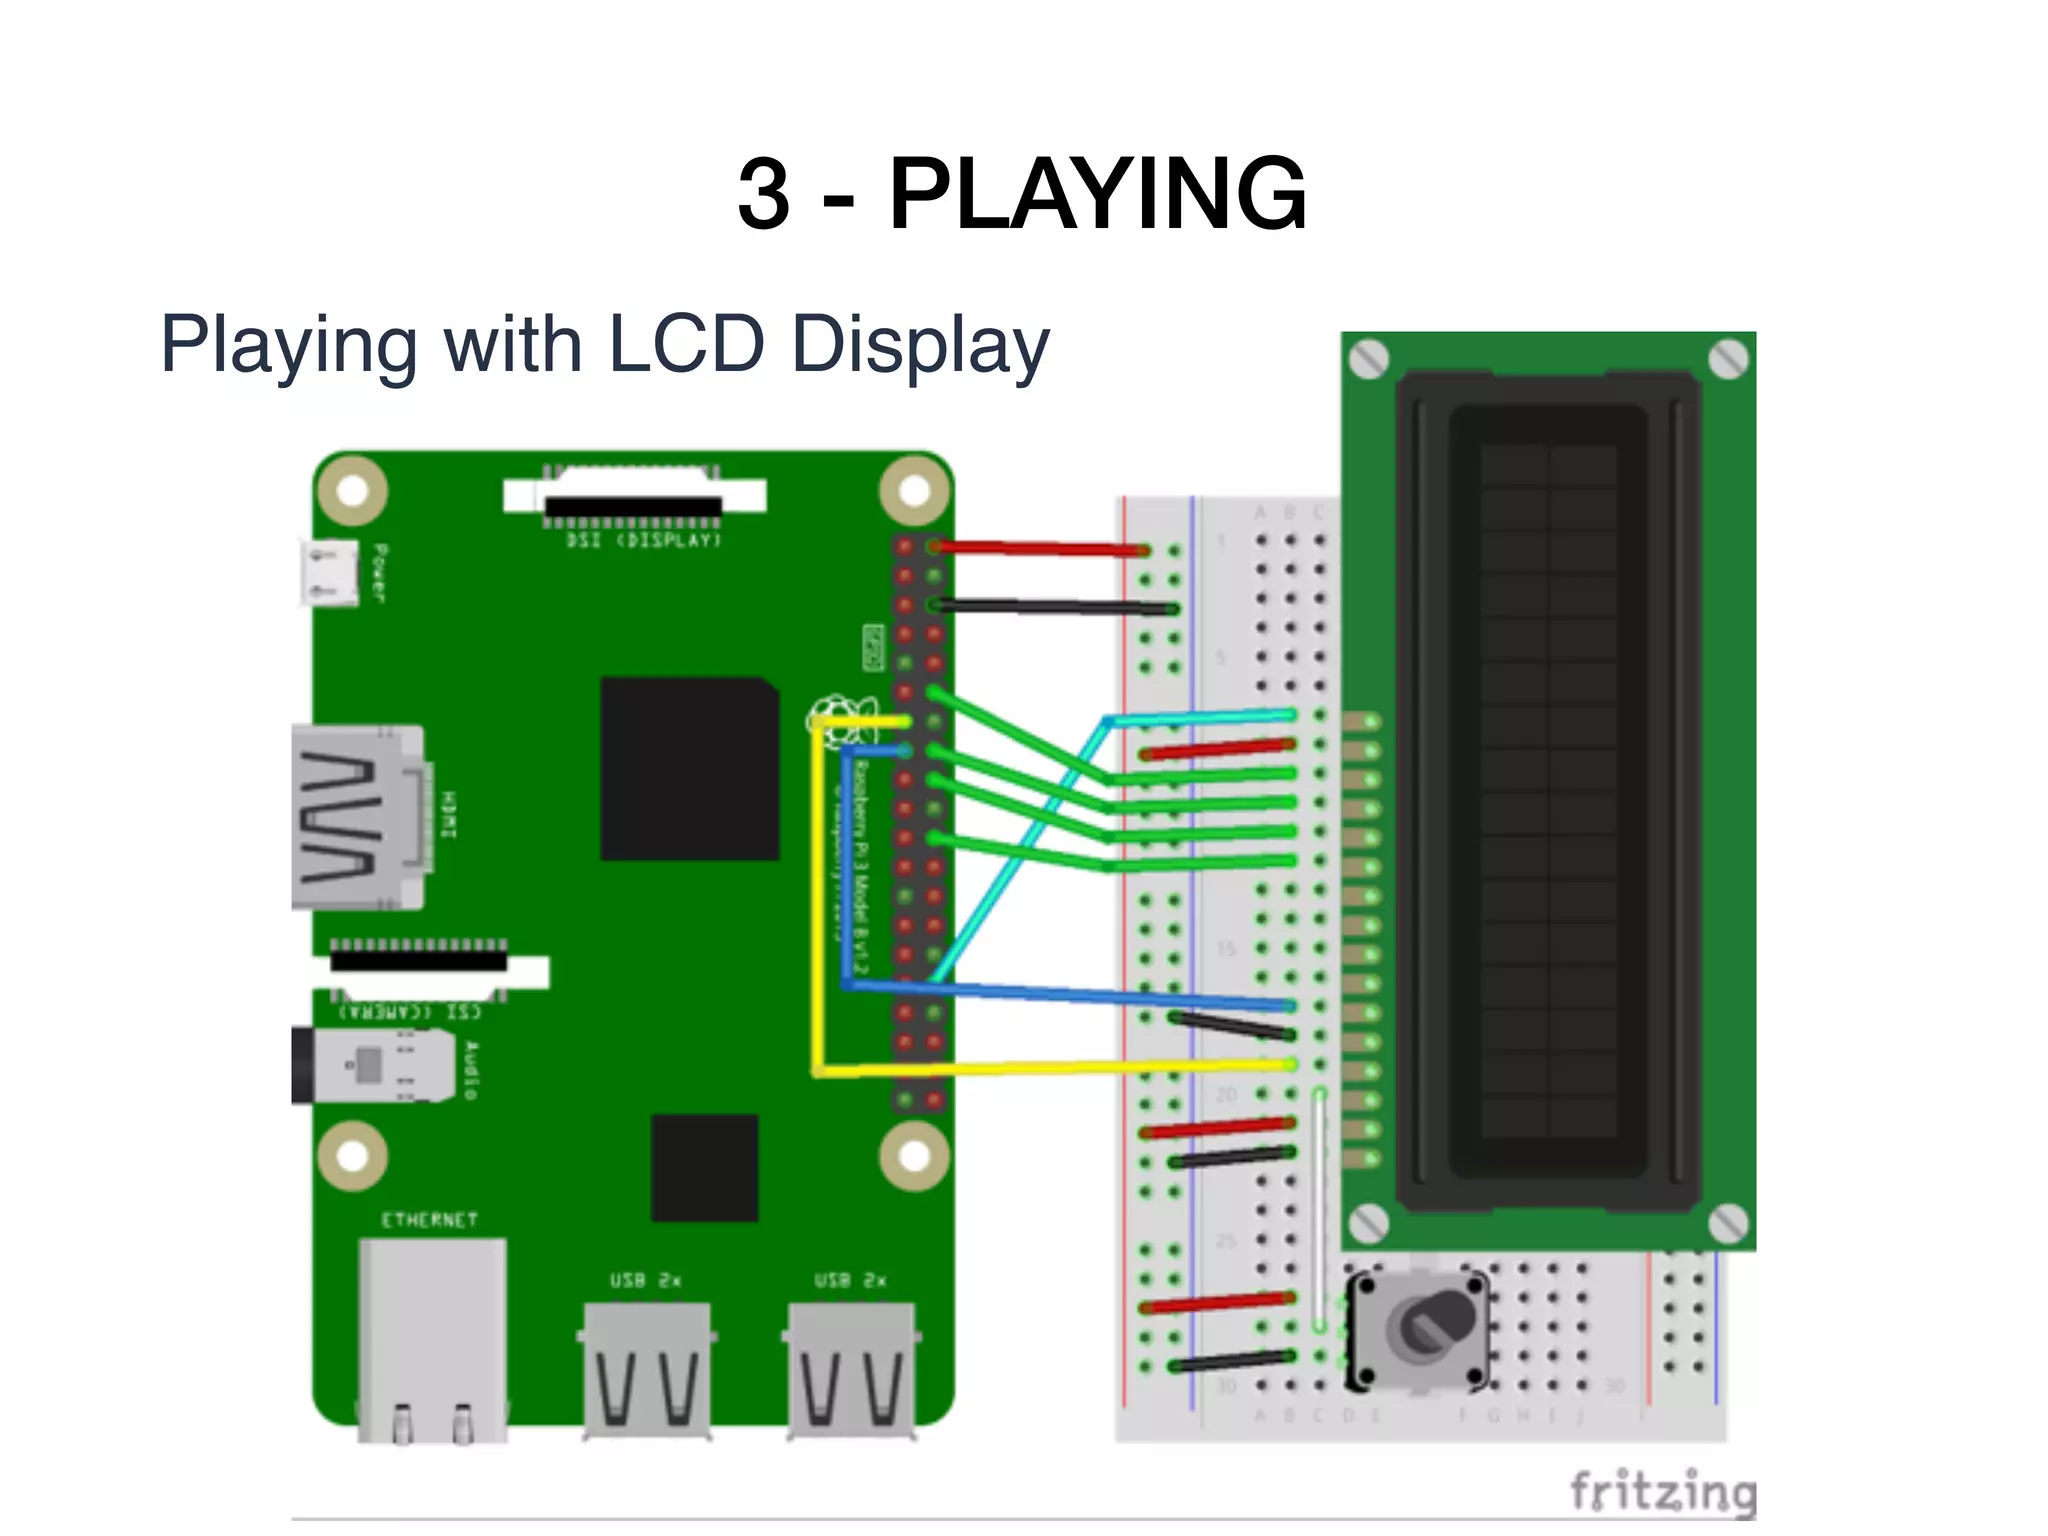
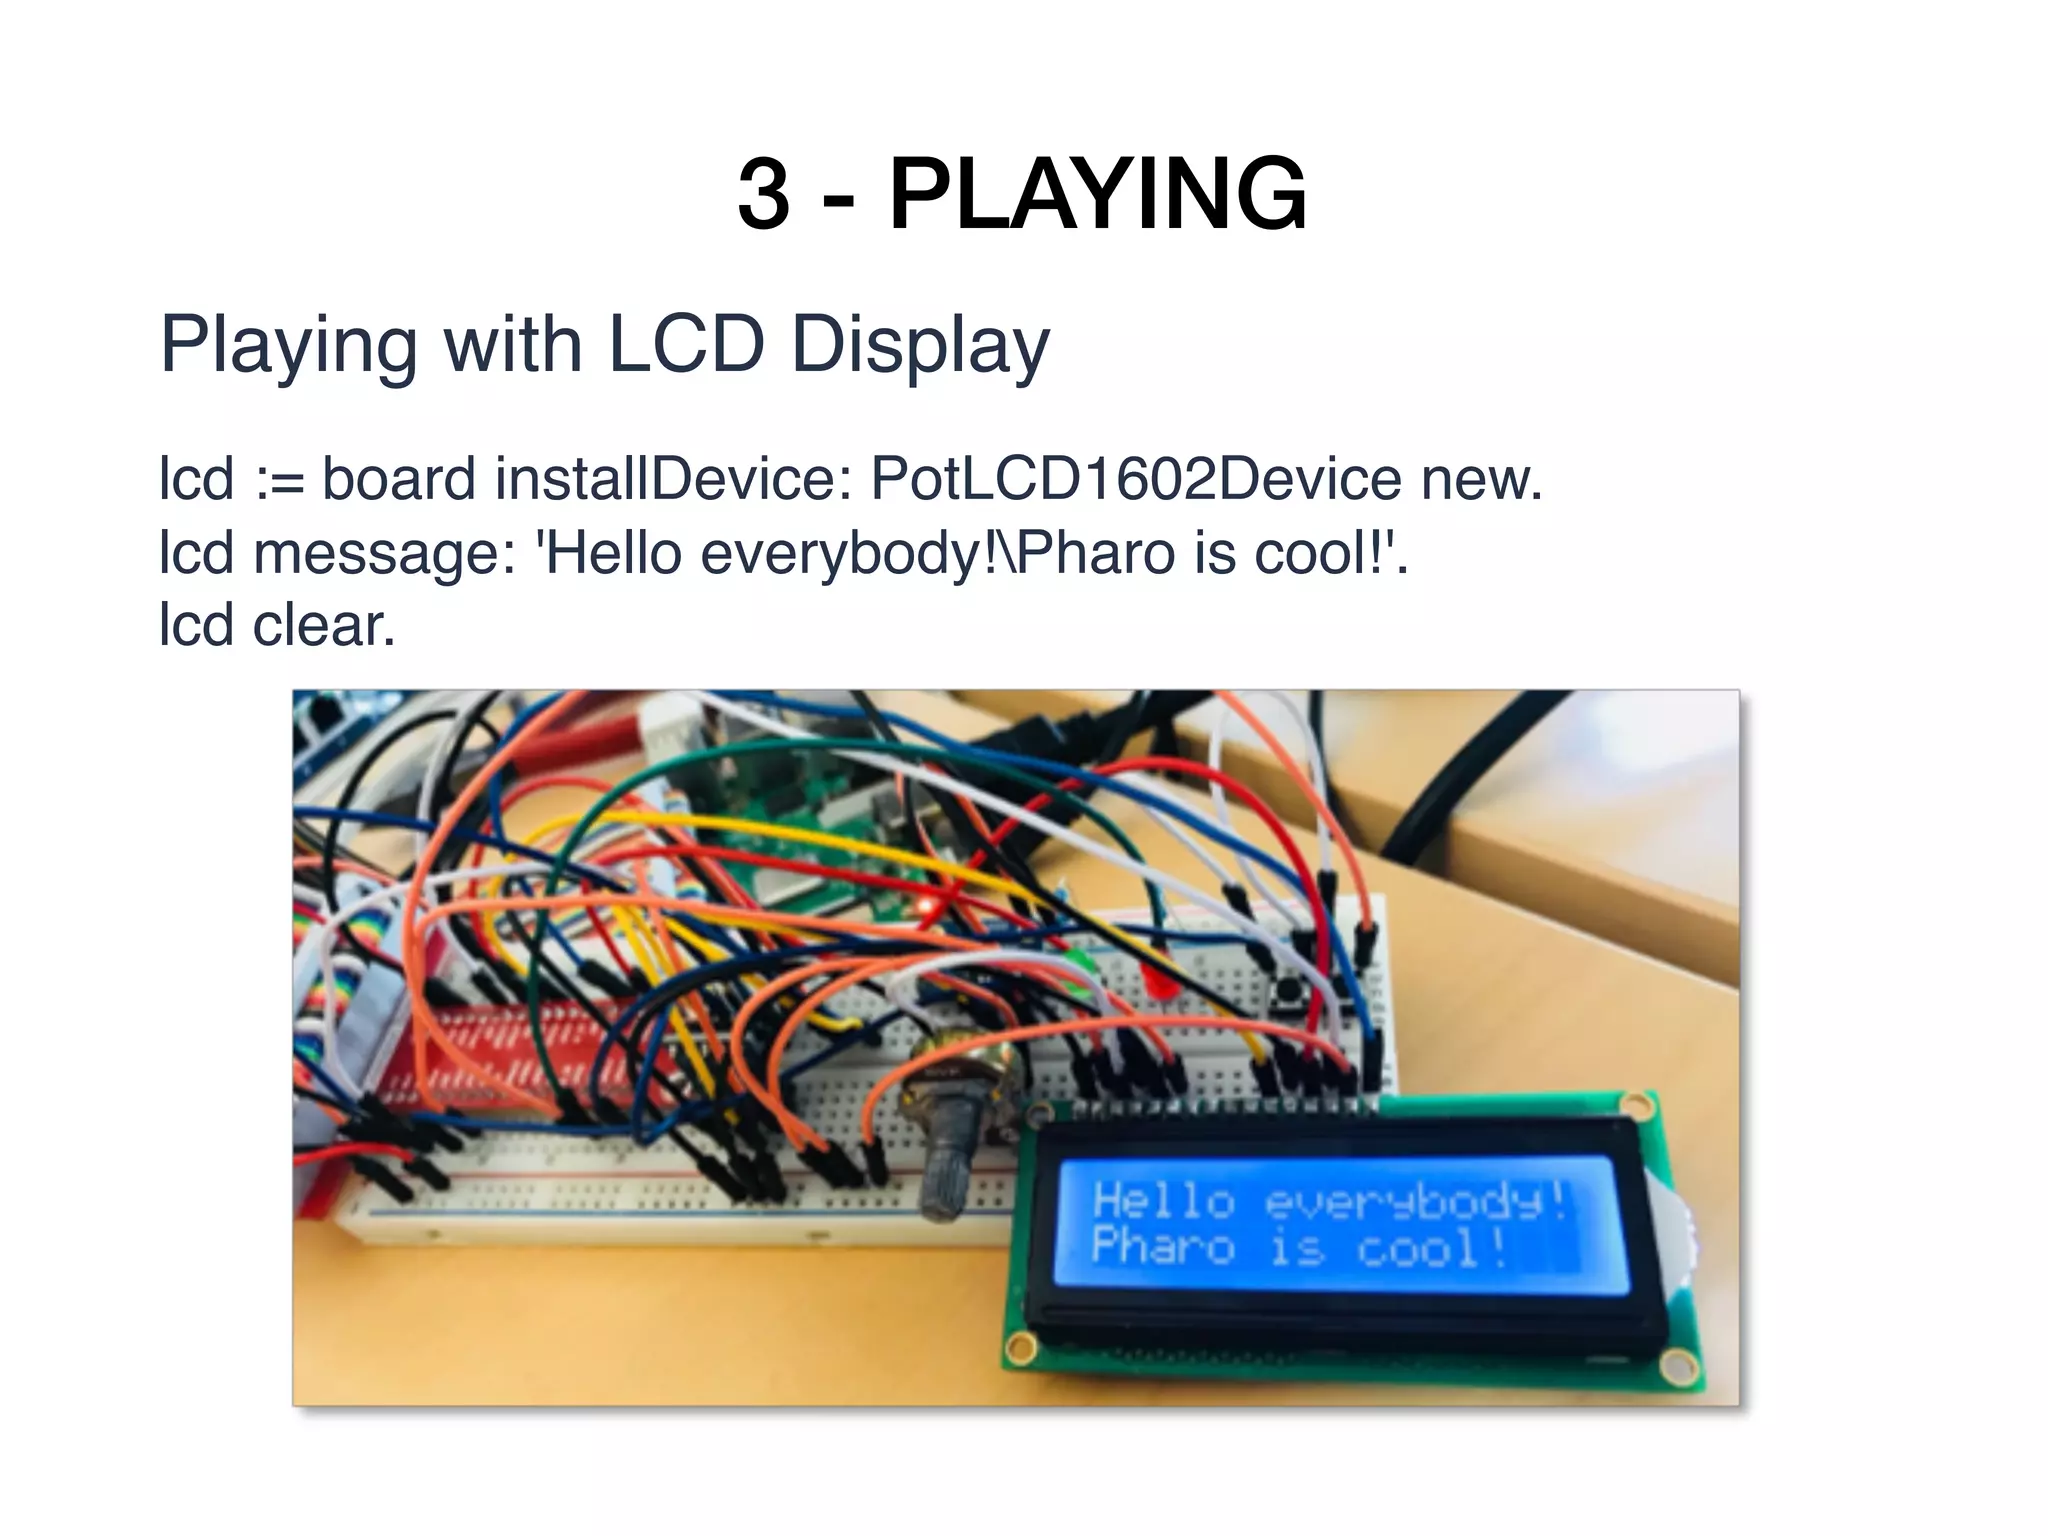
Playing with LEDs and Buttons
ledRed := gpio22.
ledRed beDigitalOutput.
ledRed value: 1.
ledRed toggleDigitalValue.
buttonRed := gpio25.
buttonRed beDigitalInput.
buttonRed enablePullUpResister.
buttonProcess := [ [100 milliSeconds wait.
ledRed value: (buttonRed value=0) asBit
] repeat
] forkNamed: 'button process'.
buttonProcess terminate.](https://image.slidesharecdn.com/esug2018-phraroiot-181031151655/75/Pharo-IoT-Using-Pharo-to-playing-with-GPIOs-and-sensors-on-IoT-devices-remotely-20-2048.jpg)


![ESUG 2009: [Project planning], by Tim Mackinnon](https://cdn.slidesharecdn.com/ss_thumbnails/esug2009-planning-251028124040-b55d3034-thumbnail.jpg?width=640&height=640&fit=bounds)


![Coded Agents – with UiPath SDK + LangGraph [Virtual Hands-on Workshop]](https://cdn.slidesharecdn.com/ss_thumbnails/codedagentsdeck-251215155422-5497c599-thumbnail.jpg?width=640&height=640&fit=bounds)

