Downloaded 516 times


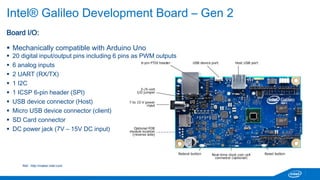
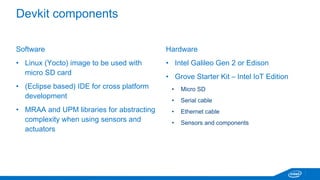
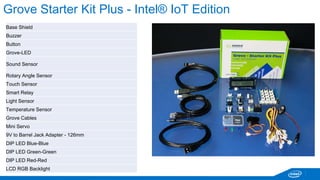


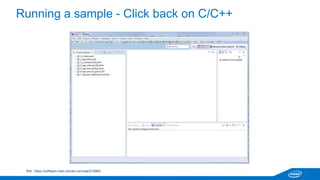
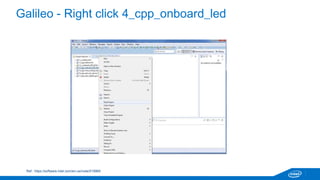
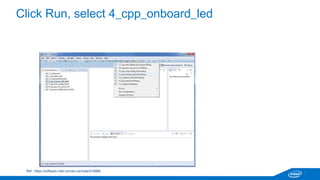


This document provides an overview of setting up an Intel IoT Developer Kit including the hardware components, installing software, and running sample codes. It discusses the Galileo and Edison boards, microSD cards, IDEs, MRAA and UPM libraries, and connecting devices. It also demonstrates how to set up environments for C/C++ with Eclipse, JavaScript with XDK, and Arduino, and describes where to find documentation and sample codes for getting started with the kits and sensors.


![Getting Started with Apache Spark: Big Data Made Simple [Free Meetup]](https://cdn.slidesharecdn.com/ss_thumbnails/apachesparkgettingstarted-260203175547-8361bcc3-thumbnail.jpg?width=640&height=640&fit=bounds)


