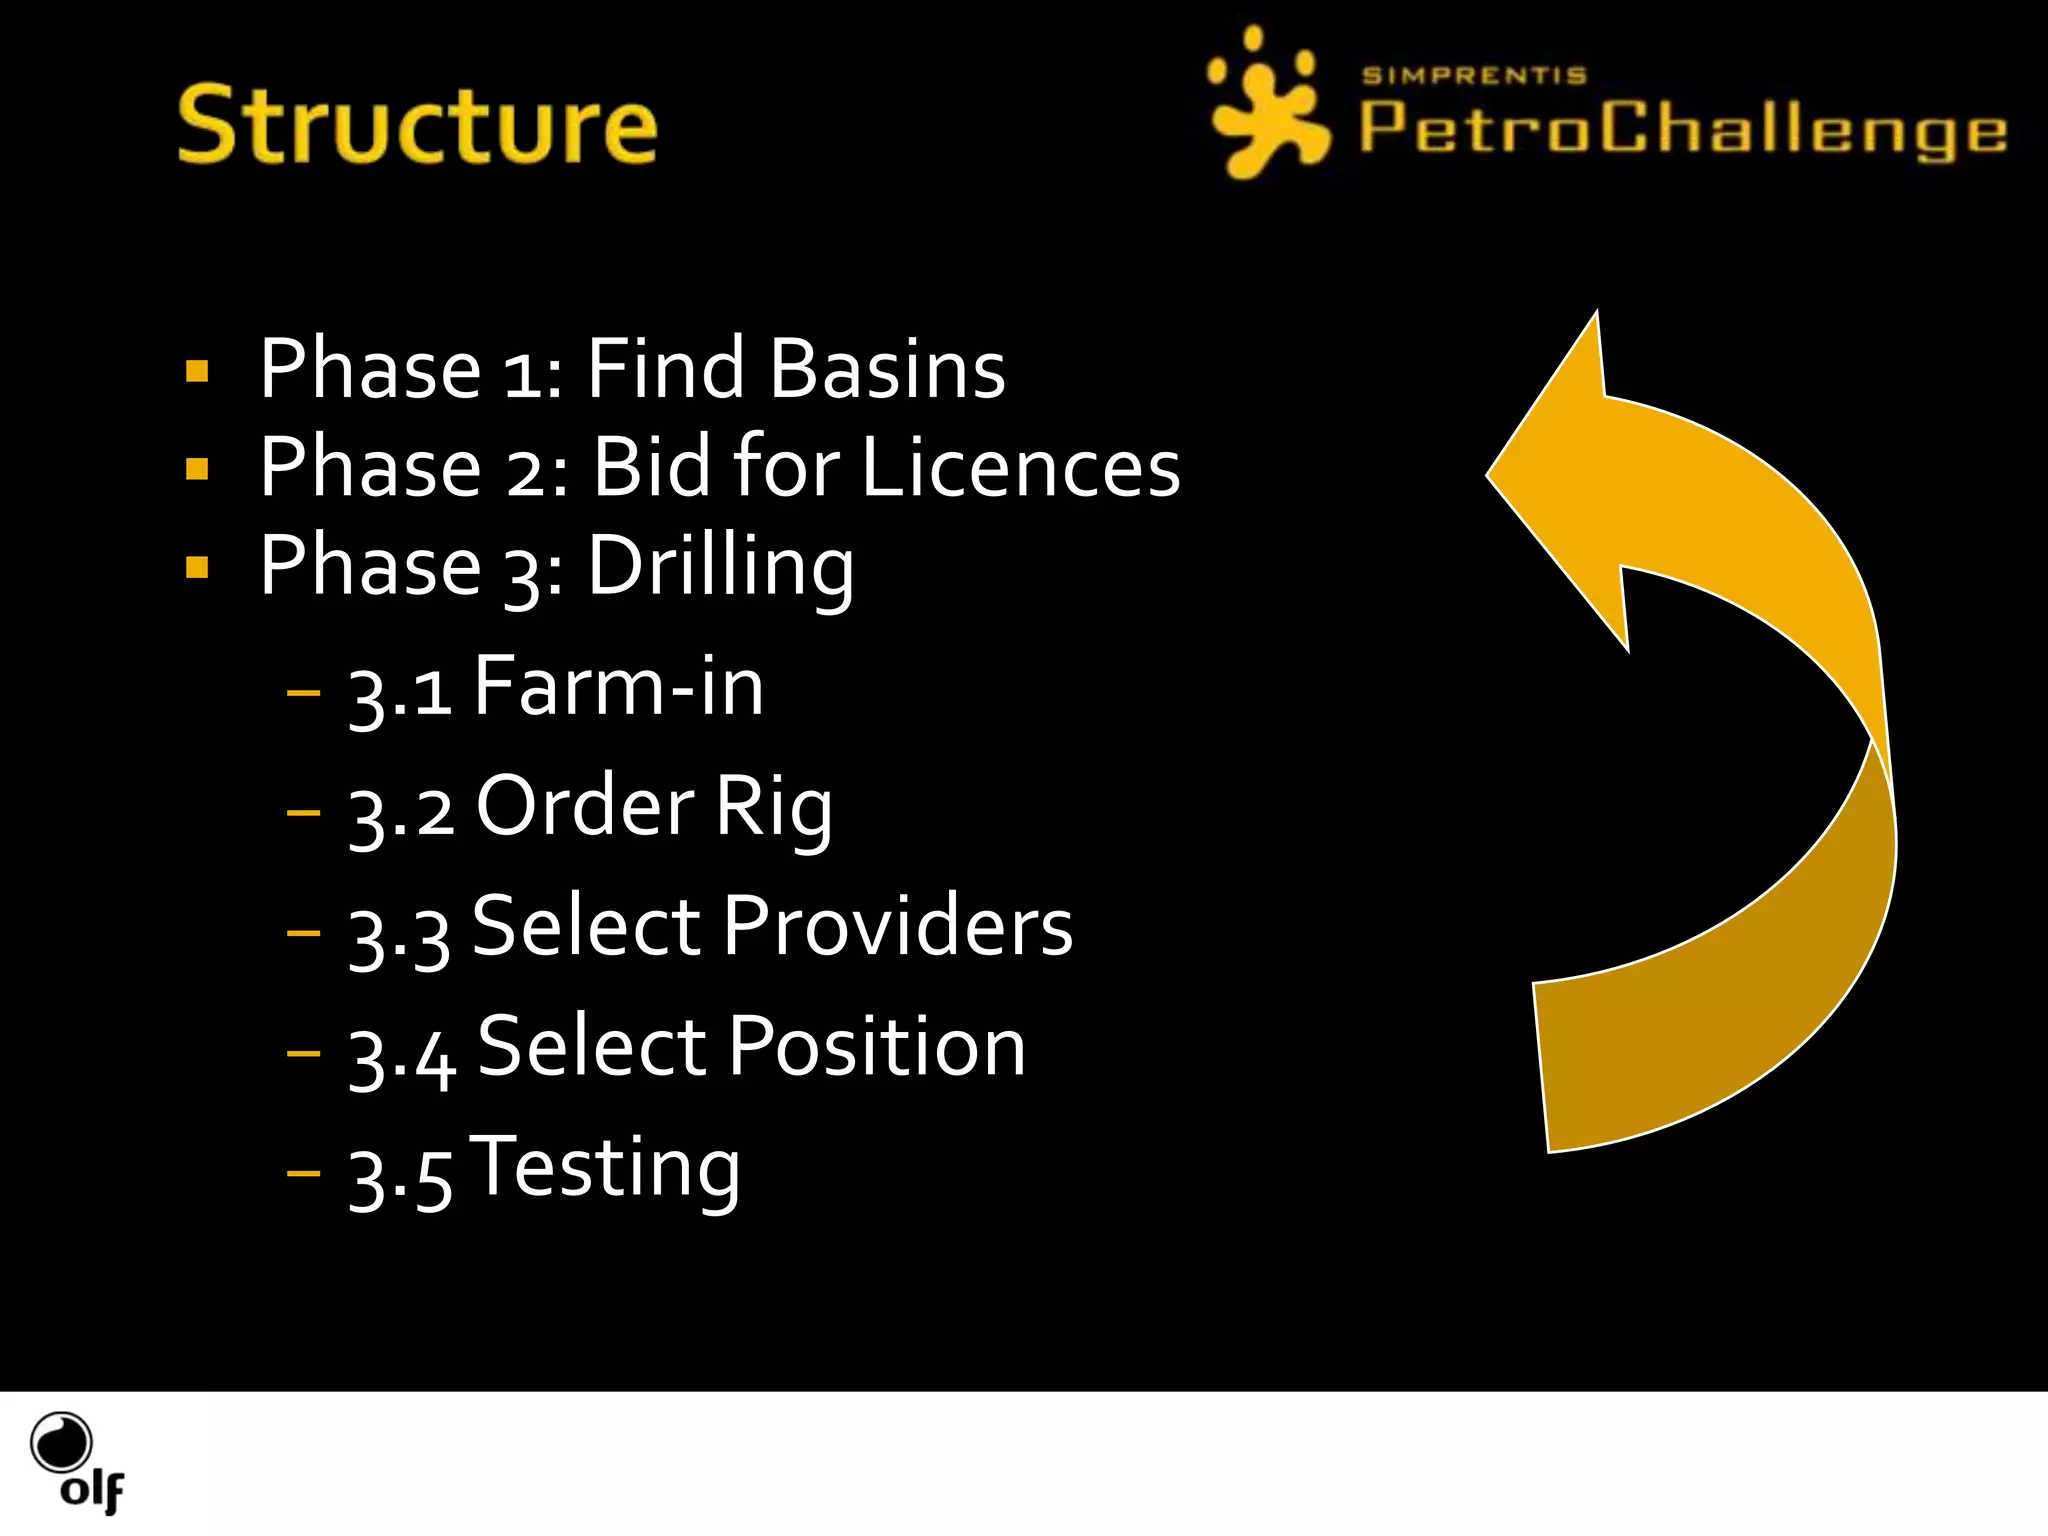
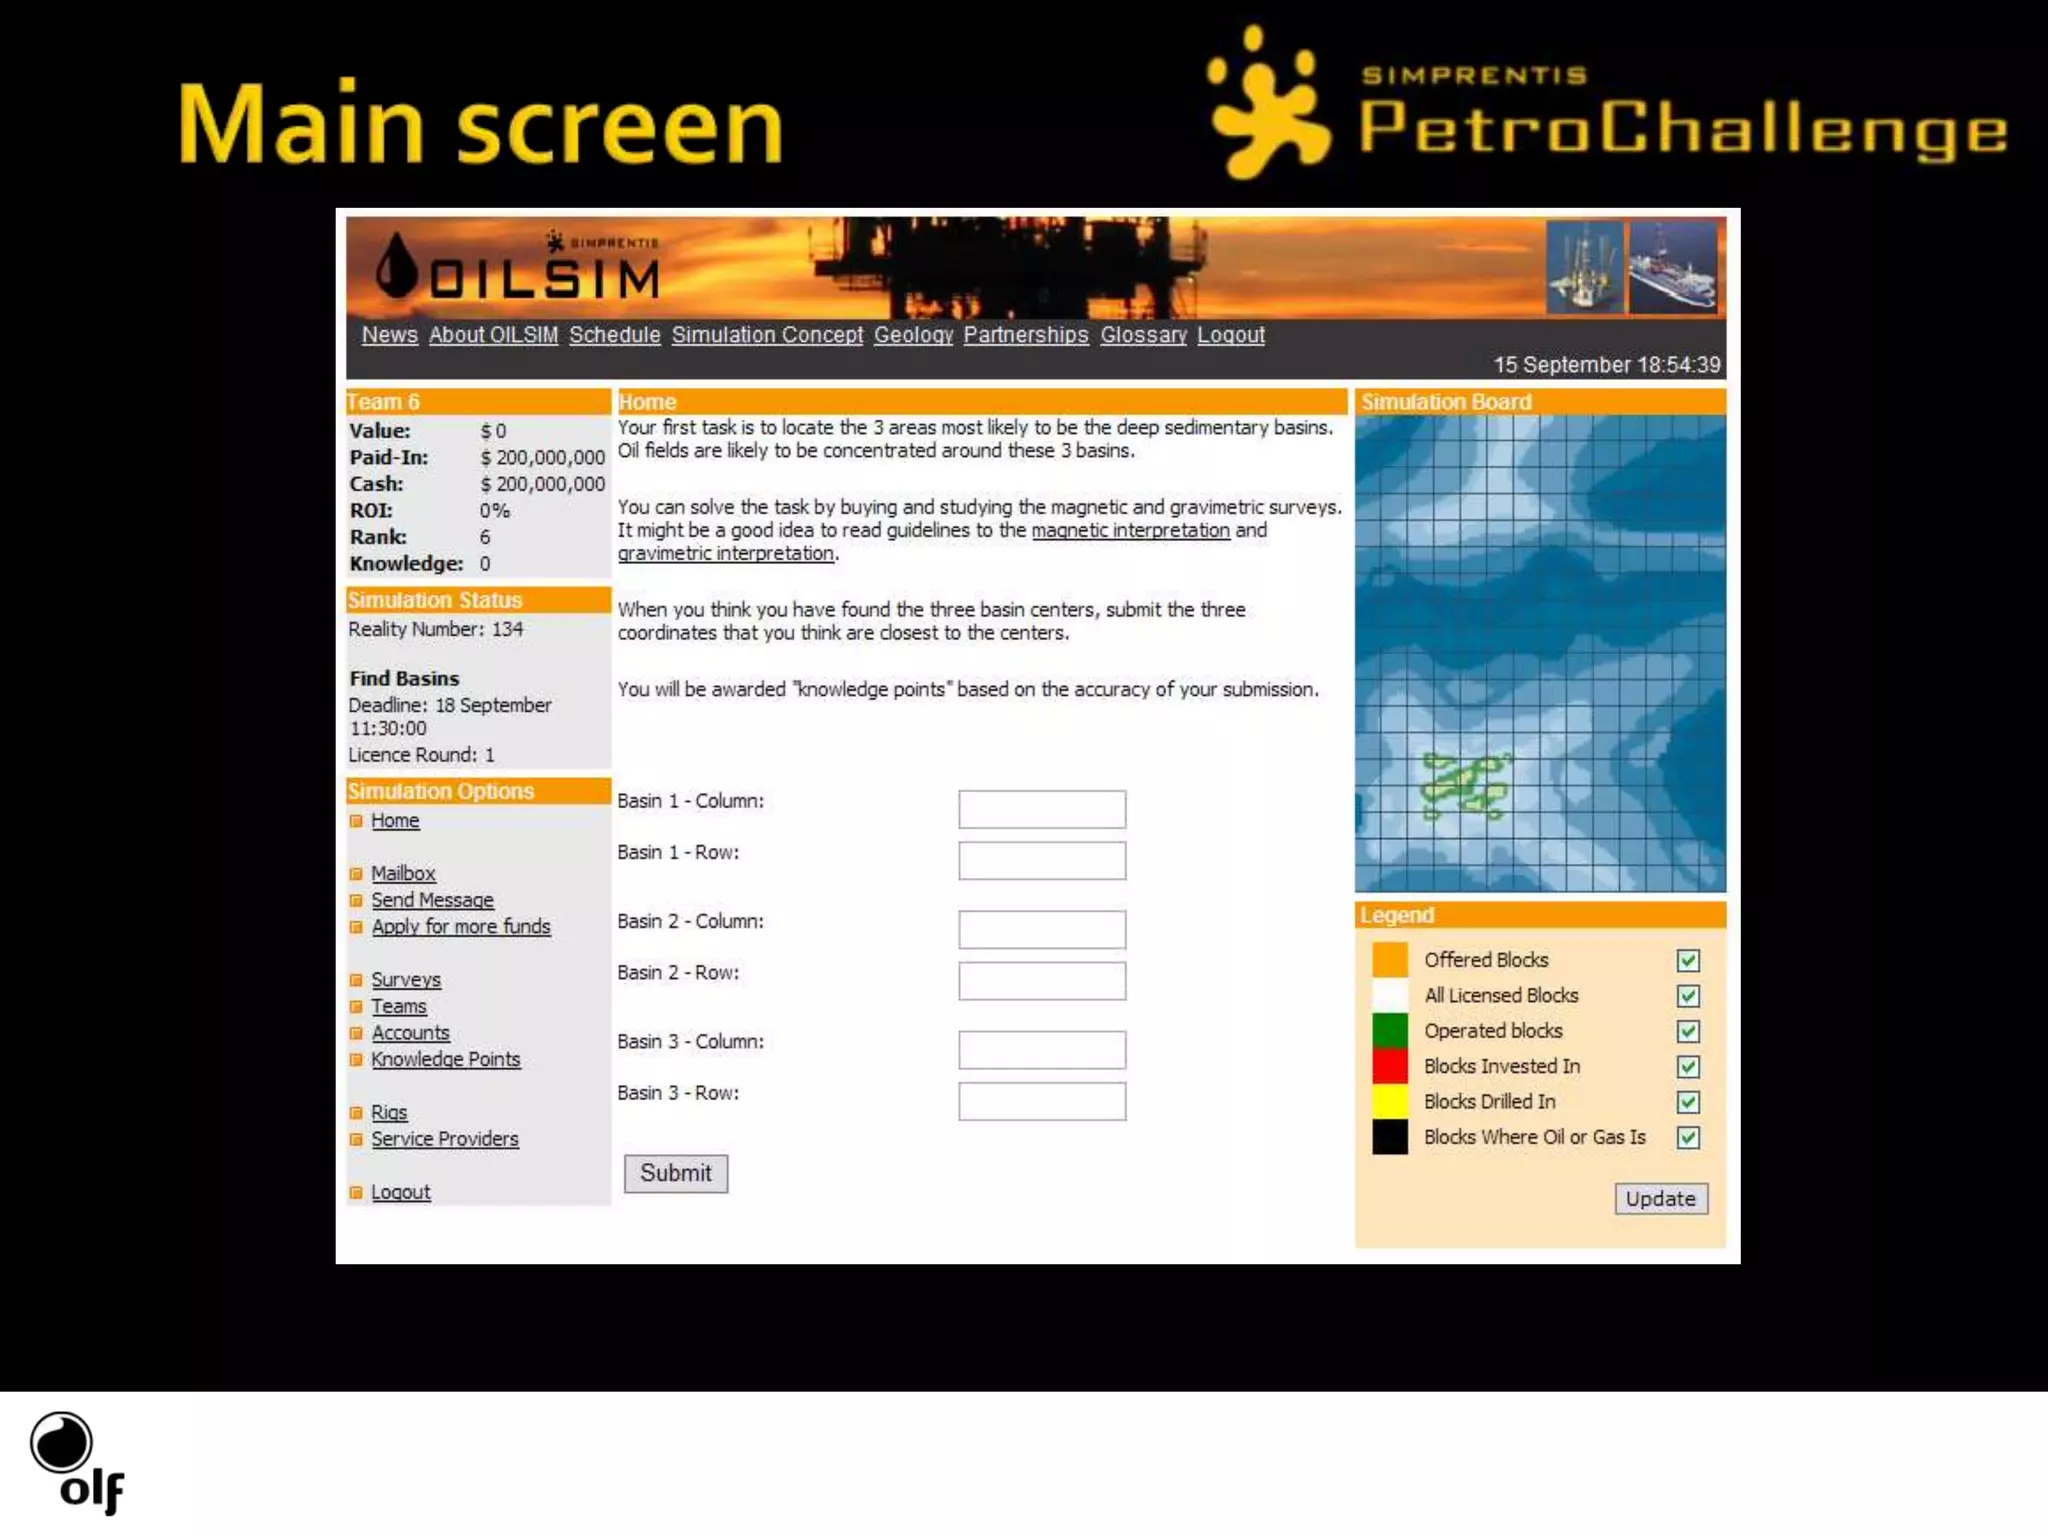
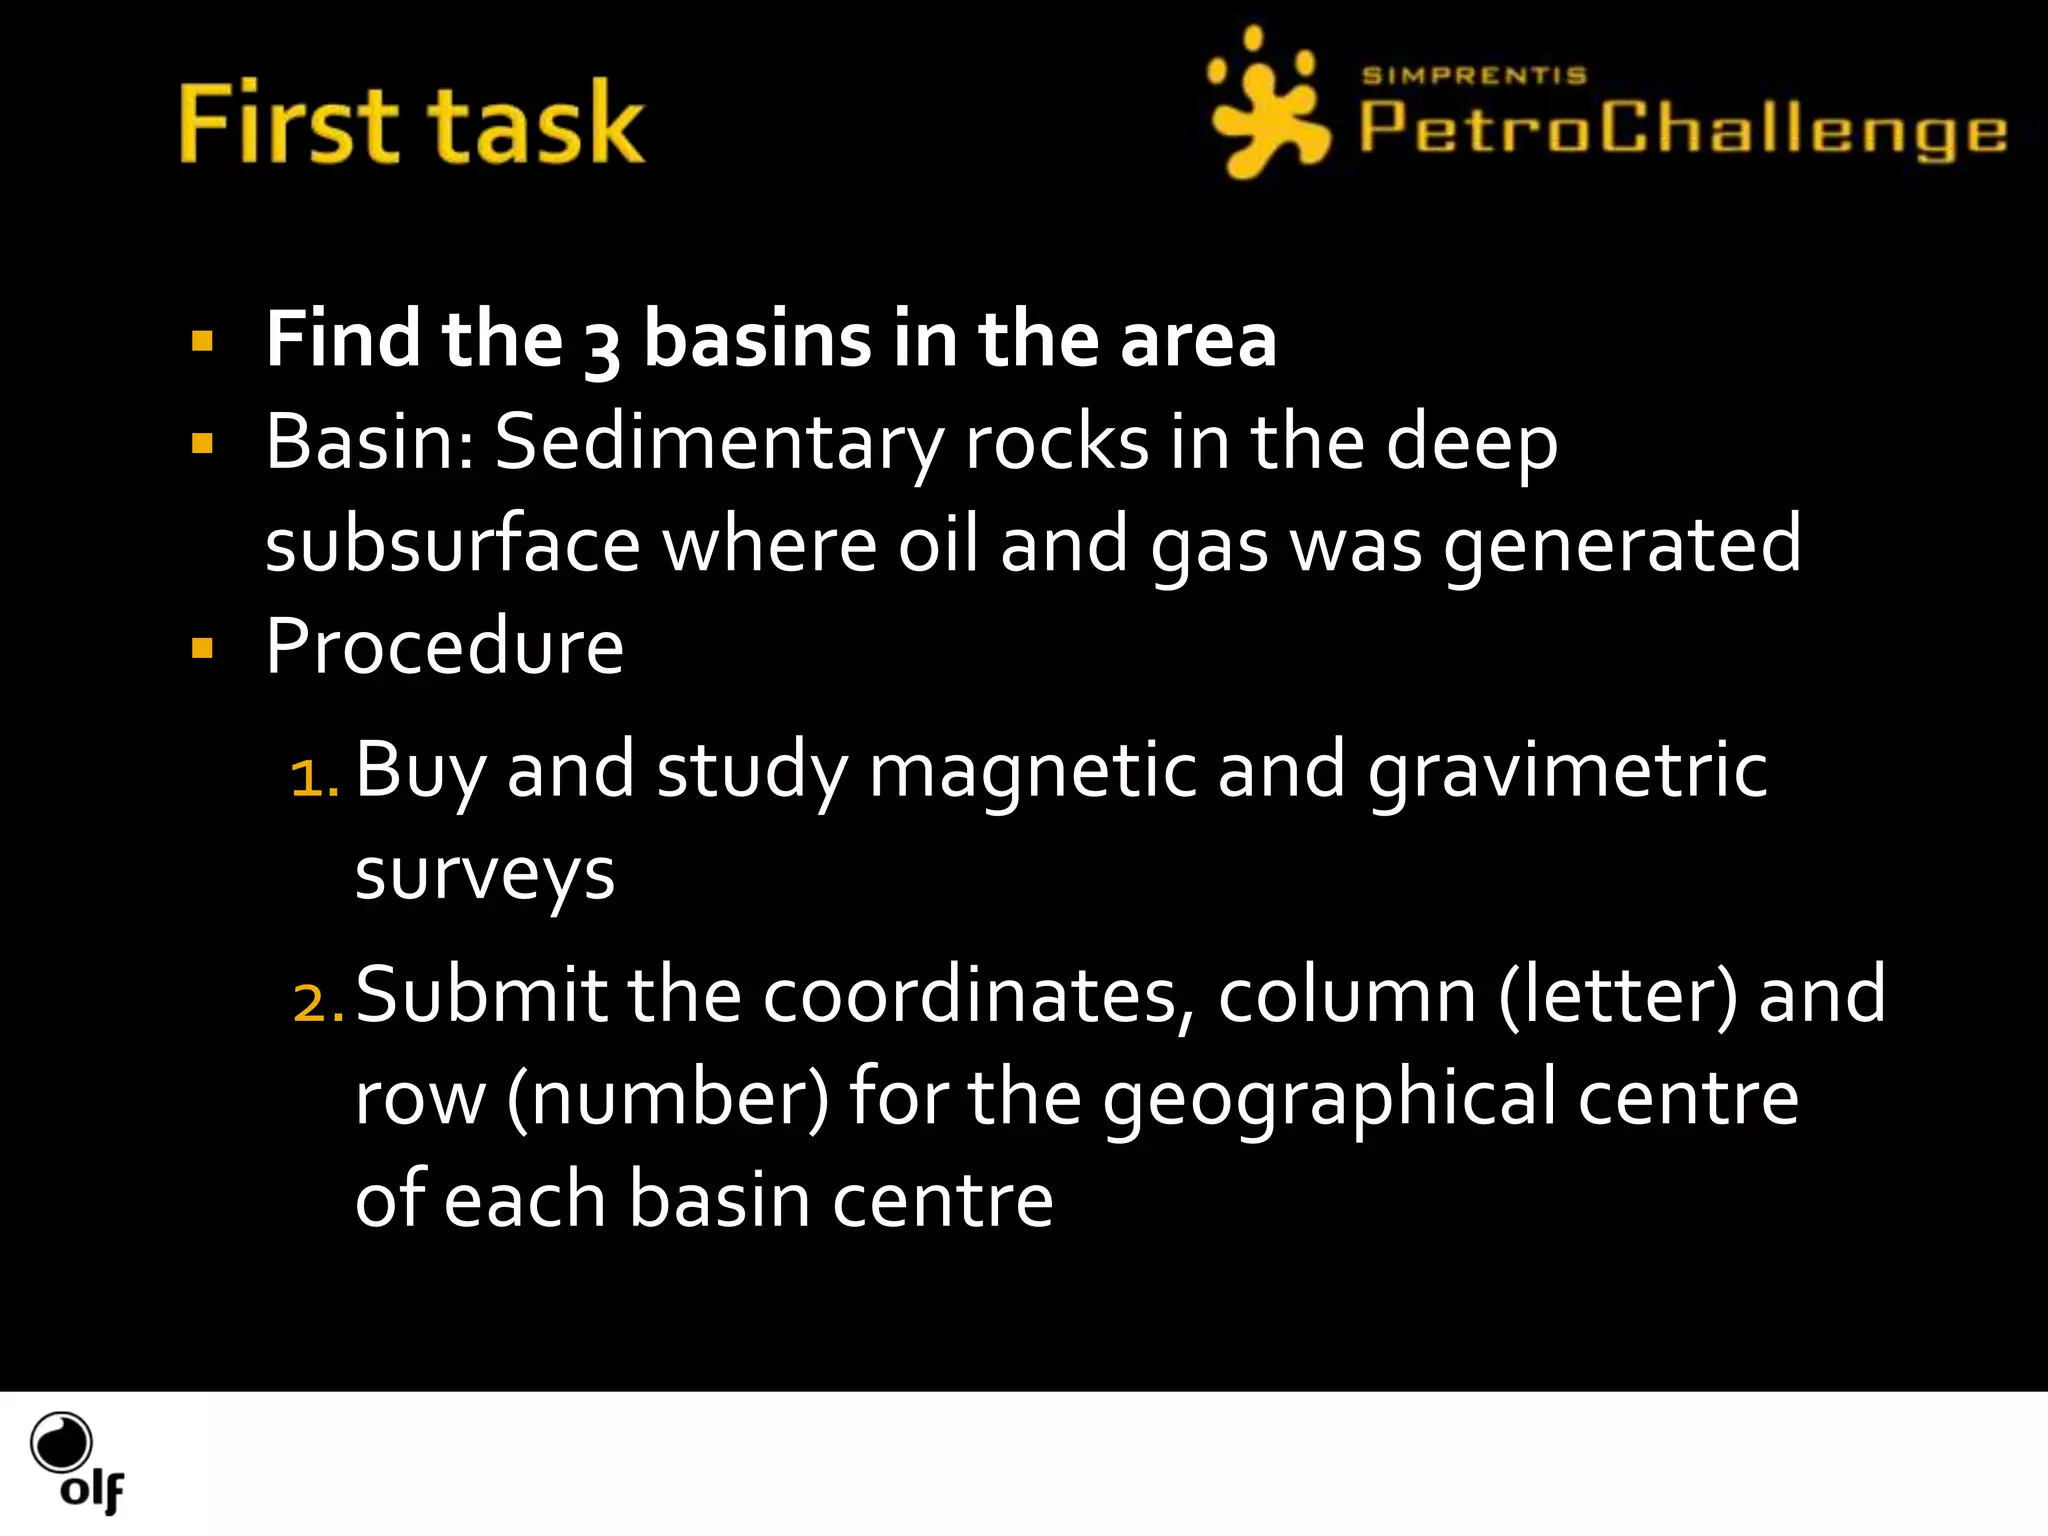
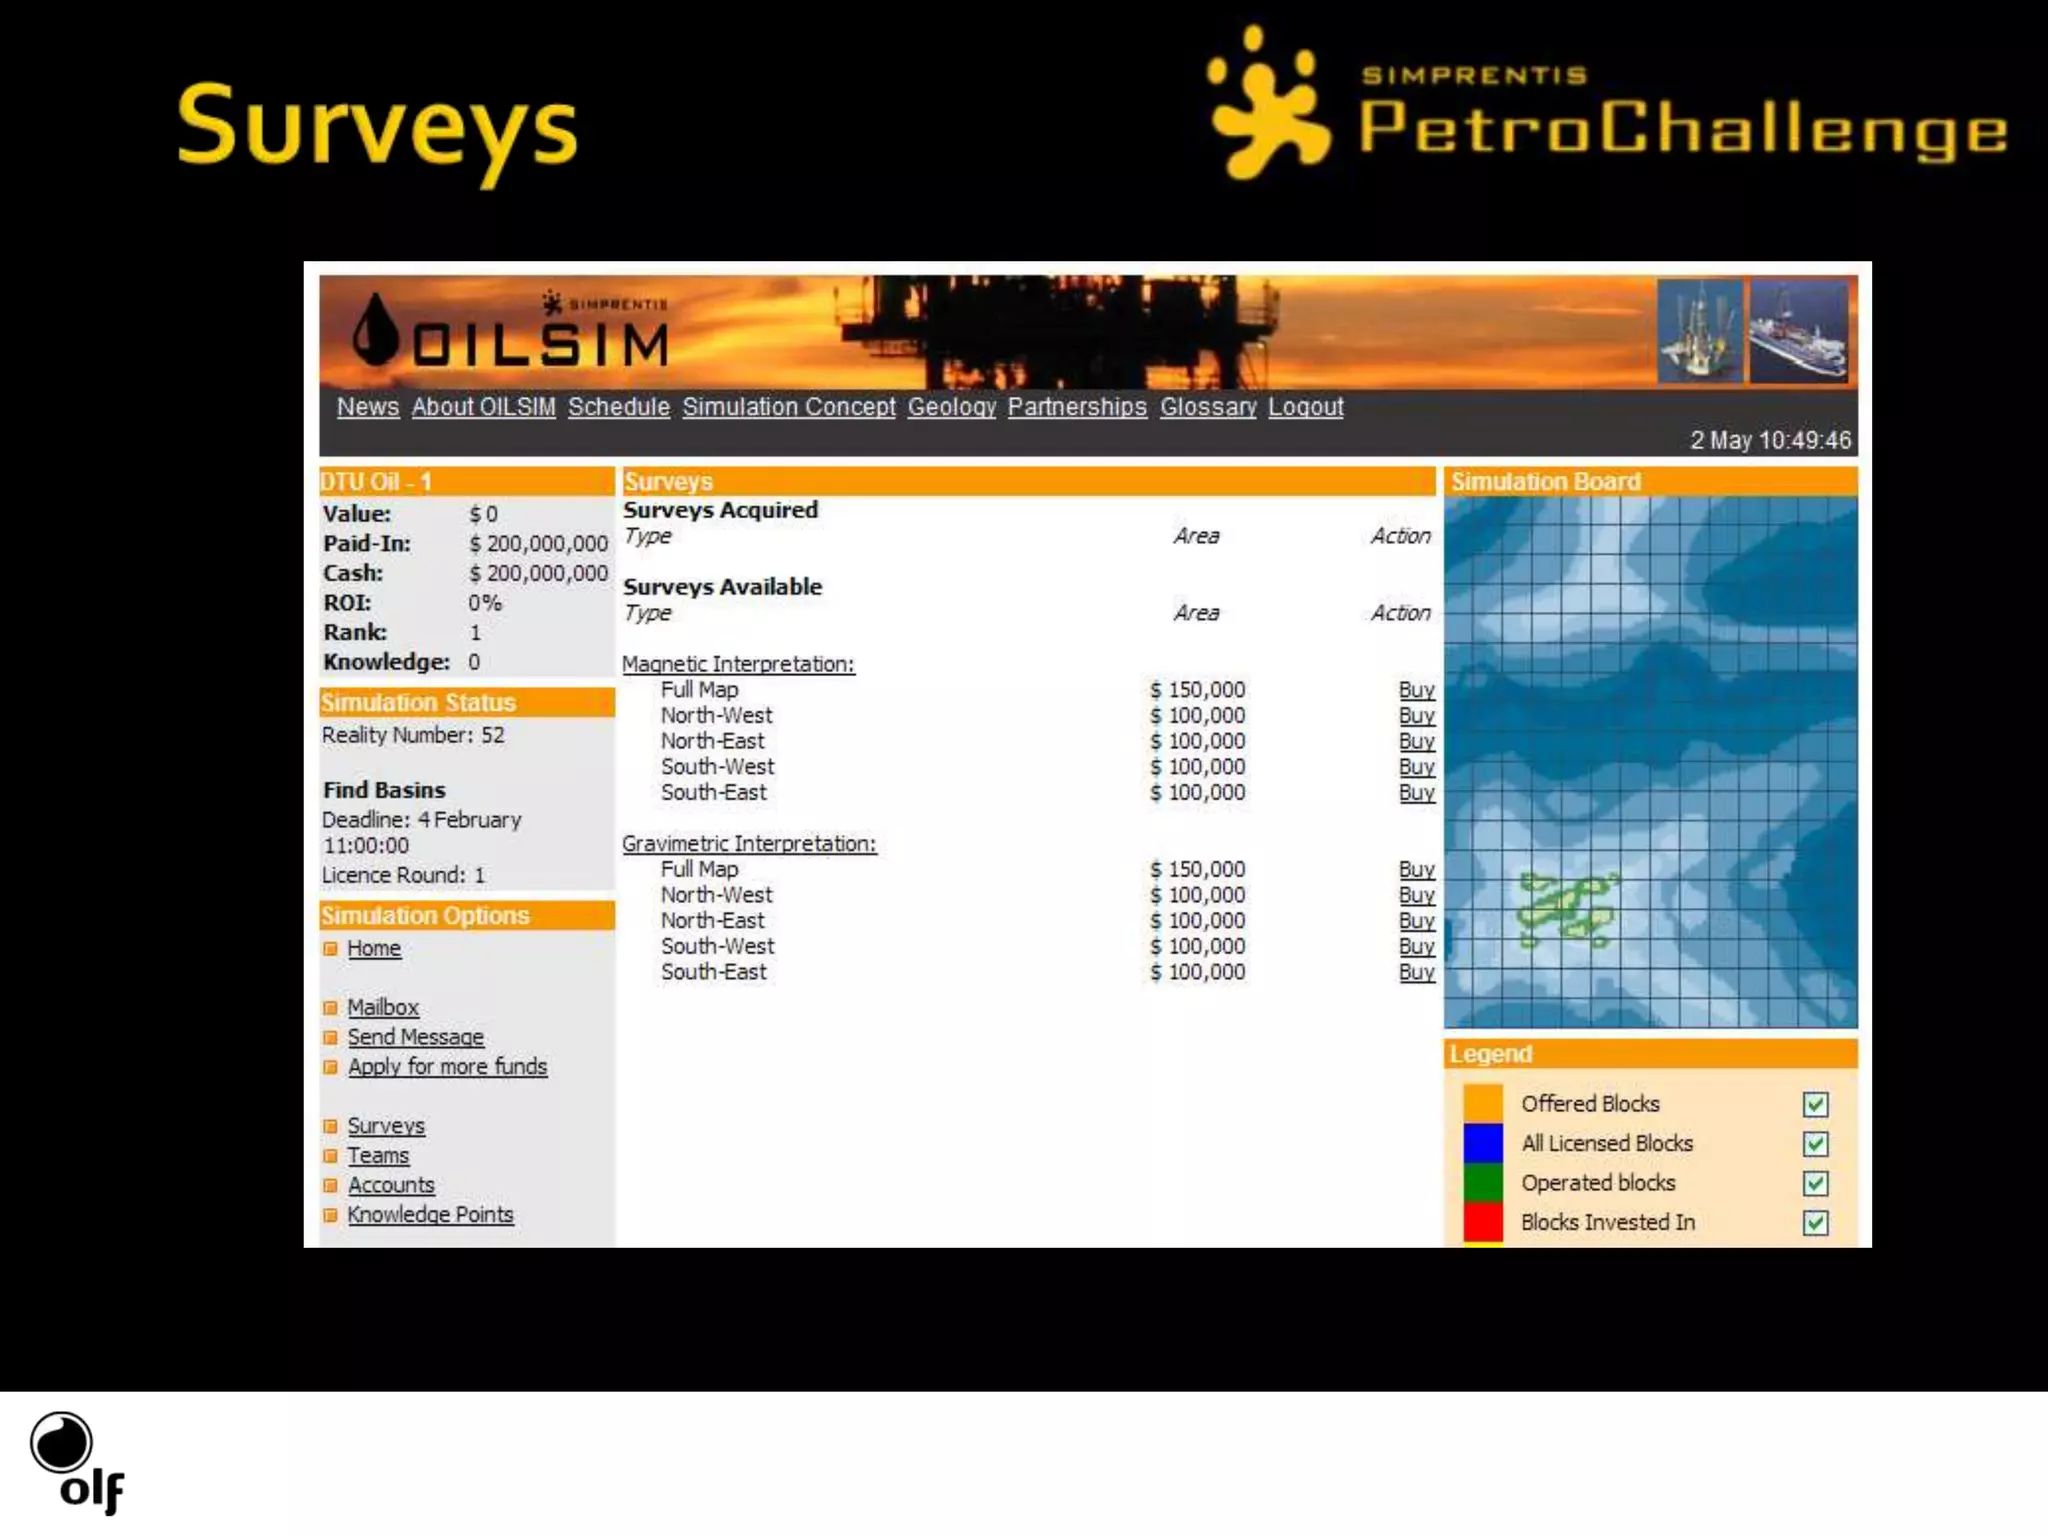
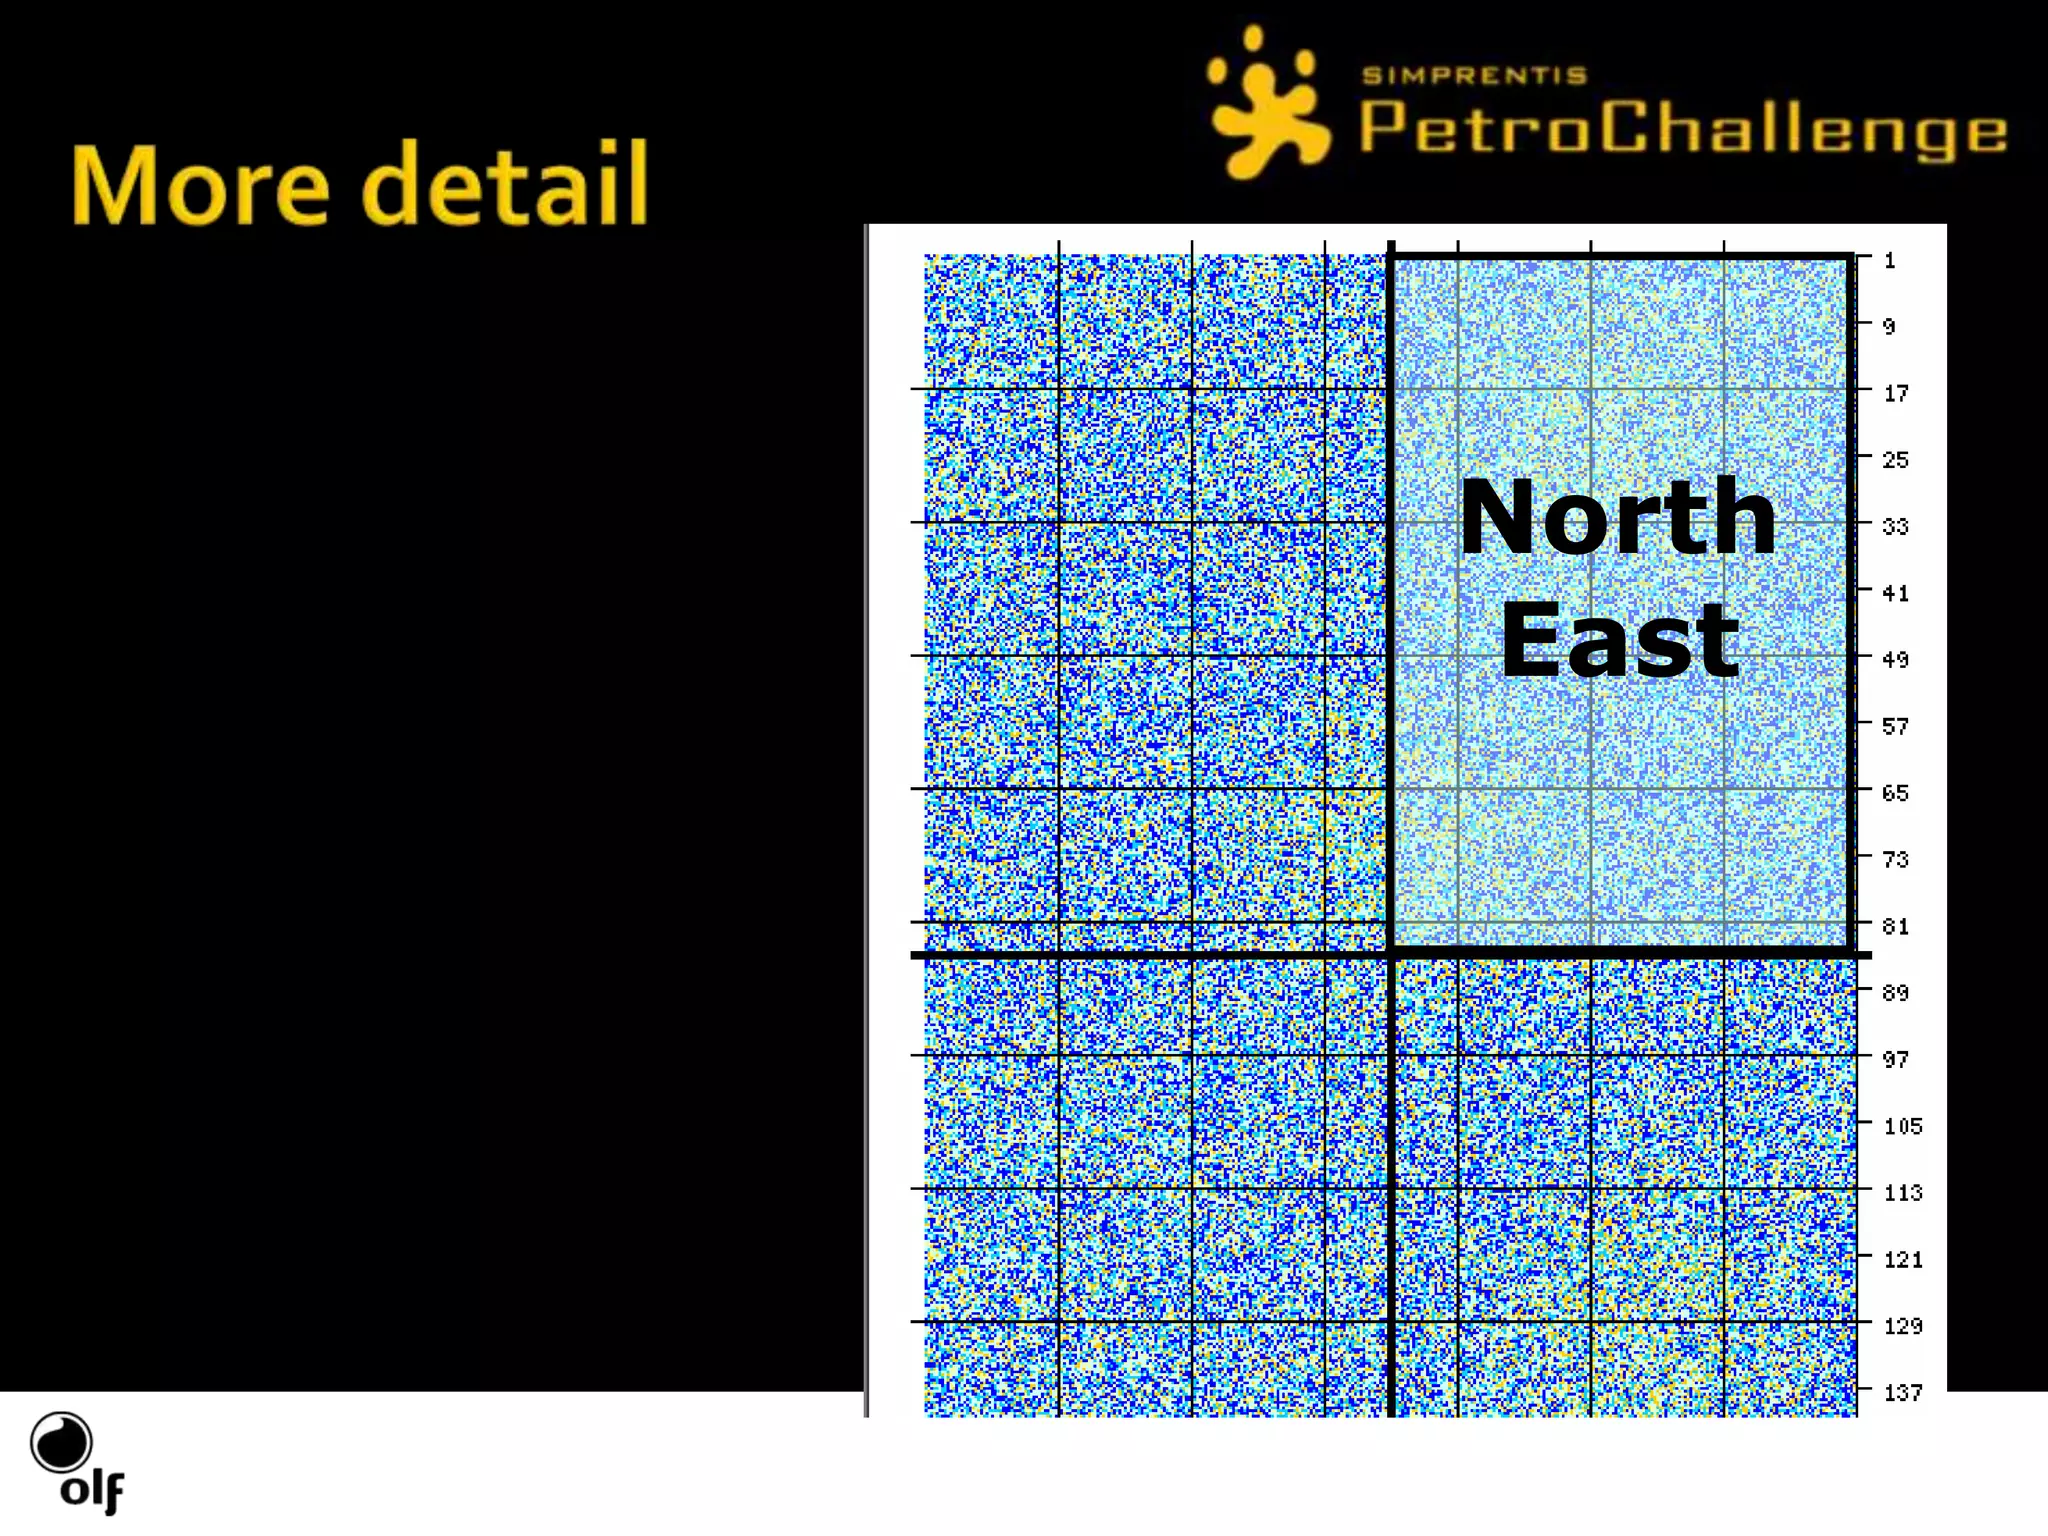
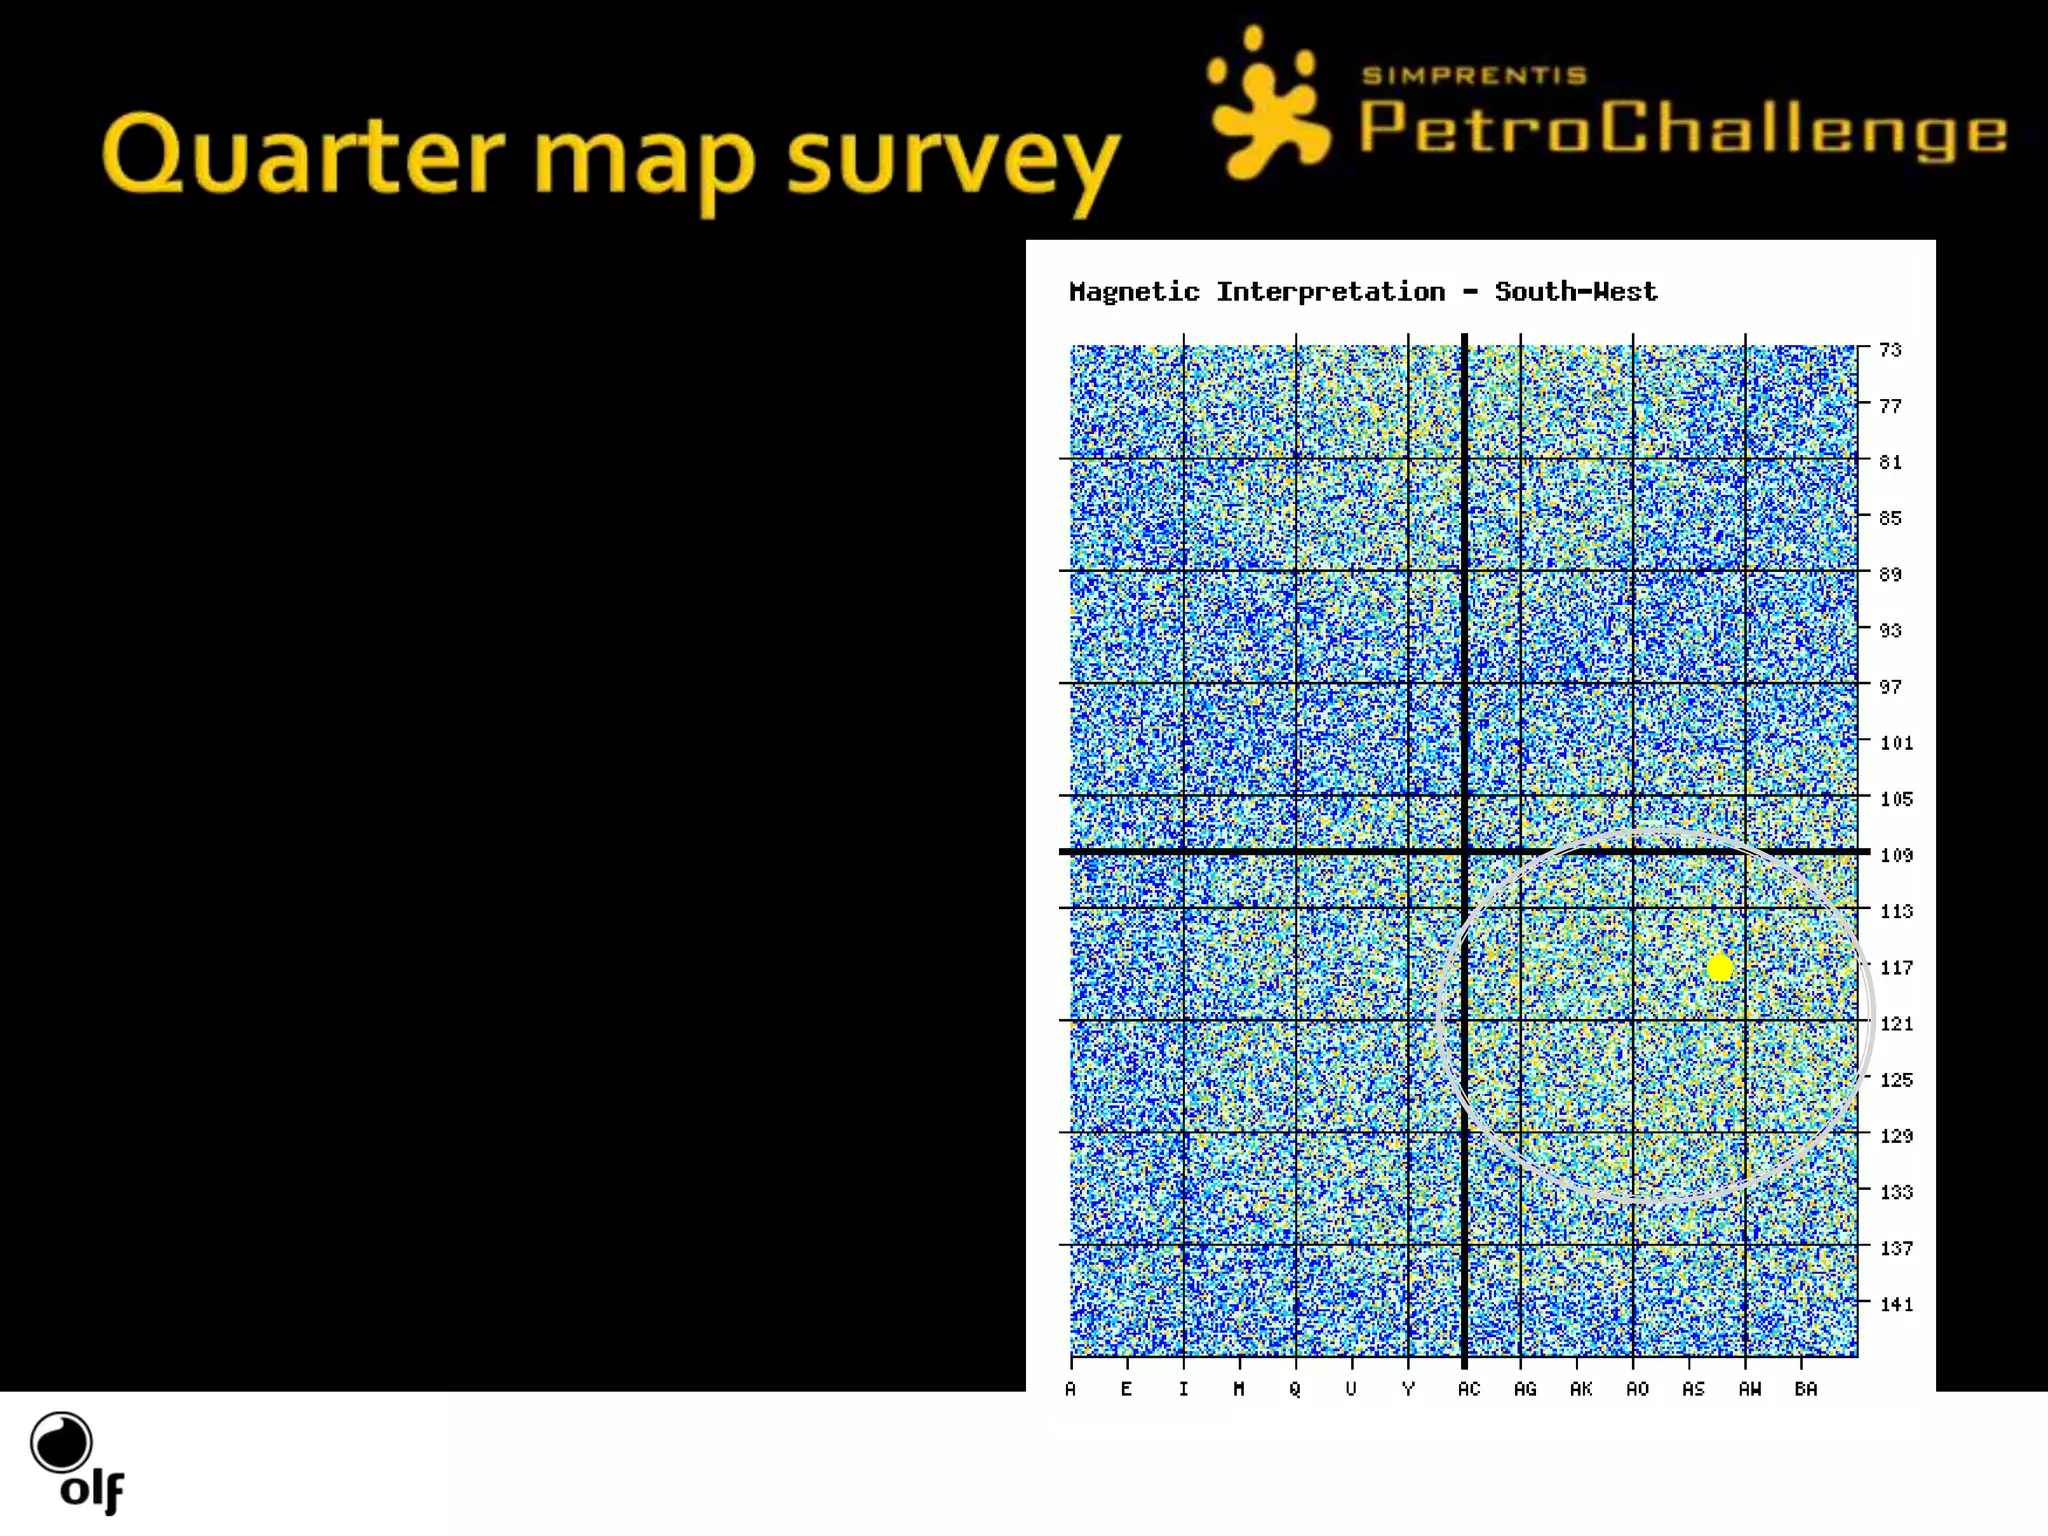
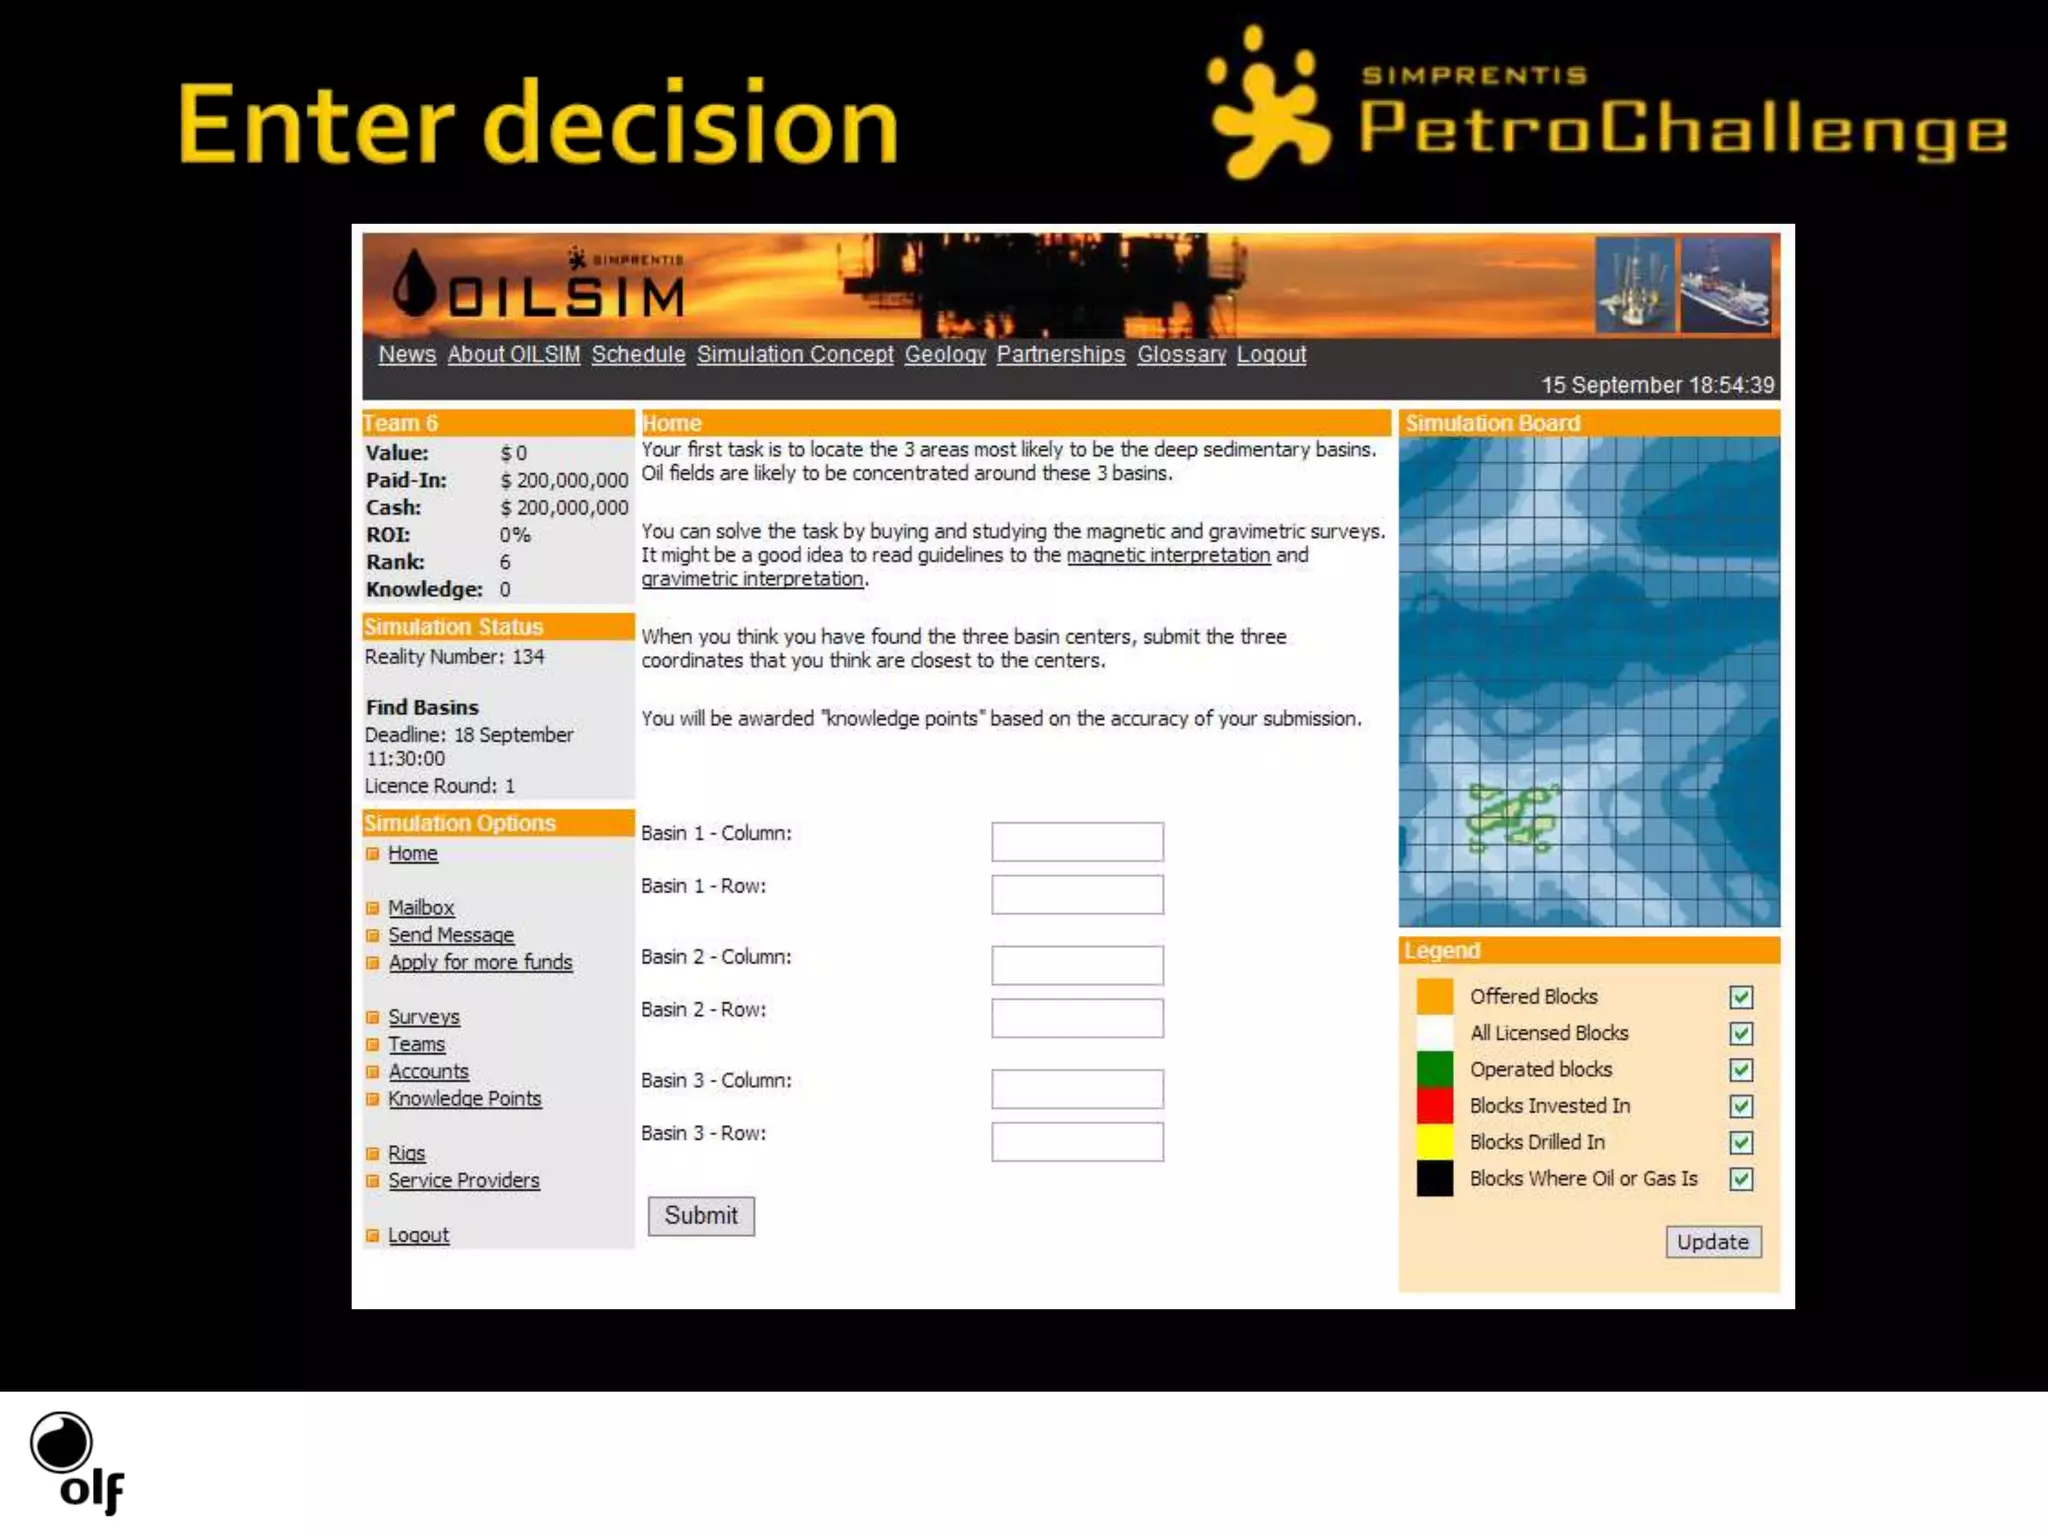
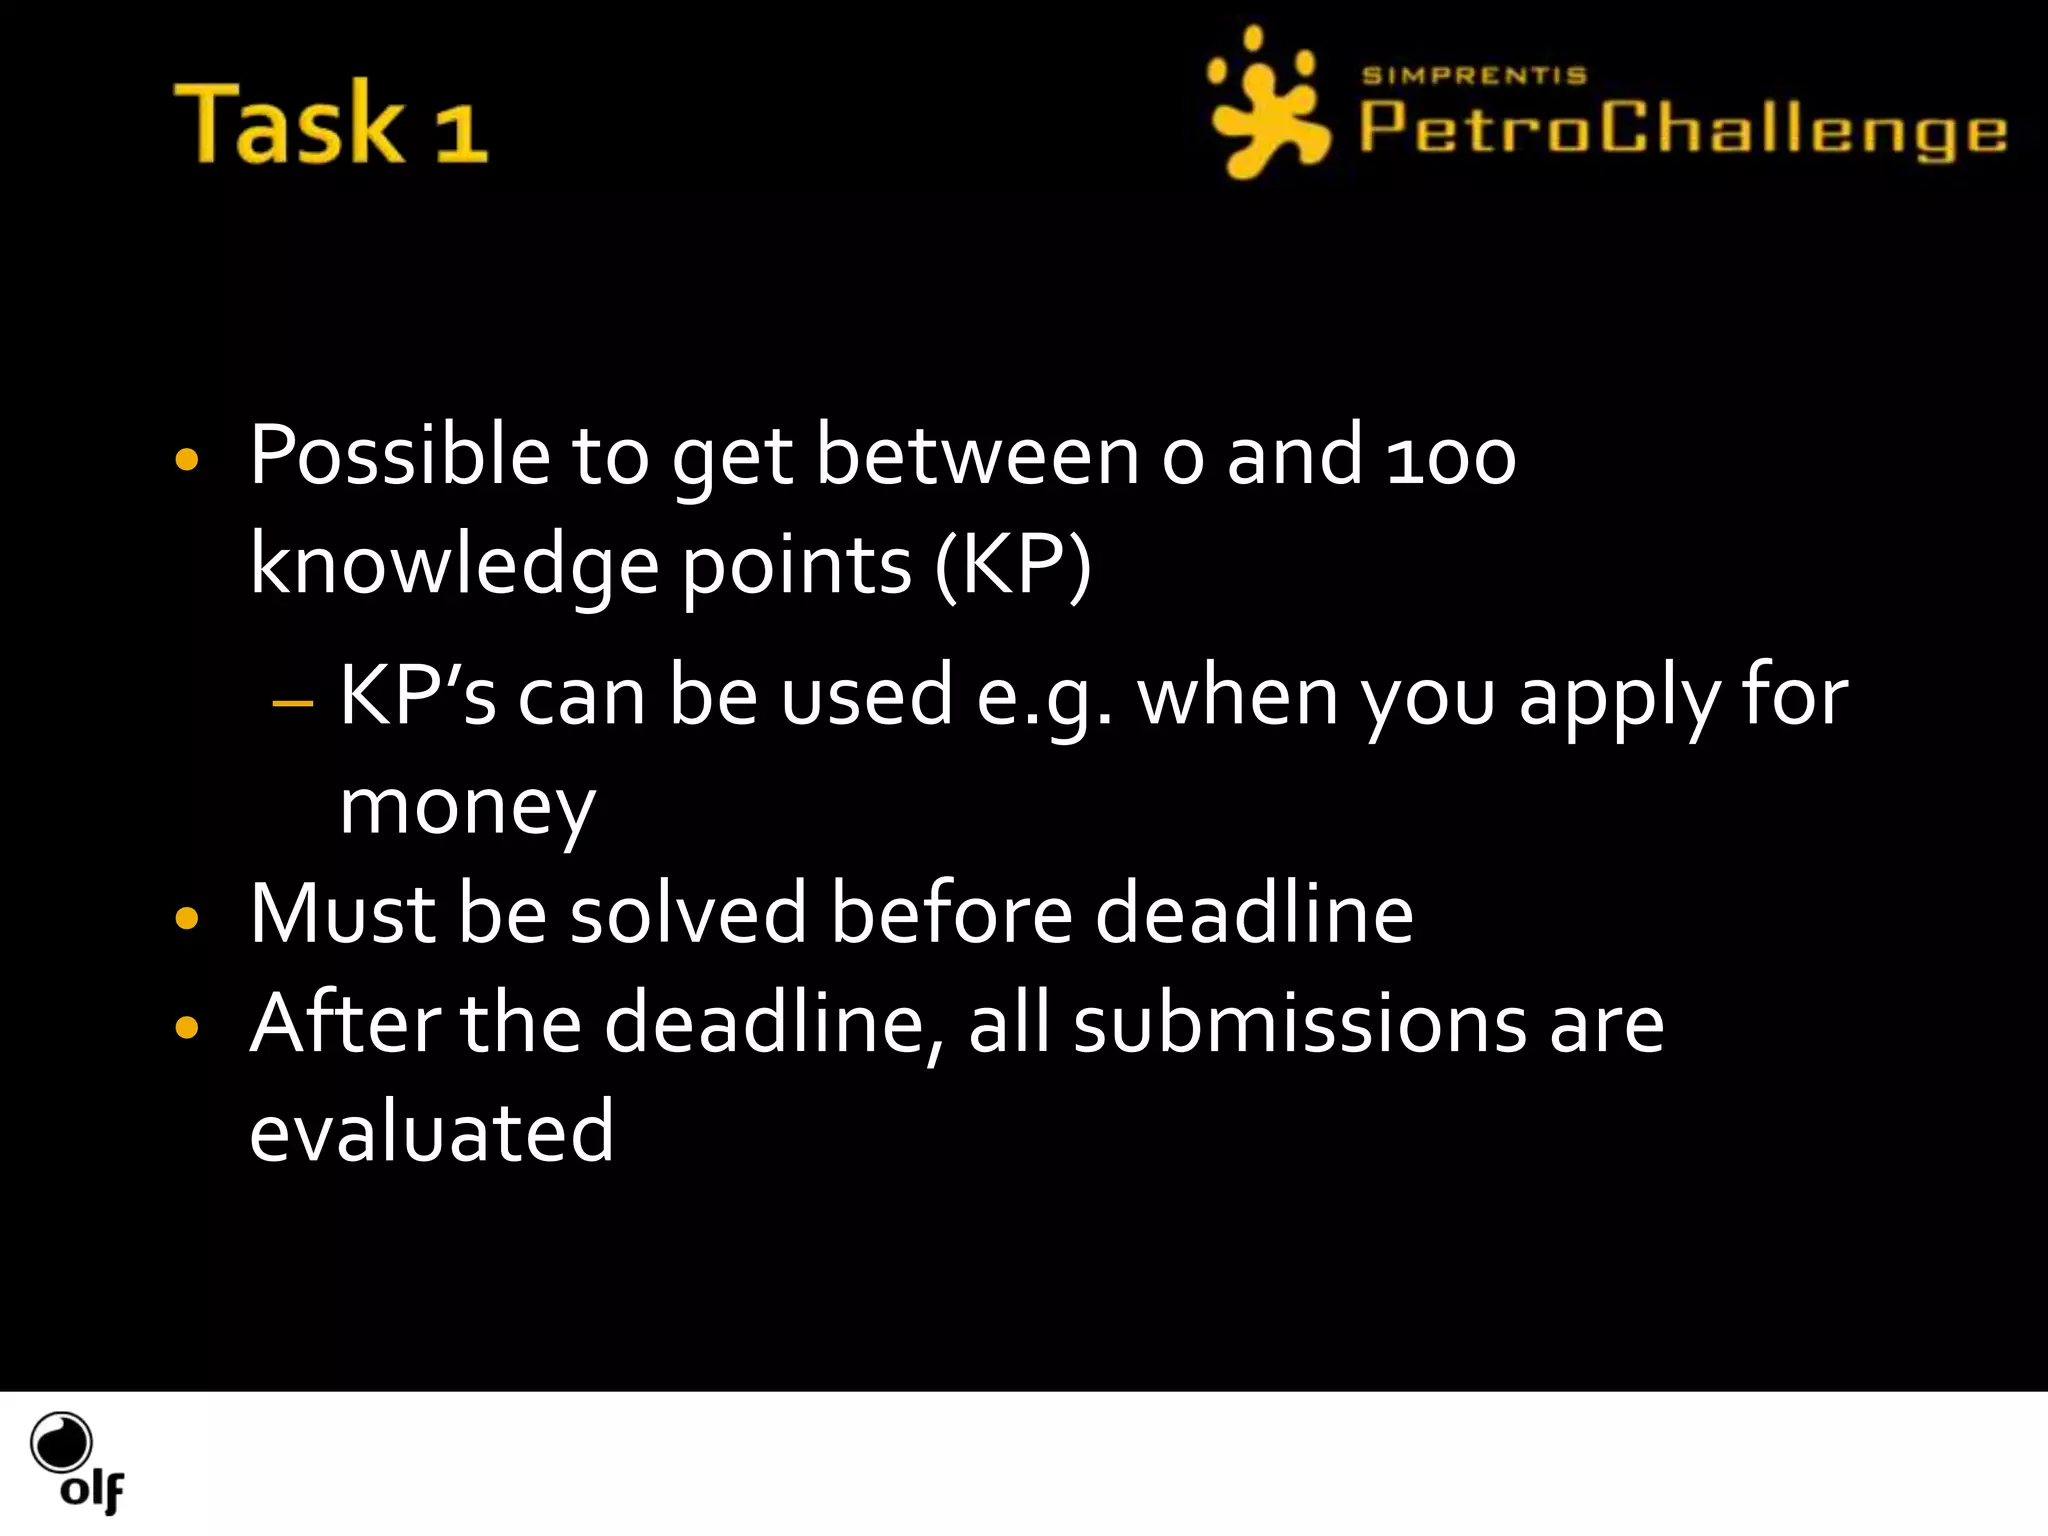
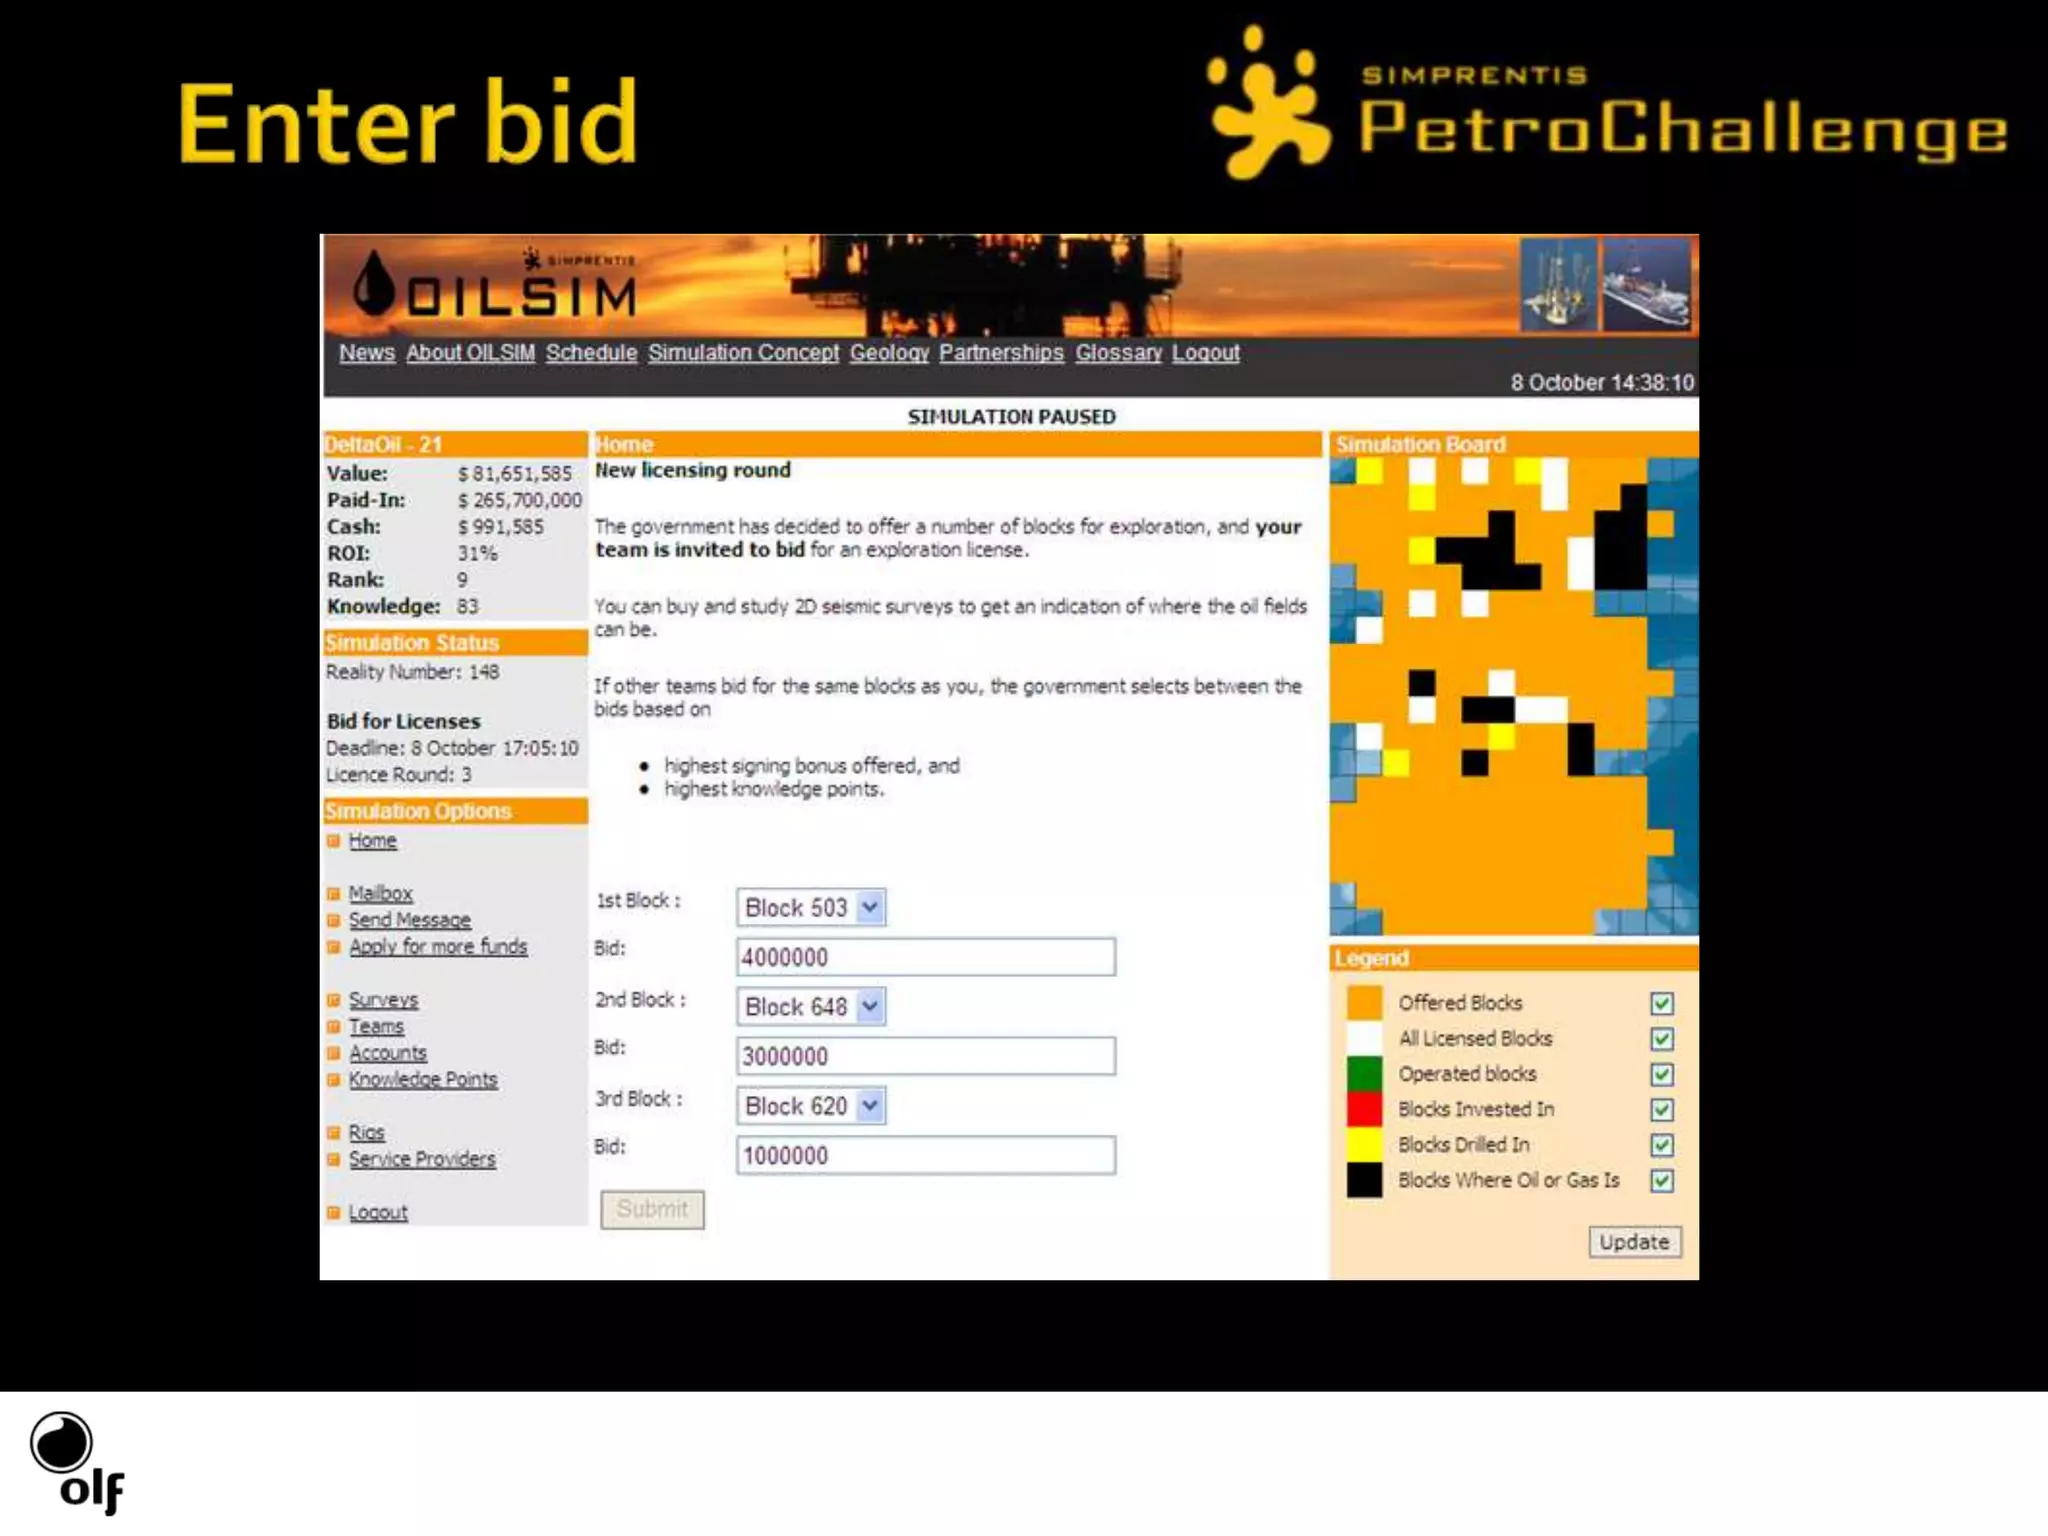
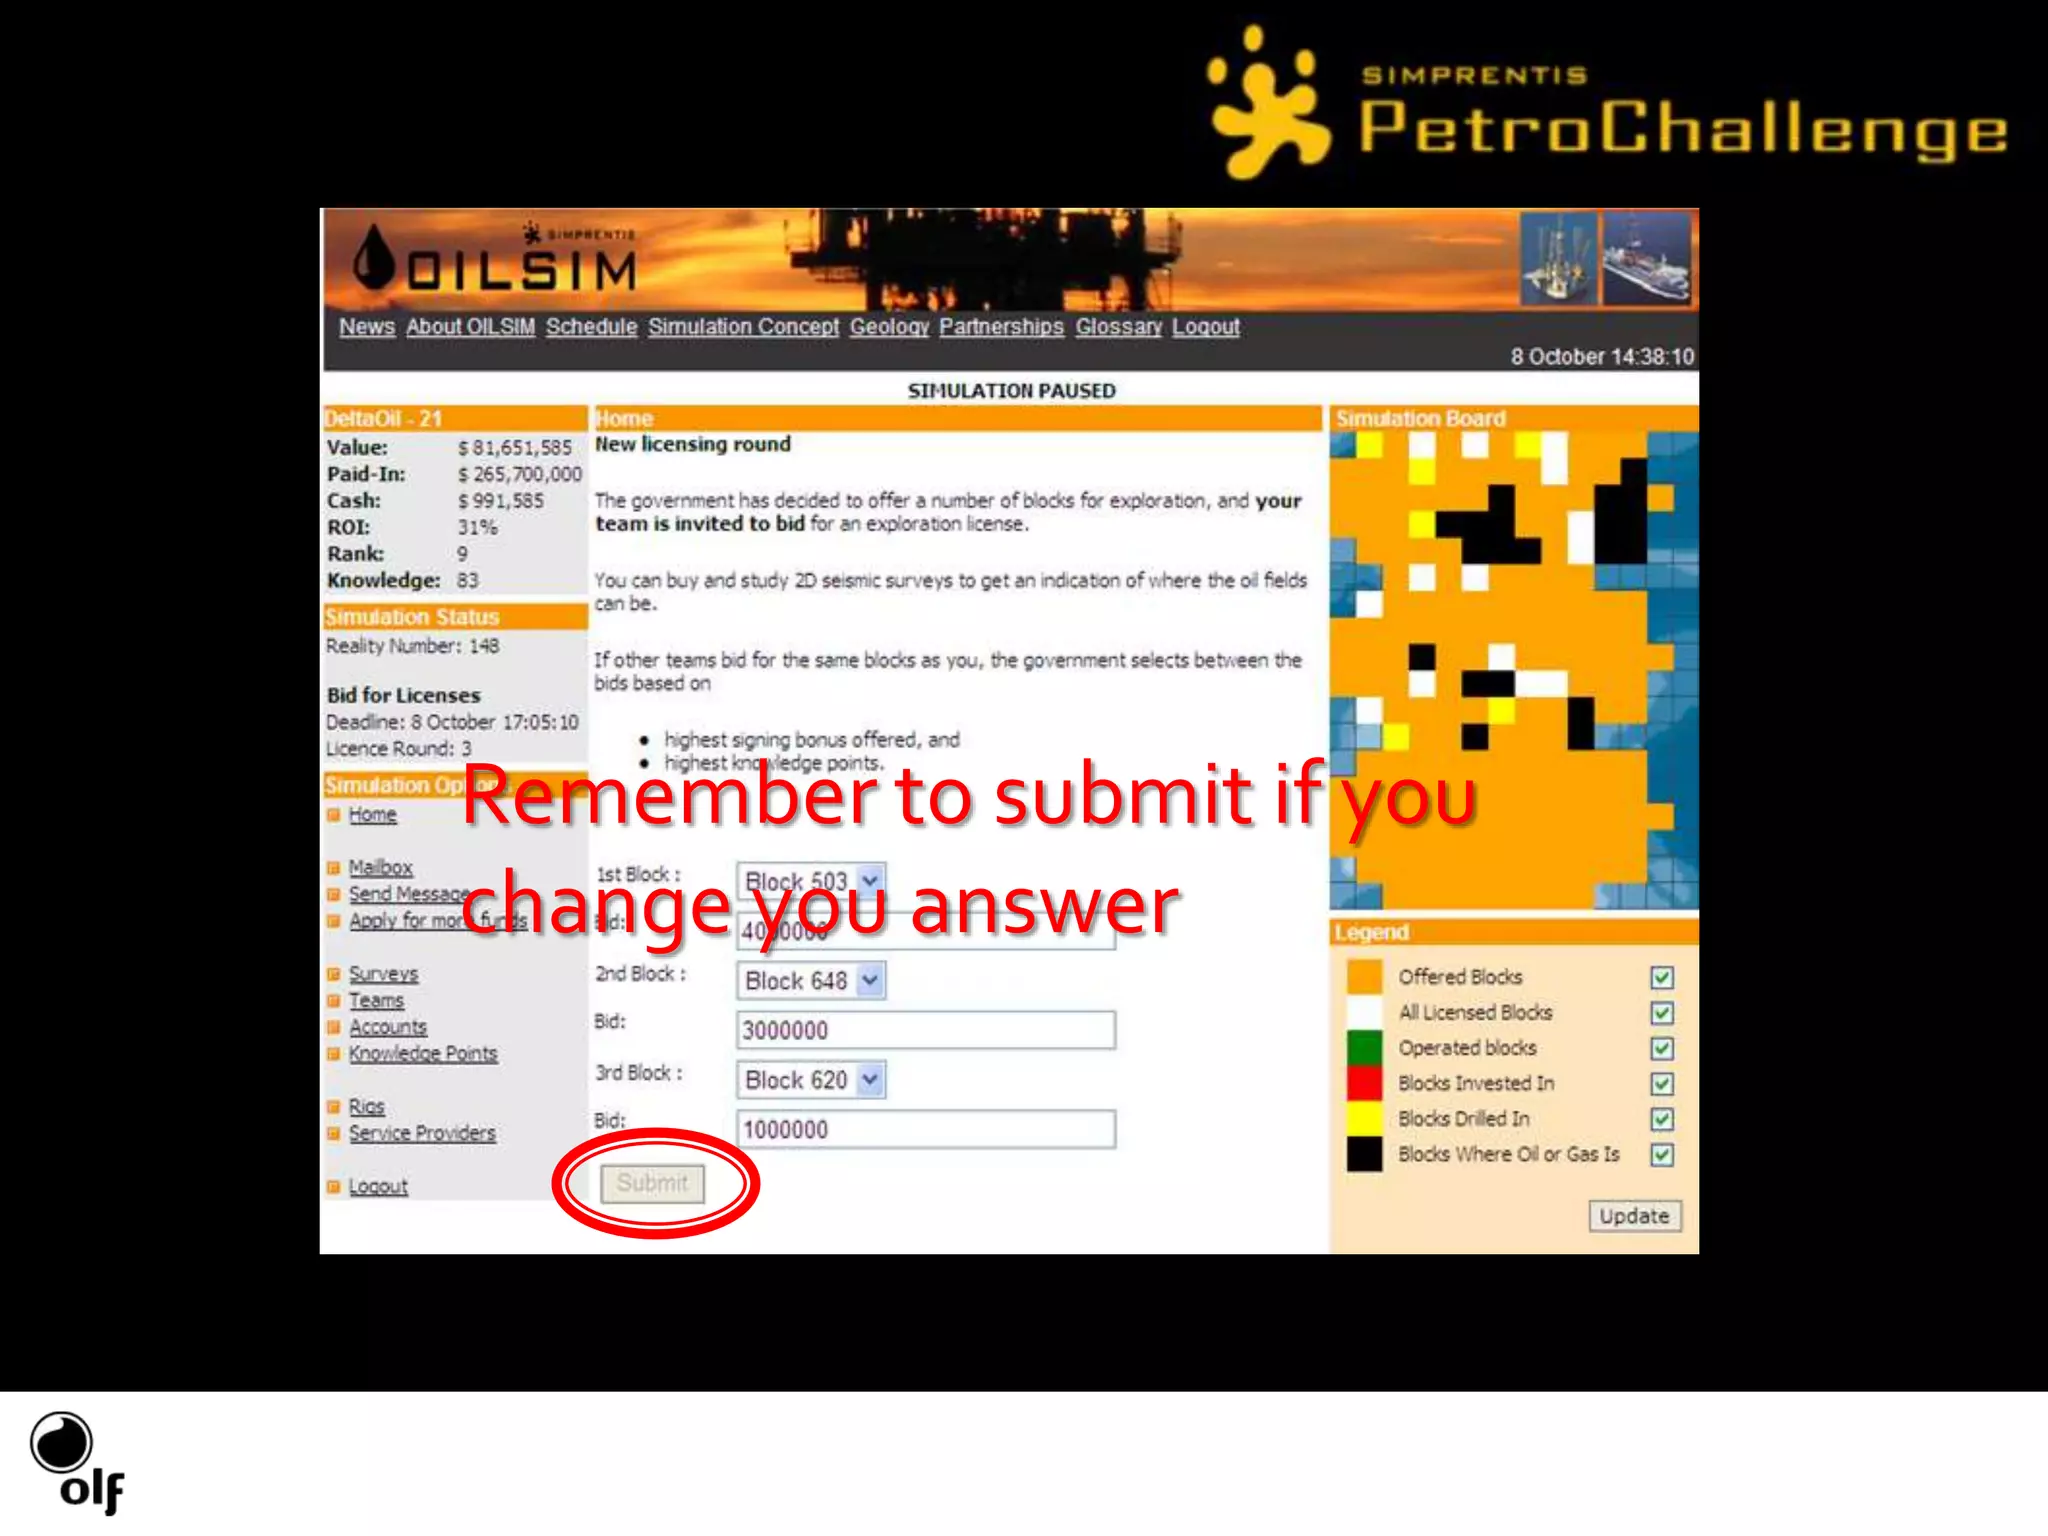
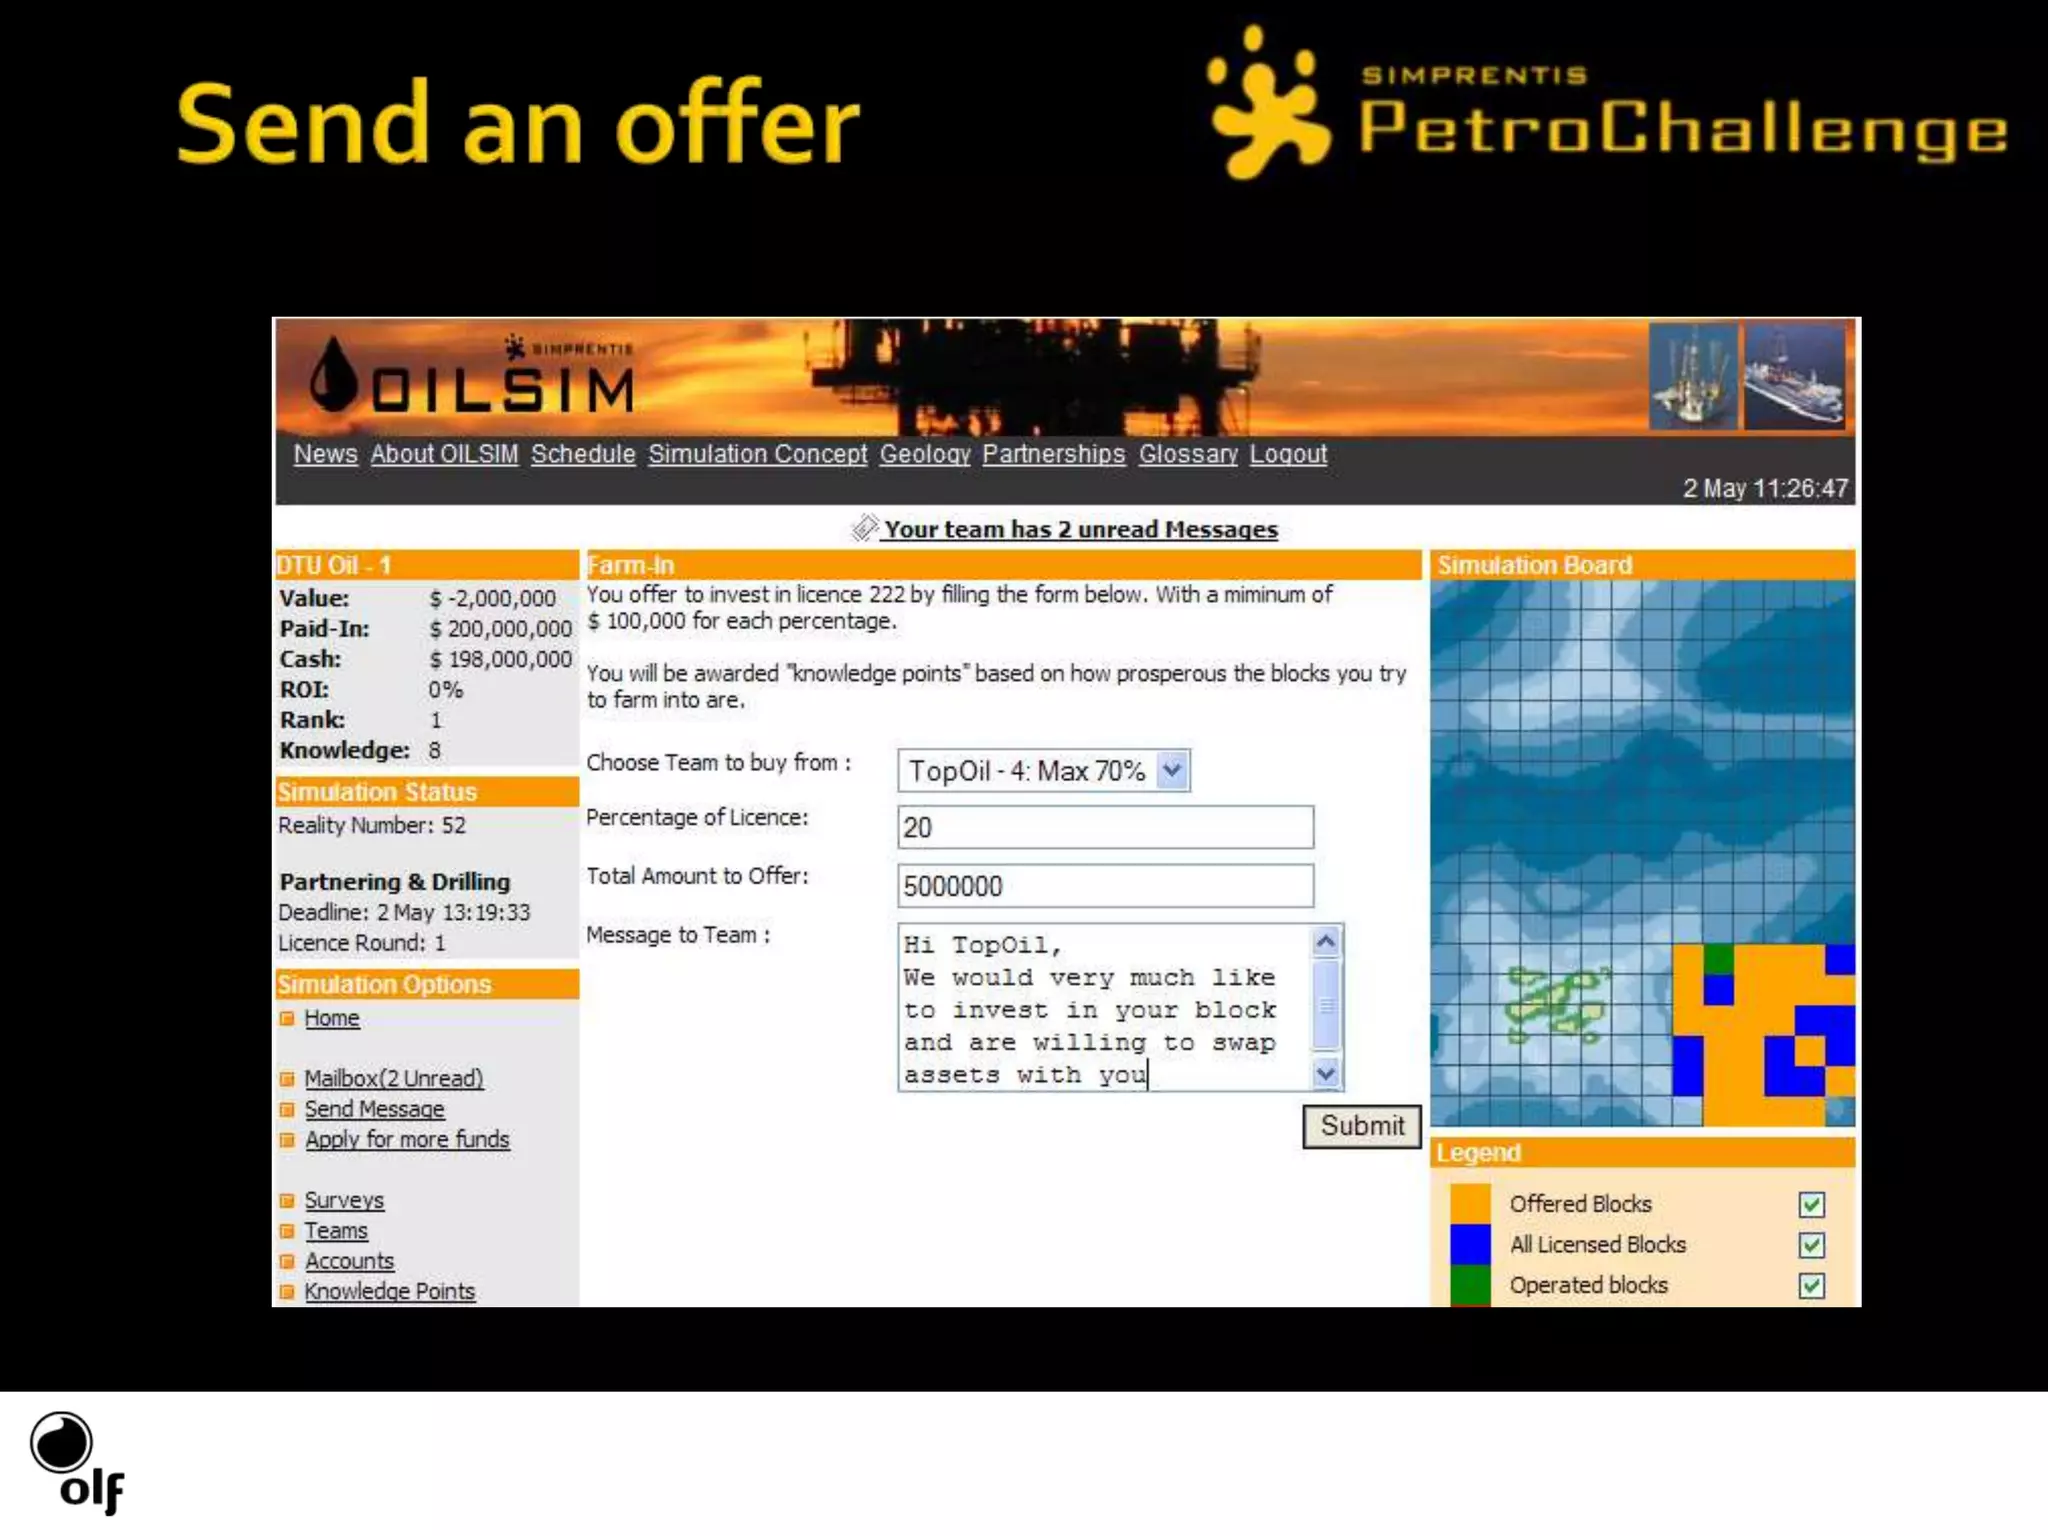
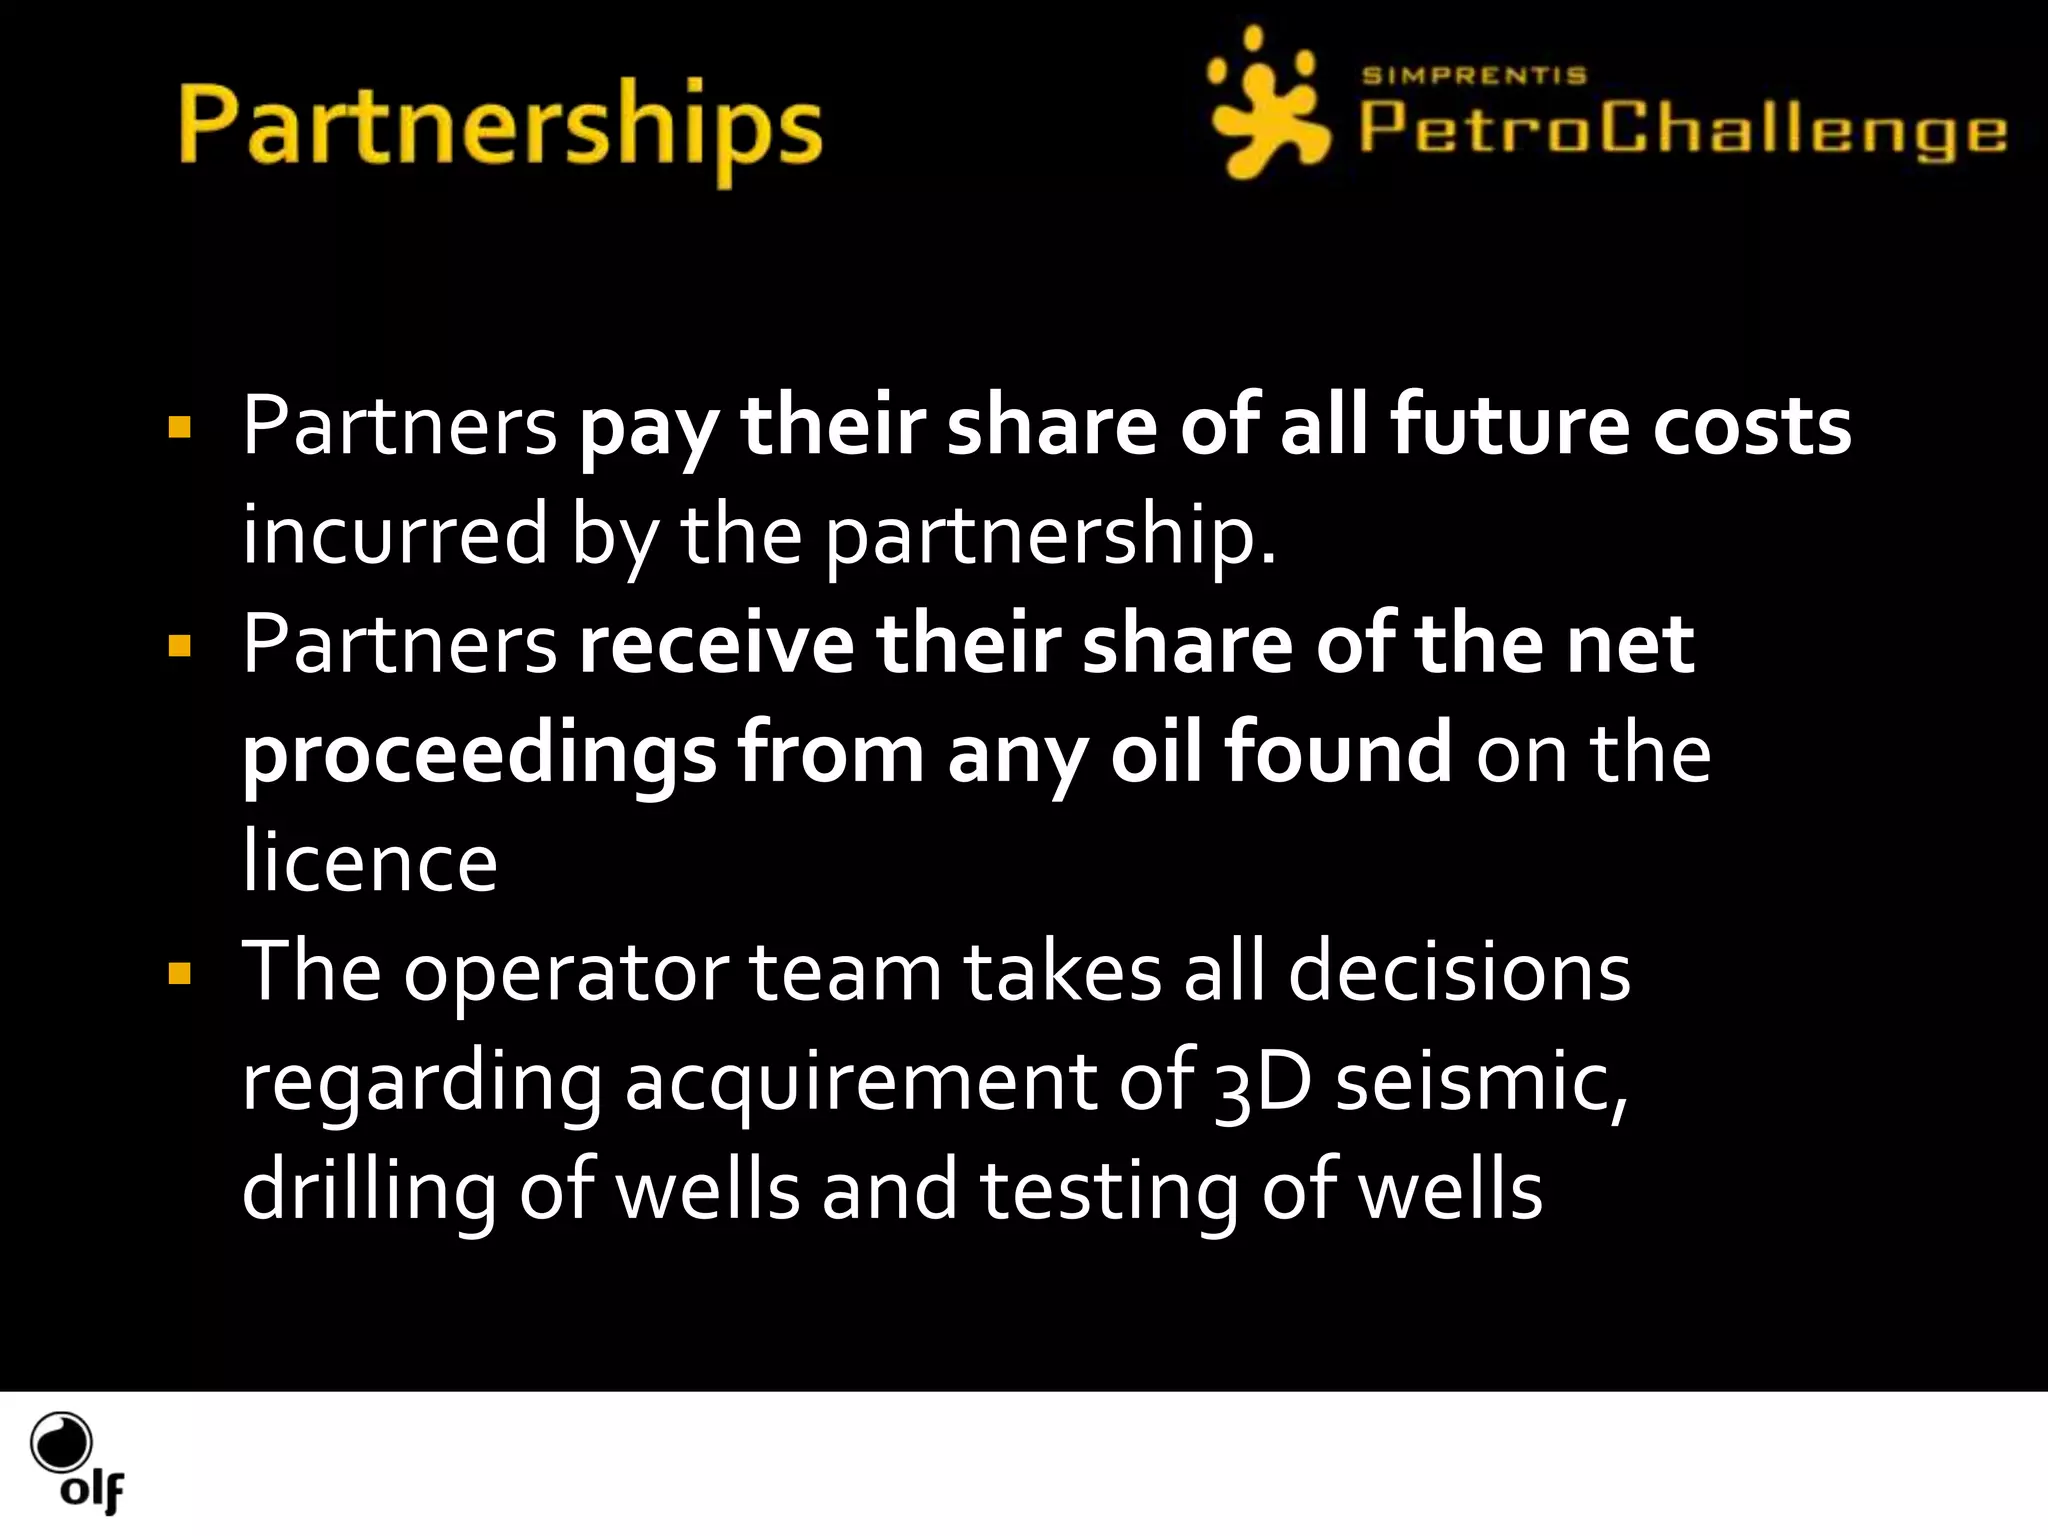
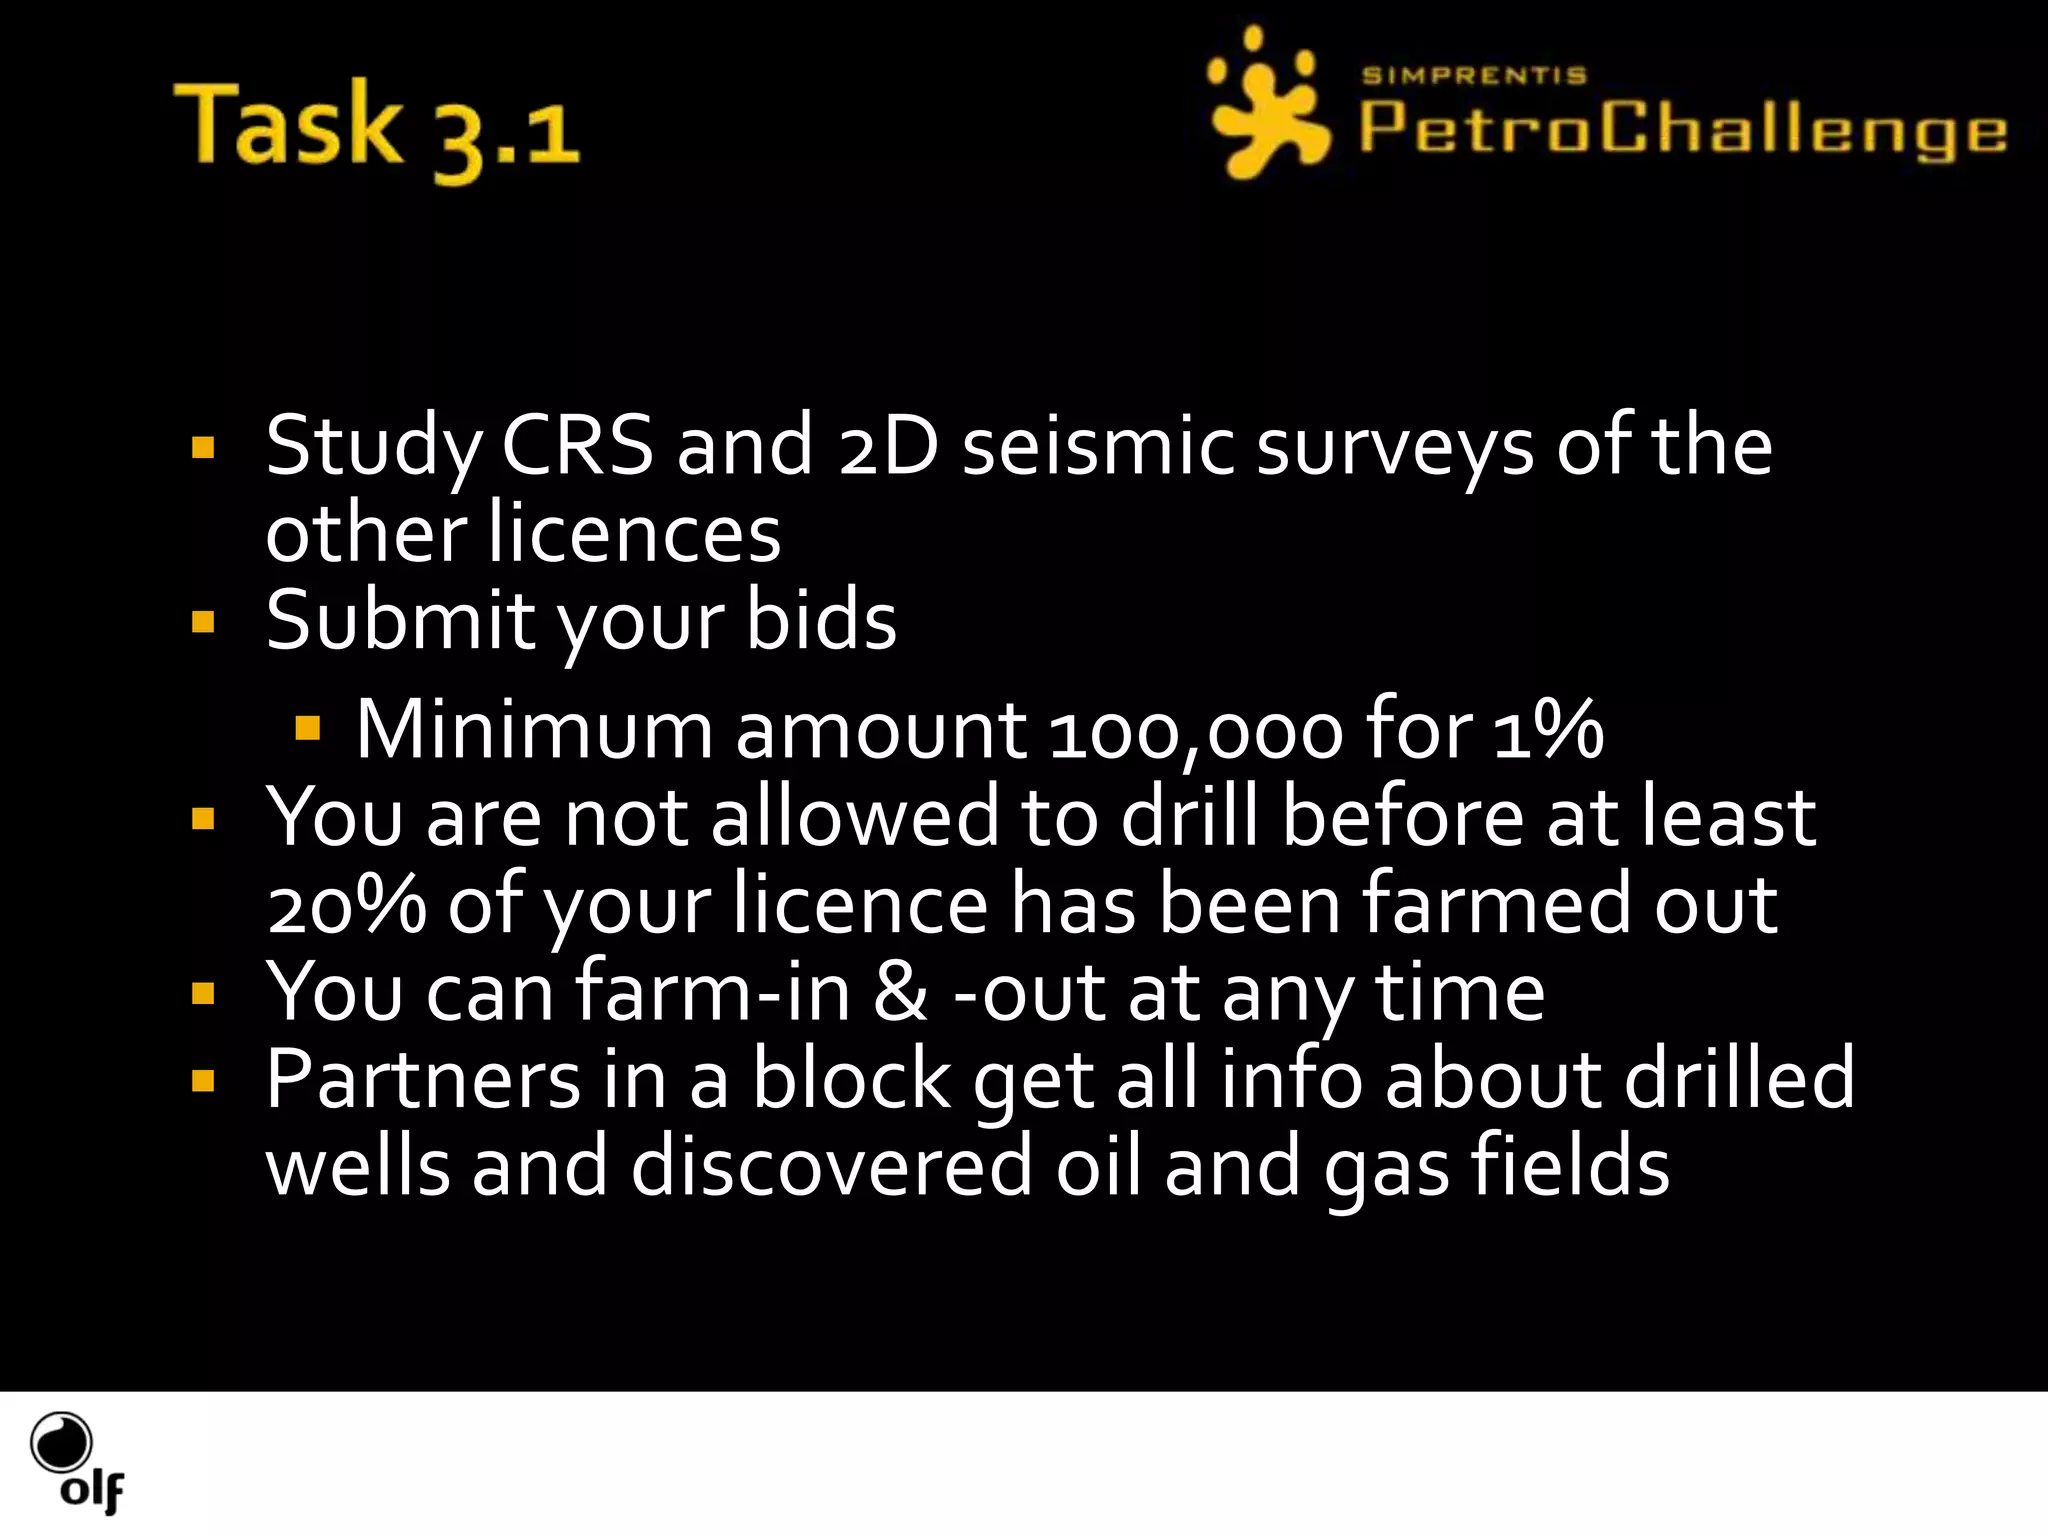
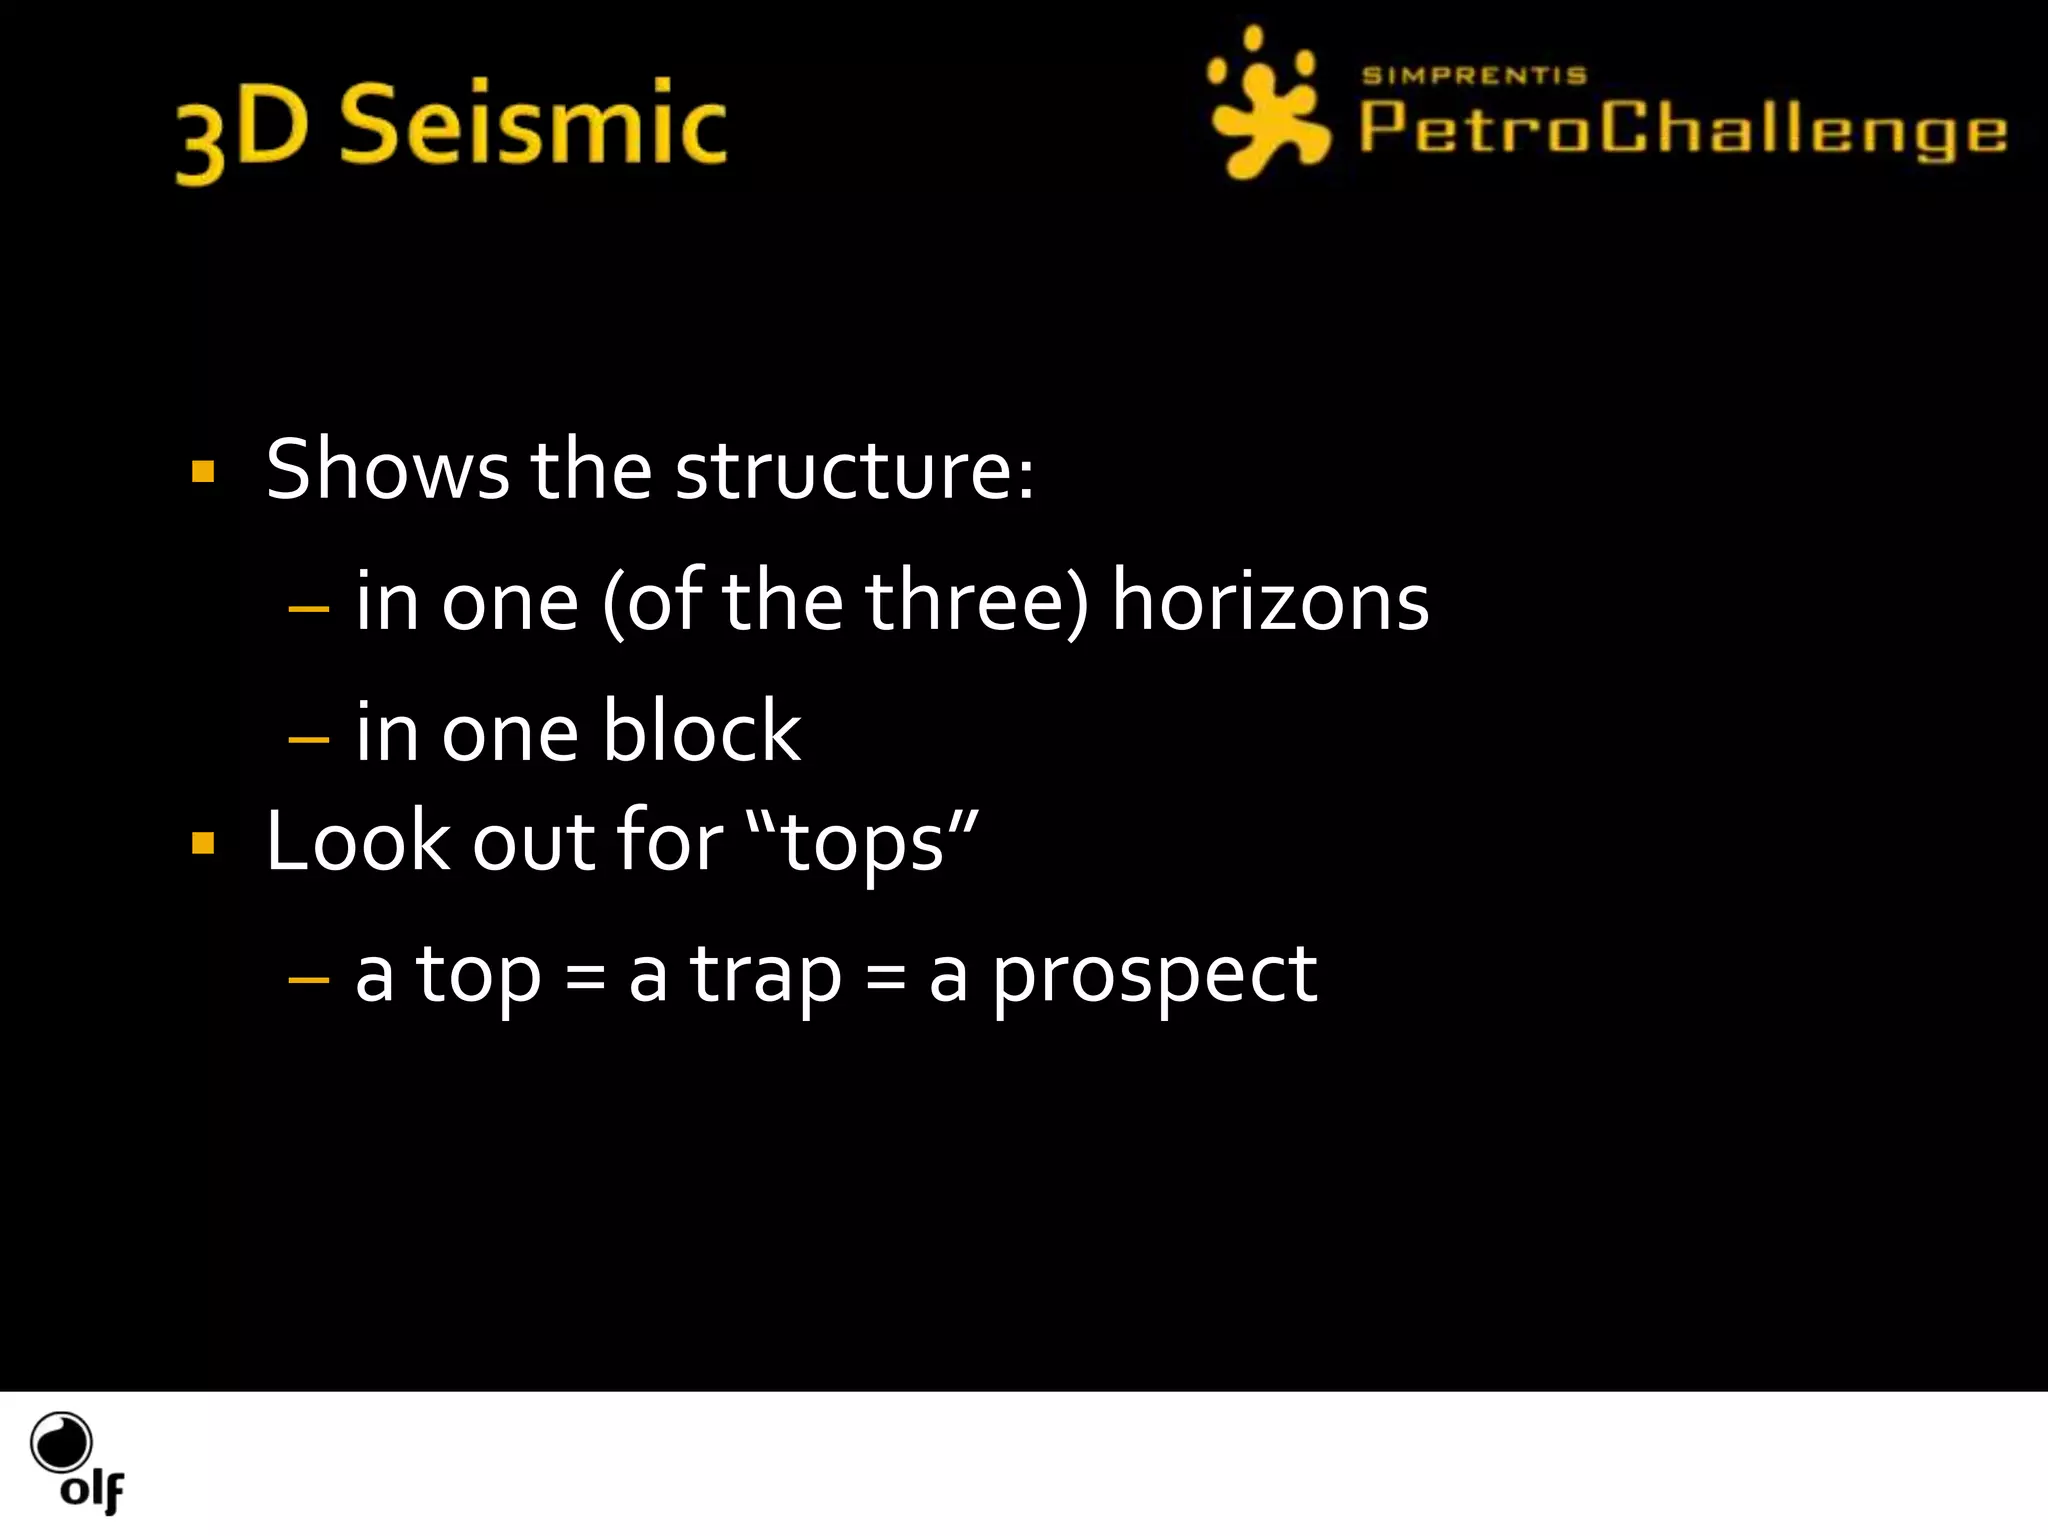
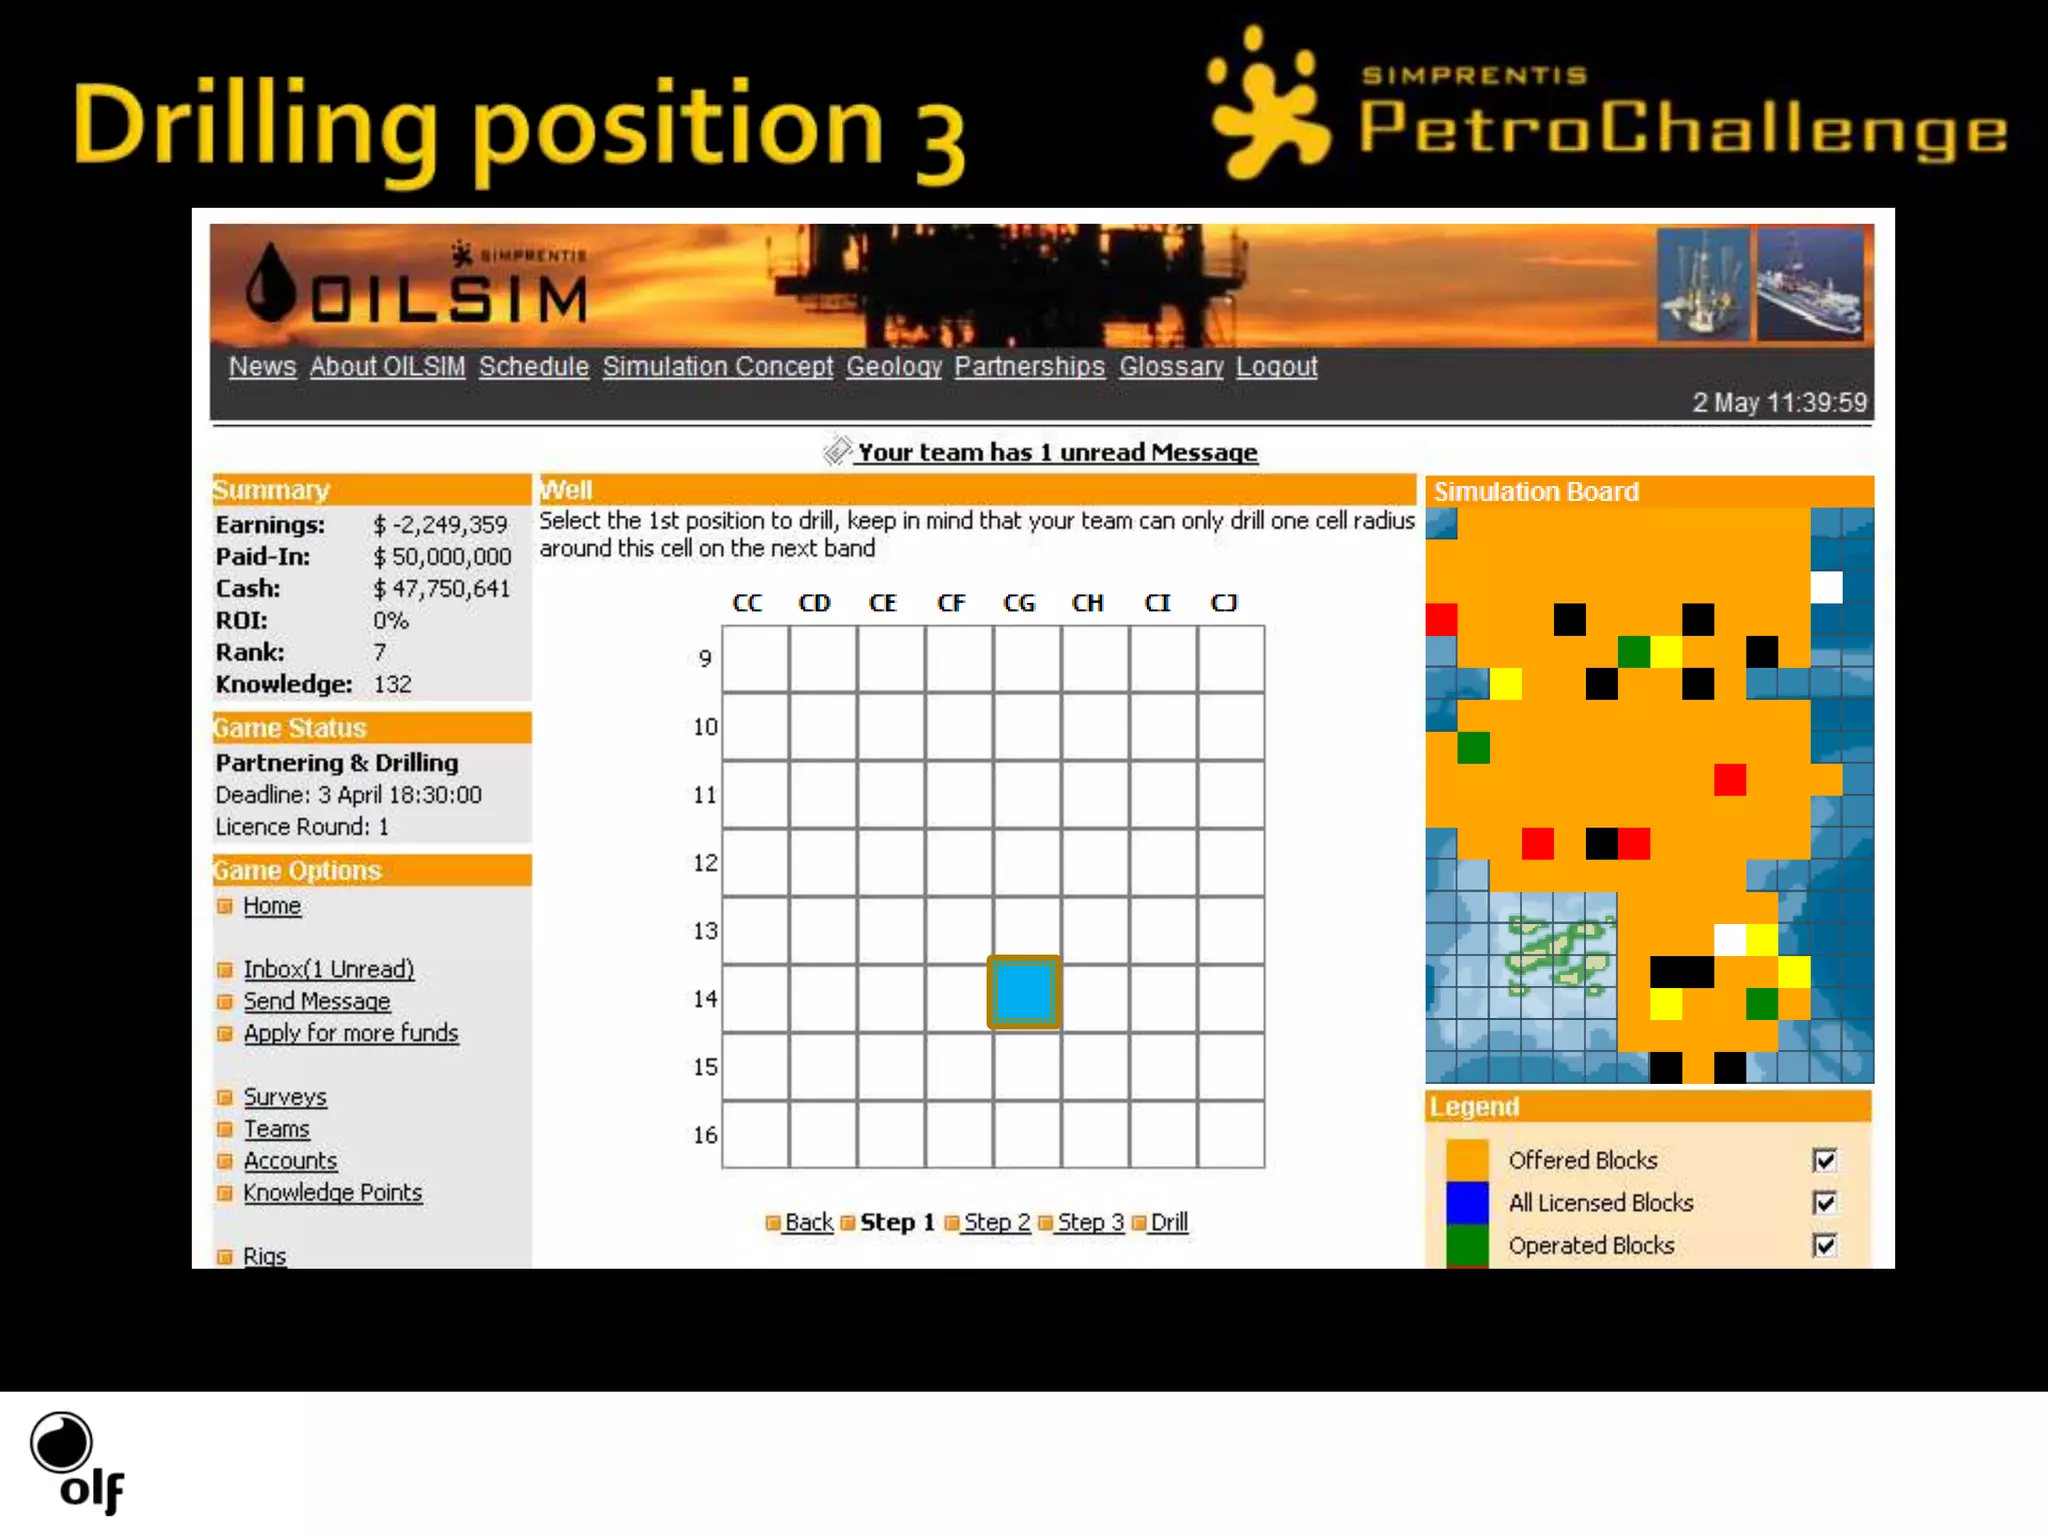
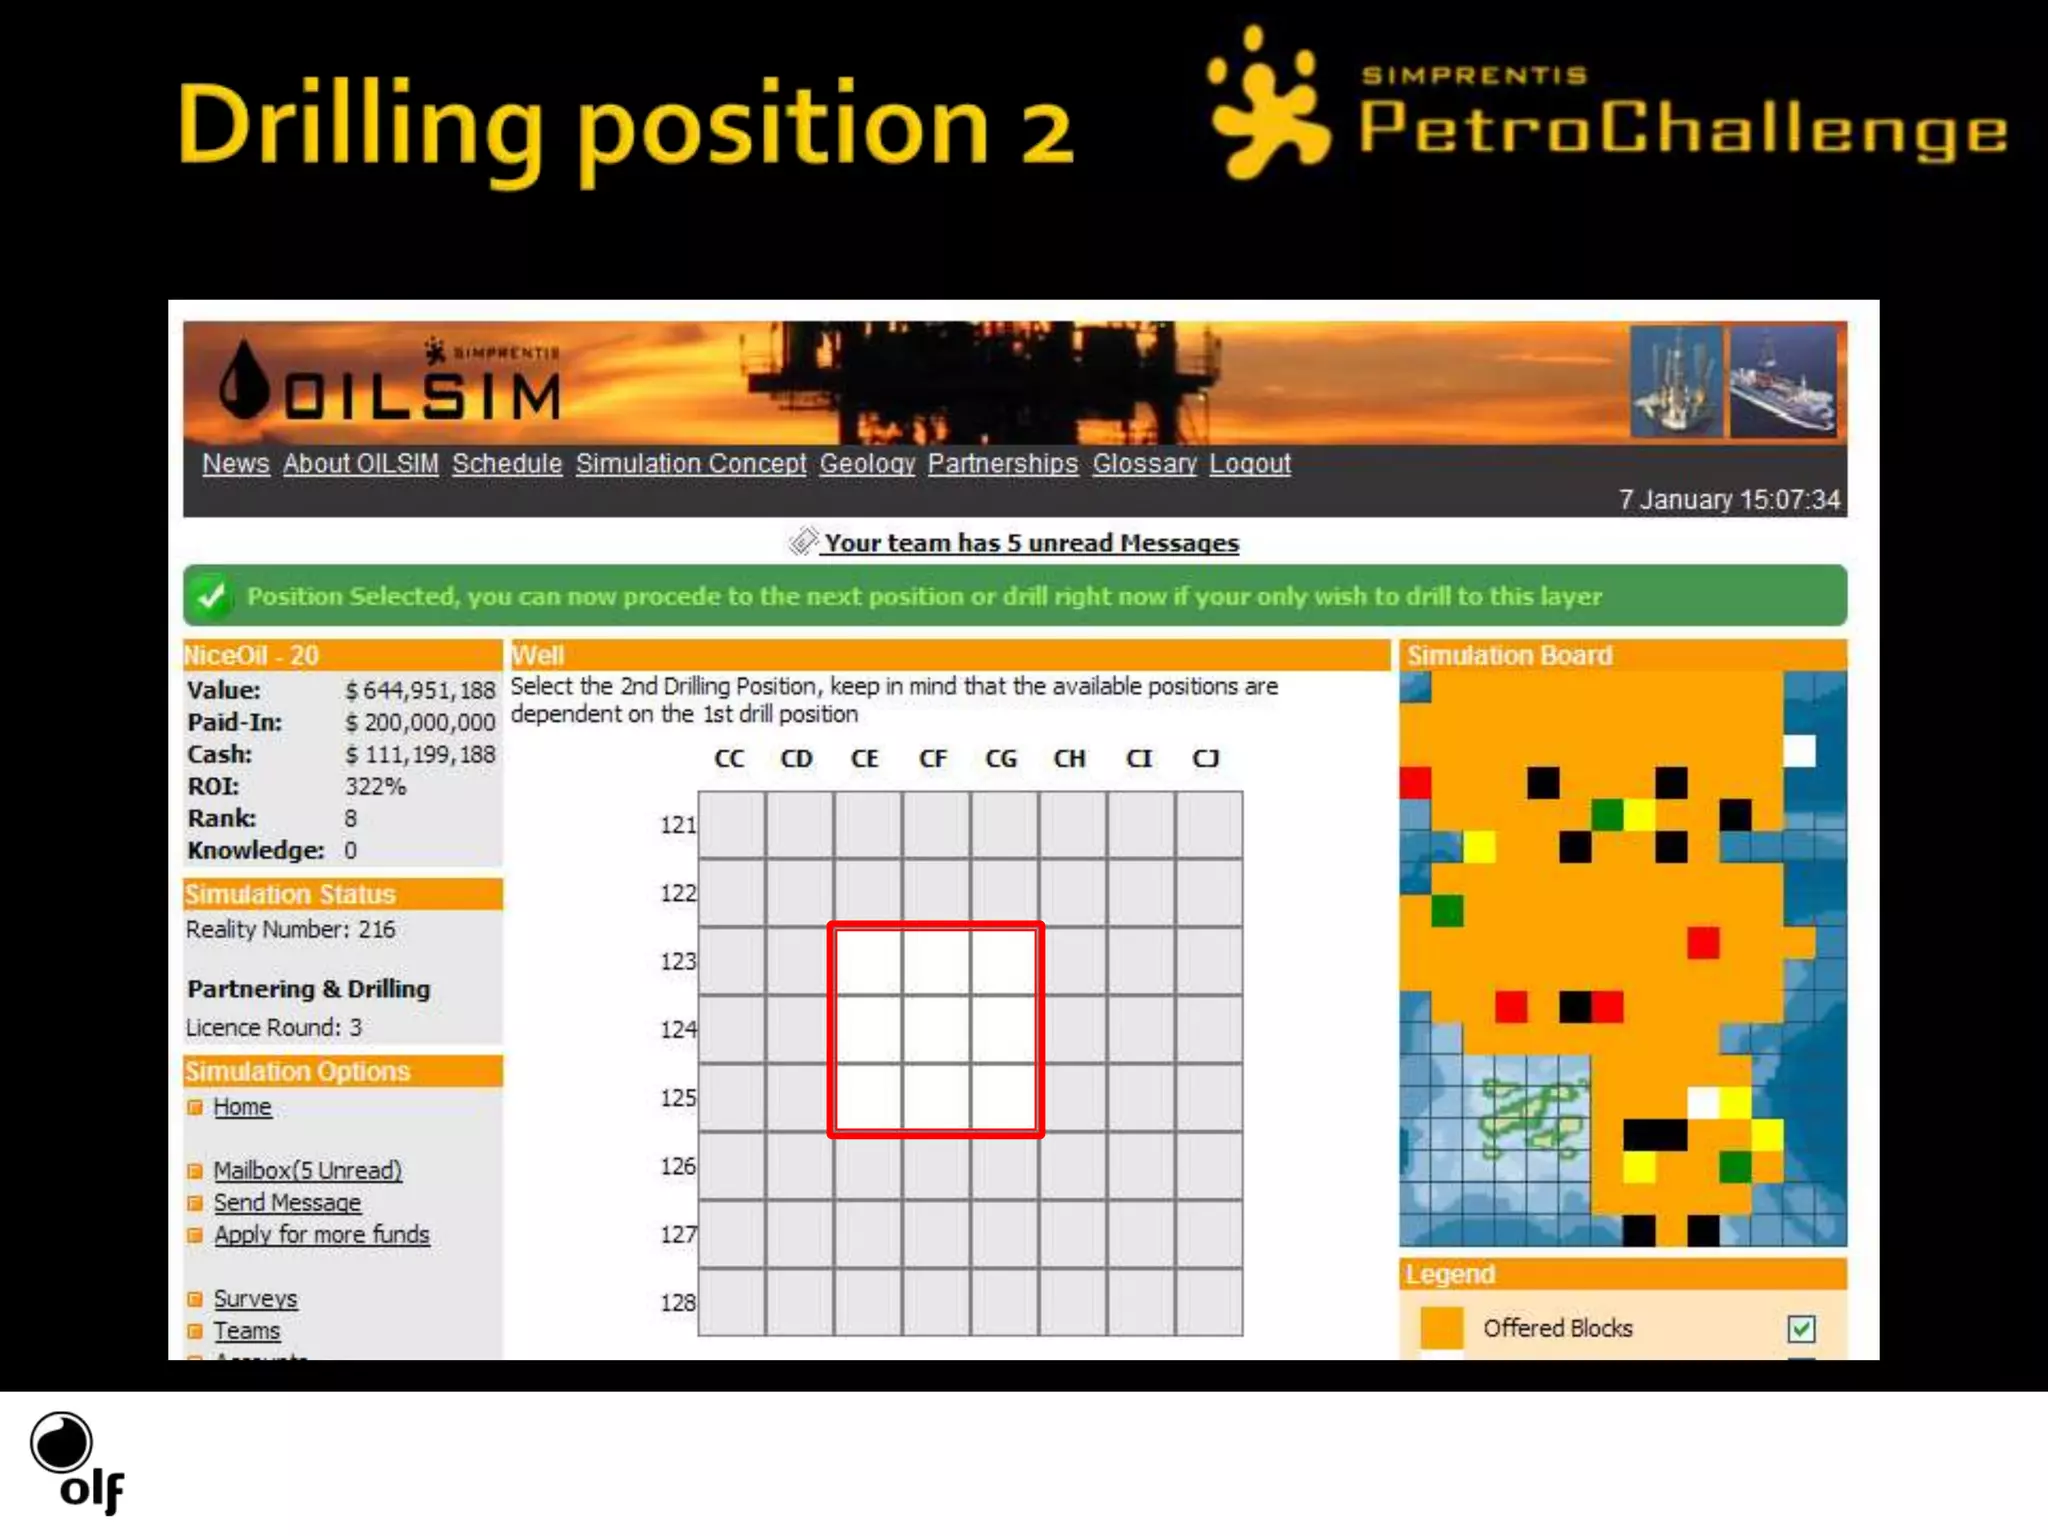
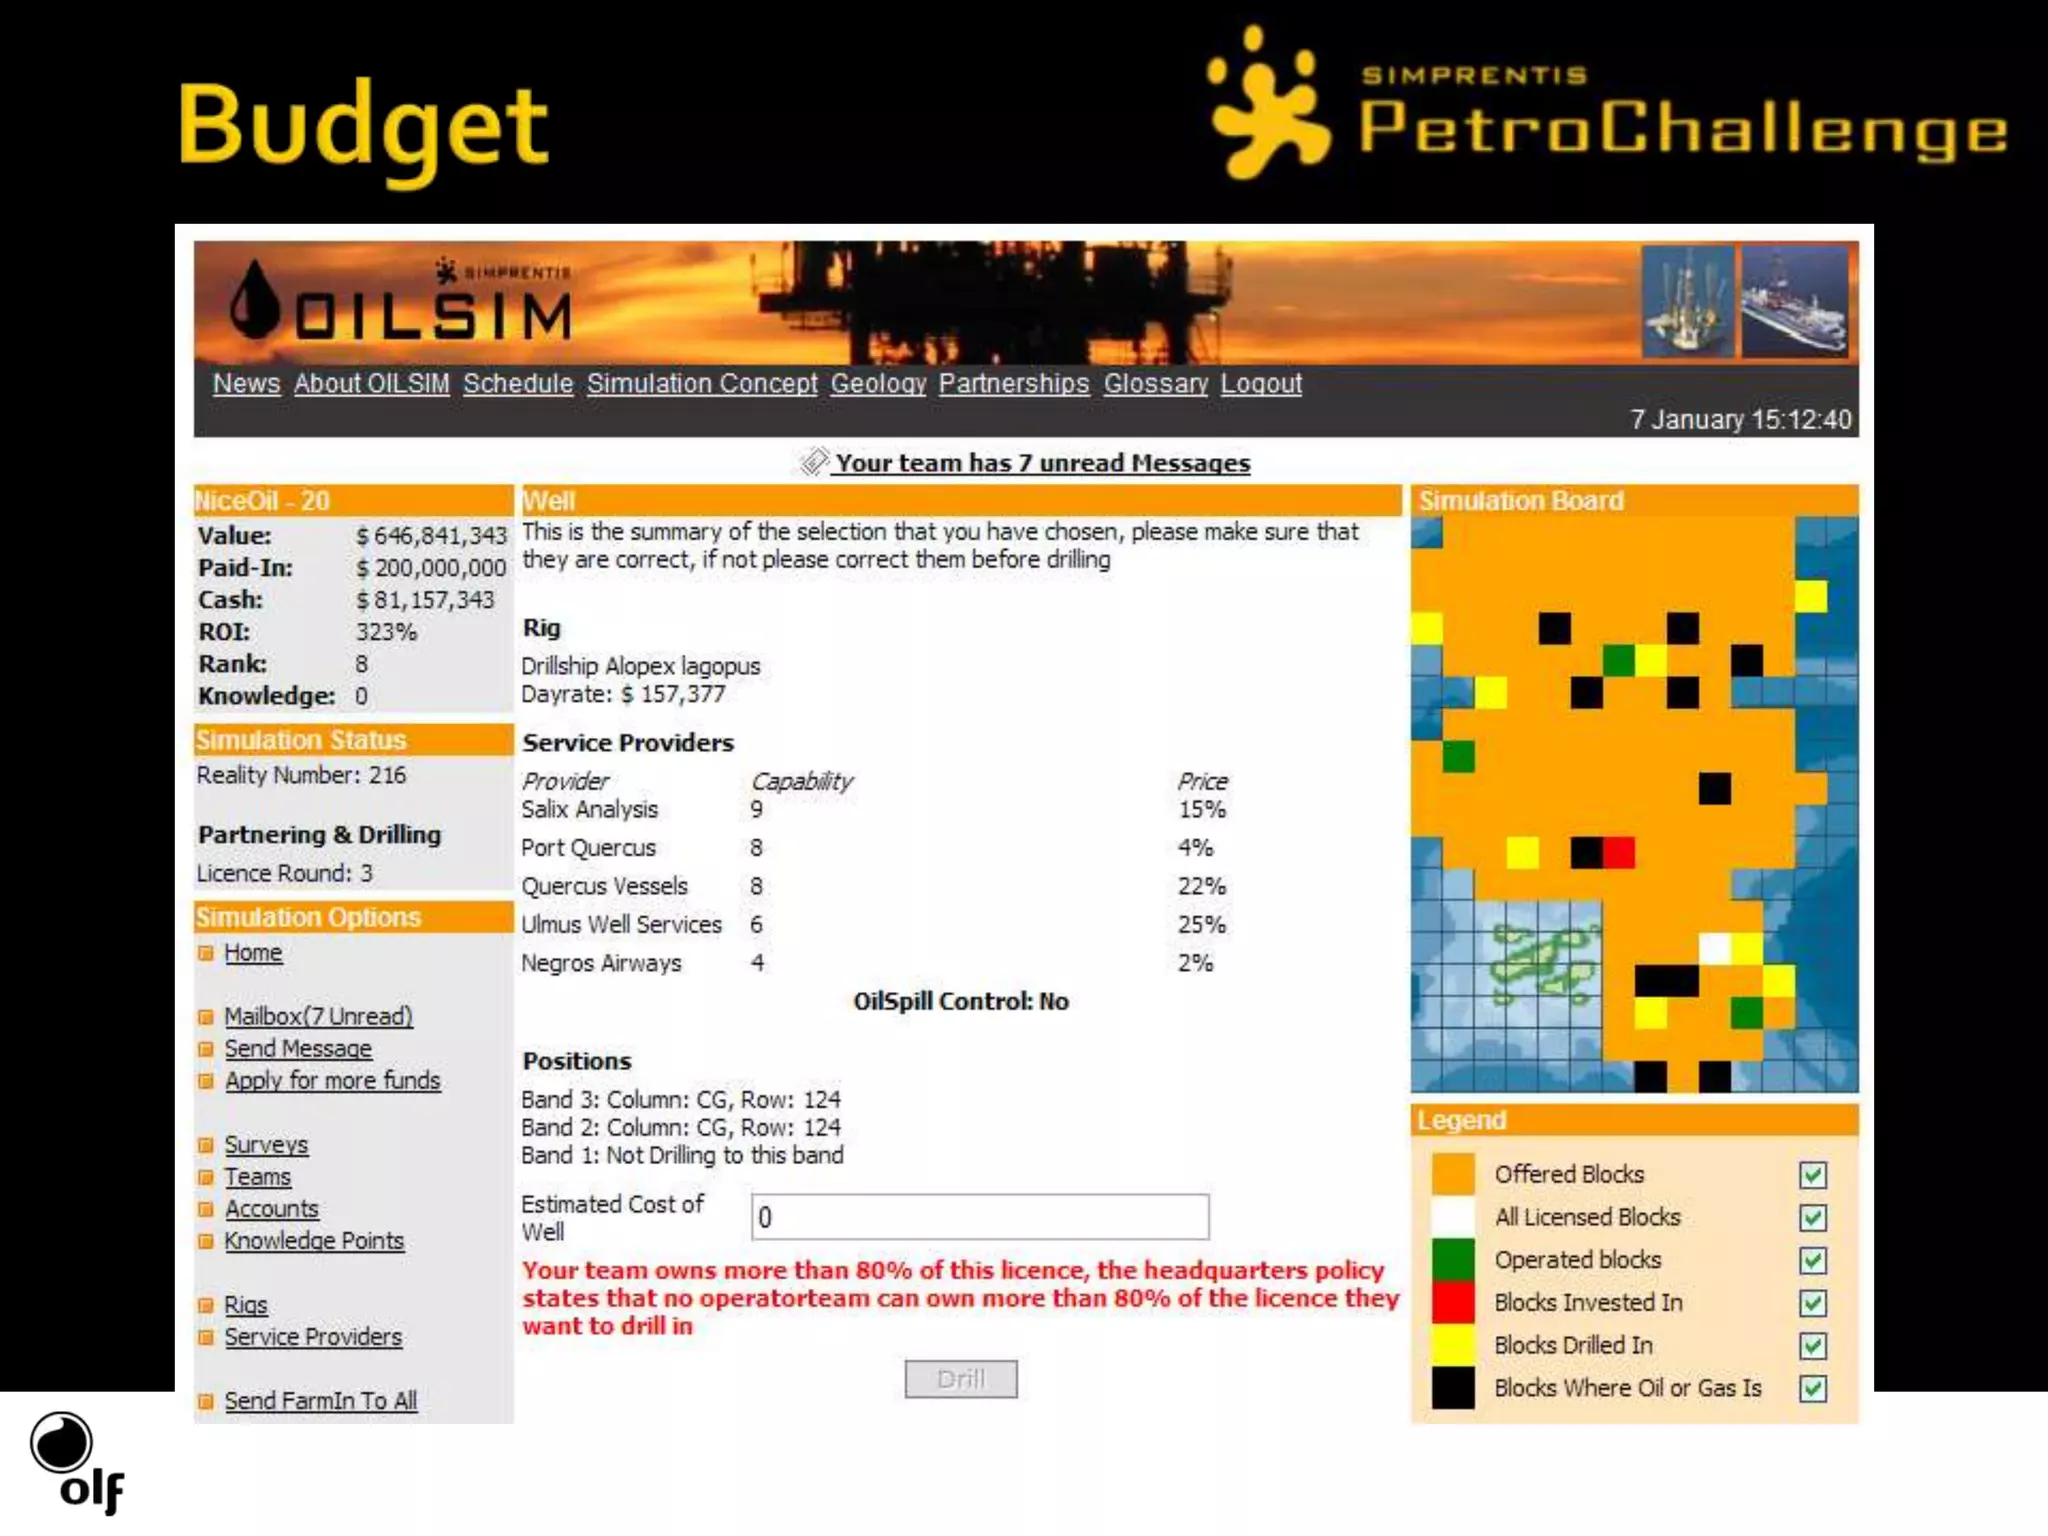
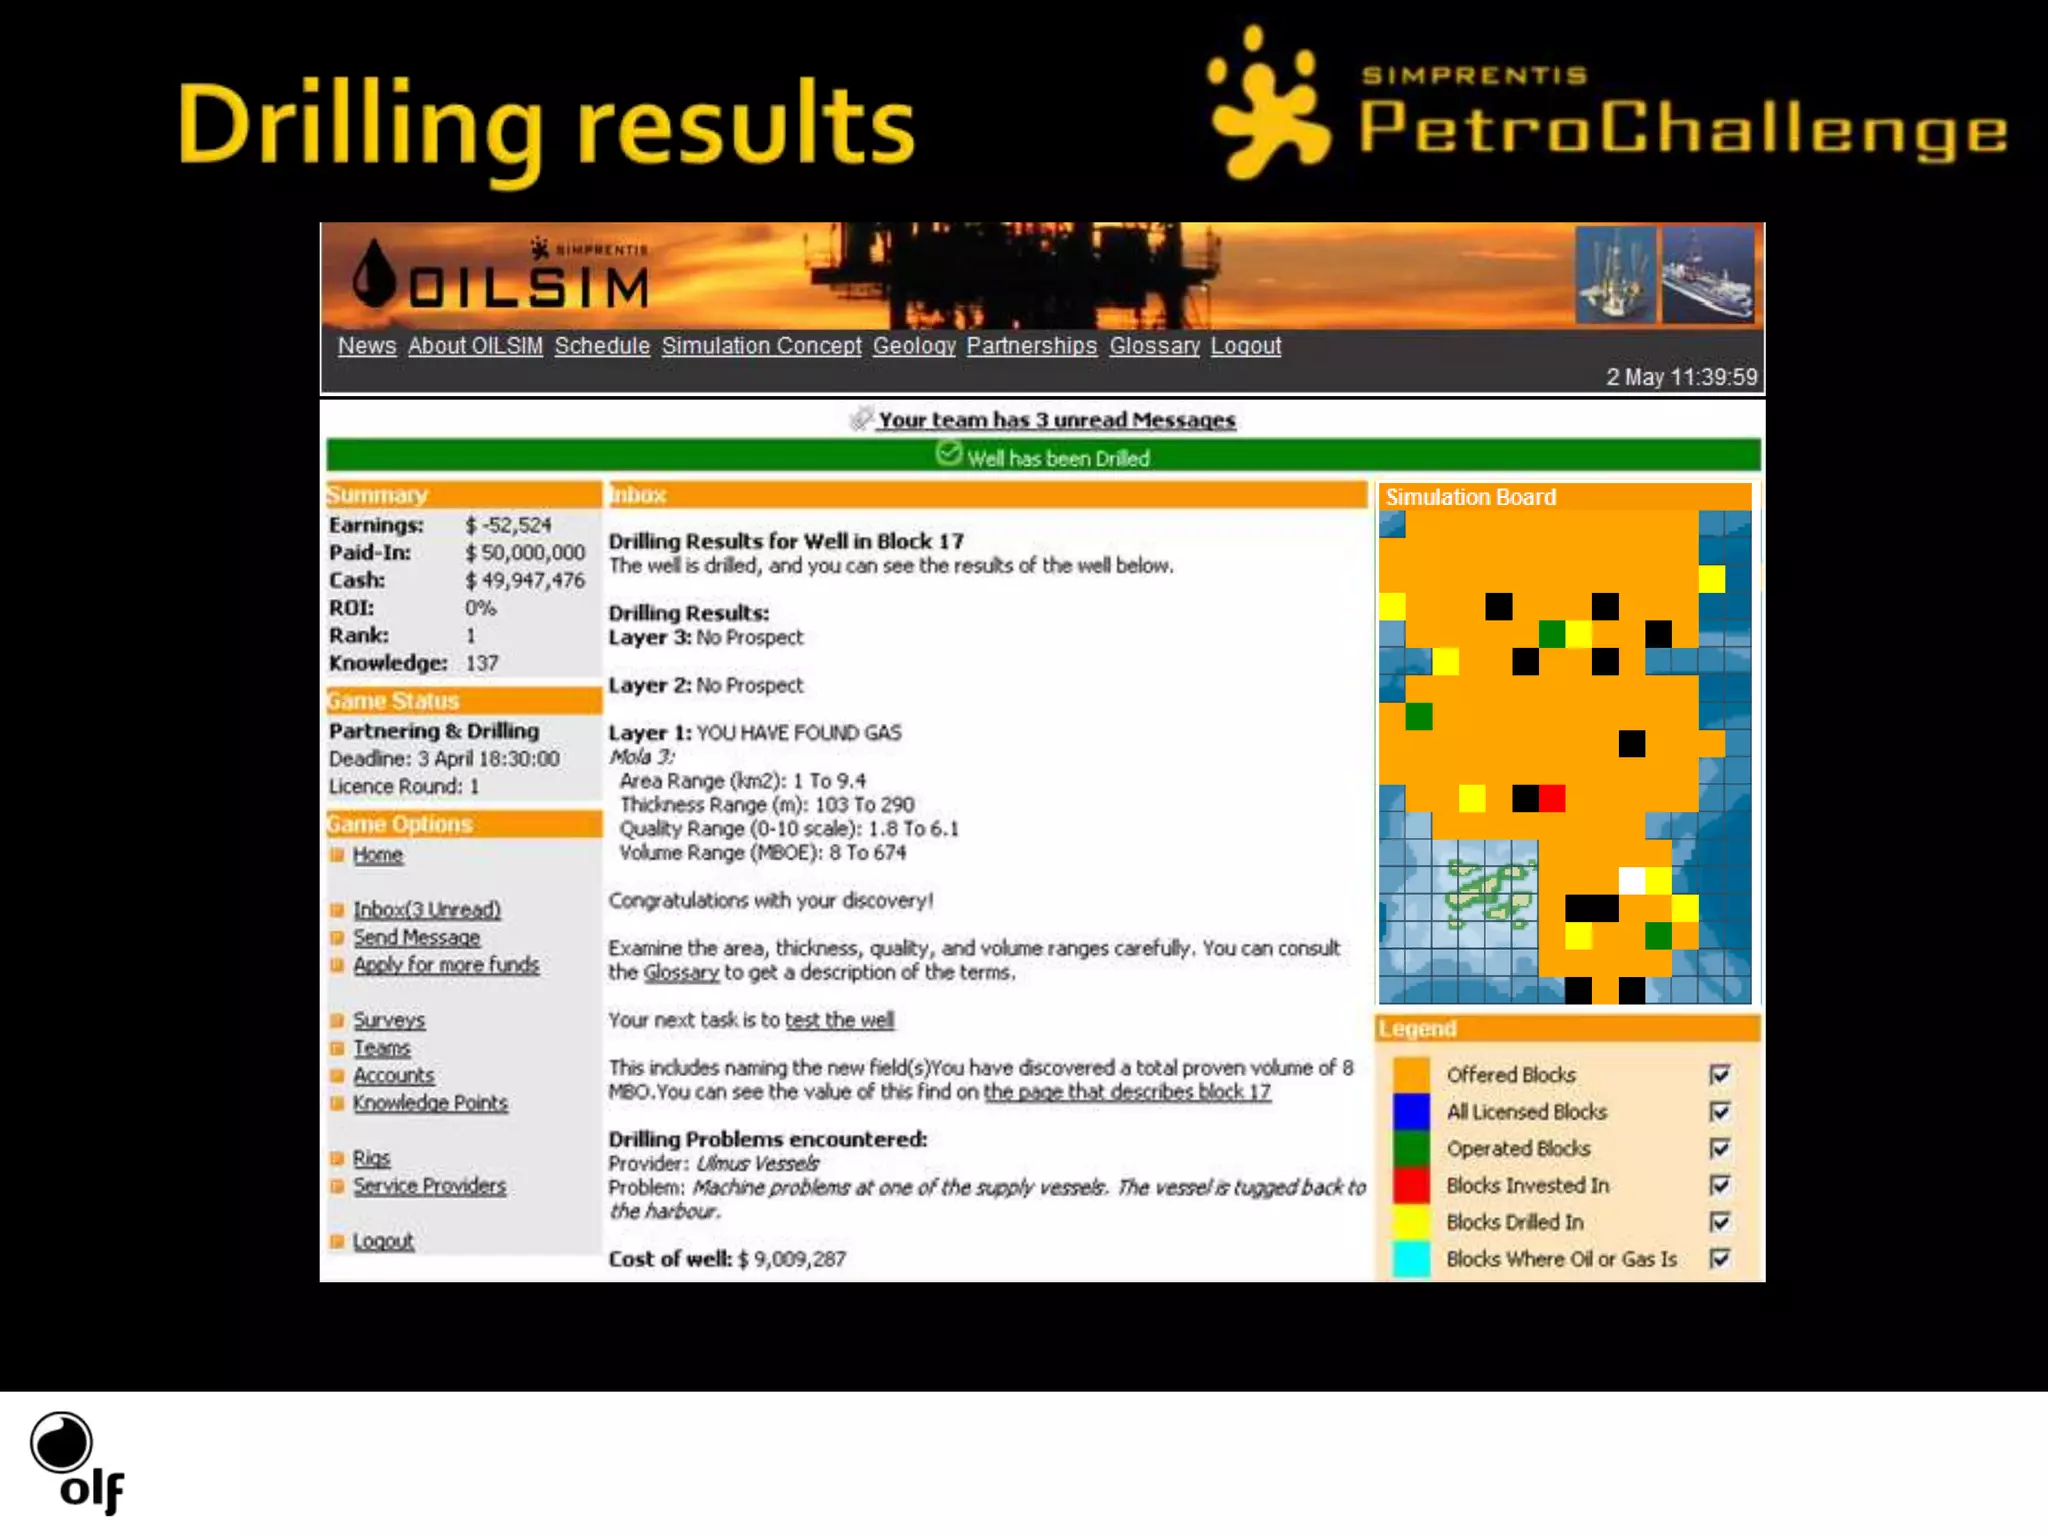
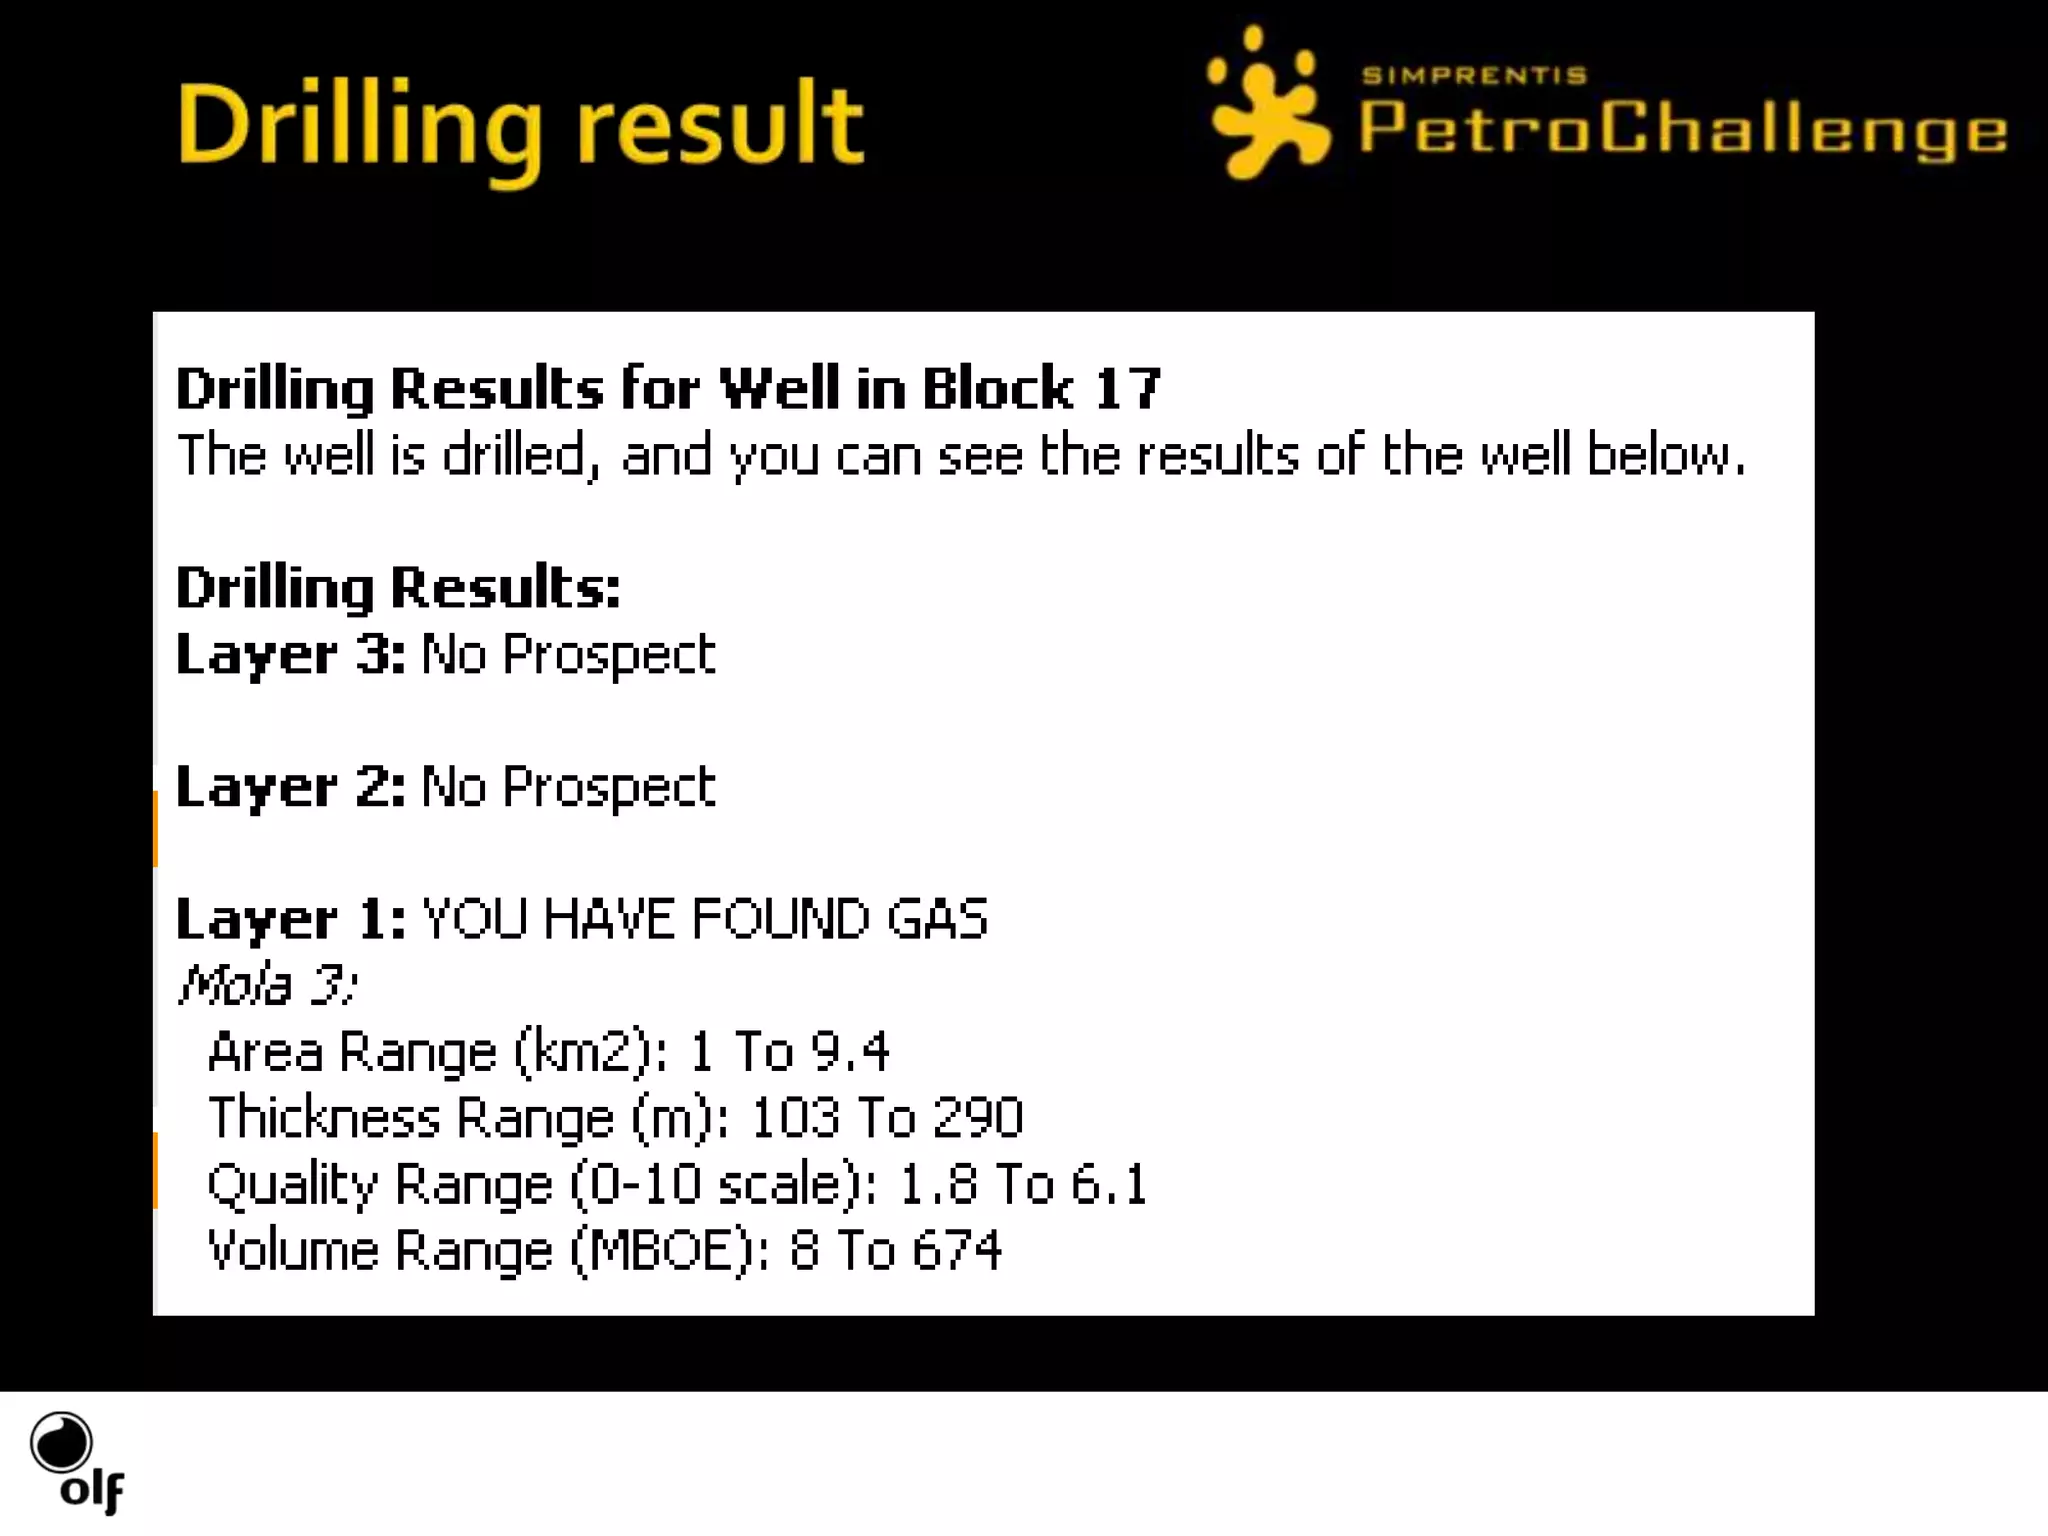
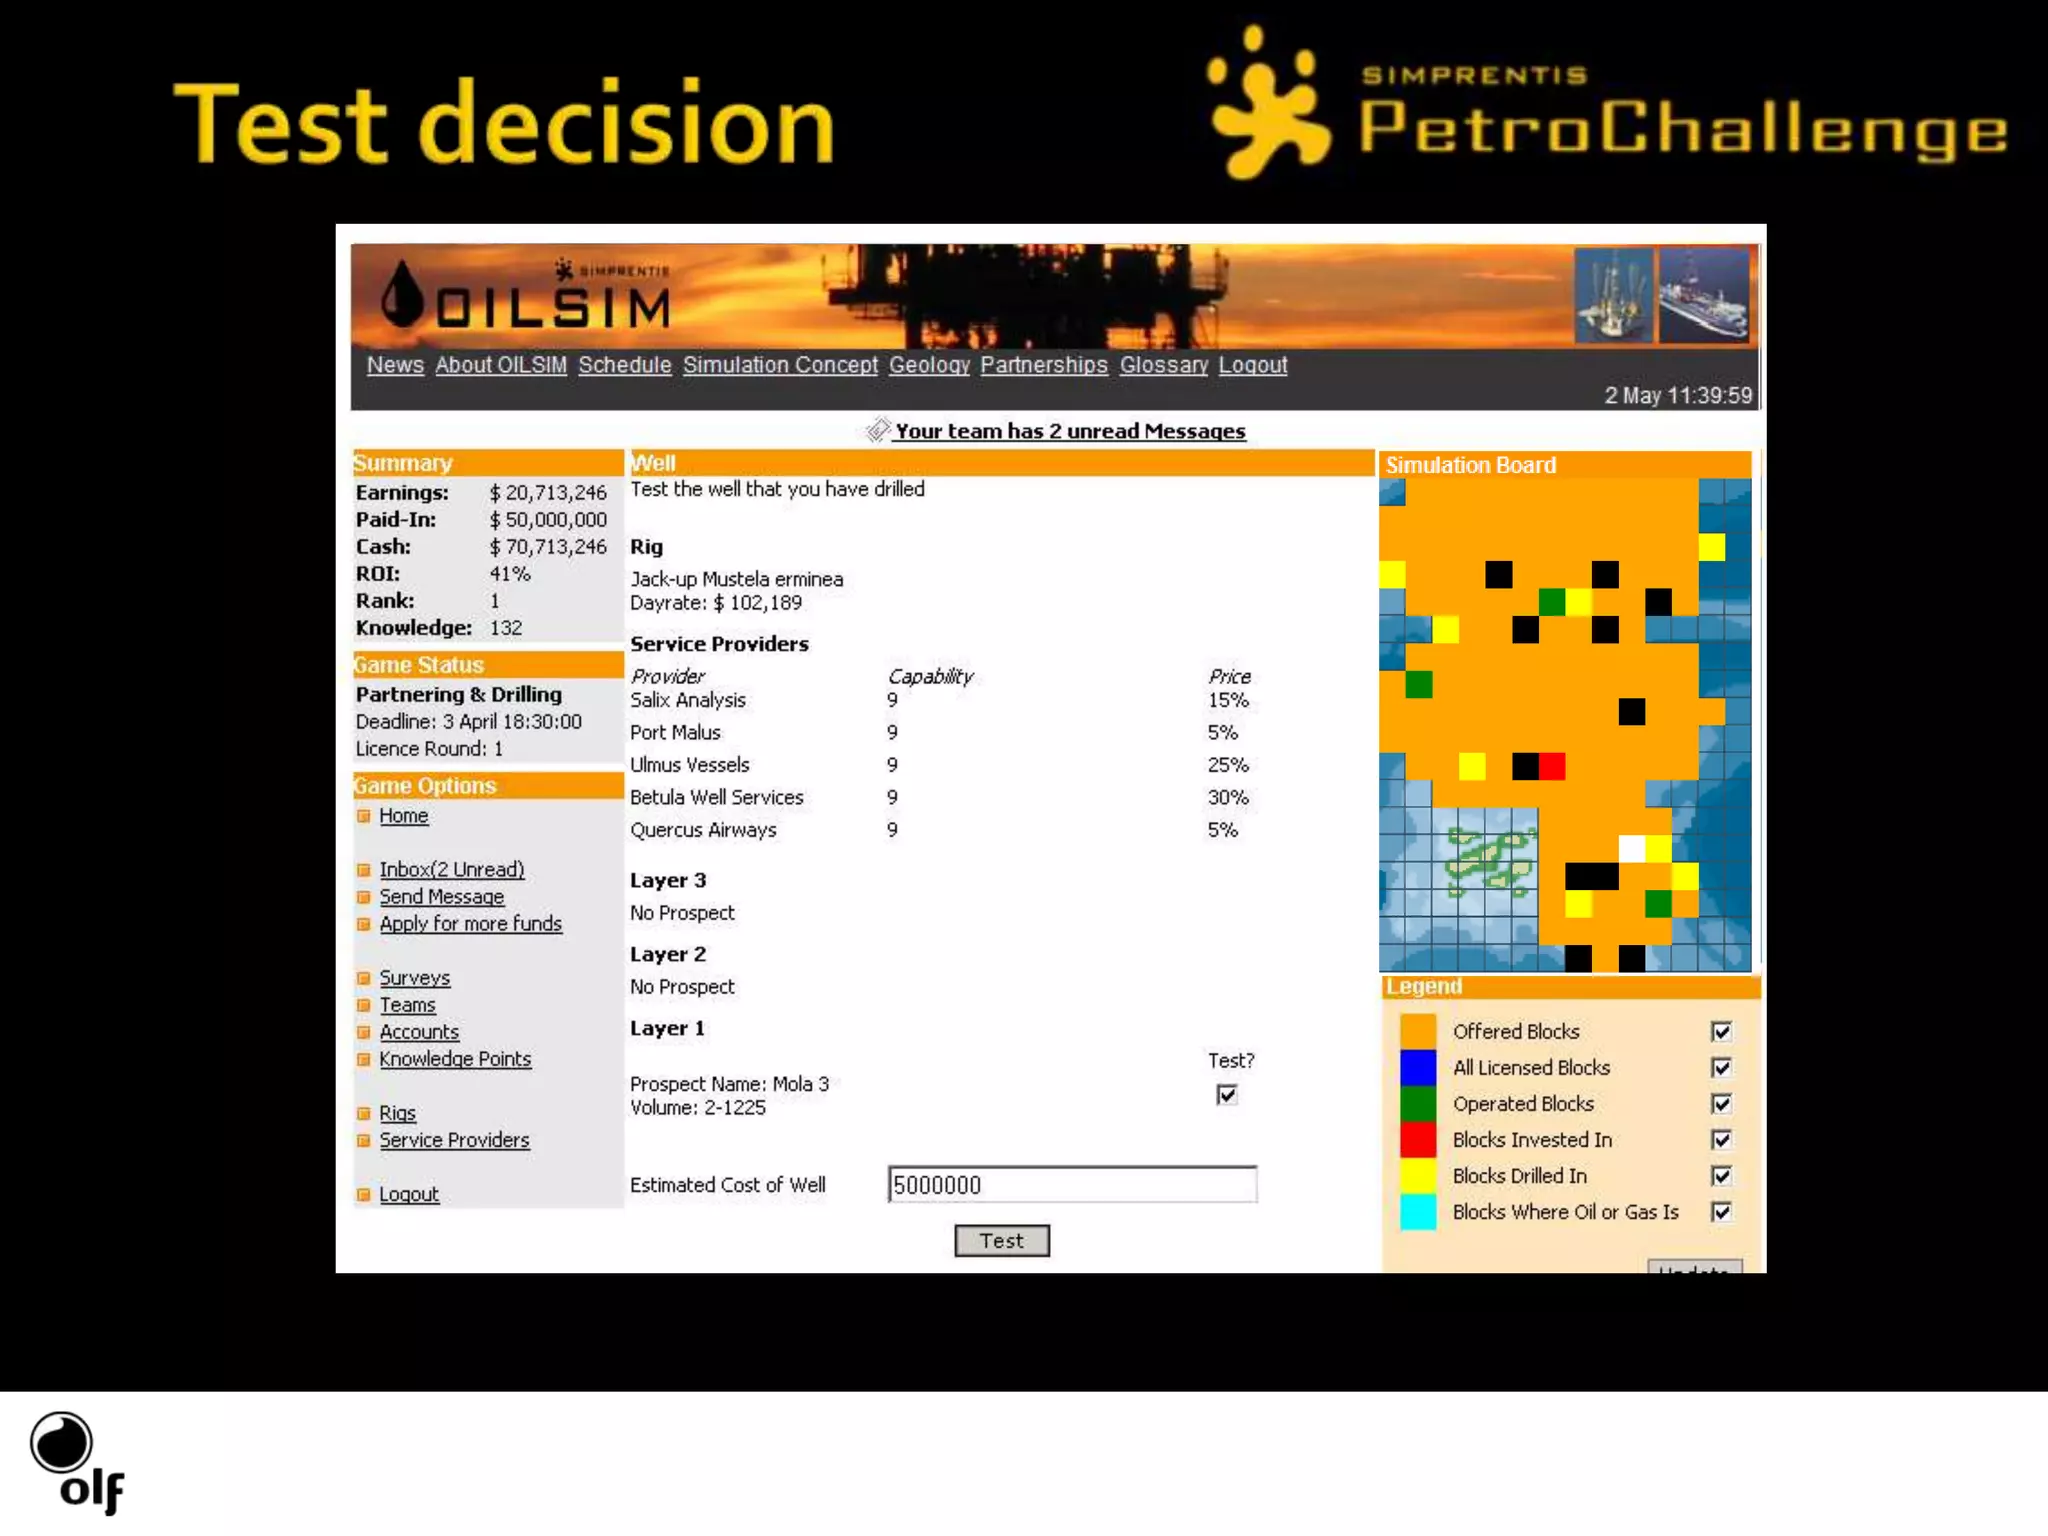
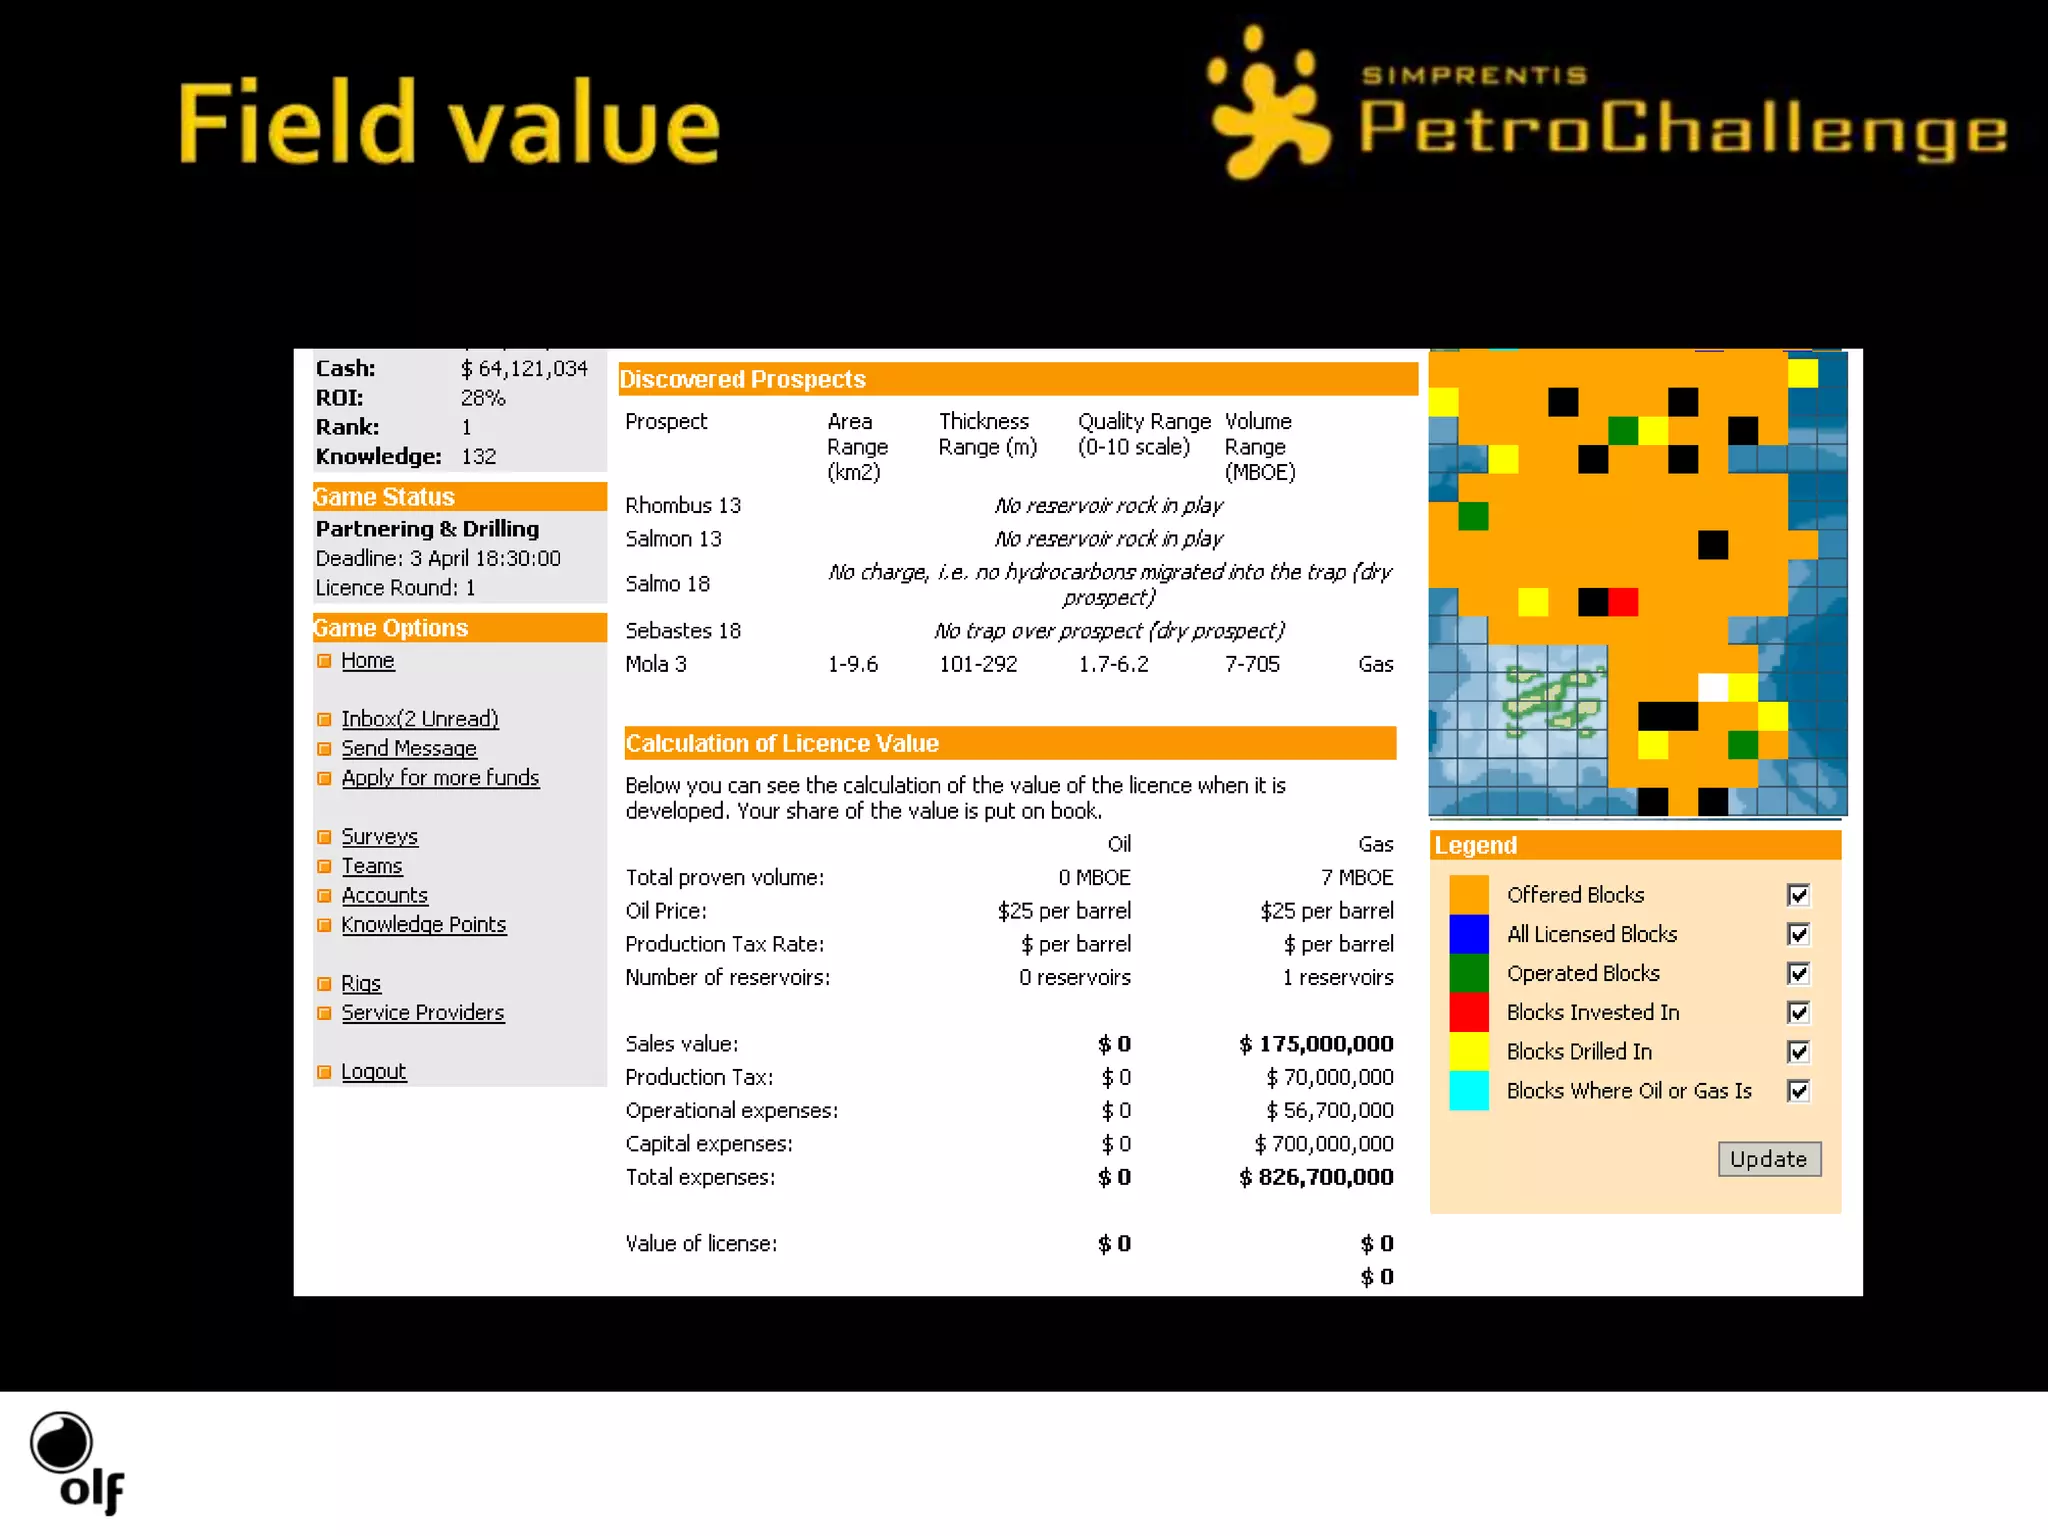
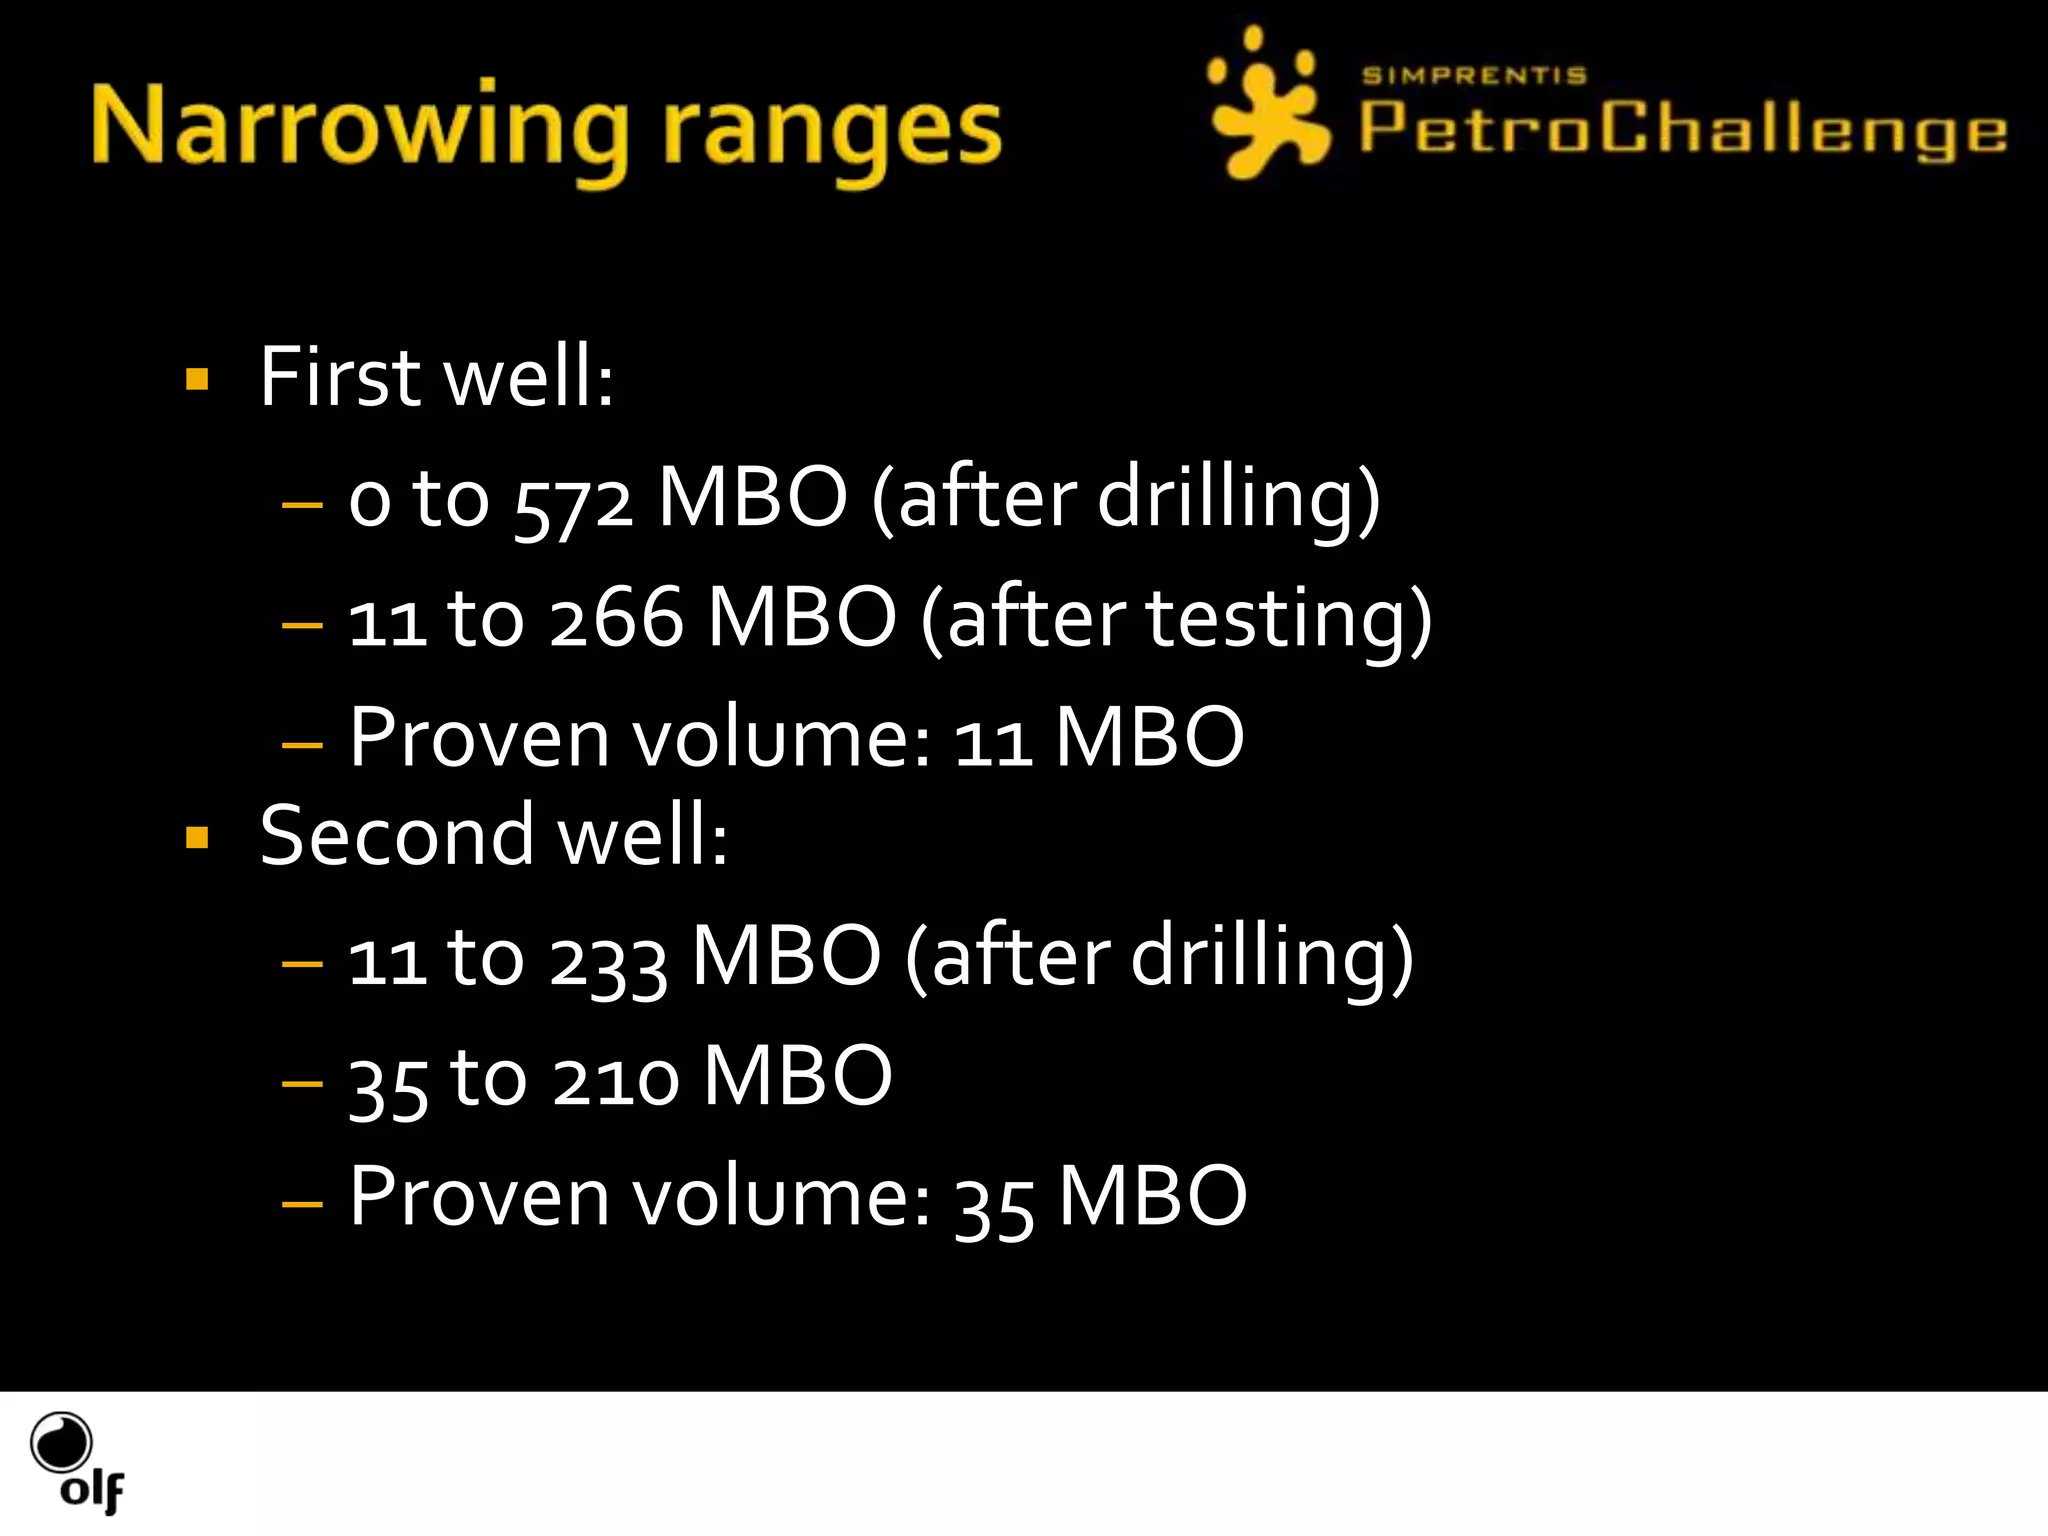
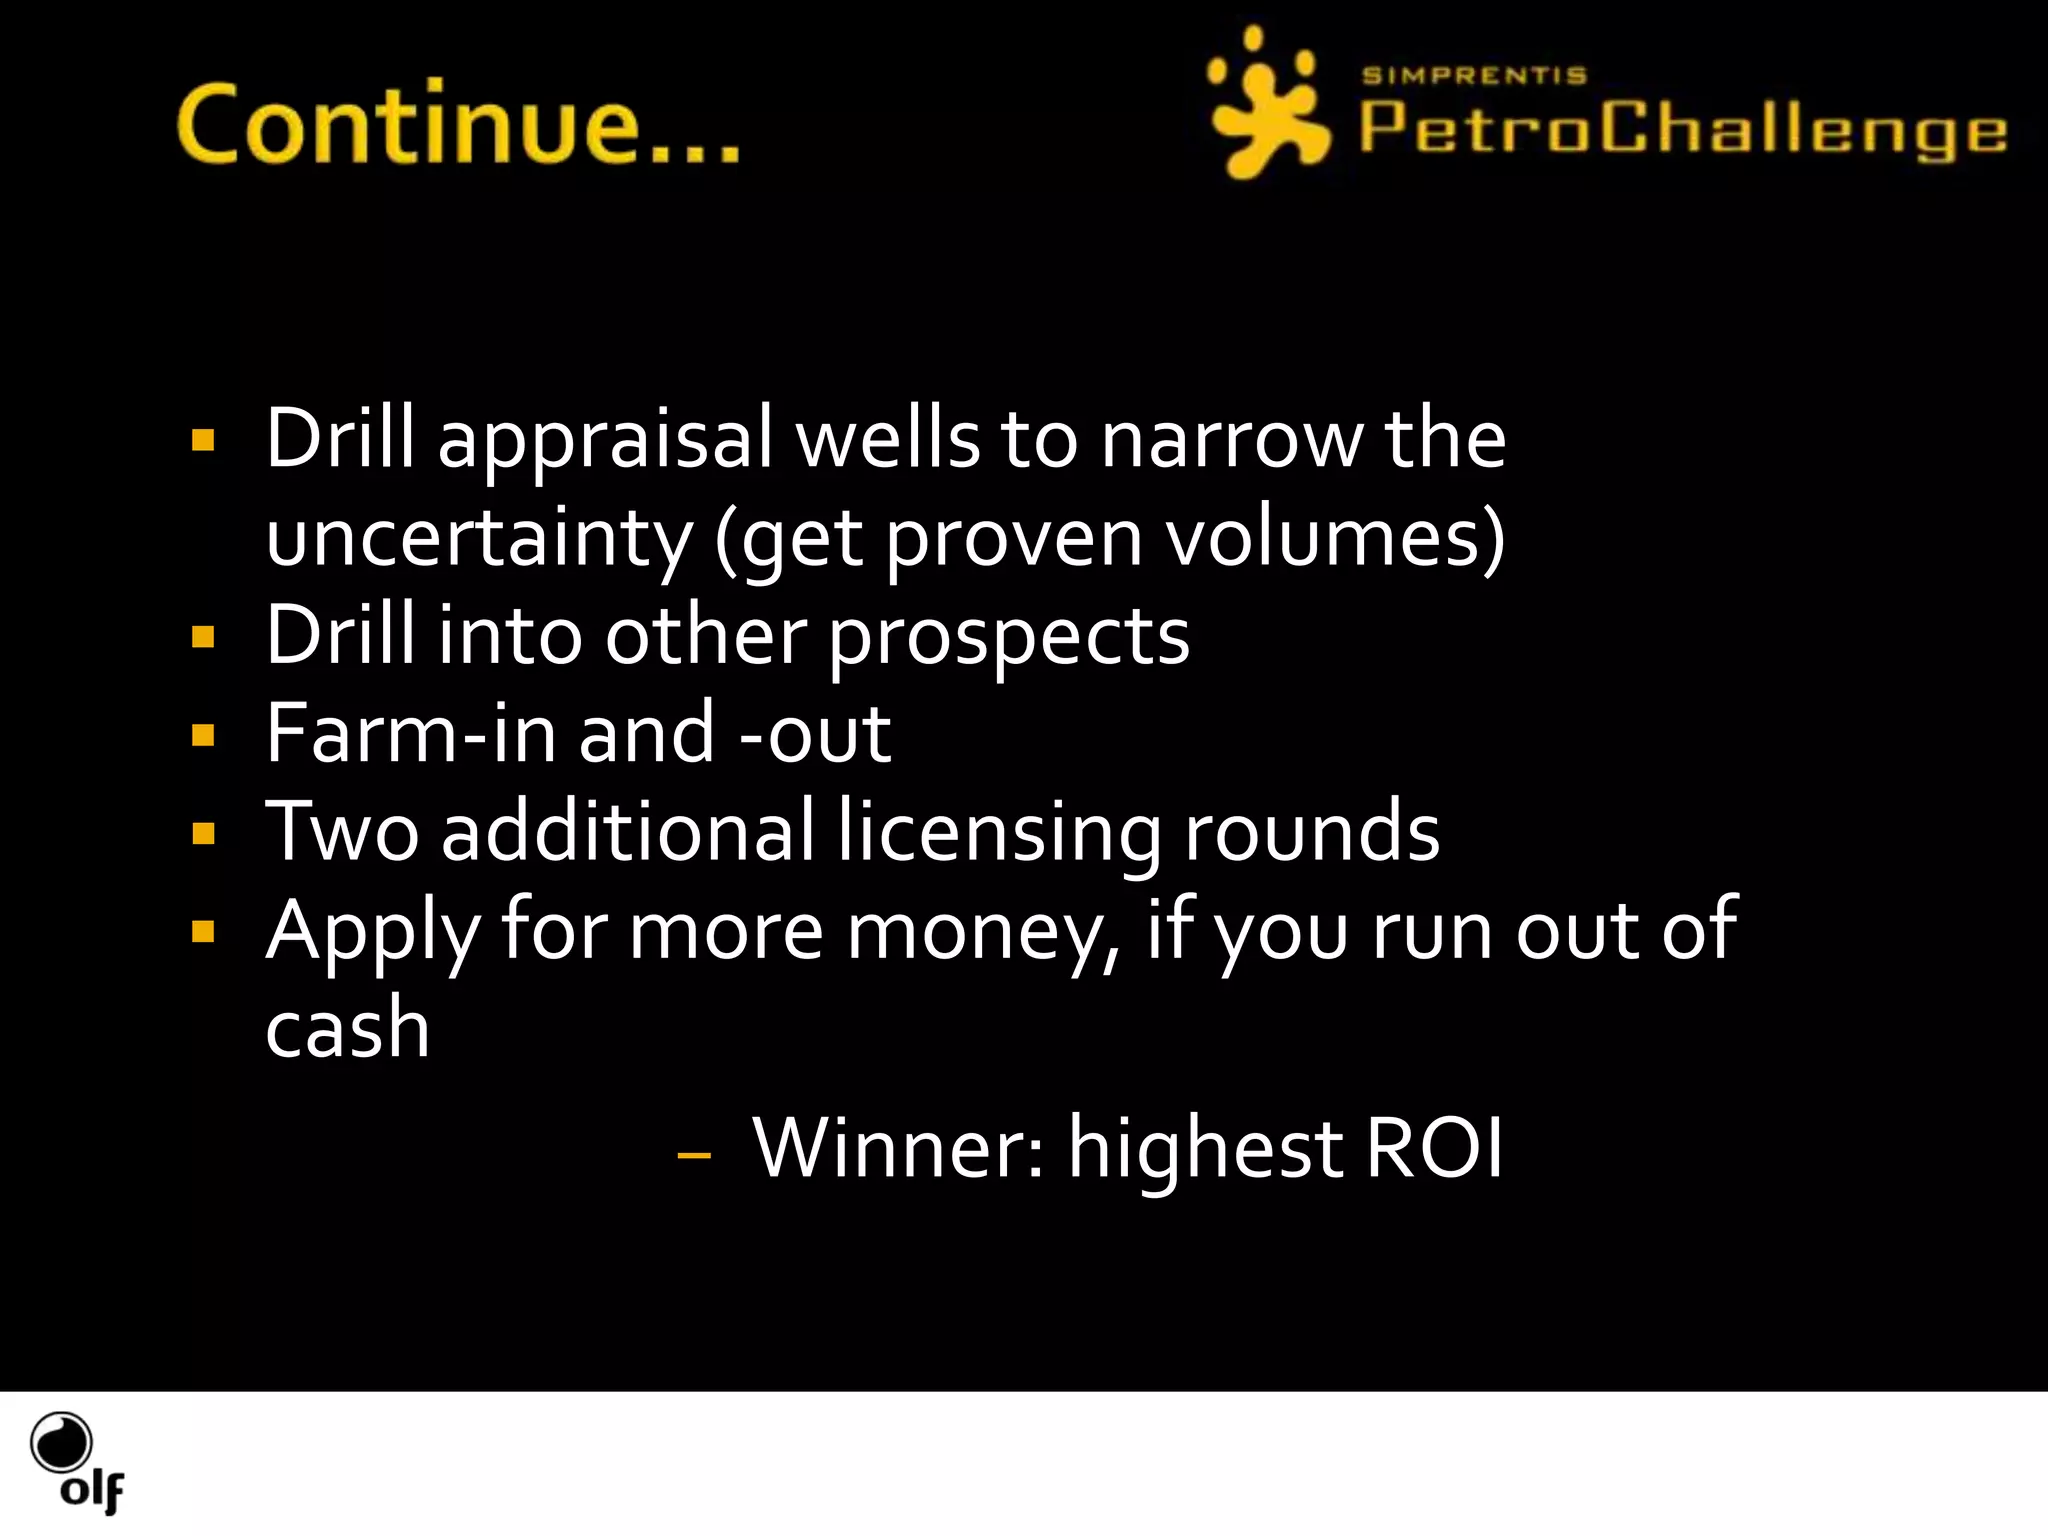
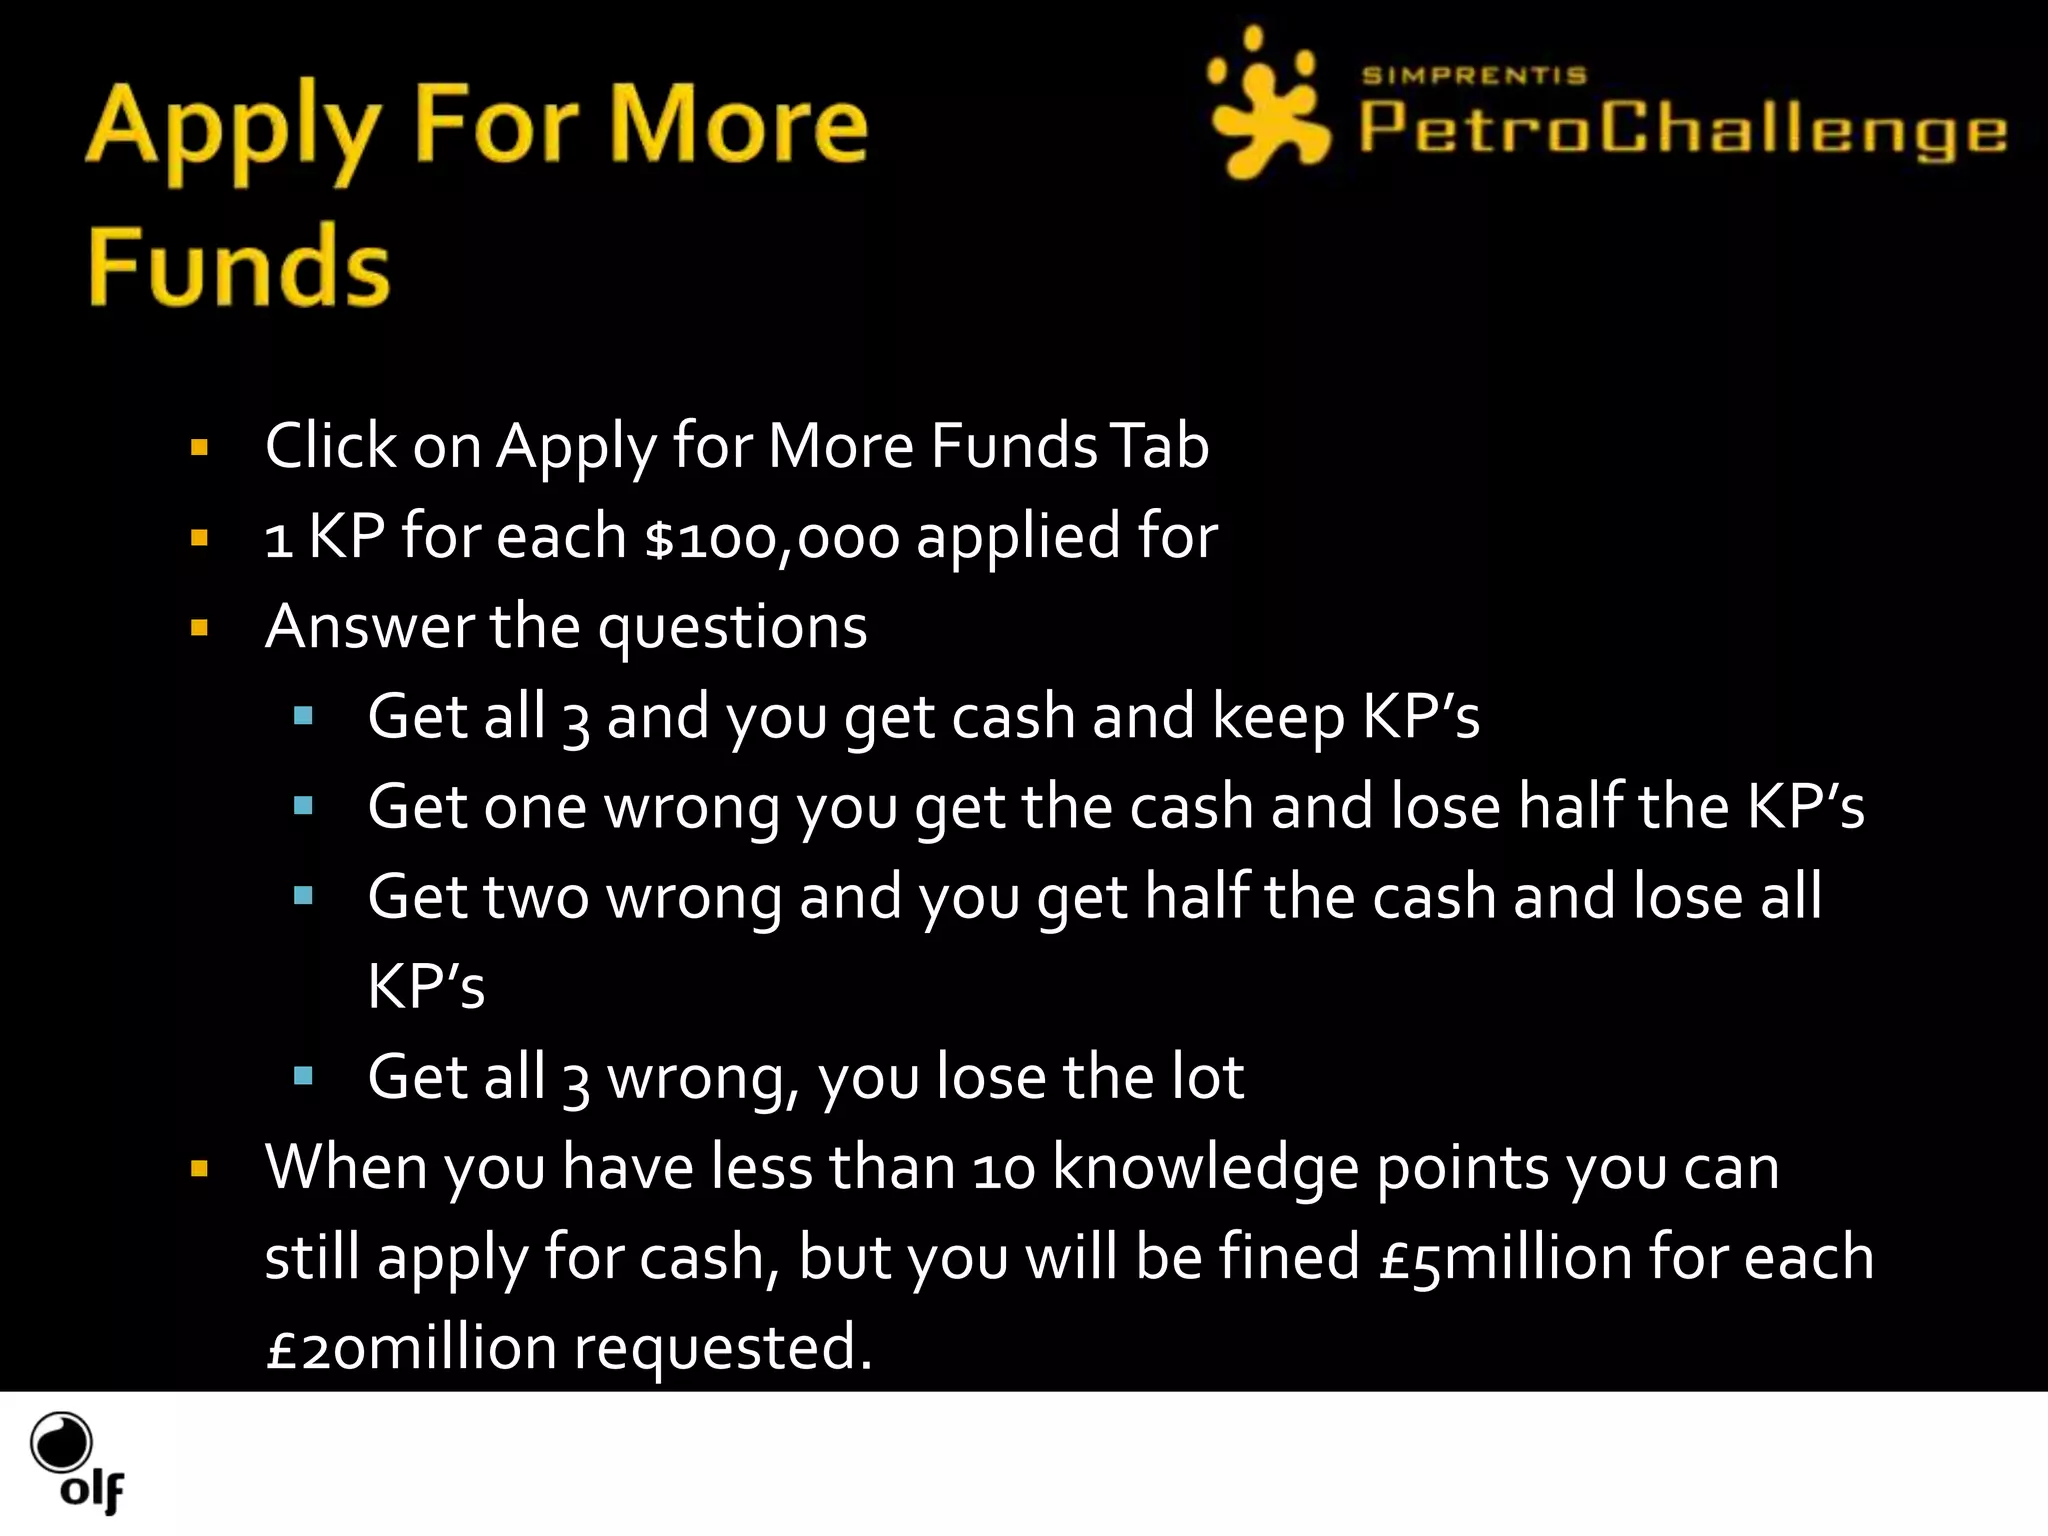
43. ProcedureBuy and study magnetic and gravimetric surveys Submit the coordinates, column (letter) and row (number) for the geographical centre of each basin centre
78. There is one CRS survey for each of the three geological layers or horizons, and each CRS survey covers the whole OilSim map and take into account the prerequisites of whether: 1. there is a basin and a migration route into the prospects in the area 2. there is sealing rock in the area, so that the oil and gas can be trapped 3. there is porous reservoir rock in the area, so that the oil or gas can be stored below the trap.
204. When you have less than 10 knowledge points you can still apply for cash, but you will be fined £5million for each £20million requested.
Editor's Notes
OilSim Exploration only covers the exploration part of the oil and gas industry. There also is a version of OilSim for FieldDevelopment.Exploration is about finding the hydrocarbons and proving that they are in sufficient quantities to start producing. Field development and Production, on the other hand, is about actually taking the oil or gas out of the subsurface. These three – exploration, field development, and production – together comprise the upstream part of the oil and gas industry. The other part – downstream – is all about making the oil or gas ready for usage and distributing it to the customers. But, as mentioned, OilSim only covers the very first part: exploration.
In addition to the 2D seismic surveys, you have Common Risk Segment (CRS) surveys to tell you something about the probability that a given prospect contains oil or gas.There is one CRS survey for each of the three horizons, and each CRS survey covers the whole OilSim map.CRS surveys are interpretations made by geologists of the probabilities that: 1. there is a basin and a migration route into the prospects in the area, 2. there is sealing rock in the area, so that the oil and gas can be trapped, and 3. there is porous reservoir rock in the area, so that the oil or gas can be stored below the trap.However, CRS surveys do not say anything about the individual prospects that the 2D seismic surveys show.In the CRS surveys, green indicates that the area has all the prerequisites to have good prospects, yellow indicates that the area might have all what is required, while red indicates that it is highly unlikely that the area can contain good prospects that contain oil or gas.
You need to acquire all three common risk segment maps to get information about the probabilities for prospects in all three horizons or geological layers.
When the oil or gas reaches some impermeable layers it migrates sideways until it either reaches the surface, or – as in the drawing – is trapped in a prospect.A prospect is a structure in the subsurface which we have identified to be likely to contain oil or gas.There are three basic prerequisites for a prospect to contain oil or gas: 1. there has to be a basin and a migration route into the prospect, 2. there has to be a seal and a trap so that the oil or gas does not migrate further up, and 3. there has to be a porous reservoir rock, which can contain the oil or gas.
Seismic surveys are made from sound waves that are sent into the subsurface, reflected, and measured when they get back to the surface.Offshore seismic surveys are made by ships that sail over the surveyed area.This figure is an example of a real seismic line.It shows a cross-section of the subsurface with the blue and red lines indicating changes in velocity and thus changes in geological structures in the subsurfaceThe black, red, and green lines are interpreted by geologists.The black lines are so-called faults, which have happened for instance after earth quakes or other other dramatic geological events.The red lines are where the geologists think the sealing rock beings, and the green lines is where they think the reservoir rock begins.In this particular case there is a prospect just under the orange arrow.
This figure is zoomed in to one small section of the 2D seismic line, and you can see two horizons marked by black and green lines.The black lines show the top of the reservoir rock, while the green line show the top of the sealing rock.Prospects can be seen on the 2D seismic lines as “tops” on the black lines.One large prospect is marked in the lower horizon.
When you have decided which blocks you want to invest in, you go to the home page and choose Farm-In for these blocks.
As this figure illustrates, you can drill through all three horizons in one well.You can even drill a deviated well, so that the position is not exactly the same in all horizons.The deviation can be 1 cell for each horizon.
Before you choose where to drill you should buy an Environmental Impact Assessment (EIA) survey to get more knowledge about the area. The benefit of an EIA survey is that you will be prepared for any environmental challenges you might encounter when drilling. With an EIA survey you will have lesser probability for drilling problems, and the extra costs will be less. Also, in the EIA survey you can see which drilling locations you should avoid. Some areas in your block are challenging to drill in. This can be because of strong currents, adverse conditions on the seabed or other local conditions. When you drill in those locations your costs go up 20%. You can see these locations in the EIA survey. You only have to buy one EIA survey for each licence that you operate. You can find the EIA surveys under Surveys.
The next task is to choose which rig to use to drill the exploration well.There are three types of rigs: drillships for the deepest waters, semi-submersible rigs for middle waters, and jack-up rigs for shallow waters.The rigs have different costs per day, and the drilling days depend on how deep you drill into the subsurface and which service providers you choose
You can get an overview of the available rigs on the Rigs page that you can find by clicking on Rigs on the left hand side.The cost of the rig on the Rig page is expressed as a day rate, or how much the rig costs for each day the drilling takes.For each rig you can see the rate you pay for each day you use the rig and the maximum water depth the rig can be used.There is also a queue that shows which teams are waiting for the rig.You should choose the cheapest available rig for the water depth where you are going to drill.
In order to know how many days the drilling takes, you have to take a look at the drilling table on the Rig page.As you can see, the number of days depends on how deep you are drilling below seabed.If you only drill to the topmost layer, the Eocene, it takes 18 days.If you drill to the Paleocene, it takes a total of 35 days.If you drill to the Cretaceous, it takes a total of 45 days.These estimates are based on the assumption that you do not run into problems.If you run into problems, the number of days might double.Whether you run into problems or not depends on which service providers you choose, but more on that later.
This figure illustrates the different “depths” we are working with in OilSimThe water depth is the distance from the water line to the seabed.Layer 3 is approximately 1500 meters below the seabed, layer 2 is 1000 meters further down, and layer 1 is 3500 meters below seabed.
You can see how deep the sea is from the accompanying map or by clicking on the block where you are drilling.If you click on a block you can see a figure similar to this.The figure shows the 64 cells in the block, and the colours show how deep each cell is.If you roll the mouse over one of the cells, you can see a little yellow box with the seabed depth in that cell.
You choose the rig by clicking on Order Rig on the Home page.
In most cases there are fewer rigs than teams, so you need to be fast to get good and cheap rigs for your wells.When you order a rig you need to start using it within 20 minutes.If you do not use it within the 20 minutes, you will pay for 20 days of use.You can release a rig that you have ordered on the home page.The rig rates are dynamic, so that popular rigs tend to have increasing prices, while less popular rigs become cheaper.
The next task is to choose the providers necessary to drill the well with the rig.If you click on Service Providers in the menu to the left, you get a list of the available providers in the five categories.The five categories are: Analytical Providers, Shore Base, Vessel, Main Well Services, and Aviation.You can get a brief description of each category on the Service Providers page.Different providers have different prices and each provider’s price is expressed as a percentage of the day rate of the rig.Port Betula, for instance, costs 2.5% of the rig rate, and if the rig rate is $100,000 per day, the cost of Port Betula is $2,500 per day.
Different providers also have different track records.It goes from 1, which is Extremely unreliable, to 9, which is World-class.Needless to say, bad providers tend to be cheaper than good ones.If you choose an unreliable provider the probability that you will run into drilling problems increase, and the number of drilling days become higher.
You choose which providers to use on the home page by clicking on Select Providers.
The next task is to choose the drilling position and depth.You can drill to the topmost horizon, through the topmost to the middle horizon, or through both the topmost and middle to the bottom horizon.
You start choosing drilling positions by clicking Select Position on the Home page.
First you need to select where you want to drill in the Eocene horizon.This is done by clicking in the matrix on the cell you want to drill to.You always drill at least to the Eocene horizon, and it is not possible to “jump over” this.When you have clicked on the matrix you are automatically taken to the next page.
On the next page you can choose where to drill in the Paleocene horizon, or alternatively decide not to drill to the Paleocene horizon (and thus not to the Cretaceous horizon).If you want to drill to the Paleocene horizon, you can choose one of the 9 non-gray cells in the matrix.If do not want to drill further than the Eocene horizon, you click on Drill to get to the final confirmation page.If you want to choose another position in the Eocene horizon, you can click on Target 1 to get back to that page.
When you have chosen one, two, or three drilling positions – one for each horizon you drill through – you get this summary of the well before you finally decide to drill.You can see the rig and its day rate.You can see the service providers and their capabilities and price expressed as a percentage of the rig day rate. Also you can see if you have chosen to have oil spill control or not.And you can see the drilling locations on the three horizons.Finally, you have to enter an estimated cost of the well.Your cost estimation must be based on the number of drilling days, the rig day rate, the service providers’ prices, and the reliability of the service providers.The closer you are to the actual cost of the well, the more knowledge points you get – up to a maximum of 10 points per well.If you have not farmed-out 20% of the licence you are not allowed to drill – and neither are you if you do not have any cash, any rig, or any service providers.When you have entered the budget – and everything else is in place – you press Drill and the well will be drilled.
When you have discovered a field the first decision you need to make is whether you want more information about that field right away and BEFORE you drill another exploration well.You can get more information by doing a production test, which is a process in which you try to produce oil or gas from the field.In OilSim production tests take 10 days per oil and gas field and you use the same providers as before.
The 7 MBOE proven volume is the starting point for the calculation of the net present value of the licence.In this calculation the future income and costs are estimated based on the proven volume, an estimated future oil price and production tax.In this particular calculation the oil price is $25 per barrel of oil equivalent (BOE), giving a sales value of $175M.The production tax is $10 per BOE, giving a tax of $70M.The operational expenses (OPEX) which is the running costs of producing the field and are proportional to the proven volume, but differ from shallow to deep waters.In this particular case the OPEX of the gas field are estimated to be $8.1 per BOE, giving a total OPEX of $56.7M.The final number is the capital expenses (CAPEX) that are the cost of developing the field and depend on the water depth and the number of fields.In this particular case the CAPEX are $700M, and this will not change if the proven volume goes up to 70 or 700 MBOE.You can see that in this case the expenses are larger than the estimated sales value, and therefore the value of licence is $0 at the moment, meaning that you would not start producing.Thus, this particular block is not economically viable at the moment.