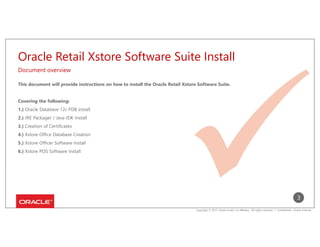
This document provides instructions to install the Oracle Retail Xstore Software Suite, including:
1) Installing Oracle Database 12c PDB
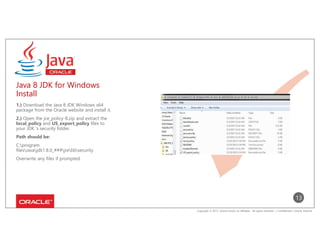
2) Installing Java JRE and JDK
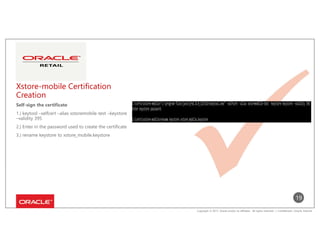
3) Creating certificates for Xcenter and Xstore mobile
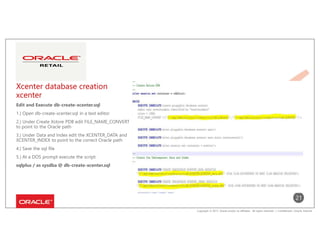
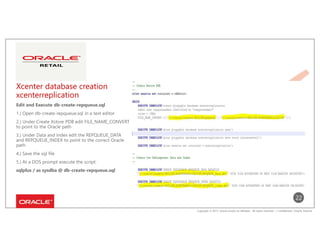
4) Creating the Xcenter database by running SQL scripts
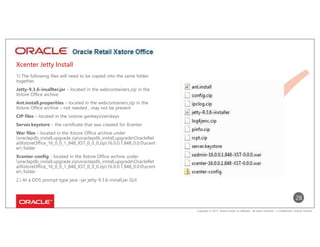
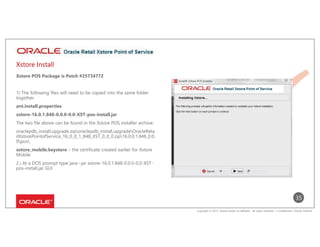
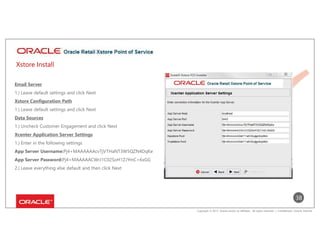
5) Installing the Xstore Office and POS software


![[Devconf.cz][2017] Understanding OpenShift Security Context Constraints](https://cdn.slidesharecdn.com/ss_thumbnails/devconf-170124111354-thumbnail.jpg?width=640&height=640&fit=bounds)