Download as PDF, PPTX


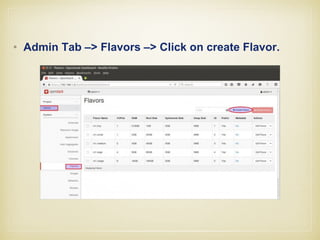
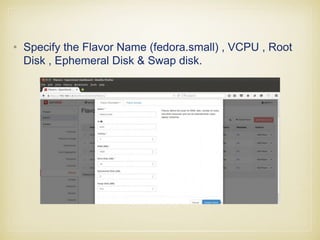


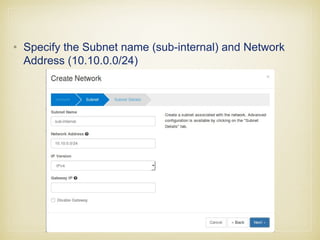
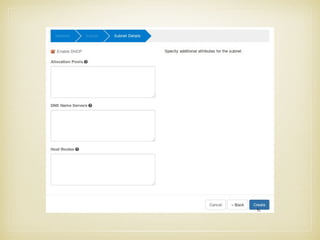
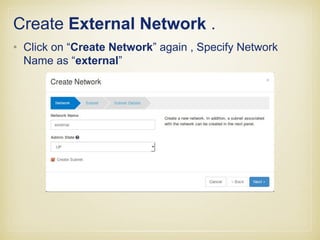


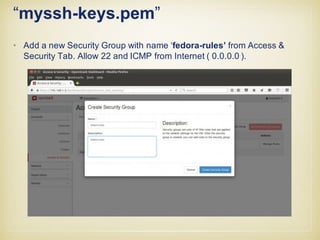
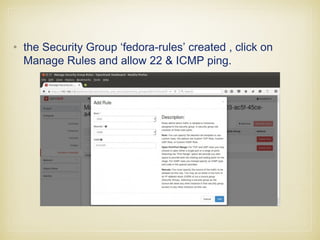


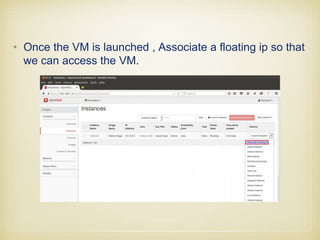
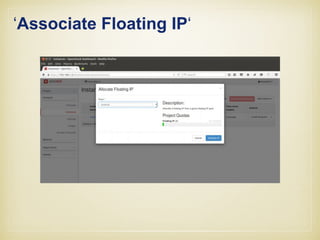


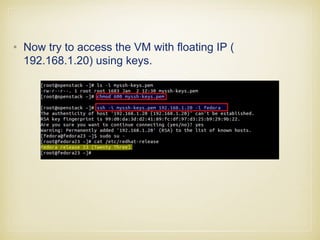
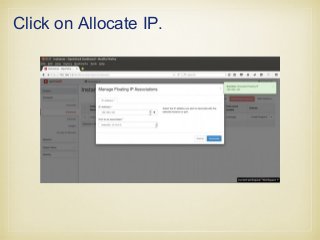

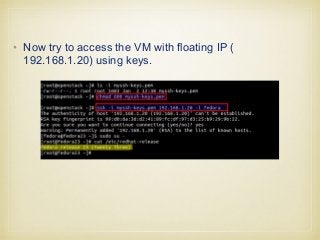

This document provides instructions for preparing and installing OpenStack using Packstack on a Linux server. It outlines steps to update the system, disable SELinux and the firewall, install Packstack and its dependencies. It then describes editing the answer file for Packstack configuration, running the installation, and post-installation configuration including creating projects, users, flavors, images, networks and routers in OpenStack. Finally it covers launching an instance, associating a floating IP to access it via SSH using the provided key pair.