This document provides an overview of Microsoft Excel and its key functions and features:
- MS Excel is a spreadsheet program used to organize and analyze numerical data more efficiently using functions and formulas. It has a grid of rows and columns that allows data to be entered into cells.
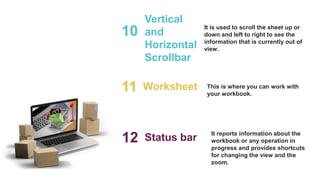
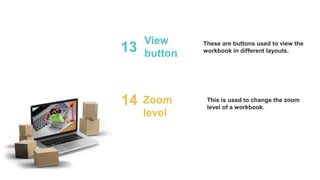
- The Excel screen has various elements like the ribbon, worksheet, scrollbar, etc. that allow the user to navigate, enter, edit and format data across multiple spreadsheets or worksheets.
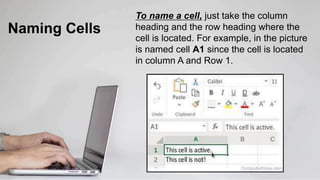
- Cells in a worksheet are identified by their column and row names. Adjacent and non-adjacent groups of cells can be selected or referred to.
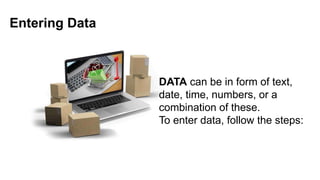
- Data of various types can be entered into cells. Multiple cells can be filled