Download to read offline
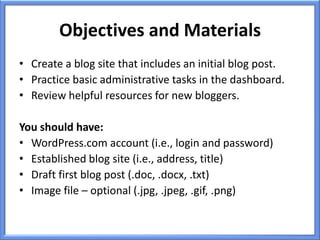
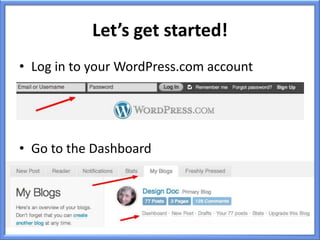
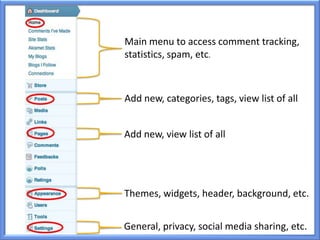
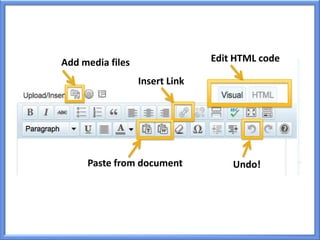
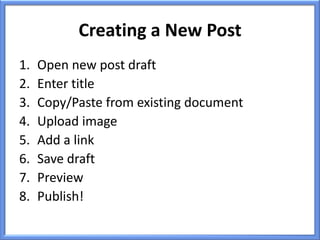
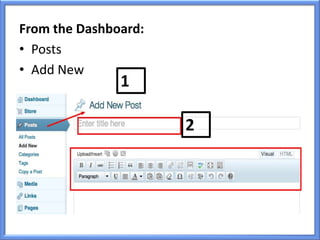

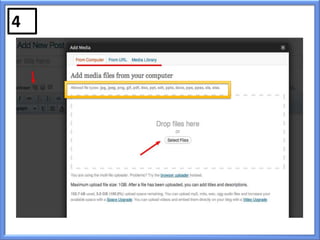
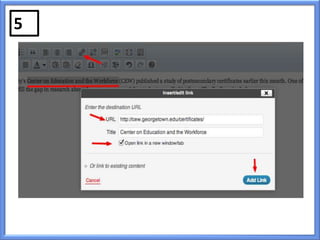


This document provides instructions for creating a blog on WordPress.com. It outlines the objectives, materials needed, and steps to get started with WordPress blogging. The steps include logging into your WordPress account, accessing the dashboard, creating a new post by entering a title, copying content from a draft, uploading an image, adding a link, saving as a draft, previewing, and publishing the post. The document also reviews exploring additional WordPress options like settings, themes, and widgets. It highlights why WordPress is a good blogging platform due to its free accounts, intuitive interface, community, and future hosting options.


![Dmc 2 2.0-training_presentation[1]](https://cdn.slidesharecdn.com/ss_thumbnails/dmc2-2-0trainingpresentation1-120916195041-phpapp01-thumbnail.jpg?width=640&height=640&fit=bounds)


