Download as PDF, PPTX


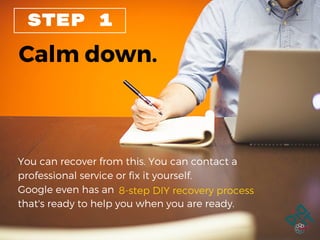
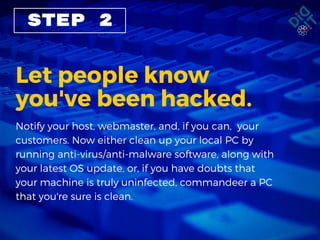
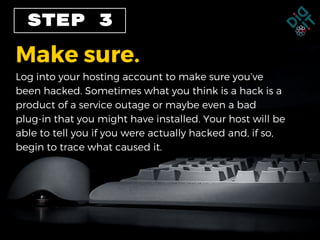
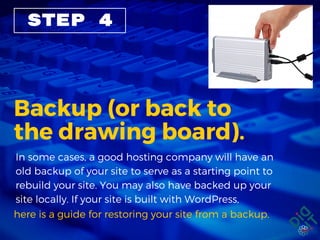
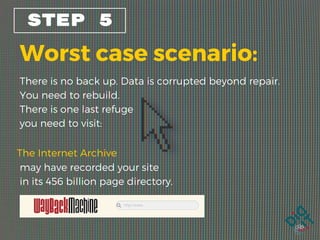

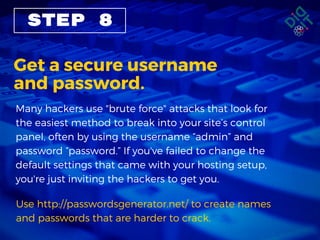


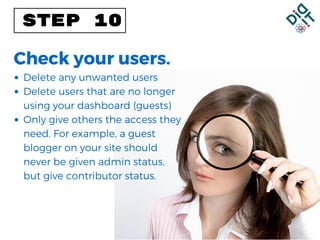


The document provides a step-by-step guide for recovering from a website hack, including calming down, notifying affected parties, verifying the hack, and restoring from backups. It emphasizes securing access with strong usernames and passwords and regularly backing up the site to prevent future issues. Additionally, it suggests managing user access and considering professional help or upgraded hosting for better security.


![Getting Started with Apache Spark: Big Data Made Simple [Free Meetup]](https://cdn.slidesharecdn.com/ss_thumbnails/apachesparkgettingstarted-260203175547-8361bcc3-thumbnail.jpg?width=640&height=640&fit=bounds)


